Astyanax
Member
Hi guys:
Been lurking a long, long time, I figured it's time for me to give something back! While this is not exactly specific to reef-keeping, I feel there's still an application, and I hope fishkeepers of all kinds might find this interesting.")
For almost a year, I've been hatching brine shrimp every other day for baby swordtails using the soda bottle method. While I've been mostly successful, I've found a number of small "pain points" that I would like to solve by building a more robust housing for the same method:
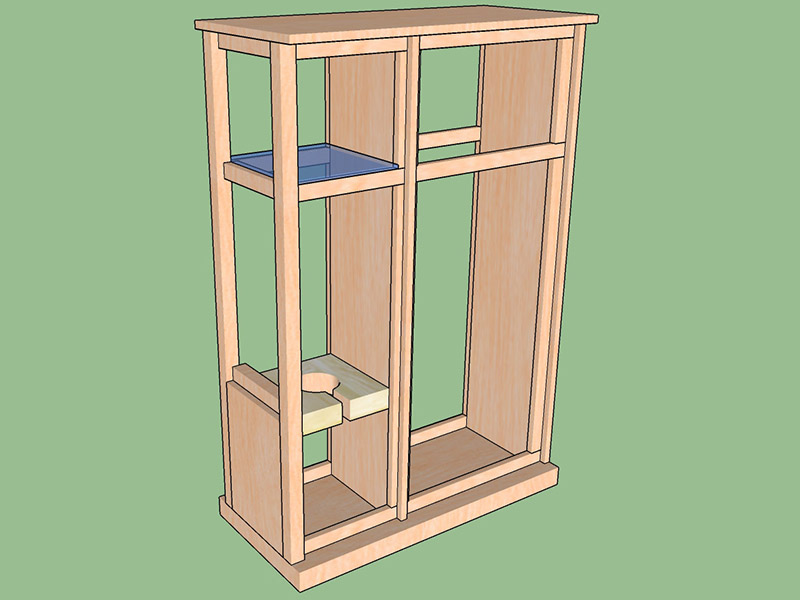
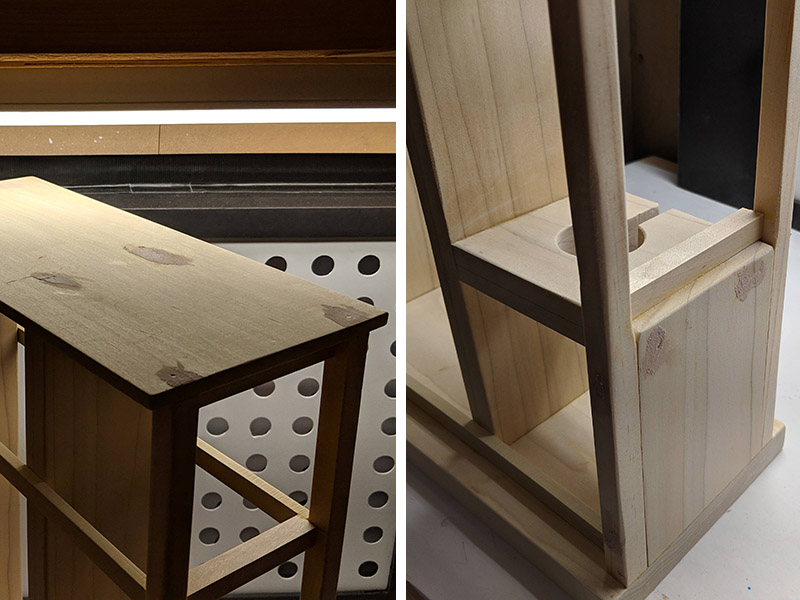
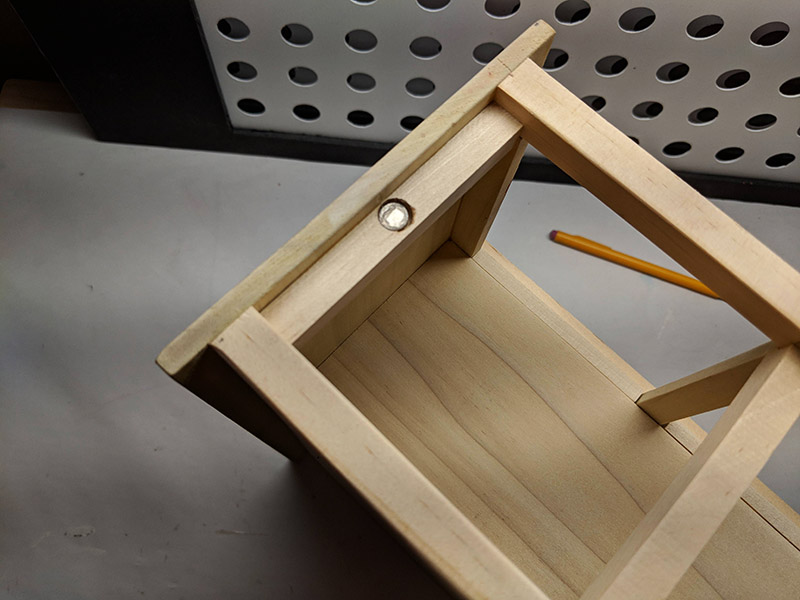
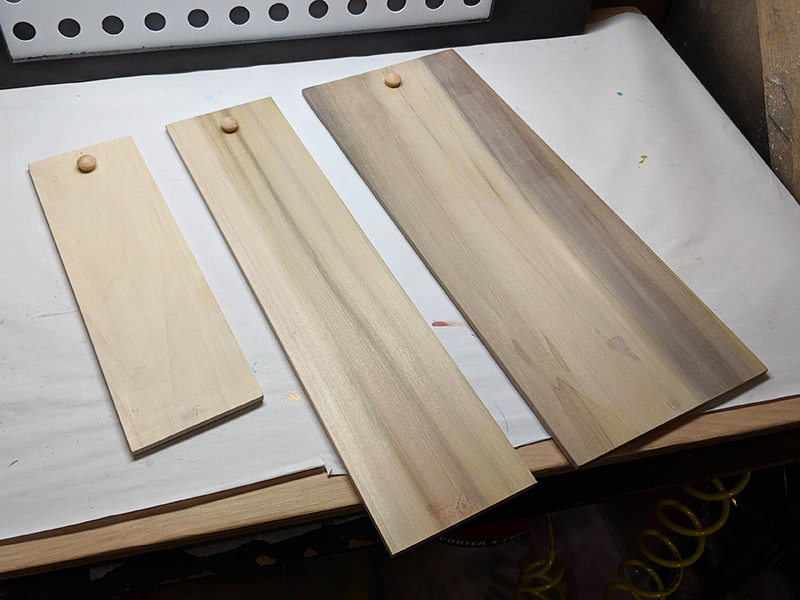
I'm not great with woodworking, but I do have a bandsaw, so I think I can cut all the pieces I need from hobby board from the hardware store.
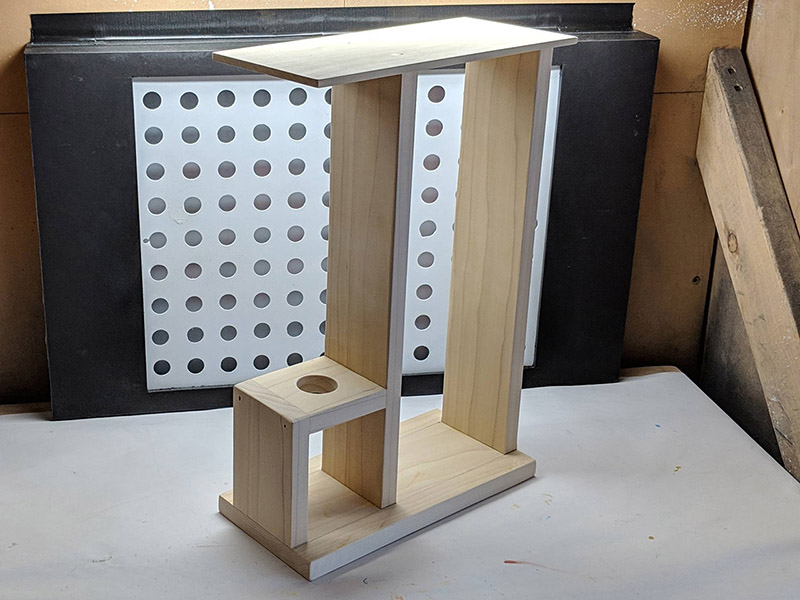
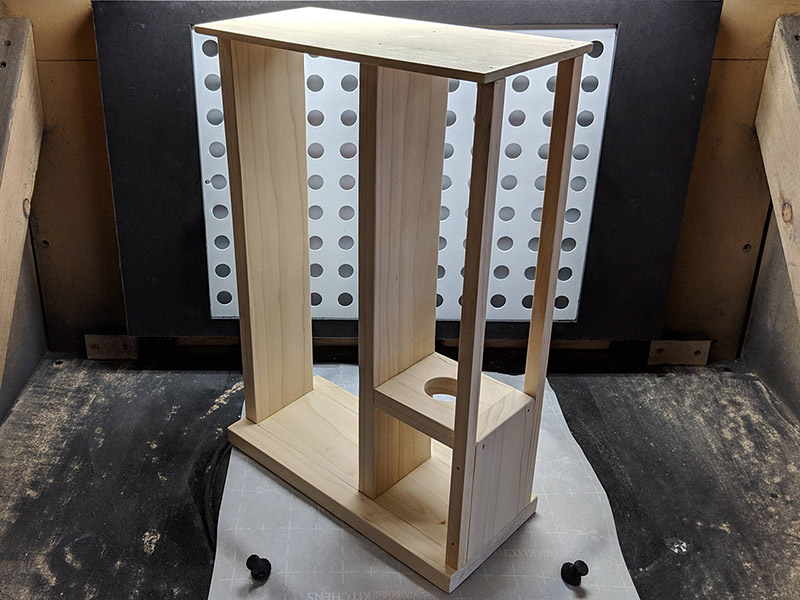
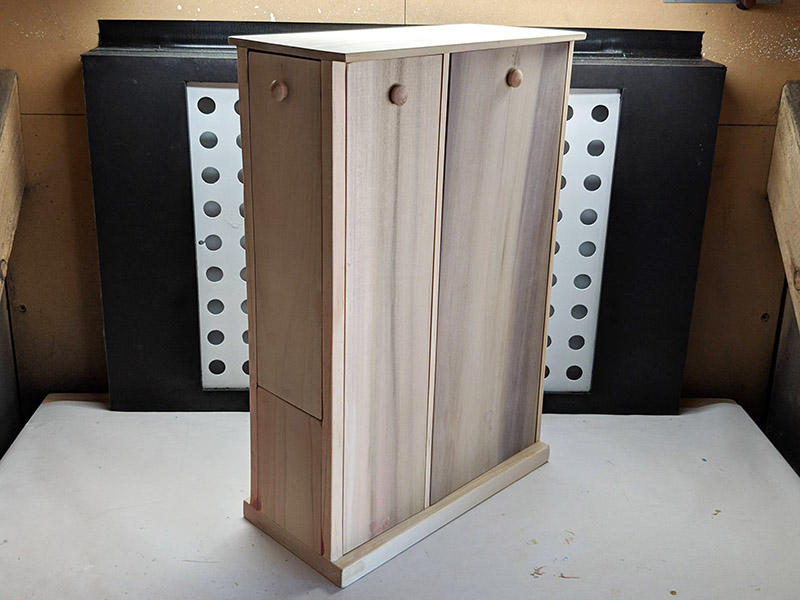
Massive, massive overkill? You bet! But I'm hoping this new setup will reduce turnaround time and solve all those pain points. I'm already very deep into this project, so I will start posting progress and photos over the next few hours.
If you have any other thoughts, ideas or concerns, please chime in!
Thanks for reading,
Bill
Been lurking a long, long time, I figured it's time for me to give something back! While this is not exactly specific to reef-keeping, I feel there's still an application, and I hope fishkeepers of all kinds might find this interesting.
For almost a year, I've been hatching brine shrimp every other day for baby swordtails using the soda bottle method. While I've been mostly successful, I've found a number of small "pain points" that I would like to solve by building a more robust housing for the same method:
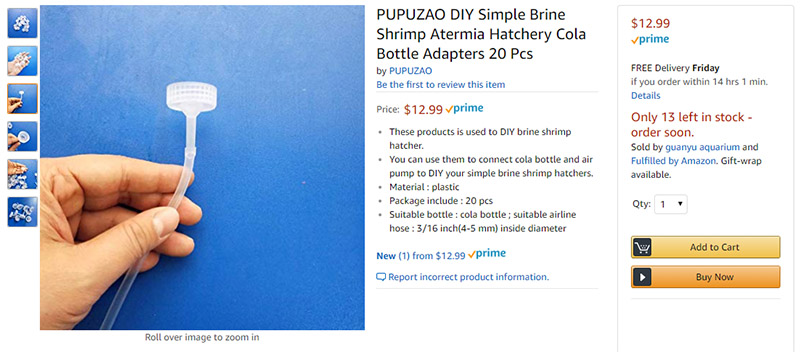
- The soda bottles need to be replaced every 6-8 uses. Making fresh caps and removing labels becomes tedious.
- Darkening the entire area and aiming a light at just the right spot to entice the hatched brine shrimp to go to the bottom is difficult.
- New LED lamps don't provide heat.
- Temperature inconsistencies results in 18-36 hour hatch times.
- Unplugging the air pump to extract shrimp can be tricky when it's the same tube for both air and water.
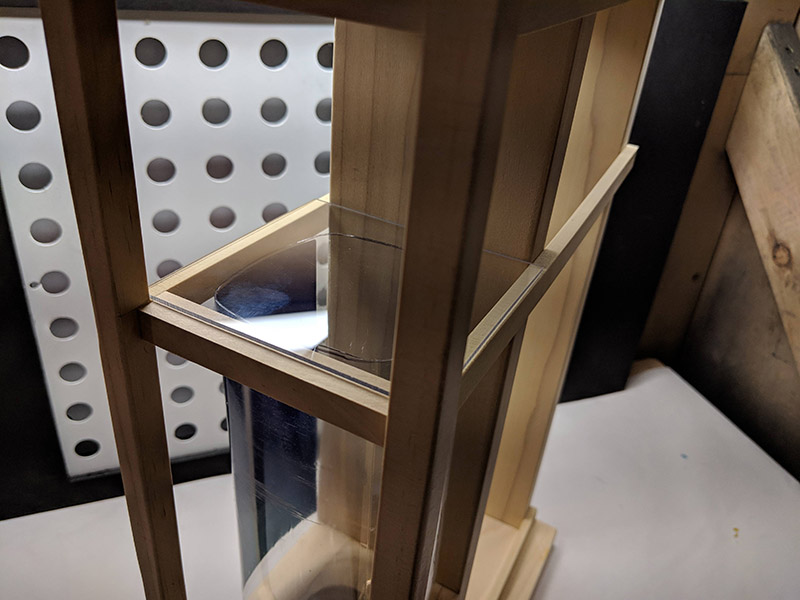
- Using the soda bottle bottom as a splash guard often results in this "lid" falling in.
- The whole process of extracting shrimp and setting up for a new batch takes more time than it should.
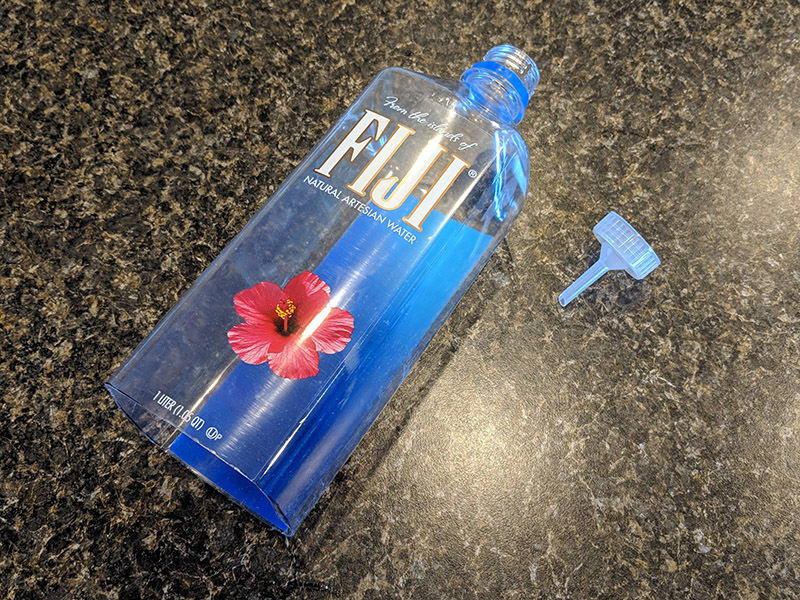
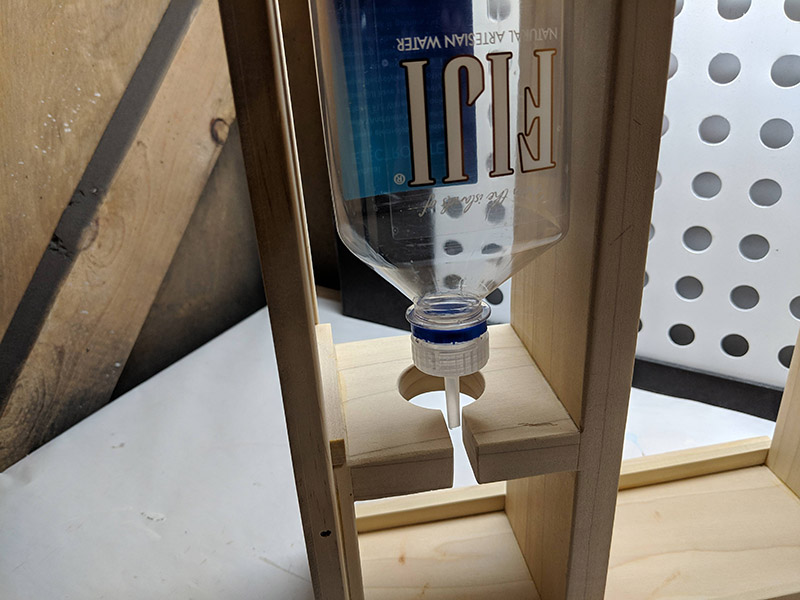
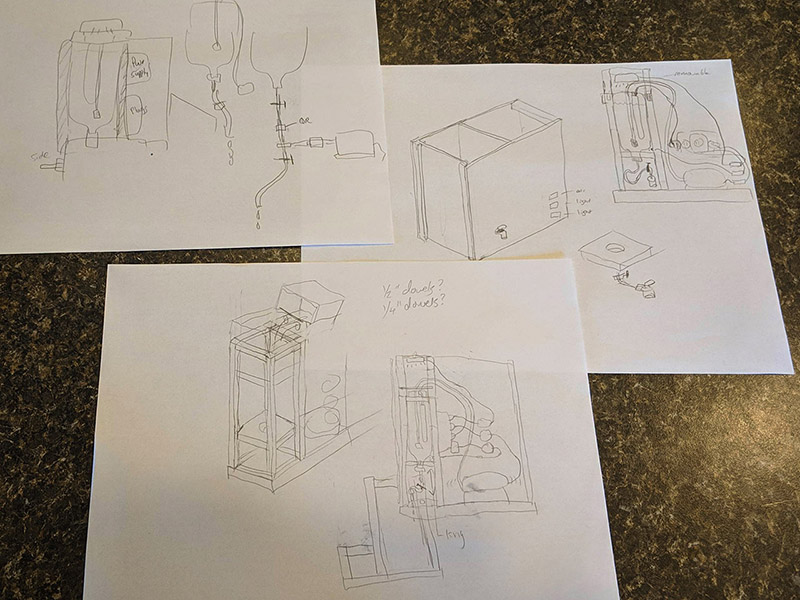
- The chamber must be a 1L bottle for 800mL of water, easily replaceable.
- No more DIY bottle caps. No more label removal!
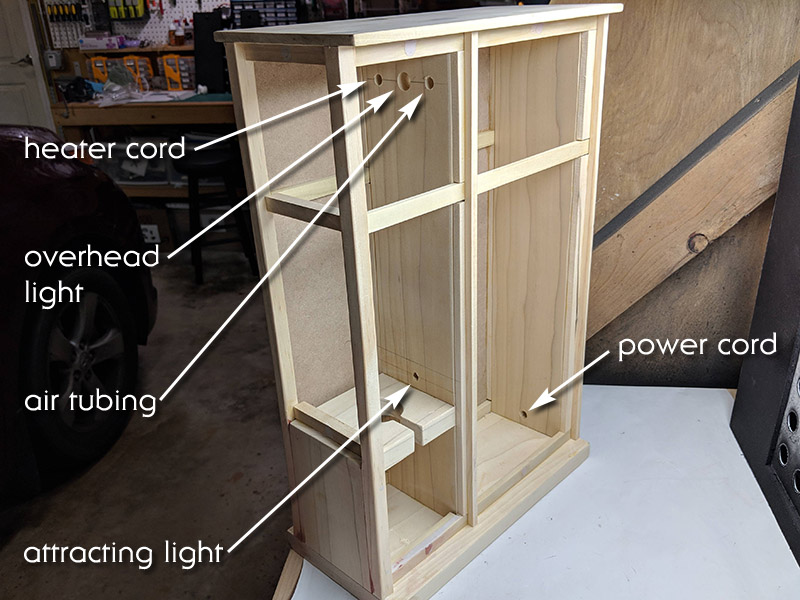
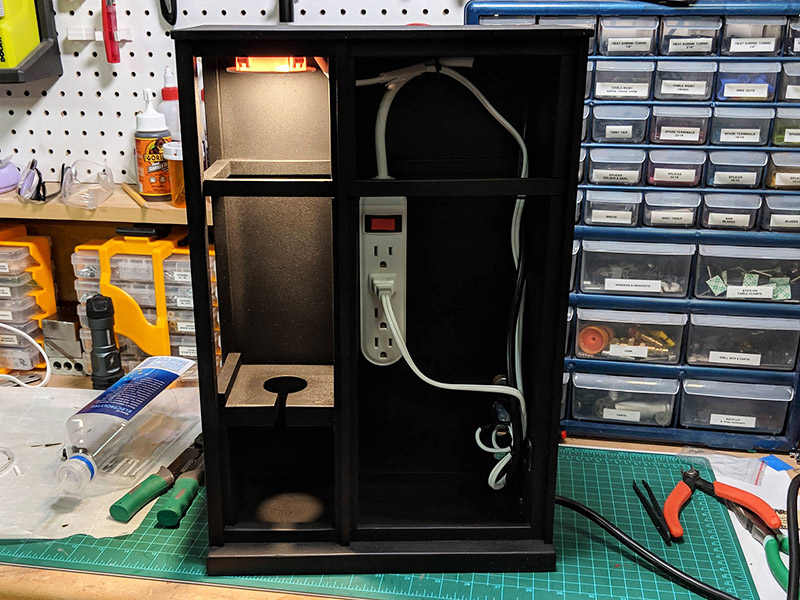
- A 25w heater to keep the temperature in the high 80s, consistently bringing hatch time to less than 24 hours.
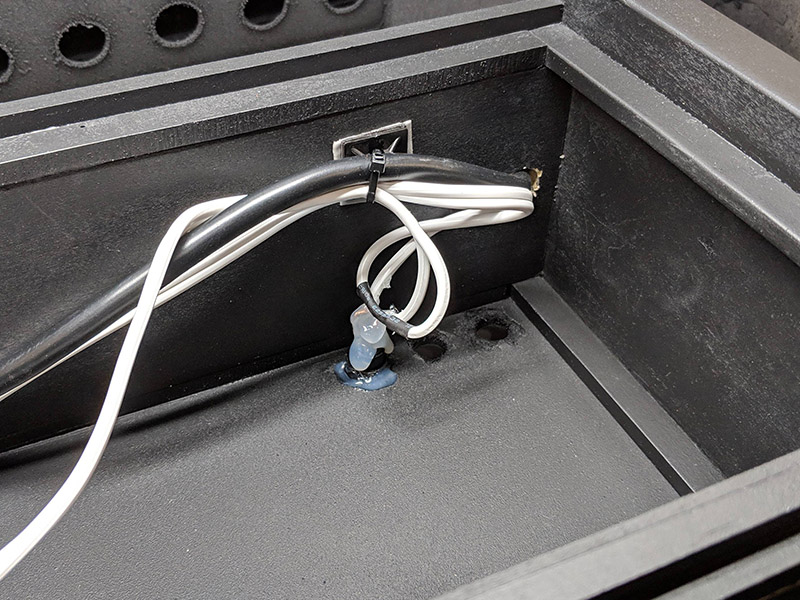
- Air pump contained in the housing.
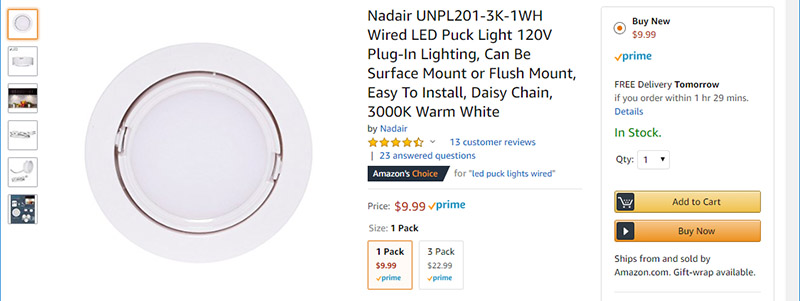
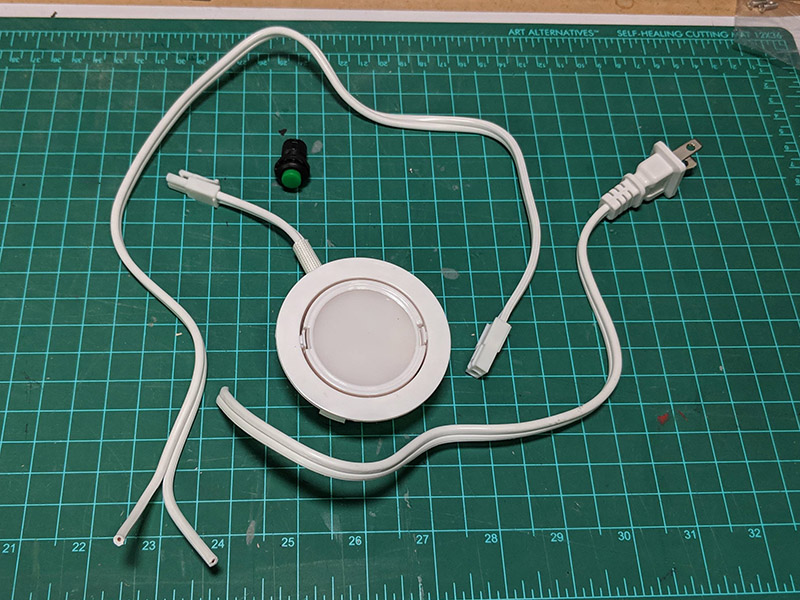
- A permanent light for the top that is not a desk lamp.
- An LED light for the bottom to draw the hatched shrimp down.
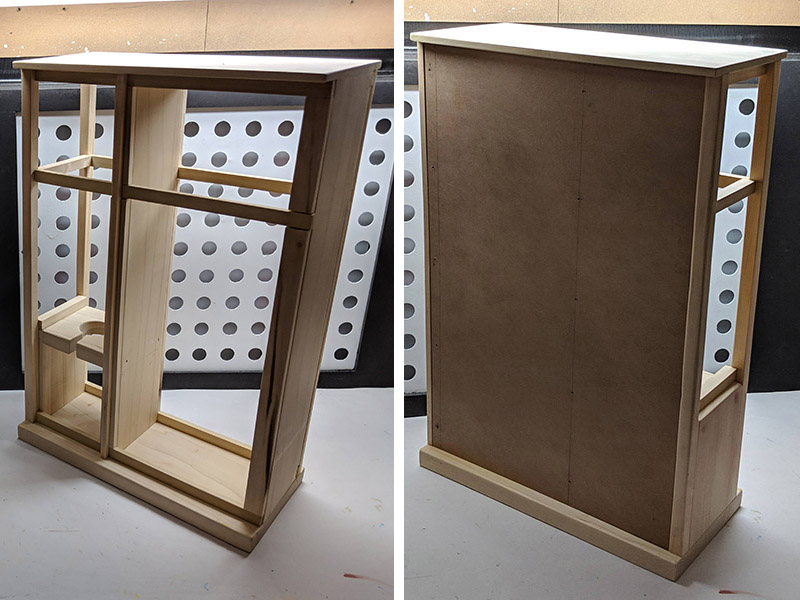
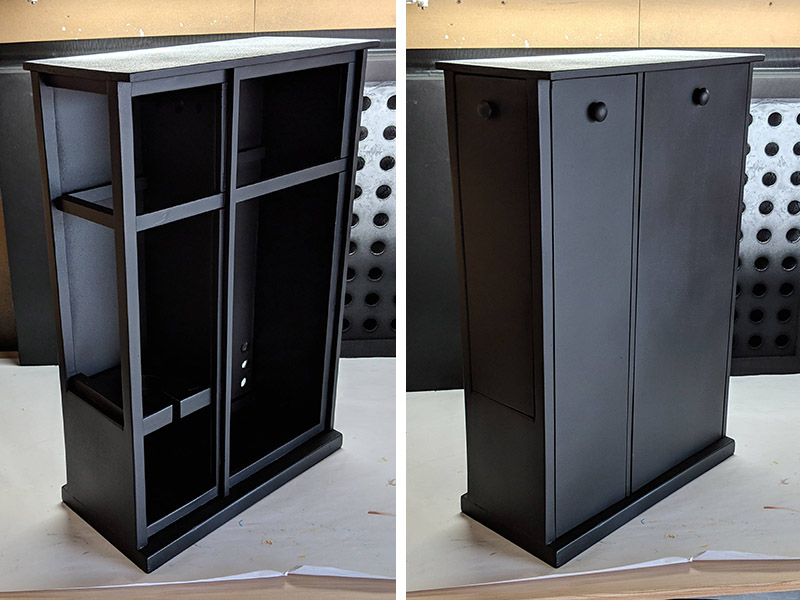
- The entire chamber encased, so it can be kept dark when needed.
- A splash cover that won't fall in.
- Airstone instead of bare air tube, reducing noise.
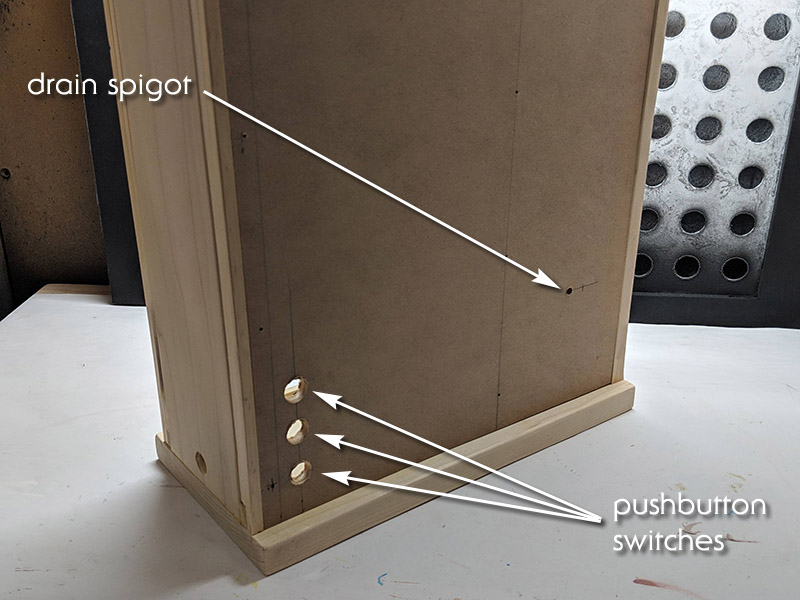
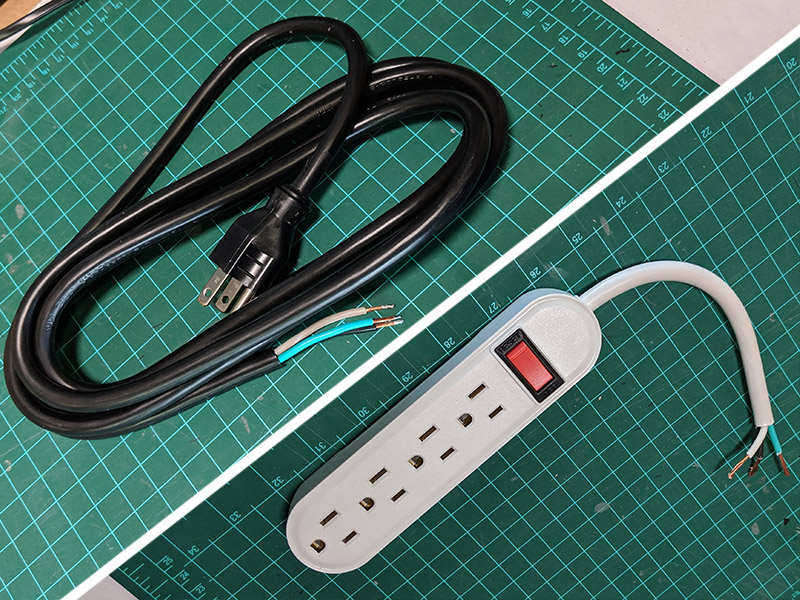
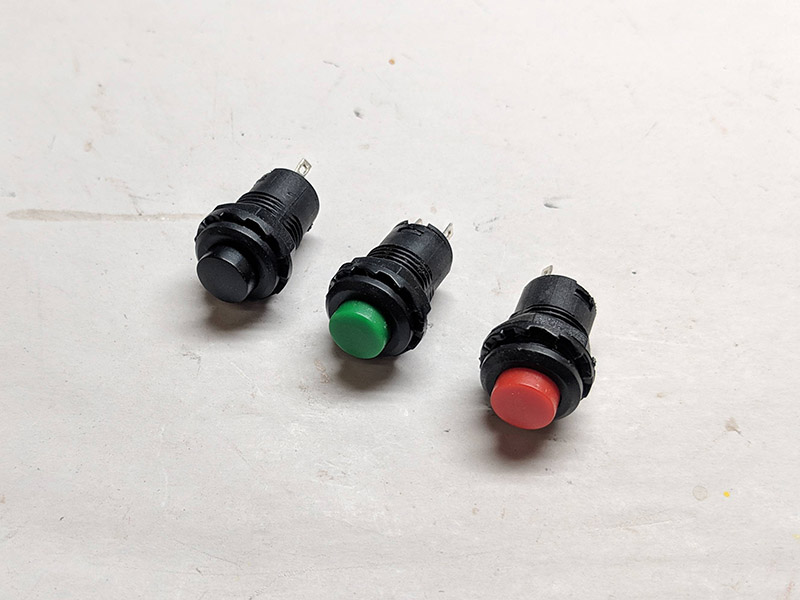
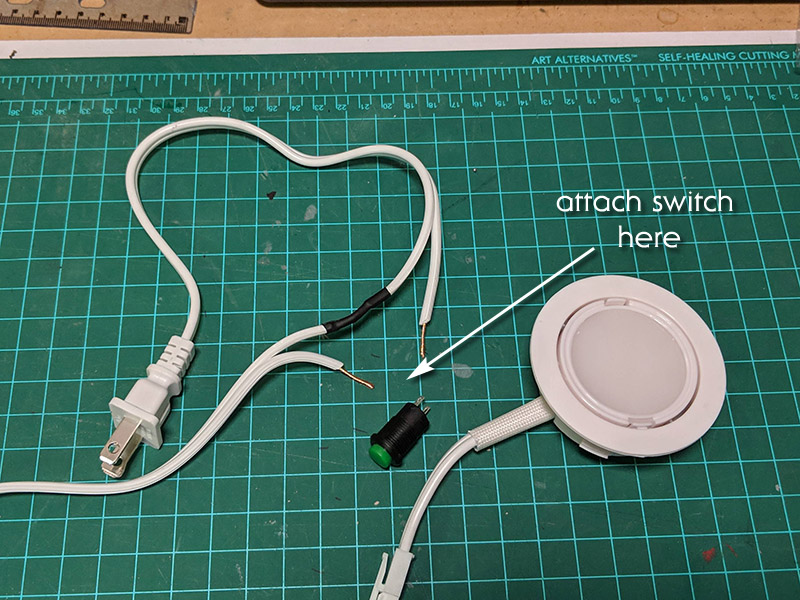
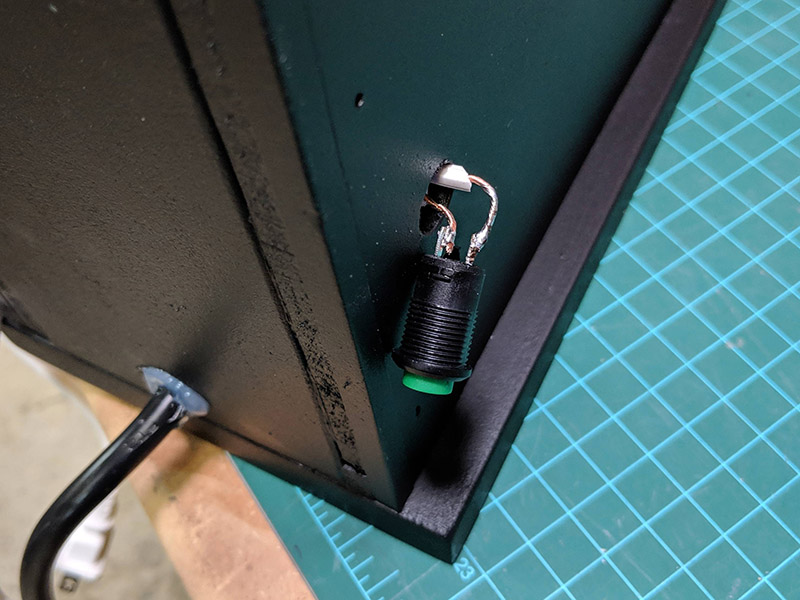
- Individual switches for each electrical component (there are 4!).
- Dedicated spigot to decant hatched shrimp.
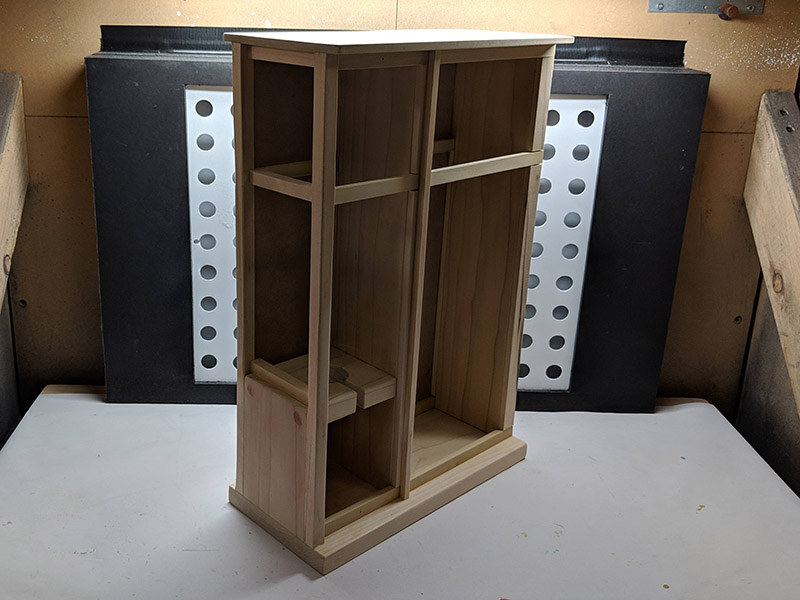
- The entire rig self-contained and portable.
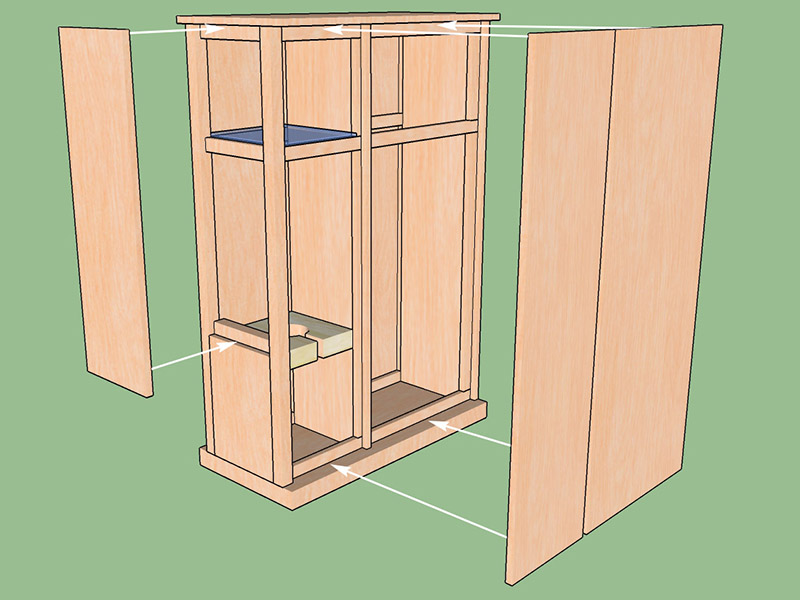
- Removable panels to access any component as needed.
I'm not great with woodworking, but I do have a bandsaw, so I think I can cut all the pieces I need from hobby board from the hardware store.
Massive, massive overkill? You bet! But I'm hoping this new setup will reduce turnaround time and solve all those pain points. I'm already very deep into this project, so I will start posting progress and photos over the next few hours.
If you have any other thoughts, ideas or concerns, please chime in!
Thanks for reading,
Bill