organism
code monkey
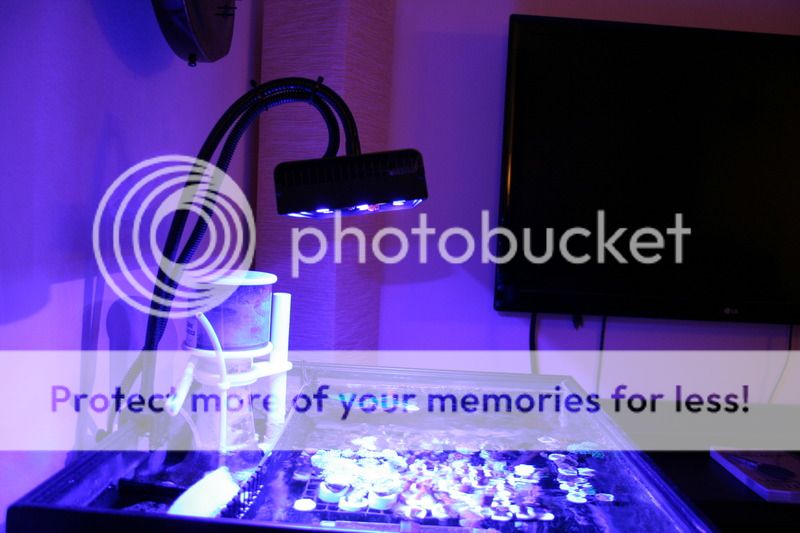
First, I want to put out a disclaimer: the Kessil gooseneck was not built for this light. It holds it up quite nicely, but this DIY build is still heavier than the original Kessil. I have no worries about it holding up and even put some dive weights on the light to make sure it would hold, but then again I'd never sue me so I just want to get that out of the way. User beware, at your own risk and all that stuff. Cost was about $200, and it would take at least two Kessil A350WE to match the spread and intensity. The thing that surprised me about this fixture from RapidLED was how professional and sleek it looks, unless you're looking at the light from the bottom up you'd never tell this was a DIY build.
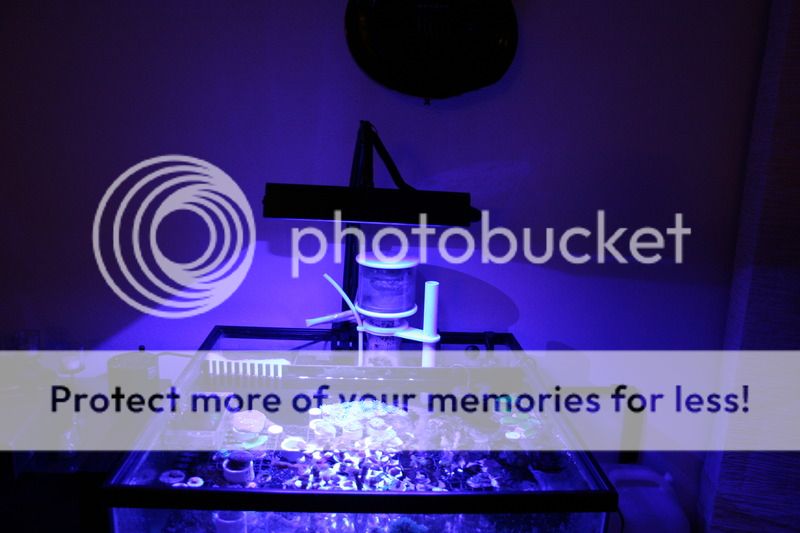
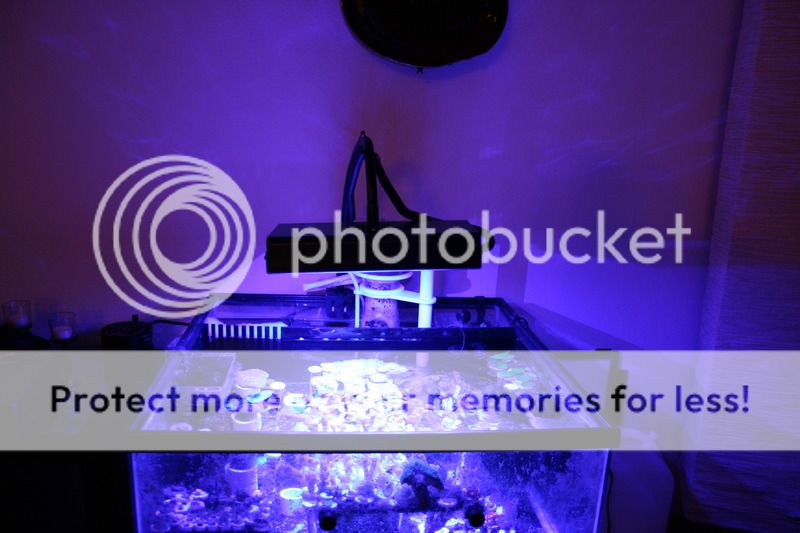
That said, this light is AWESOME, honestly the best LED fixture I've ever owned DIY or otherwise. Pretty much everything I needed in a tank light and then some, and the price was great too. The light is crazy adjustable as shown by the pictures at the bottom of this post, you can get it right down near the tank or high up, aim it whichever way you'd like, and not have any ugly stuff hanging from the ceiling. Seeing as how my frag tank is just above knee-level that was kind of a must for me. The tank has everything from high-light Acropora to really low light corals and everything grows and looks great, it's 24"x24"x12" AIO and the light covers it beautifully.
I had a Kessil A350WE Tuna Blue over the frag tank for a few months after putting it together. I'd moved some corals over from my display that's lit by another DIY LED fixture and after about 3 weeks they started looking not great color-wise. My lower light corals were fading, and my higher light corals were... also fading. Everything was still growing ok, but the colors were just plain awful compared to what I had in my display. I have a little tank packed with frags and I couldn't even give them away because the colors were no good, so I made another DIY fixture that now outperforms it by a landslide. The corals are coloring up daily, there's no comparison to what they looked like two weeks ago
")
I went on Rapid LED to pick out the usual and right on the front page was this new "premium" enclosure for SO CHEAP. Right off the bat I was like ok, sink or swim (or hopefully neither) I'm hooking this thing up to the Kessil gooseneck. After doing some trig calculations on height and spread I ordered 15 Royal Blue CREE XT-E LED's and 2 Neutral White CREE XP-G2 LED's with 60 degree optics. Sounds too blue (it isn't and my colors are fantabulous), but to each their own. I went with Neutral White due to their much better spectrum distribution over the higher ranges. Here's the list of other supplies aside from the LED's:
1 6"x12" Premium Enclosure
1 0-10V Dimmable Nano Driver with Potentiometer (for the white LED's, driven at about 20% on the potentiometer)
1 Mean Well LPC-35-700 (not ideal but I had it sitting around)
1 Thermal Adhesive
1 92mm Fan
1 12V adaptor for the fan
1 Home Depot Everbilt #4-40x3/8" round head screw and nut combo to attach the gooseneck
I soldered everything up and then changed things around and then changed things again and now the wiring looks God-awful. There will be no pictures of that part since I'm in school for computer engineering and want a job one day so I can't have that mess on the internet... Essentially the blues went in 5x3 pattern, and the whites when off-center to give it an even spread. What I can show is what I did at the start which is something I learned from other DIY lights I've made: check the corners. I tape lights to the corners of the fixture, throw the optics on there and hold it over the tank to make sure it's not going to blast light outside the tank. The first time I made a light I just put the LED's at the corner and most of the light from those ended up on my floor, so this check really helps the efficiency of the light.
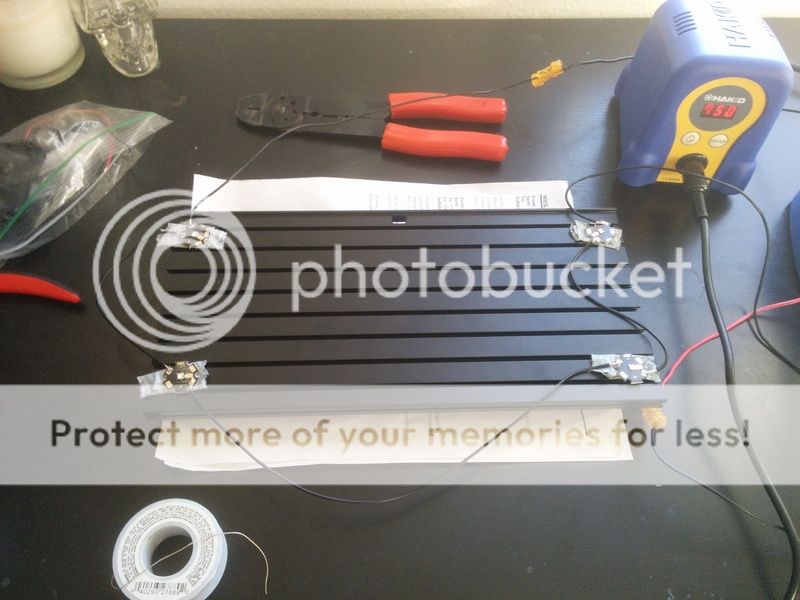
Drilled 1/8" holes into the top of the light as shown by placing the Kessil gooseneck attachment over the light and marking the holes, and used two of the bolts to attach the light to the gooseneck.
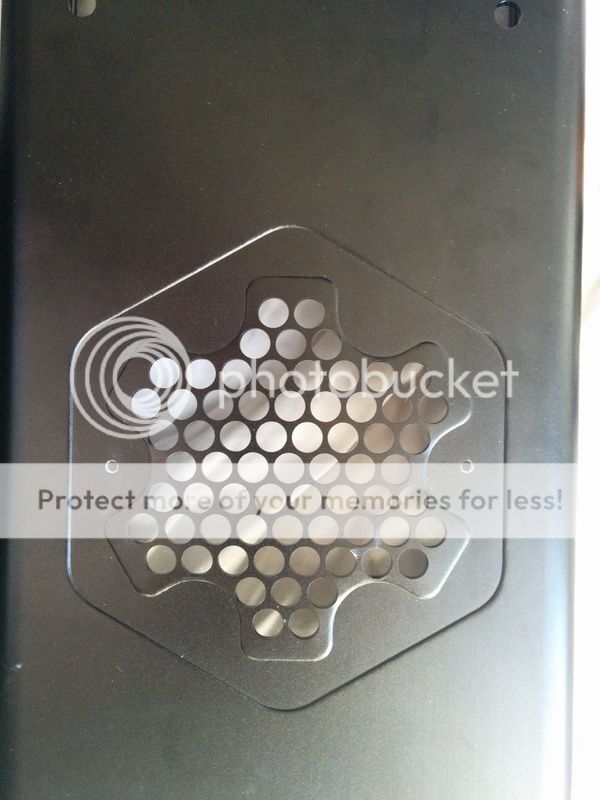
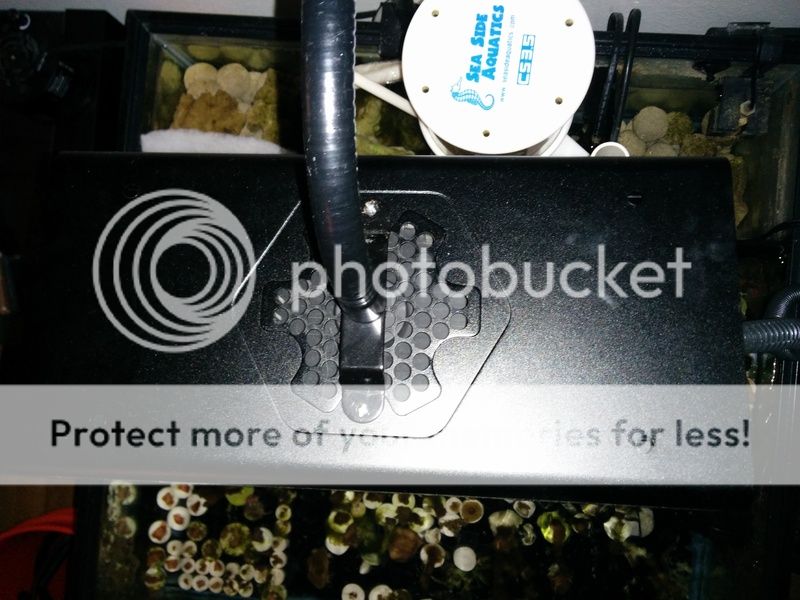
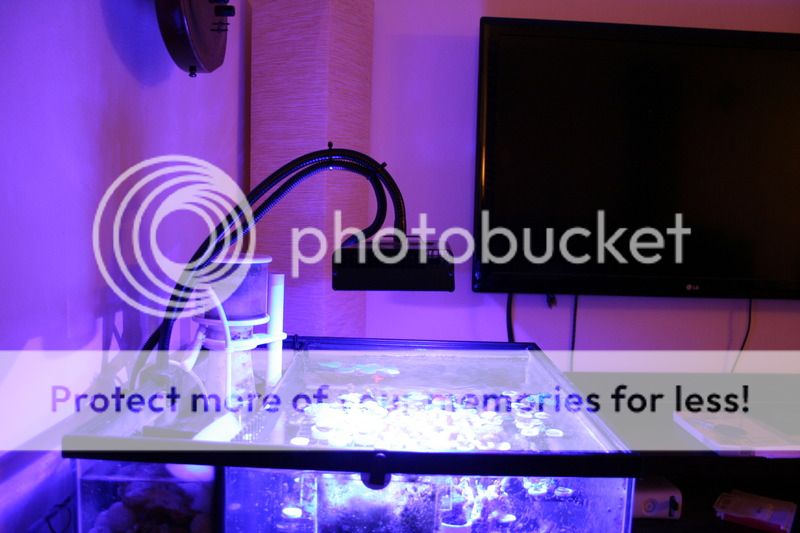
The heatsink just slides right into the fixture and then you screw in the side panels; it ends up looking really sleek and clean. I got a 3/8" wire keeper thingy from Home Depot to hold the wires together until I can get them pulled through a regular hollow cable as soon as I figure out where/how to buy one since I must be using the wrong terms on the internet. I keep the light higher to give it more spread, but here's some pictures showing how adjustable it is.
The best part of the light is its mobility, you can adjust it to keep only high light corals, only low light corals, or keep it similar to mine and have higher light corals in the center and lower light corals along the sides. I hope this helps, and if anyone has any questions feel free to ask!
Side
Front