Custom Stand and Canopy

zoolan70

Member
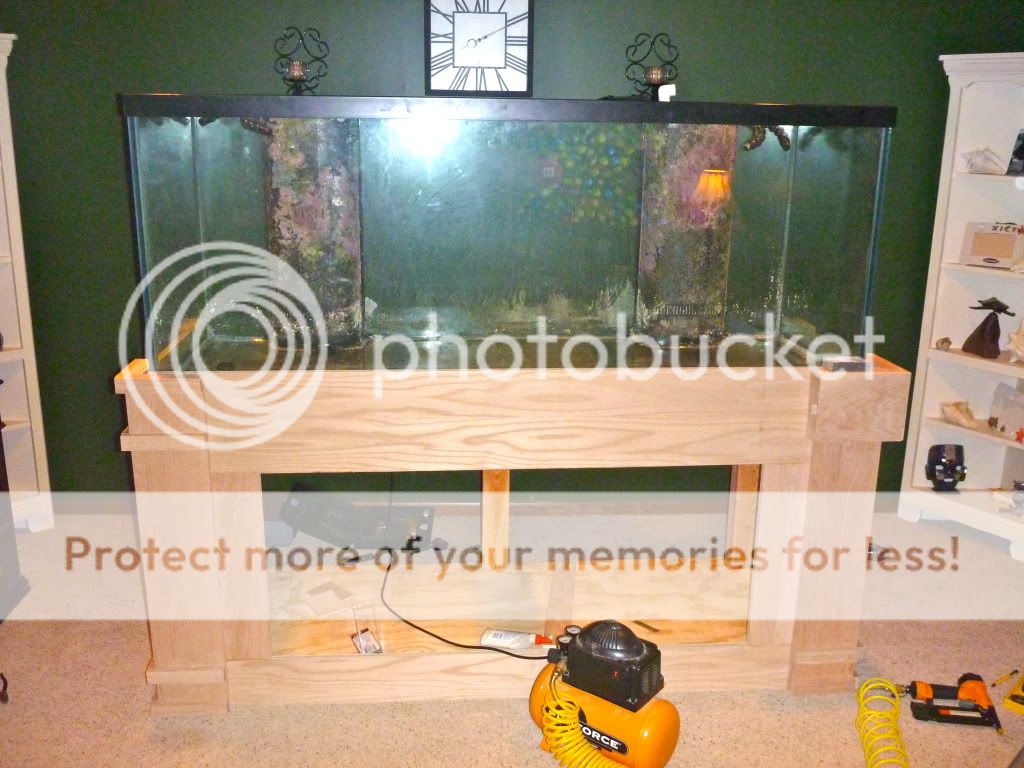
Well, I'm at it again. I scored a semi-famous 210 gallon setup, but I hate the short stands they come with from the factory. I will be building a 34" inch high stand and matching canopy out of oak. I'm not shooting for anything too fancy, but I am aiming to make it a single span so that I can a full 5+ foot sump in and out of the stand, should I choose to go that route. Right now, I'm hoping to go with a remote sump in the utility room. I used design ideas from some folks on Reef Central, as well as other sources, so a big thank you goes out to everyone!

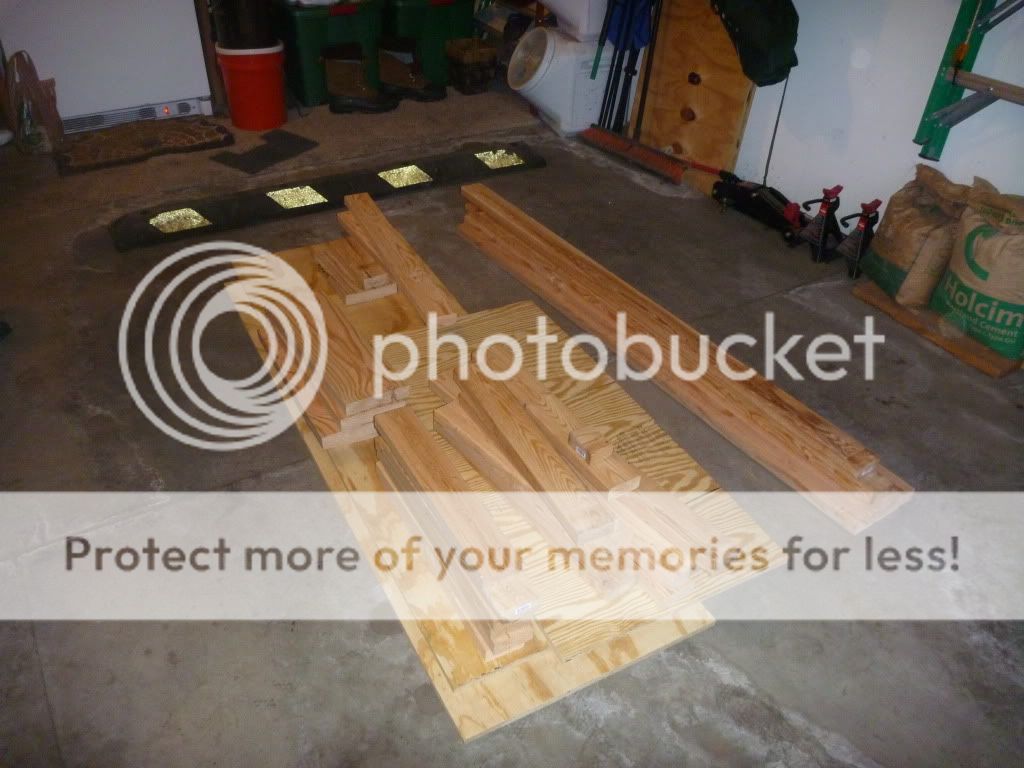
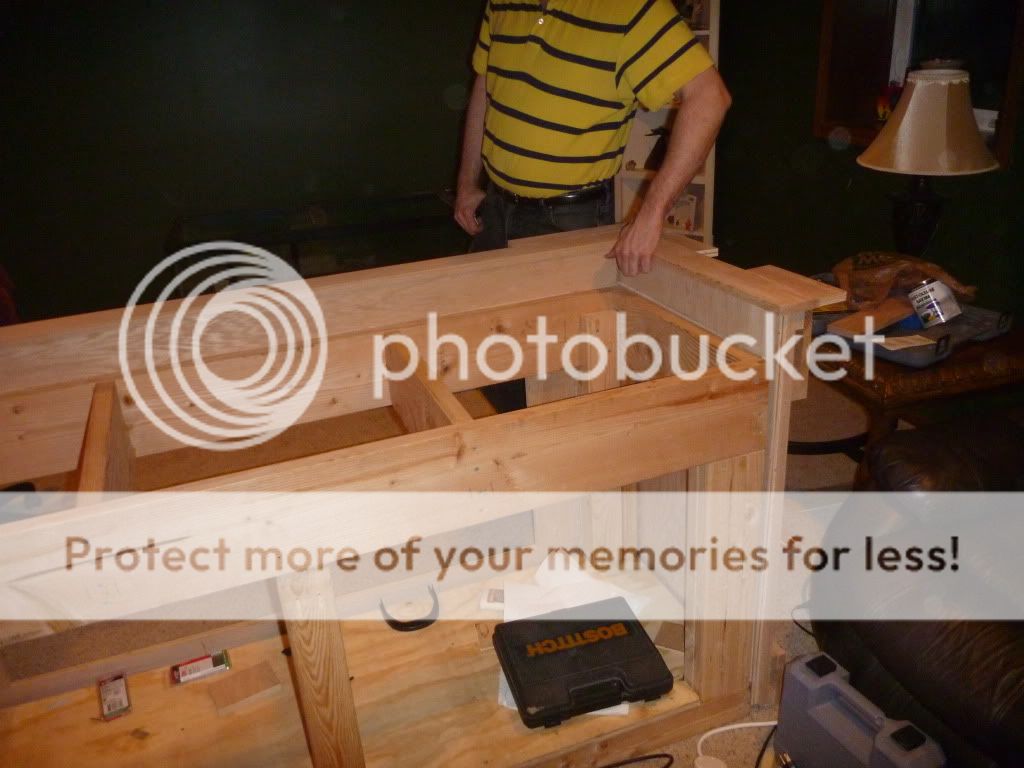
Stand build progress was good today. Less than 3 hours and the structural parts of the stand are done.

Thank you Home Depot for cutting all the pieces to length for me!
P1000207.jpg


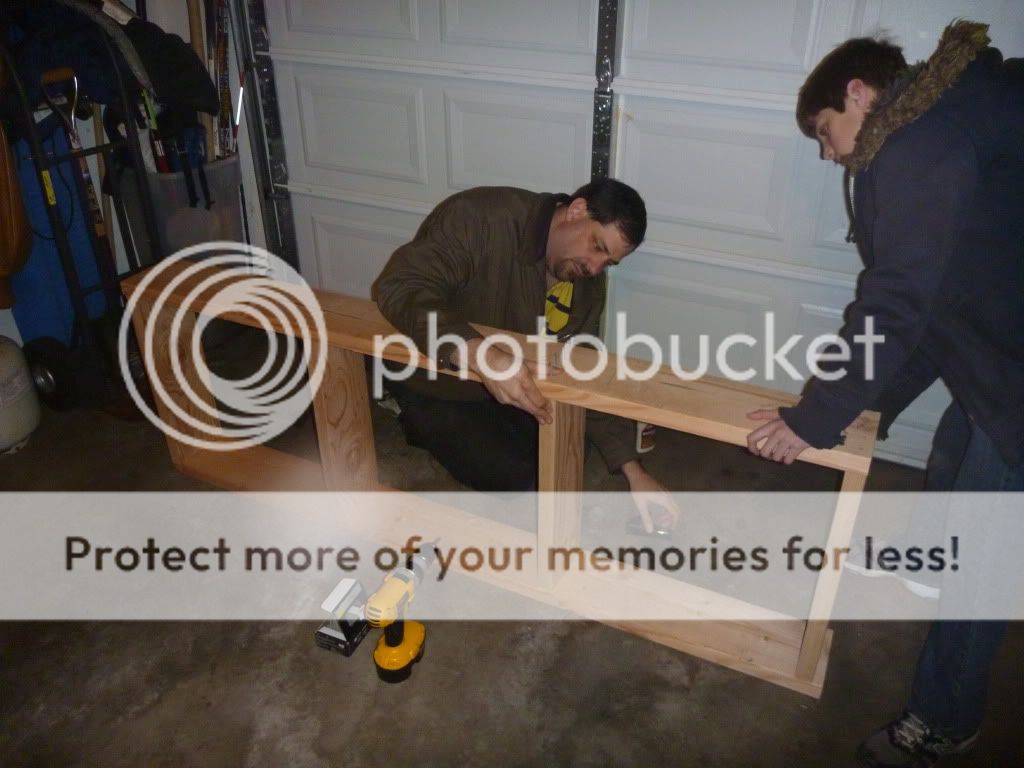
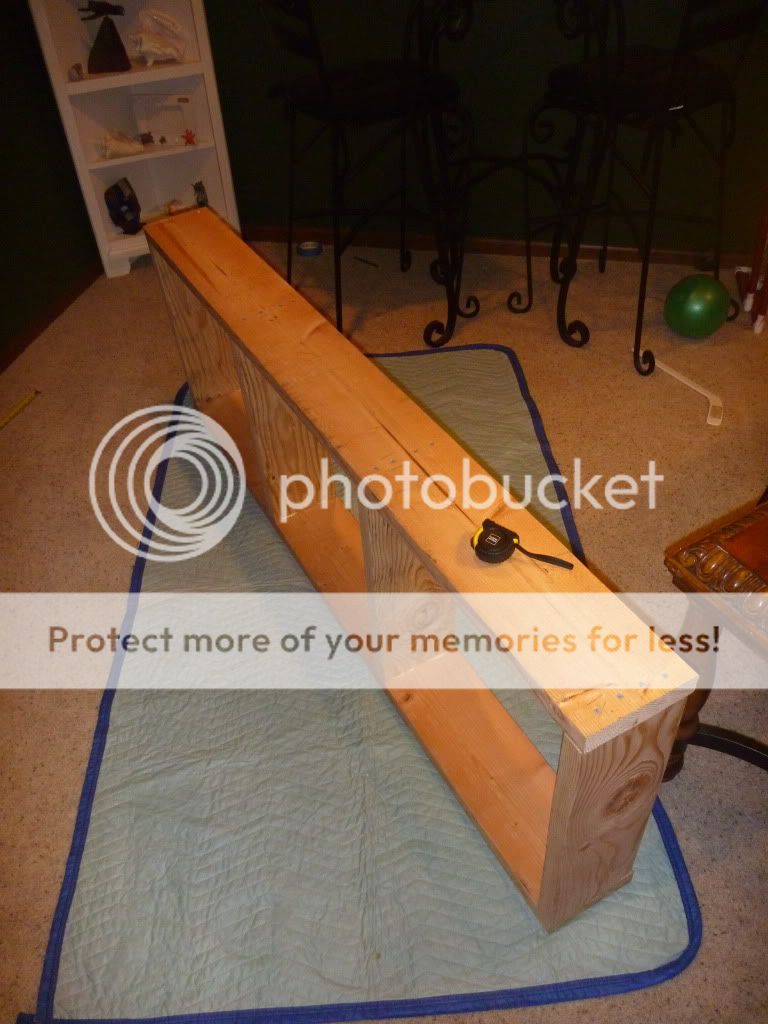
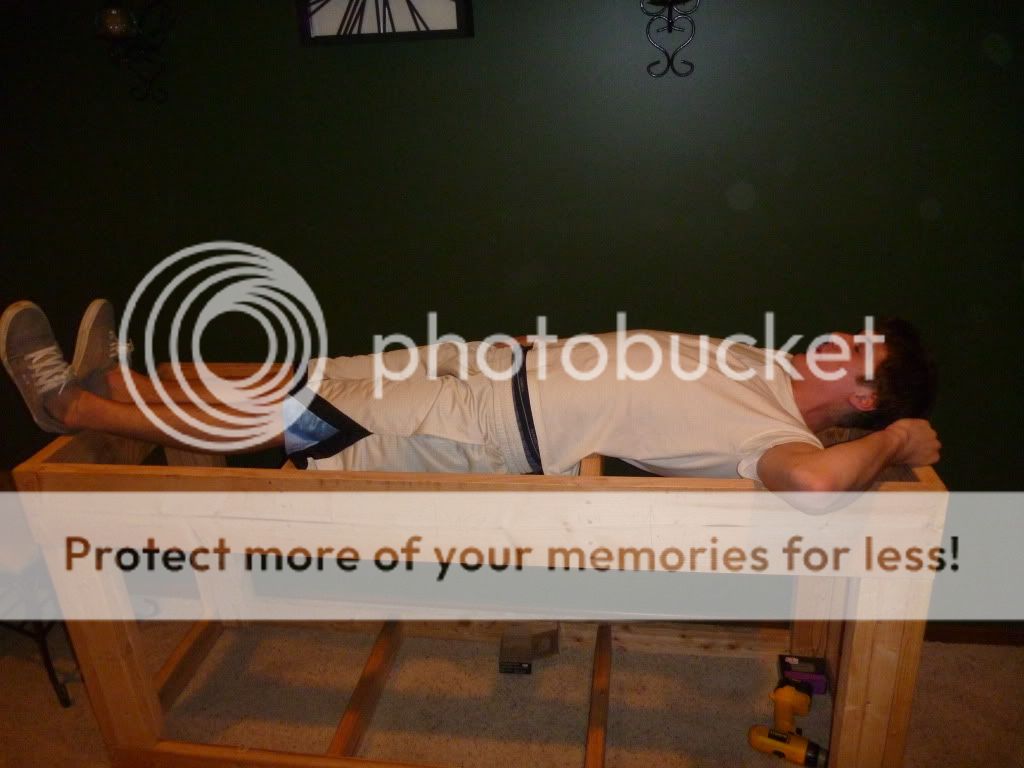
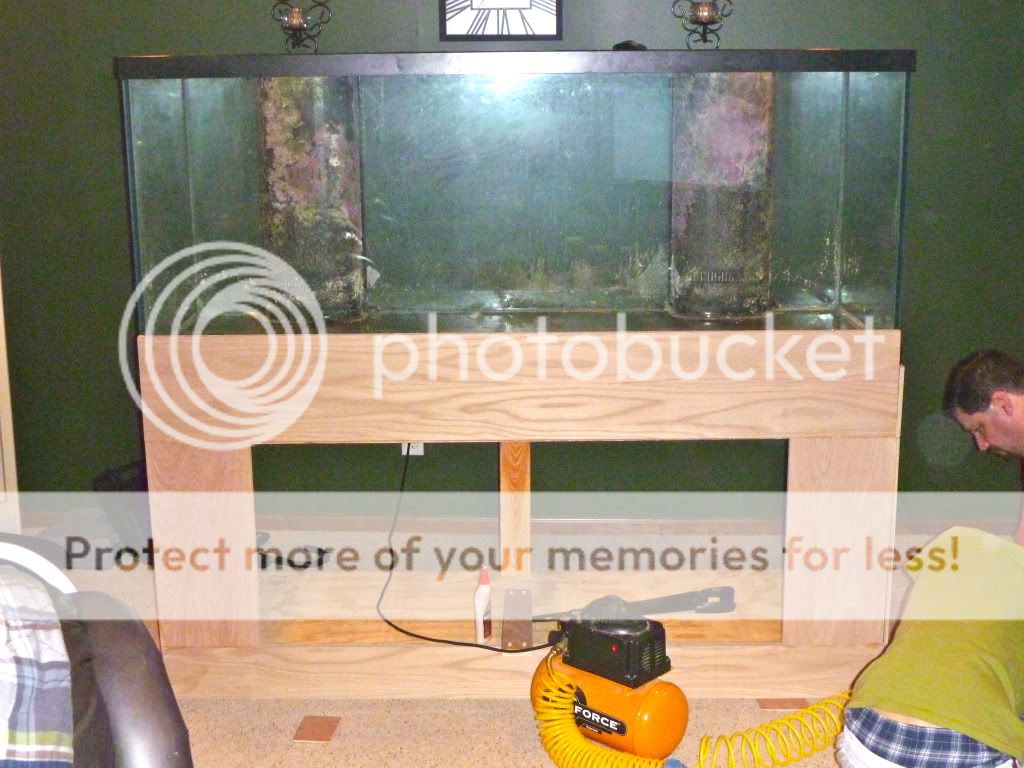
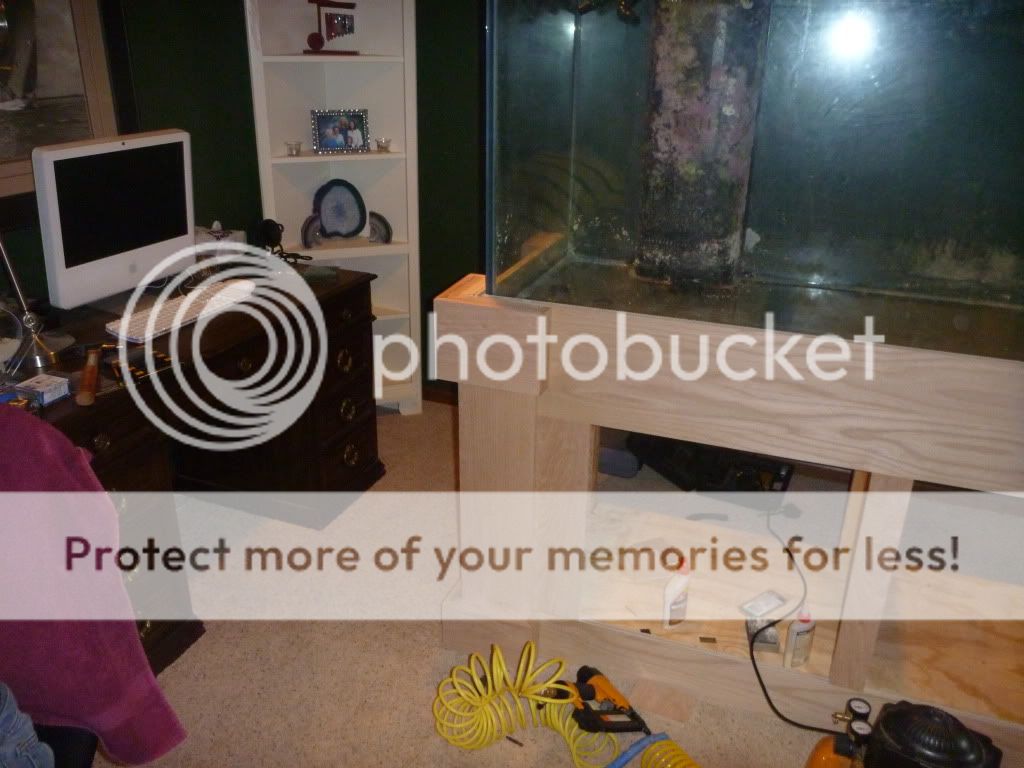
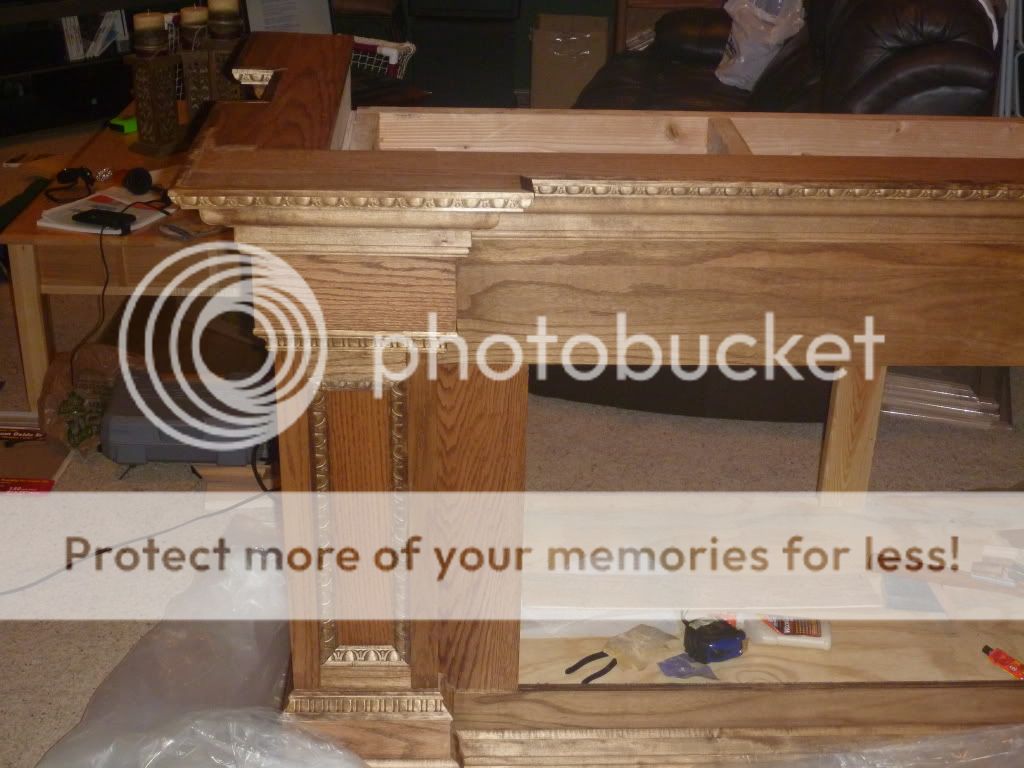
The top frame. I used 2x10 lumber to support the tank over the 6-foot span without needing a center brace.
P1000209.jpg


P1000210.jpg


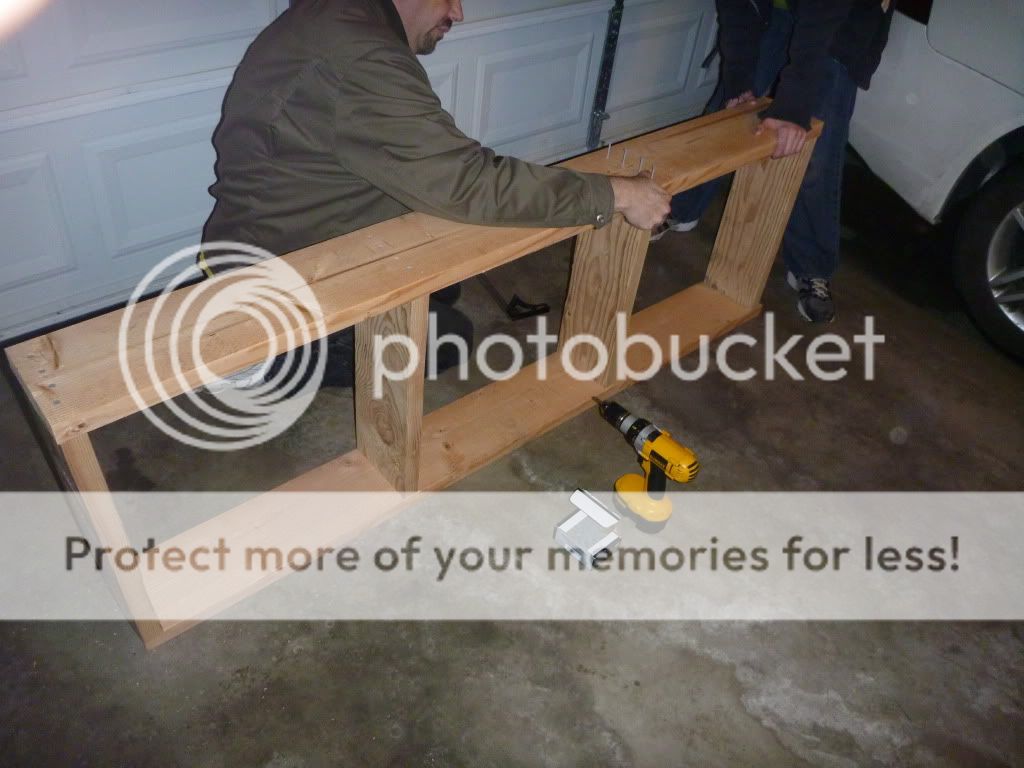
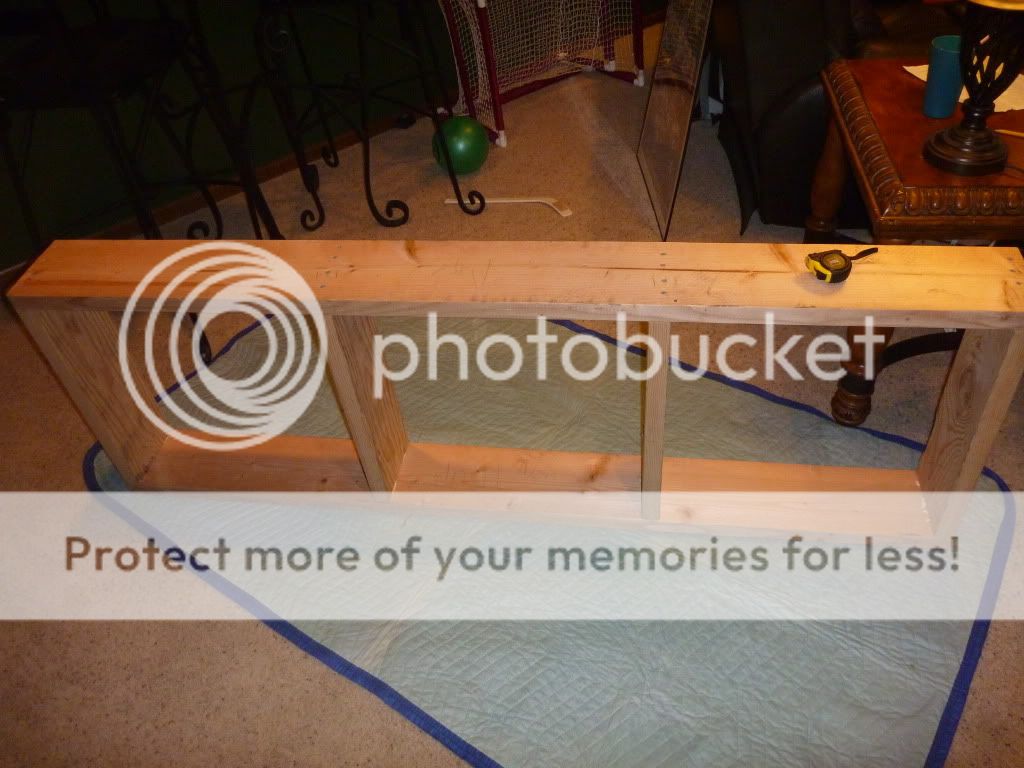
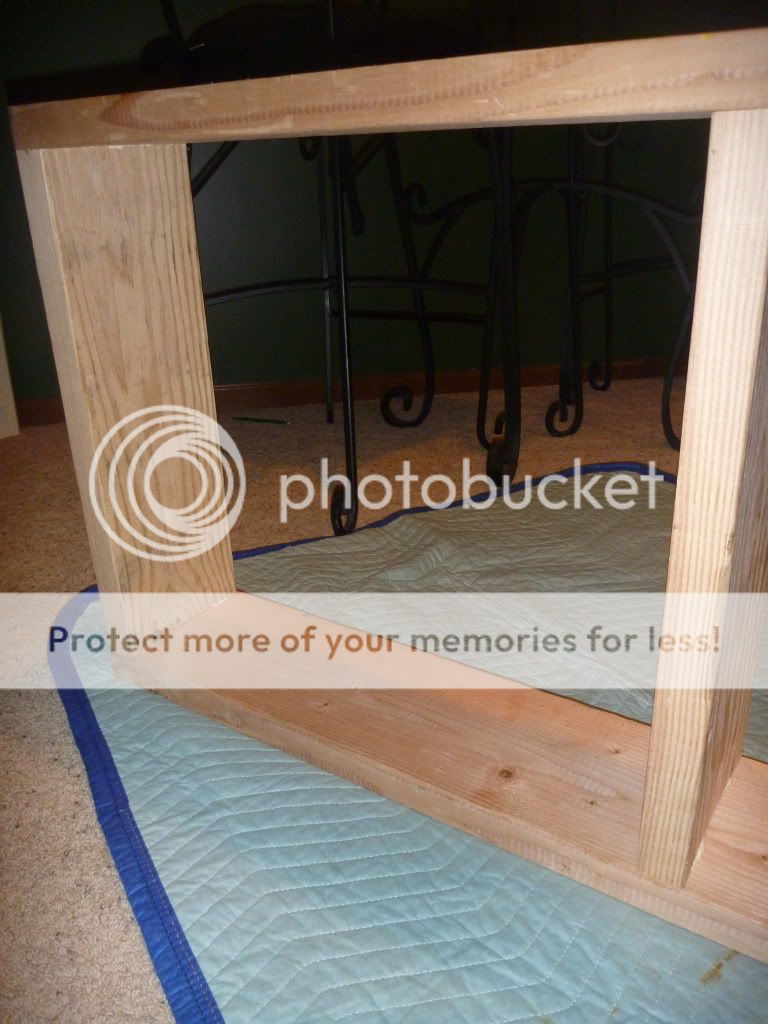
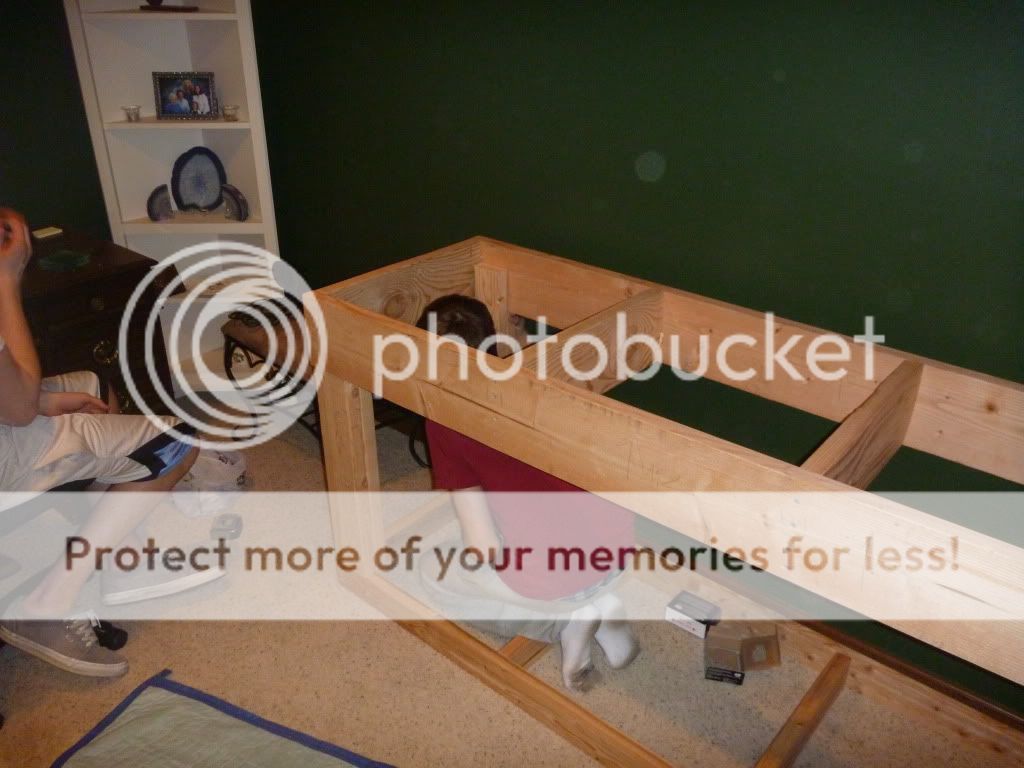
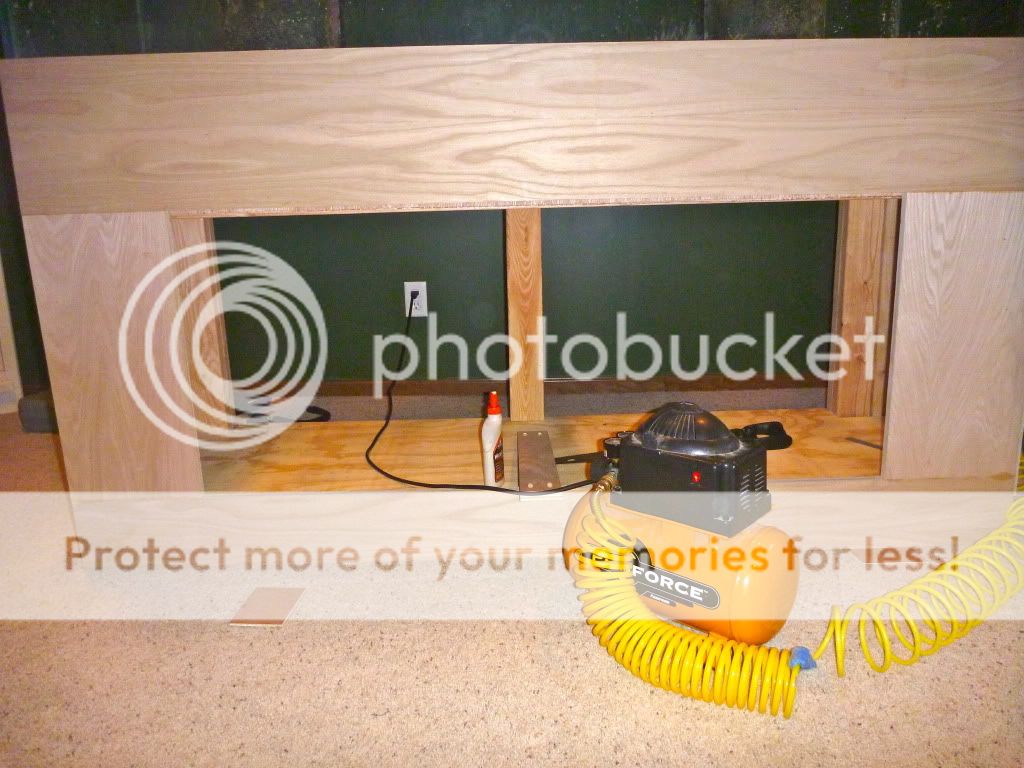
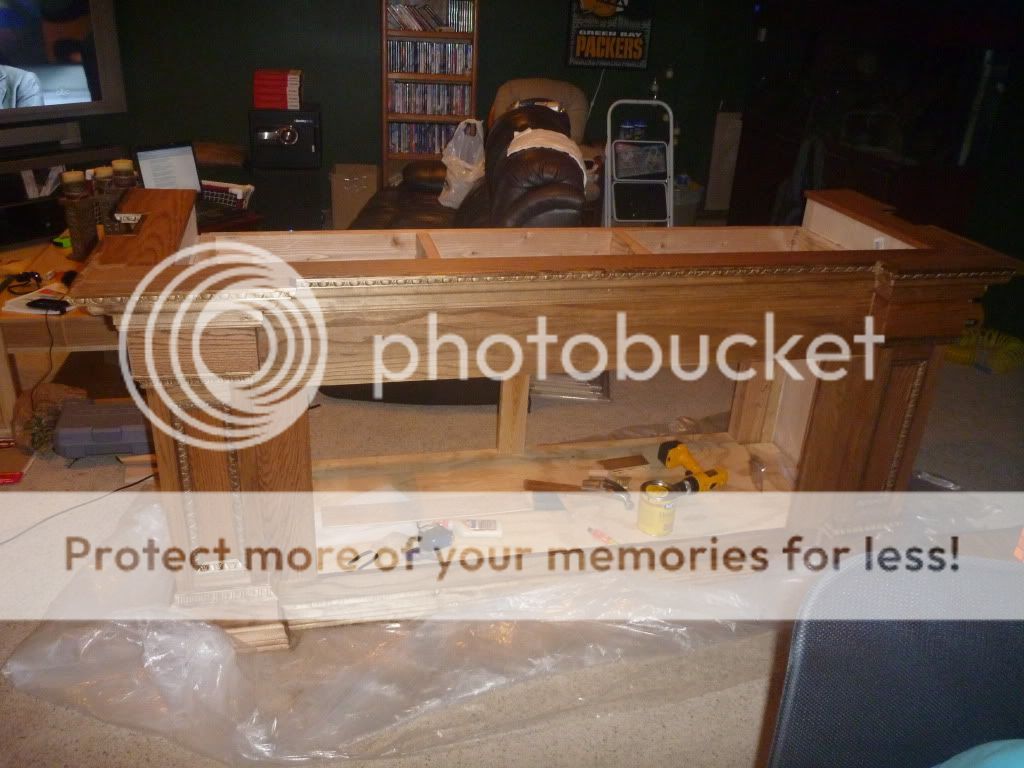
The finished top frame, in the basement. The stand will need to be build there, and will either remain there when I move out, or be disassembled somehow. I'm not confident it will fit through the door at the top of the stairs, and felt it was better to be safe than sorry.
P1000211.jpg


P1000212.jpg


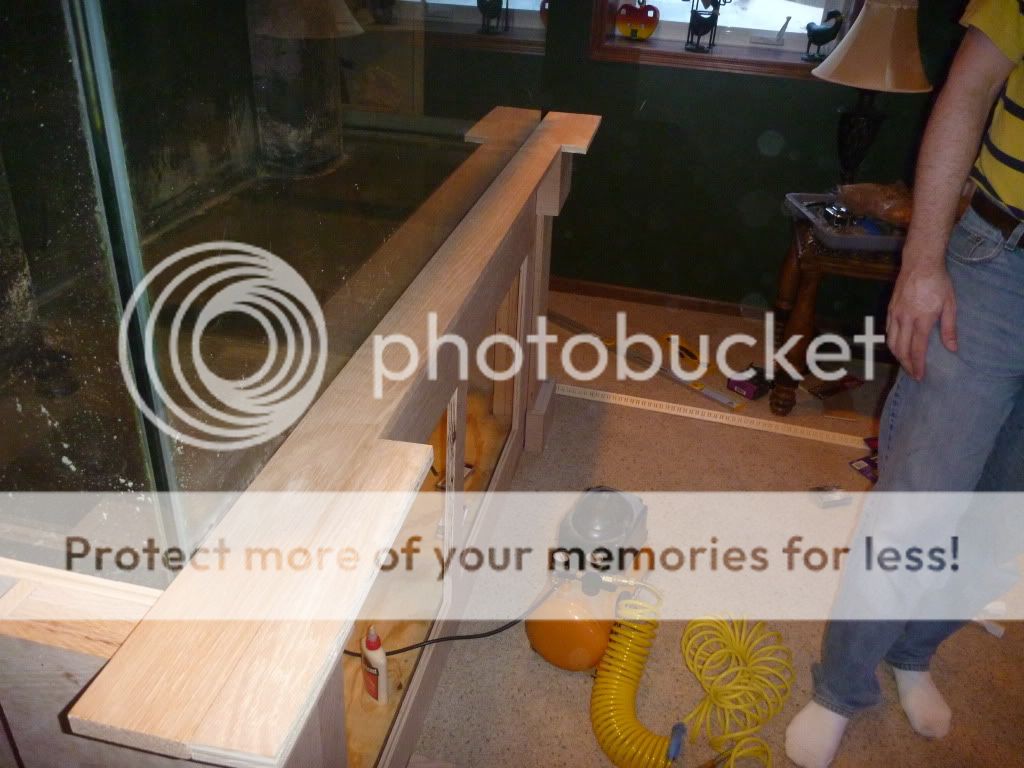
I joined the frame parts with wood glue and screws. The 2x10 got 4 per connection, and the 2x4 got 2 per connection.
P1000215.jpg


P1000217.jpg


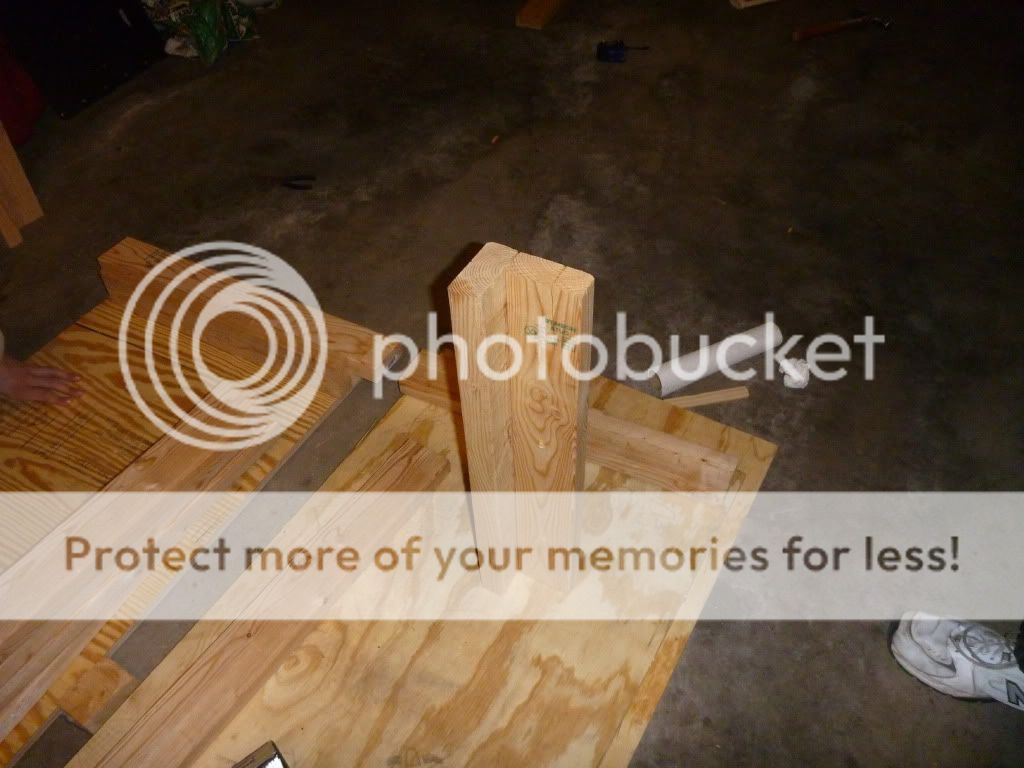
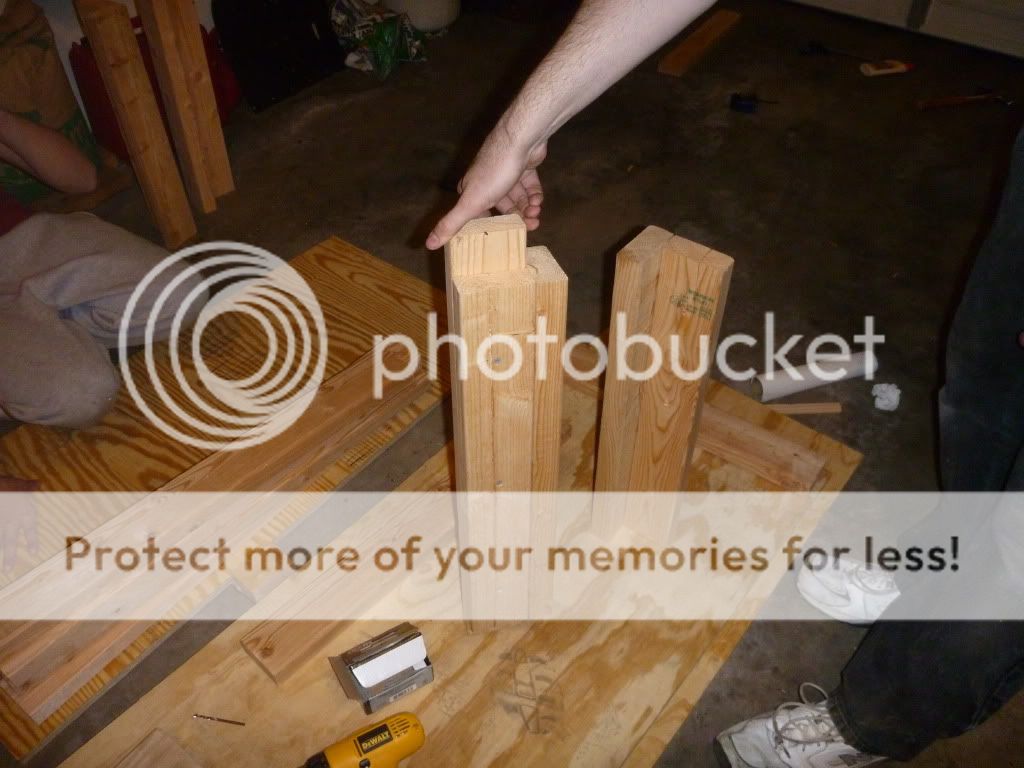
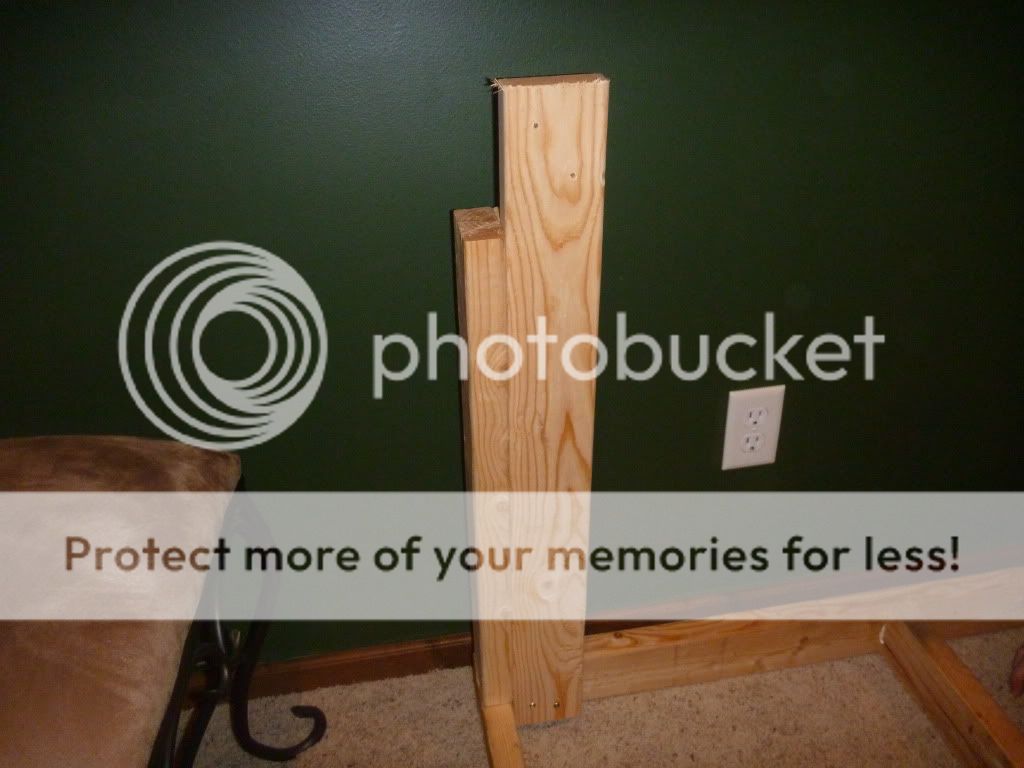
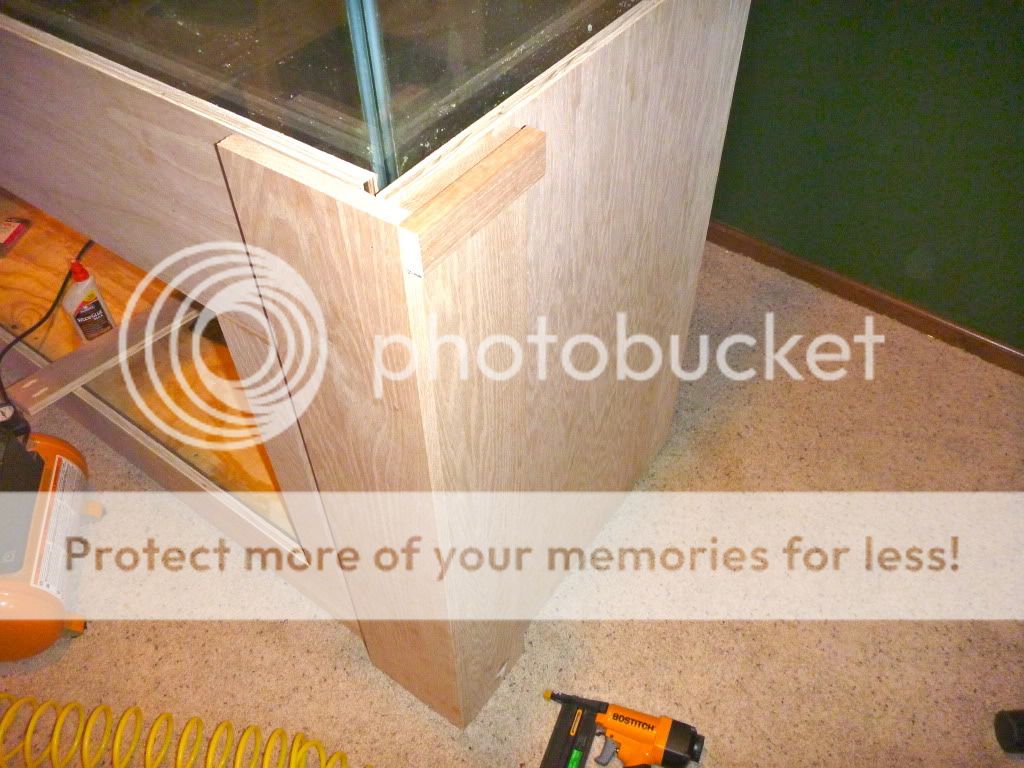
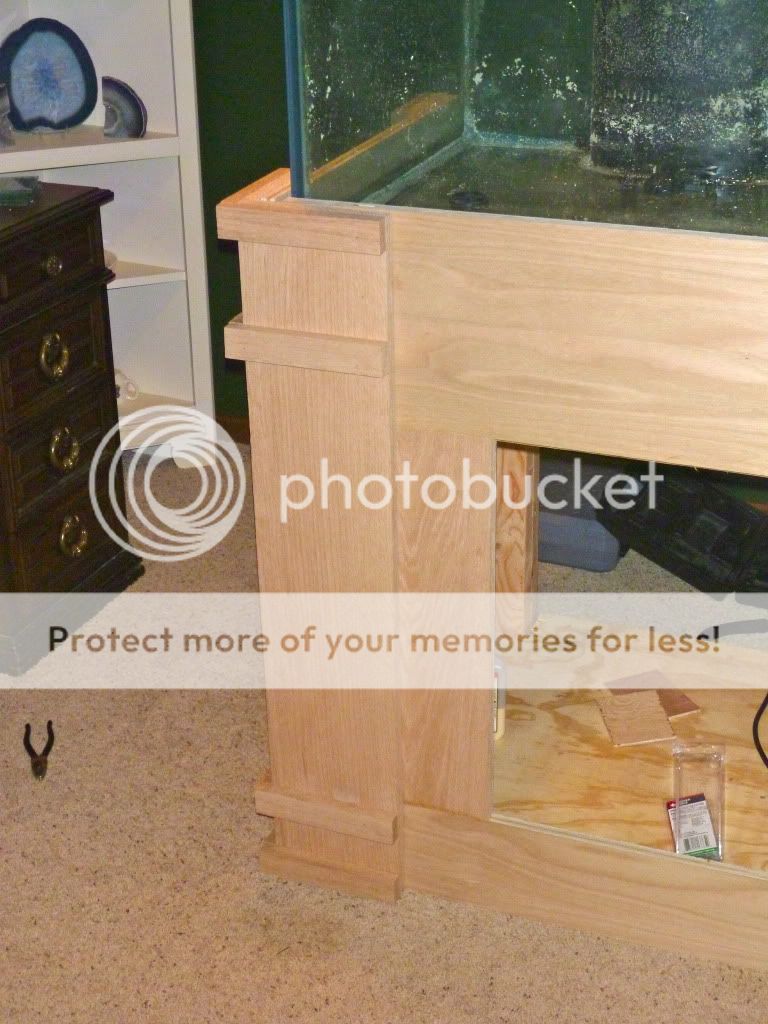
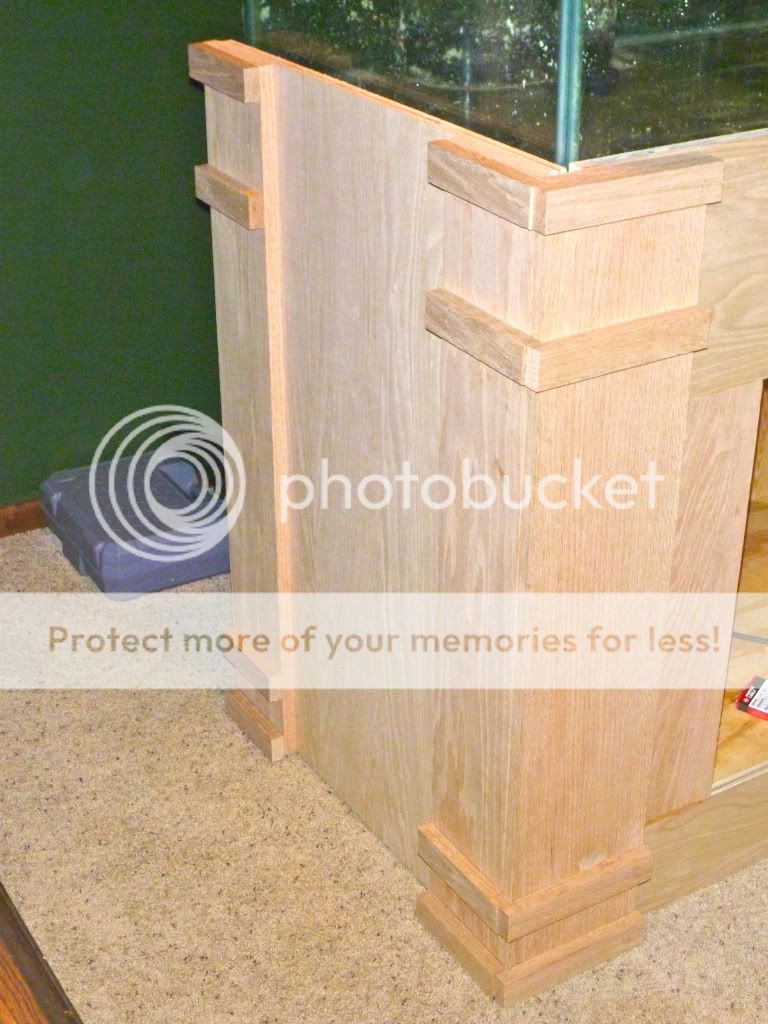
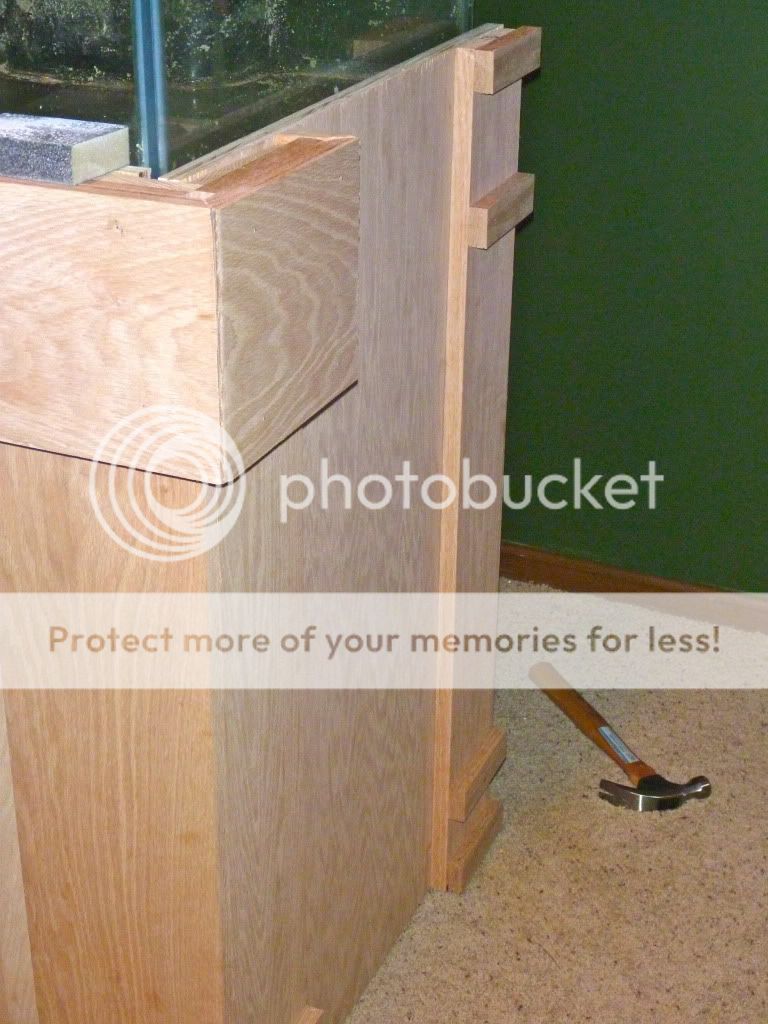
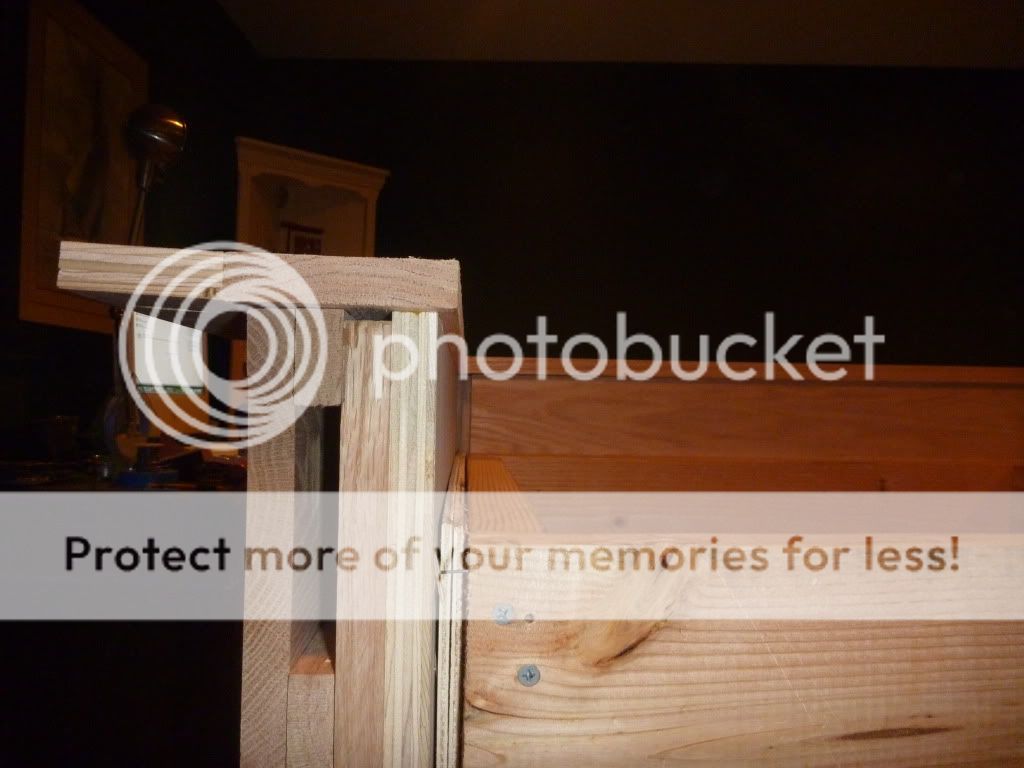
The load bearing vertical supports. You can see the L-shaped supports in the first pic, and the screwing strips in the second which connect them to the top and bottom frames.
P1000220.jpg


P1000221.jpg


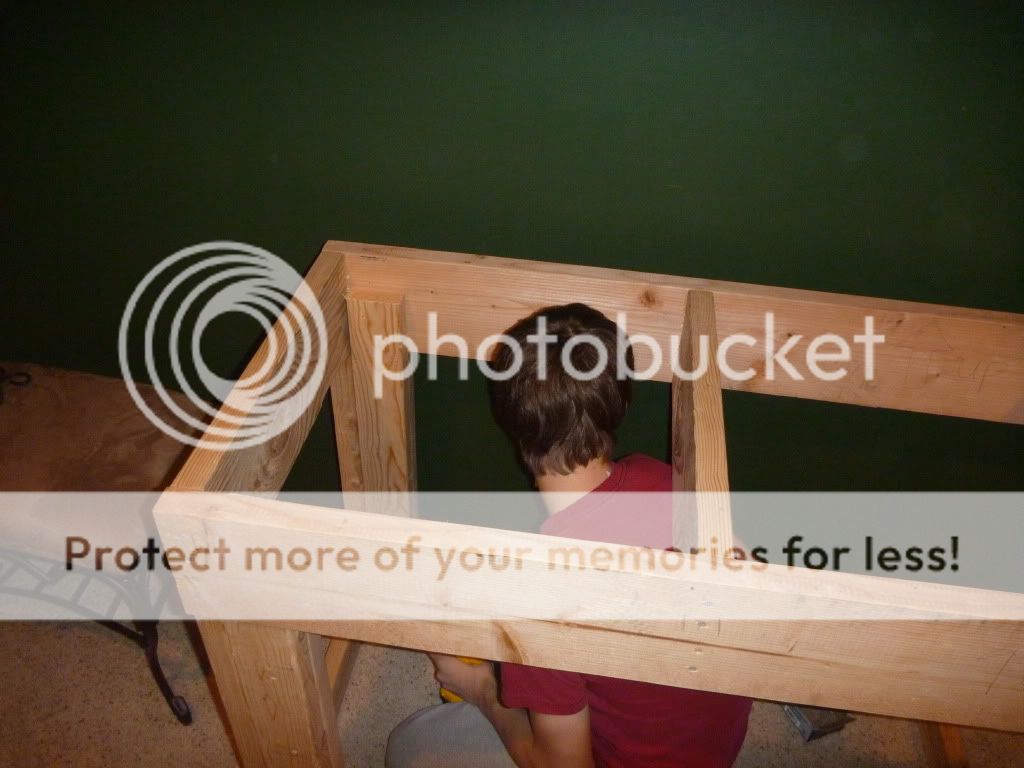
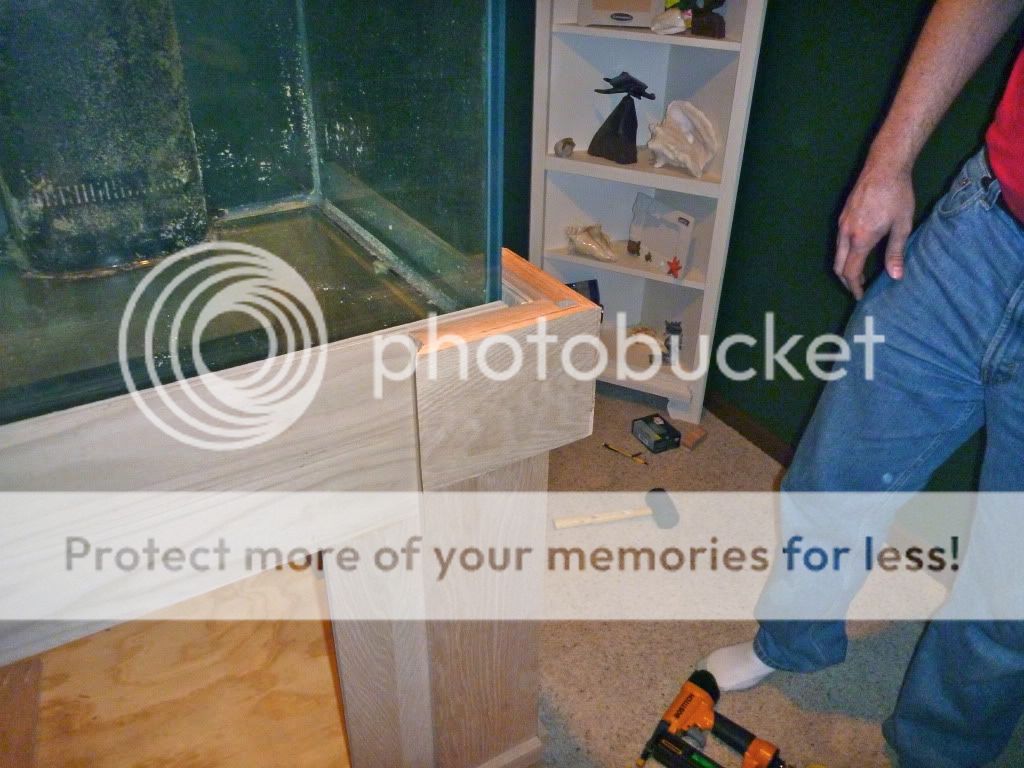
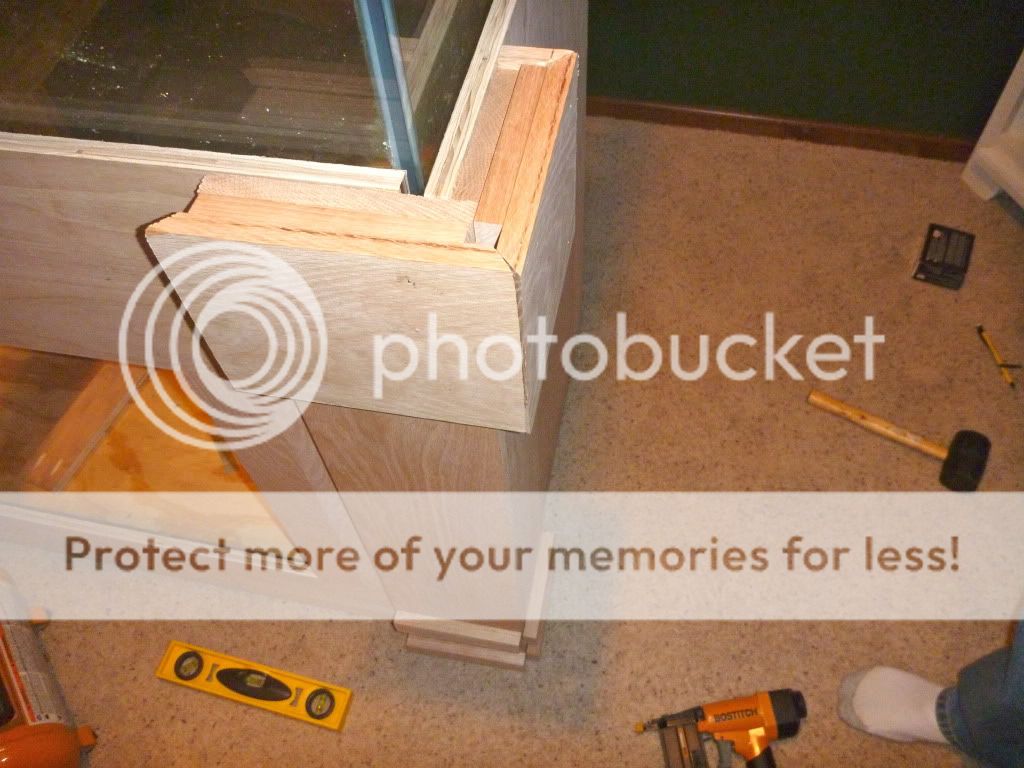
The first corner installed on the base frame.
P1000222.jpg


More to come...
 
Last edited:
The 4 supports are in, and the connections are made to the screwing strips. Tyler was a trooper crawling around in there and contorting in ways I couldn't!
P1000223.jpg


More of a 'full stand' shot.
P1000224.jpg


Zak testing the strength of the stand. He gave it his seal of approval. I guess if I fail at stand building, I can take a shot at building furniture for funeral homes...that looks just creepy.
P1000226.jpg


We installed the plywood bottom, and that was where we left it for tonight. Not bad for 3 hours work...
 
The tank was picked up on Sunday, and with the help of 2 sons and a friend, the tank moved down the stairs and into the basement. I wanted to make sure it fit on the stand, and it was a good thing I did. The tank is 72" x 24"...but the trim makes it 72 1/2" by 24 1/2". After an initial panic attack, I decided to just add 1/4" of shim material under the plywood, and all is well again. In the end, you will never see the shim except from inside the stand. We left the tank on the stand to ensure all the finish work fit correctly.

Using pocket screws, I build the face frame out of 3/4 inch oak plywood.

P1000227.jpg


P1000228.jpg


P1000229.jpg


The sides were also done the same way. You can see the end panel, as well as the beginnings of the decorative columns.

P1000230.jpg


Here are more layers on the column design.

P1000231.jpg


P1000232.jpg


After doing the one column cap to completion, I decided to do all the prep work on the other 3 columns before the finishing work.

P1000233.jpg


P1000234.jpg


P1000235.jpg


Finally, a parting FTS

P1000236.jpg
 
I've been AWOL while I work on the stand, so this is a doozy of an update.

Before we could continue, the FBI (Feline Builder Inspection) had to ensure that all build standards were being followed. And that there were no left behind fish or other tasty treats in the tank.
P1000237.jpg


P1000239.jpg


More to come....
 
Detail work begins!

Detail work begins!

Some pictures of the pillar construction:
P1000240.jpg


P1000241.jpg


P1000242.jpg


P1000244.jpg


Next I put the ledge together using pocket screws. I'm finishing the edges, so I used oak plywood, rather than solid oak.
P1000245.jpg


P1000246.jpg


P1000247.jpg


P1000248.jpg


Here is my first design...feature. I thought it would look nice if the ledge went right up the edge of the glass, so I butted it right up to the glass while I fastened it down. In hindsight, maybe not the best idea. When we went to lift the 400 pound tank off the stand, it wouldn't come off. The bottom trim is larger than the glass of the tank, hence it wouldn't clear.

So...while three of us lifted it up a few inches, the ladies moved the stand out from under the tank. Or at least that was the plan. At first we just thought it was too heavy for them to move, but after a few tries we could see it was attached to the carpet! The glue had apparently leaked out when we attached the plywood sheeting, and glued the dang thing down. So after attacking the carpet under the stand with a box cutter (with minimal damage), it was freed up, and we were able to slide the stand forward, and off came the tank.

P1000249.jpg


P1000250.jpg


More to come...
 
Step by step on the pillar construction
P1000251.jpg


P1000254.jpg


P1000255.jpg


P1000256.jpg


The back of the tank was also painted. It looks really good...my camera apparently has water spots on it.
P1000257.jpg


The crown molding being installed under the ledge. I hate crown molding. That is all I'm going to say about it.
P1000258.jpg


The pillars on the end did not get any trim treatment in the middle due to their smaller size.
P1000259.jpg


Closeups of the crown molding and trim details.
P1000260.jpg


P1000261.jpg


P1000262.jpg
 
I'm not sure why this edge trim looks all wonky in the picture...it isn't. I'll also add that wood putty is your best friend when it comes to crown molding. DANGIT! I said I wouldn't mention it again...well, that will be the last time...
P1000263.jpg


P1000264.jpg


And finally tonight, it is stained! I'll put a few coats of poly on over the next few days, and paint the inside in waterproof paint.

P1000265.jpg


P1000266.jpg


Up next is the canopy, but I've got a pretty busy week, so I'm not sure if I'll get to it before next weekend...
 
It's very nice, excellent cabinet work there. Making it all come together is quite an art.

I'm curious to see what you do for canopy access. I'm going to build one this weekend so looking for ideas.

:thumbsup:
 
Wow, very nice, I like especially that in the beginning you stated you were "not shooting for anything fancy", well my friend, thats fancy. Waiting to see the canopy build.
 
i love the work that you did and are you going to stain it like oak???? have you considered cherry or black ??
 
i love the work that you did and are you going to stain it like oak???? have you considered cherry or black ??

I stained it a medium oak color to make it look somewhere between "really dark" and "cheap IKEA furniture", as my fiance put it. I can post the exact color tomorrow.

Sent from my Desire HD using Tapatalk
 
It's very nice, excellent cabinet work there. Making it all come together is quite an art.

I'm curious to see what you do for canopy access. I'm going to build one this weekend so looking for ideas.

:thumbsup:

The canopy is mechanically done, but I haven't processed the pictures yet. I will have a door pattern that matches the stand for day-to-day access, and the whole front will hinge up on a piano hinge for larger projects. The ends will be solid and the back will be black eggcrate to help keep those pesky jumpers in the water.

Tomorrow I'll do the trim work, and hopefully be able to reclaim my garage stall!

Sent from my Desire HD using Tapatalk
 
I'd guess the stand is 80-100 pounds without doors. My son and I can move it fairly easily but I wouldn't want to haul it up a flight of stairs.

Sent from my Desire HD using Tapatalk
 
beautiful stand.. Whats the history on the tank since you say its semi famous

It was owned by a member of the Minnesota Wild hockey team before I bought it. LOL!! My kids and I are huge hockey fans and when I saw it was for sale from a local service company, I had to have it.

Now that I got rid of the stock stand and canopy it came with, I guess it is doesn't really "look" like it did when he had it, but I'll always know I'm using his glass box and UV sterilizer. :)

Sent from my Desire HD using Tapatalk
 
Back
Top