The Propagator
In Memoriam
I have been toying with the idea of a DIY recirc skimmer for quite some time now.
Well I finaly took the plunge!
I followed Randy Stacey's skimmer plans to an extent and added my own touches along with those borrowed form Eroreef skimmer designs.
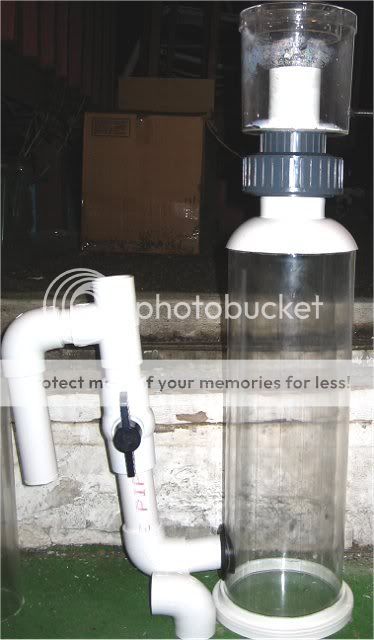
The reaction chamber is 6" O.D. x 5 7/8" I.D. x 18" tall Extruded acrylic.
I used the same floor drain as described on Randy's site but I put my own little twist on it:

Since the floor drain was ment for 6" I.D. PVC and swallowed the 6" O.D. Acrylic I improvised and it turned out SWIMMINGLY !
What I did was place the cone ( "drain") wide mouth up on the floor and then set the tube in it.
I centered it up by rule and by hand the best I could then carefully reached inside witha fine tiped black marker while holding the tube in place with my right hand ( I'm a lefty !!)
and I marked the contact point all the weay around the diameter.
Then I removed the tube and measured 1/8th inch UP from my line. I then took my dremel and cut away a 1/8th" x 1/8th" lip for the tube to sit on over the antire radius. ( Very painstaking but SOO worth it !)
When I finished with that I test fit the tube and WOW! I got it on the 1st try! ( A few little reshapes needed here and there ofcourse but over all it came out very nice on the 1st try") )
)
After I placed it on and made sure it was even I stepped back and looked at it. My 1st reaction was " DAMN THAt THING STICKS OUT AND HANGS OVER LIKE A SOAR THUMB !!" LOL!!
Soooooo....I then decided to cut the rest of the way through to remove the large over hang.
When I was finished shaping sanding and fitting I glued the cone on with weld on and made it water tight.
( Its not prety but it does the job nicely)

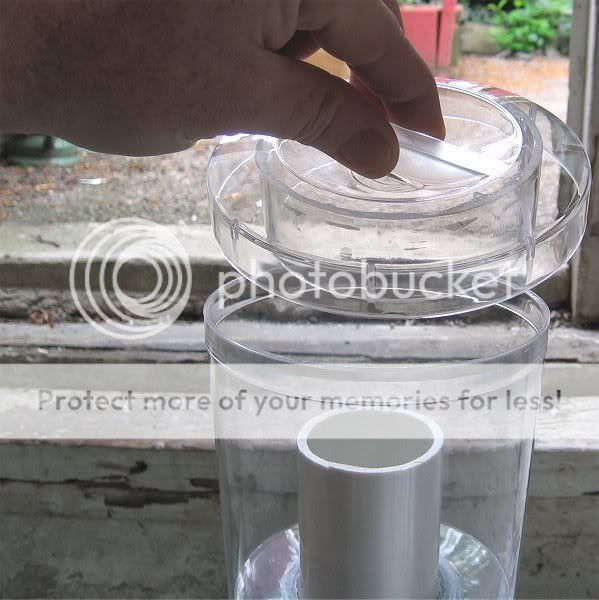
So then I was left with the daunting task of trying to find a cap for the bottom that I could make fit the 6" O.D. tube.
YEAH RIGHT !!! NOTHING I found in any hardware store would work . Out of shear desperation and lack of better ideas I thought "hey why not try and use what you have? The cut off part of the drain?" So i cleaned it up sanded it down a little and VIOLA !!
It fits like it was made for it! So now I had to think of a way to seal the LARGE hole in the bottom. LOL!!
EASY ! I used the drain cover as a pattern and layed it down over some 1/4" acylic sheet I had lying around and VIOLA !!
Fits like a glove !!

Again I used weldon to glue it and made it water tight.
Now I dont know if I want to make it removable or seal it up and clean it the best I can through the top ?
If I make it removable that will require ALOT more time and enginuity and I am almost out of all of that at the moment LOL!!!
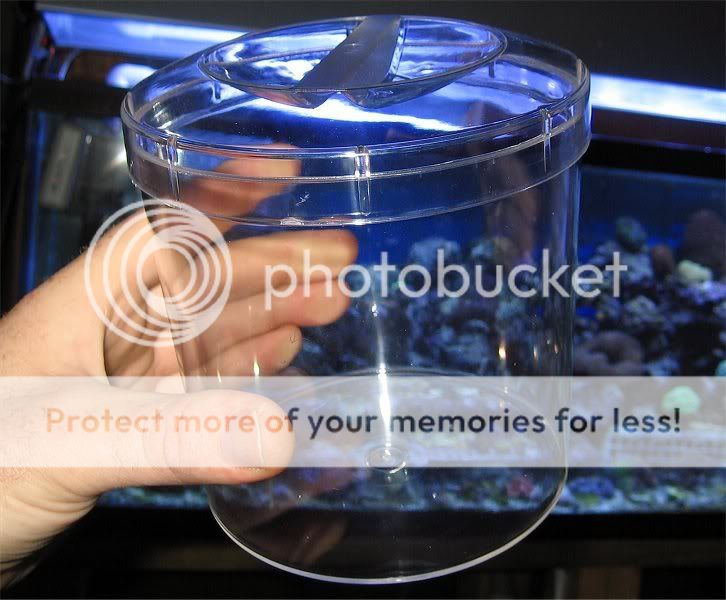
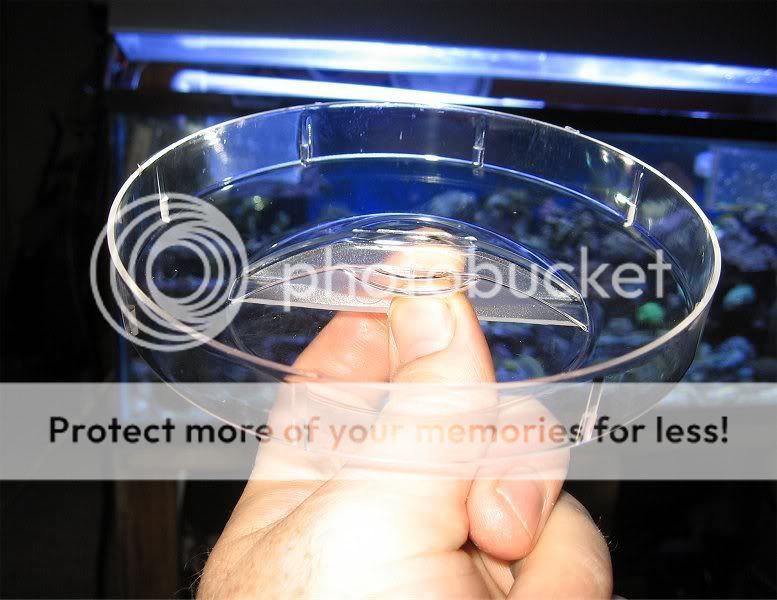
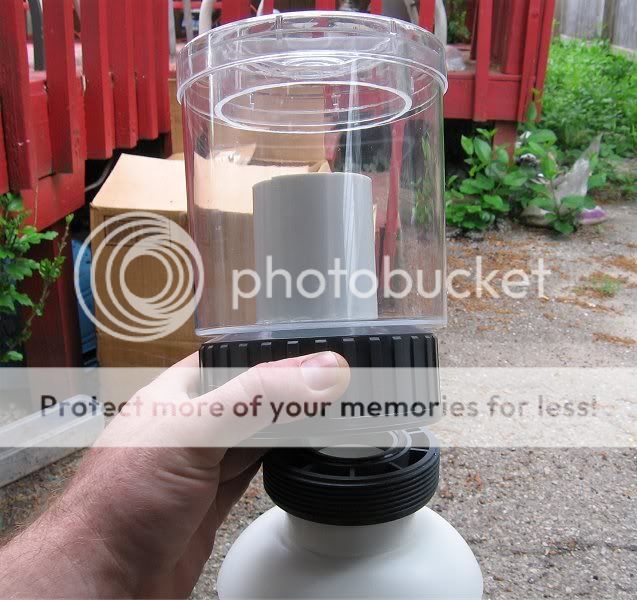
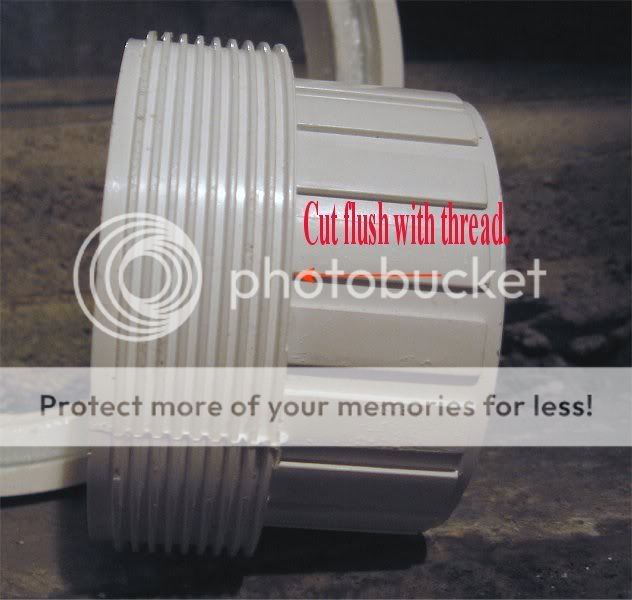
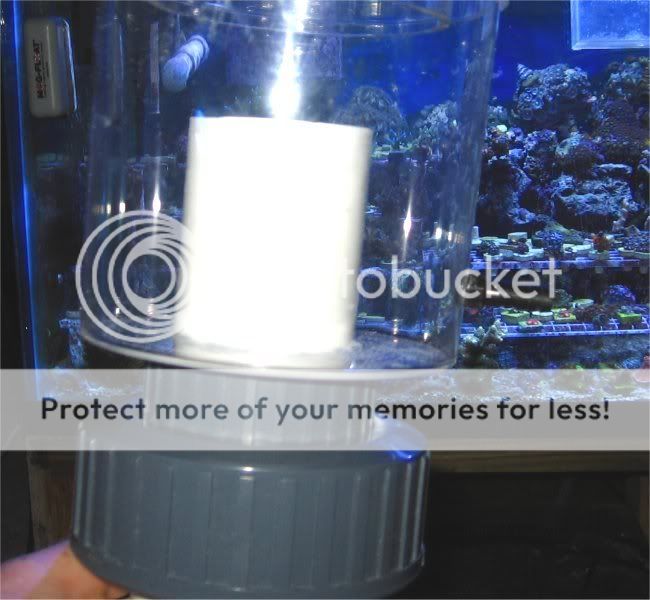
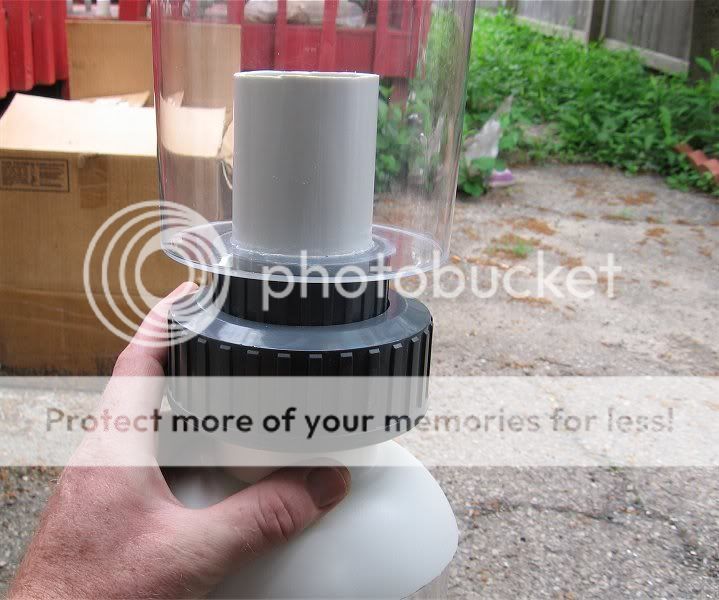
So then I used the same plan Randy laid out for the removable collection cup, save for one thing. I went with the larger grey colored 2" I.D. Union. Why? Because I didnt like the whole
"solid white" Theme LOL! as it turns out this was a better idea.
Its easy to grab on to and require less force to twist on and off and seals up easier as a result.
Well I finaly took the plunge!
I followed Randy Stacey's skimmer plans to an extent and added my own touches along with those borrowed form Eroreef skimmer designs.
The reaction chamber is 6" O.D. x 5 7/8" I.D. x 18" tall Extruded acrylic.
I used the same floor drain as described on Randy's site but I put my own little twist on it:
Since the floor drain was ment for 6" I.D. PVC and swallowed the 6" O.D. Acrylic I improvised and it turned out SWIMMINGLY !
What I did was place the cone ( "drain") wide mouth up on the floor and then set the tube in it.
I centered it up by rule and by hand the best I could then carefully reached inside witha fine tiped black marker while holding the tube in place with my right hand ( I'm a lefty !!)
and I marked the contact point all the weay around the diameter.
Then I removed the tube and measured 1/8th inch UP from my line. I then took my dremel and cut away a 1/8th" x 1/8th" lip for the tube to sit on over the antire radius. ( Very painstaking but SOO worth it !)
When I finished with that I test fit the tube and WOW! I got it on the 1st try! ( A few little reshapes needed here and there ofcourse but over all it came out very nice on the 1st try
)After I placed it on and made sure it was even I stepped back and looked at it. My 1st reaction was " DAMN THAt THING STICKS OUT AND HANGS OVER LIKE A SOAR THUMB !!" LOL!!
Soooooo....I then decided to cut the rest of the way through to remove the large over hang.
When I was finished shaping sanding and fitting I glued the cone on with weld on and made it water tight.
( Its not prety but it does the job nicely)
So then I was left with the daunting task of trying to find a cap for the bottom that I could make fit the 6" O.D. tube.
YEAH RIGHT !!! NOTHING I found in any hardware store would work . Out of shear desperation and lack of better ideas I thought "hey why not try and use what you have? The cut off part of the drain?" So i cleaned it up sanded it down a little and VIOLA !!
It fits like it was made for it! So now I had to think of a way to seal the LARGE hole in the bottom. LOL!!
EASY ! I used the drain cover as a pattern and layed it down over some 1/4" acylic sheet I had lying around and VIOLA !!
Fits like a glove !!
Again I used weldon to glue it and made it water tight.
Now I dont know if I want to make it removable or seal it up and clean it the best I can through the top ?
If I make it removable that will require ALOT more time and enginuity and I am almost out of all of that at the moment LOL!!!
So then I used the same plan Randy laid out for the removable collection cup, save for one thing. I went with the larger grey colored 2" I.D. Union. Why? Because I didnt like the whole
"solid white" Theme LOL! as it turns out this was a better idea.
Its easy to grab on to and require less force to twist on and off and seals up easier as a result.
Last edited: