Fluval Edge - DIY LED light, Overflow, sump/refugium

salto

New member
Hey everyone

Starting to document my fluval edge tank DIY project thingee. I was given a fluval edge by a friend and wasn't sure what I wanted to do with it - I have had large and small planted tanks before but no longer have anything so went searching online and saw Minh Tran's beautiful fluval tank. So.. apparently I'm inspired! And"¦ now venturing into the world of salt water reef tank and fish keeping.

I hope to document the path I am going on and hopefully someone out there can gain some joy, knowledge or entertainment from this as I am myself.

The Tank
Fluval edge
6 gallons
6.9" L X 10.25" D X 8.75" H

I have removed the stock LED lighting and filter as I am going to create a sump system and DIY high power LED system

Sump System
Due to the extremely small volume of the Edge I decided it was in the tanks inhabitants best interests if the volume of water was increased. A sump will assist in the following functions not afforded to the Edge alone:
- Reduce chemical fluctuations by increasing water volume
- Creating more space for live rock etc..
- Provide a space to have a refugium- Allow a space to have a skimmer
- Allow a space to have a strong pump for water flow so I don't have to have anything ugly in the display tank "“ size is at a premium!
- Let me put my hand in without the tank overflowing. Unaltered edge tanks will overflow if you don't take water out before putting your hand in!

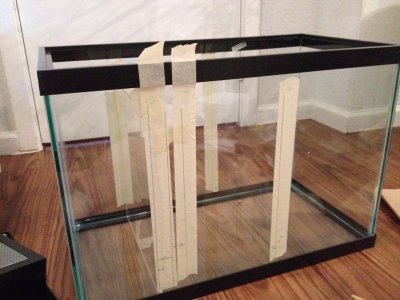
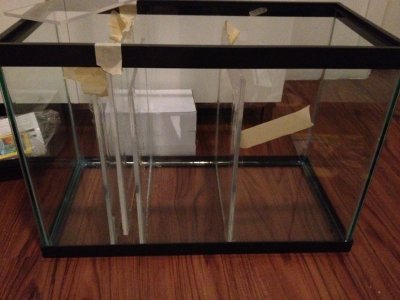
The sump I chose is a basic 20gallon tall tank.
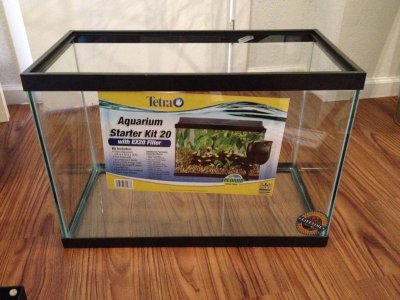
Sump1.jpg

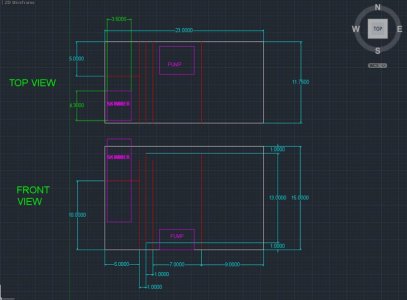
Design for sump

SUMP DIAGRAM.jpg

Baffles cut by local hardware store for me
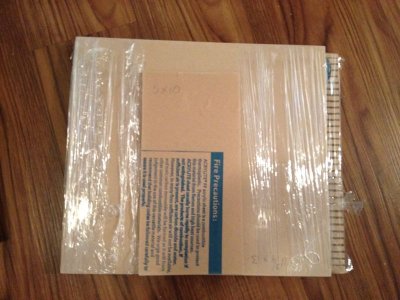
Sump2.jpg
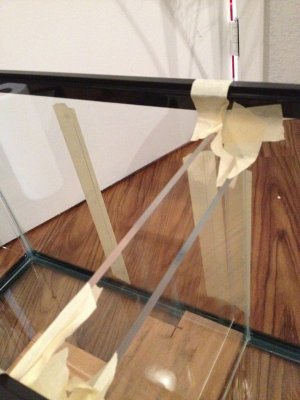
Marking out placement
Sump3.jpg

Placing

Sump5.jpg

Making sure baffles are straight and held firm

continued next post...
 
Continued from first post...

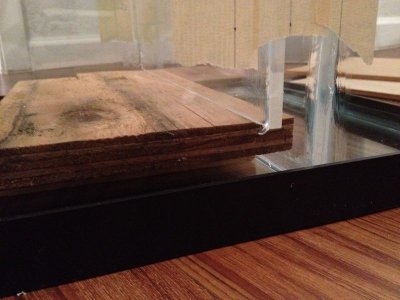
How to put middle baffle for bubble trap in

Sump6.jpg

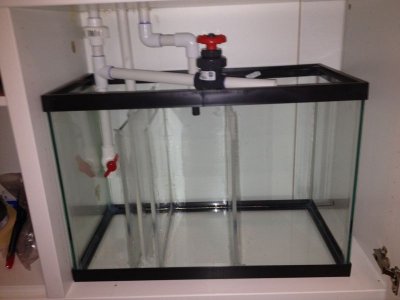
The sump complete with baffles

Sump7.jpg

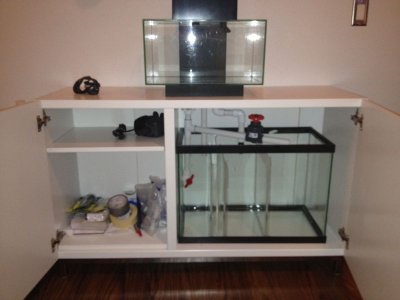
Complete sump in cabinet

You'll notice that the overflow is slit "“ some to the skimmer half and some across to the right to the refugium. I limit the flow to the skimmer half and let the rest go through to the refugium this serves two functions
1) the water going from the overlow to the sump is silenced as the intake pipe is always covered because I meter back the flow to the refugium (there is a second overflow emergency pipe)
2) reduced flow through the fuge to allow detritus settlement, slow water flow so copepods don't all get swept away
3) Allow slow water turnover so hat the deep sand bed has greater time with the water to allow for efficient denitrification

Sump10.jpg

Overflow

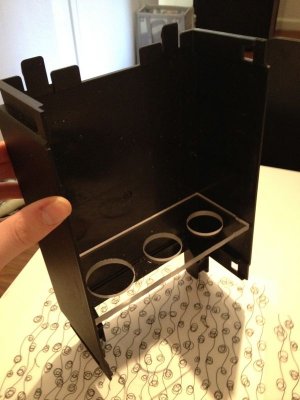
Overflow was a challenge but I pretty much and totally happy with what I have. Could I do it differently, could it have been easier if I bought hang on back overflows etc"¦ yes"¦ but nevertheless I have something unique and whats more sleek which was the whole point.

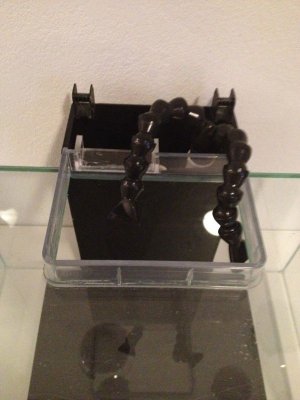
So the edge tank now overflows from the tank to the stock back piece and down through a bulkhead then through the cabinet to the sump

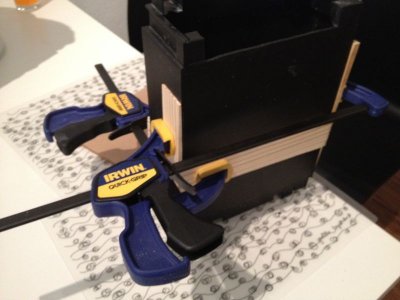
Constructing

Putting in bottom piece to close up back cover piece

Overflow 1.jpg


View from above when all closed up

Overflow 2.jpg

Continued next post....
 
Continued from second post

I clamped it up and used weld-on #16 then went over that once dry with silicone just to be sure

Overflow 4.jpg

Finished overflow

Sump9.jpg

Cabinet

I was going to make my own cabinet but I realize that my skill as a wood worker is far from the level required for me to enjoy creating it, so I decided to go the easy(?) route and visit IKEA... 4 hours later I now am the proud owner of three flat packs waiting for my construction. There is one issue that I found which was the internal support of the cabinet would not allow for the sump to fit in without modification.

Cabinet Modification
I went with the IKEA Bestå which is a TV cabinet

I used the legs which have metal running along the full length of the tank for strength

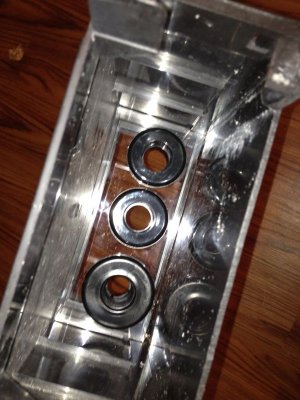
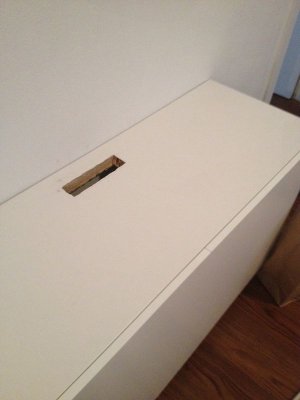
I offset the middle sectioning peice to fit in the sump - I also drilled some big holes through the middle so and electronics could have their wires fed through the hole to the right side where the power supply will be
System1.jpg

This is how the sump pipes seamlessly disappear into the cabinet

I was somewhat worried to see that the inside of the op of the cabinet is reinforced by honeycomb cardboard. I think that this cabinet will have around maybe a year of two life in it, but I dont think it is a long term solution for me... but it works right now and I have DIY plans galore to strengthen it (coming soon)

Hole detail
Cabinet1.jpg
 
Continued from third post


LIGHTING

Stock lighting of the Edge sucks
So I decided to make my own with DIM4 and other supplies from LEDgroupbuy.com and they were pretty helpful, but their DIY build info was the best so I used them.

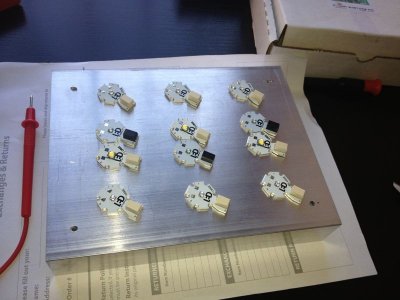
Setting up placement (which now I think I need to change)

Light1.jpg

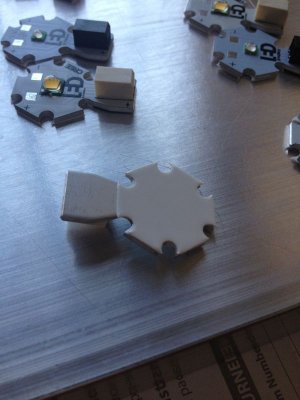
Stiching on LEDs with thermal sticker! Who doesn't like stickers?!!!

Light2.jpg

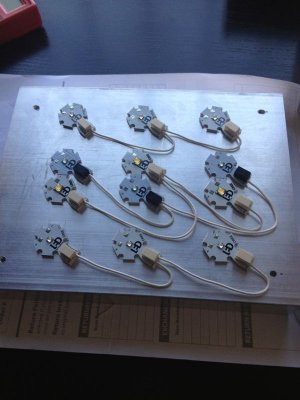
Wiring up Led's
Scheme is
BBB
VWV
WVW
BBB

B=blue
V=violet
W=warm white

Light3.jpg

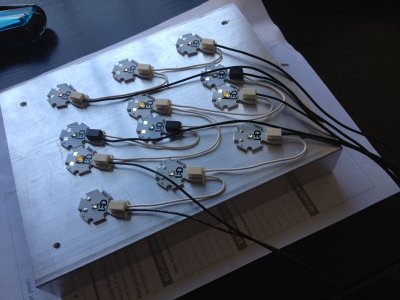
Now connect to DIM4 module

View attachment 234117

Light4.jpg
 
Continued from fourth post

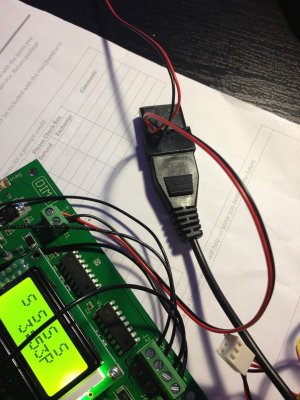
Power connection to DIM4

Light7.jpg

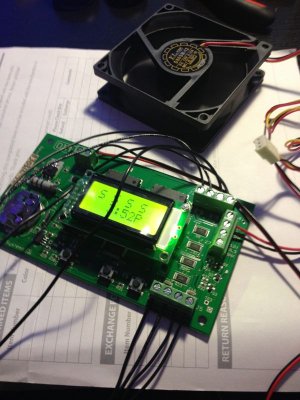
Powering up and setting up sunrise/sunset

Light6.jpg

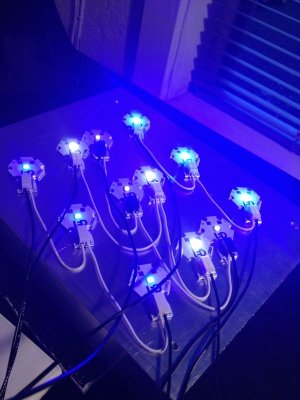
Light test!!!!

Light5.jpg


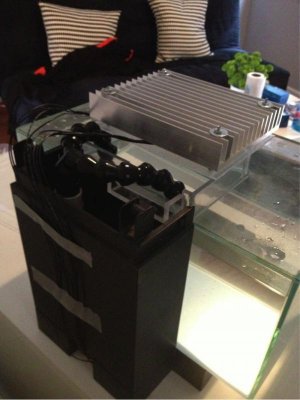
Placement of light on top of tank and view how wires go down back part of stand

As you'll see this is unsightly so I had a back cover made to slot over this, which defeated the whole purpose of using the stock stand back piece but hey"¦ its still looking good"¦

Because I decided to make this adjustment I also modified the stock cover so that it is lengthways oriented and non of it covers the overflow "“ this allowed me to have a bigger heatsink, and more lights and greater coverage (which is the problem with this little tank) The overflow is now covered by the ABS black plastic cover I had the local hardward store fix up for me "“ it slots perfectly over the back part and looks like the original piece!

ONTOP.jpg

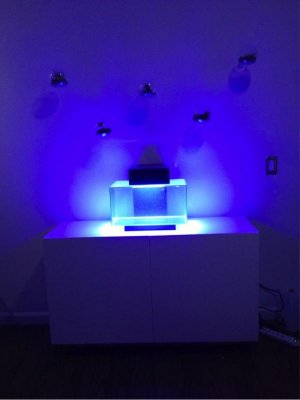
All lit up!! Looks so sleek and elegant! .. (bring on the algae infestations"¦ :lolspin:)

FIN.jpg
 
your overflow looks awesome. i've always liked the edge but was hesitant due to the limits of the tank design. i might have to reconsider now.
 
your overflow looks awesome. i've always liked the edge but was hesitant due to the limits of the tank design. i might have to reconsider now.

Yeah it wasnt actually to put it together after everything was gathered, but finding all the little peices was a challenge. I dont have any tools except a dremel so my local hardware store was such a big help - they cut all the acrylic sheets, even down to 1"x1" squares for the overflow!

If I didnt have the overflow I for sure would not enjoy this tank. It would be a PITA!
 
Does anybody know if I continue to post about my tank here os is there a better place to do continual tank updates?
 
i would say the best place would probably be in the nano section, maybe you could ask the mods to move it for you.
 
Back
Top