Hello Everyone!
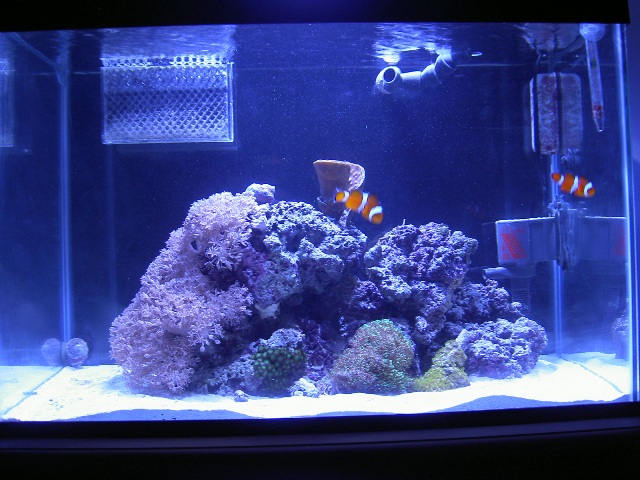
I wanted to take a quick moment to share my 20 gallon reef with all of you. I thought it might be neat to go through step by step and show some pictures along the way. You'll have to pardon me if I get carried away, but I am very excited about this new tank.
My previous tank was a 55 gallon drilled tank with corner overflow. It was a great tank, but far too big for my new apartment. I didn't have room for a four foot tank, as well as a refugium and sump. I decided to downsize a bit to the 20 gallon. I chose a 20 gallon high tank because I could fit it in a (roughly) 24x12 footprint. This meant that instead of taking up a whole wall with fish stuff, I could have one small piece of furniture in a corner or on a short wall. (very important compromise with the girlfriend!)
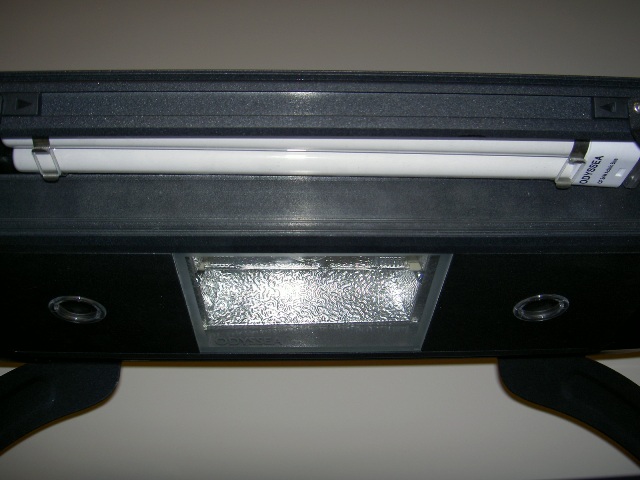
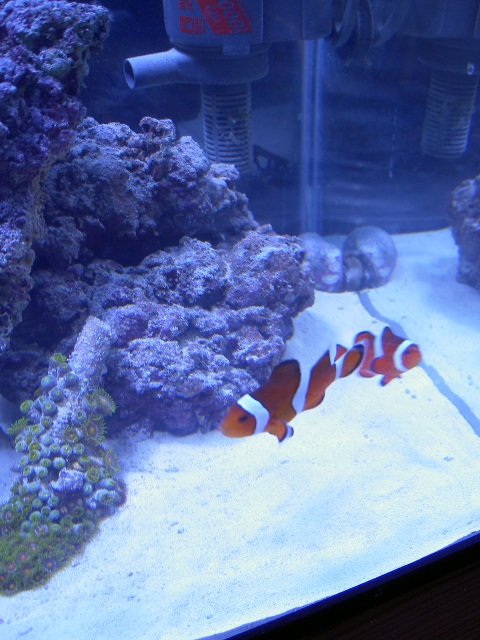
My plan was to be able to support the corals that I have now, along with my two clownfish (both over 3 years old now!). I also wanted a setup that I could grow into some hard corals with. My lighting system is made by Odyssea, and it is a 175watt Metal halide with two 18 watt Actinics and two moonlights. I like the fact that they all came in one small hood that attaches to the top of the tank with little extension legs. It is a much cleaner look than the previous hanging hood that I had, and it gives me plenty of intensity for hard corals.
Light Fixture as viewed from bottom:
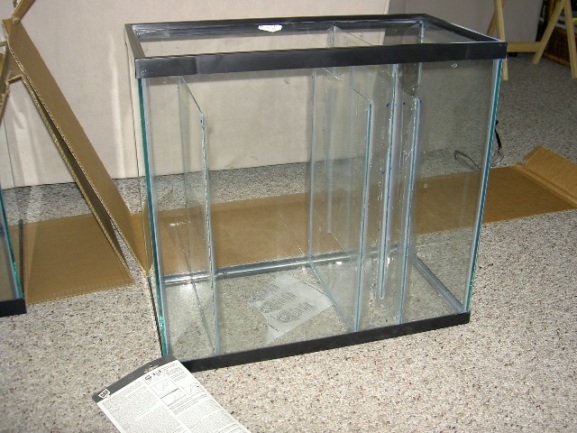
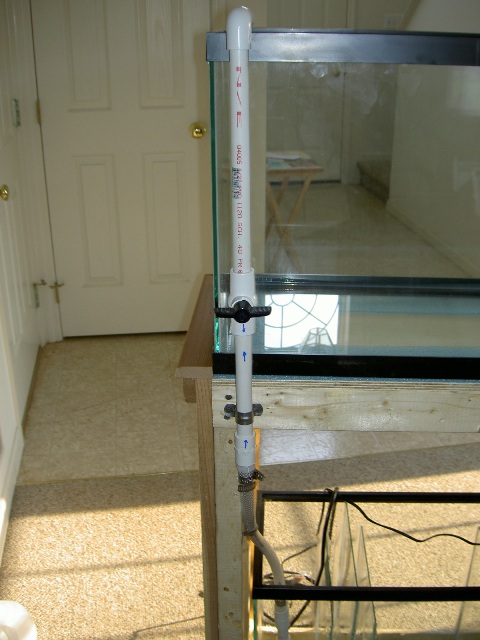
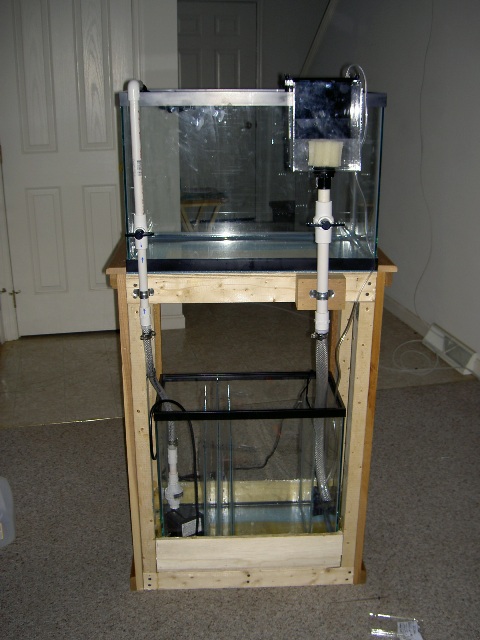
I also wanted a relatively stable system in as small of a footprint as possible. This meant maximizing water volume and filtration, while minimizing overall space. I chose a 16 gallon extra high tank as my sump/refugium. As you can see (way) below, it fits pretty perfectly inside of my stand.
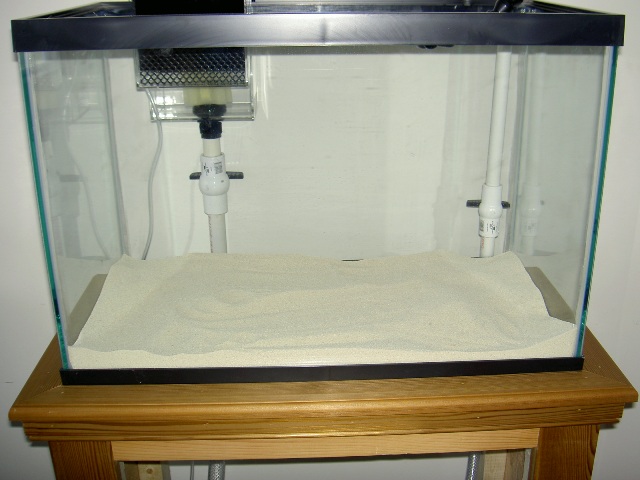
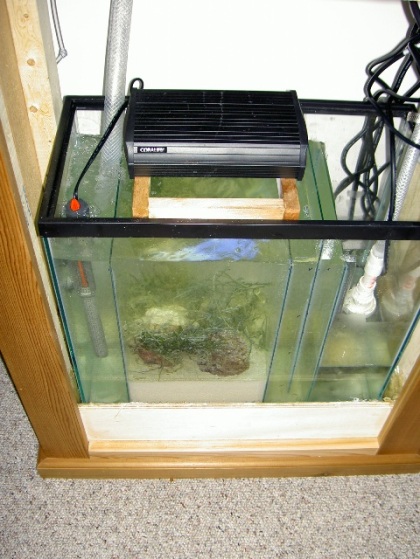
Completed Sump/Refugium:
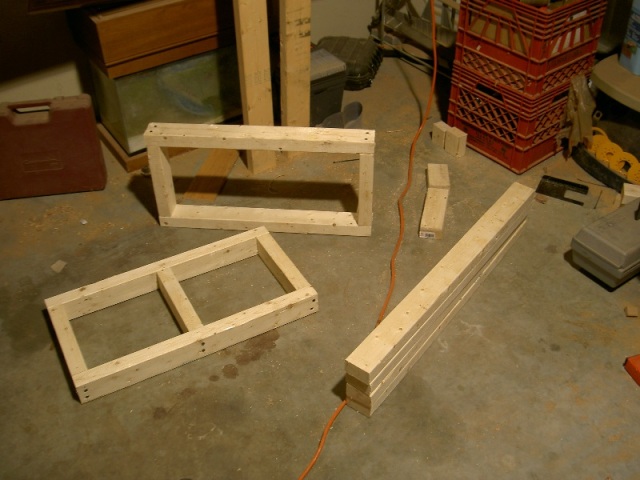
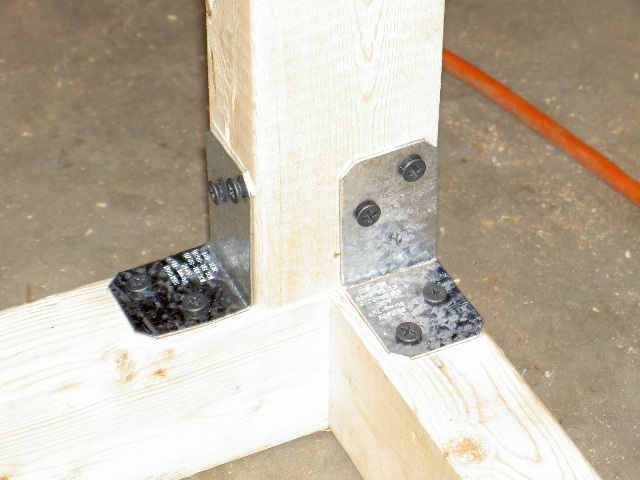
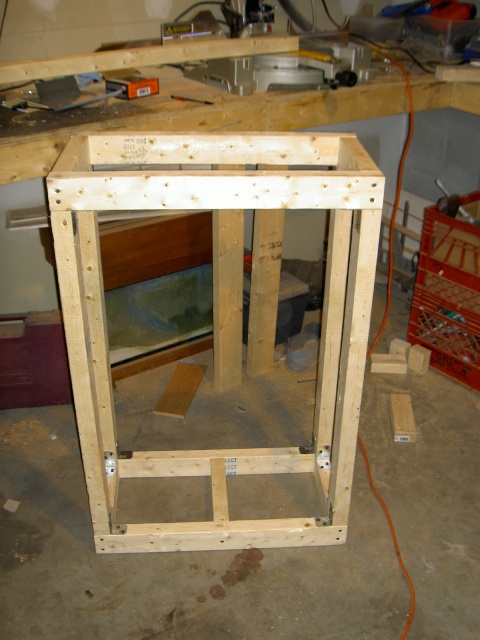
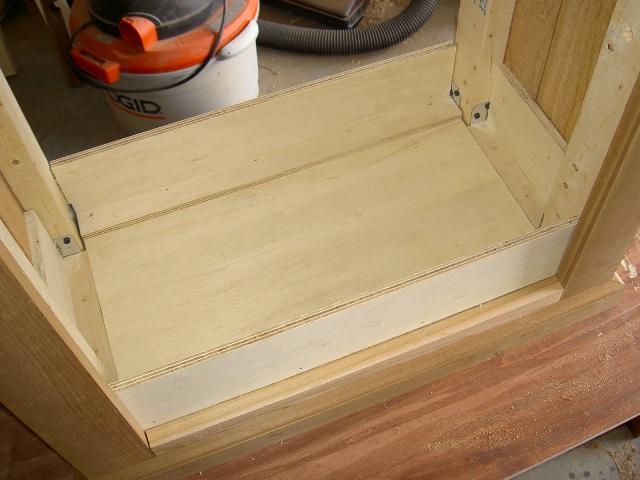
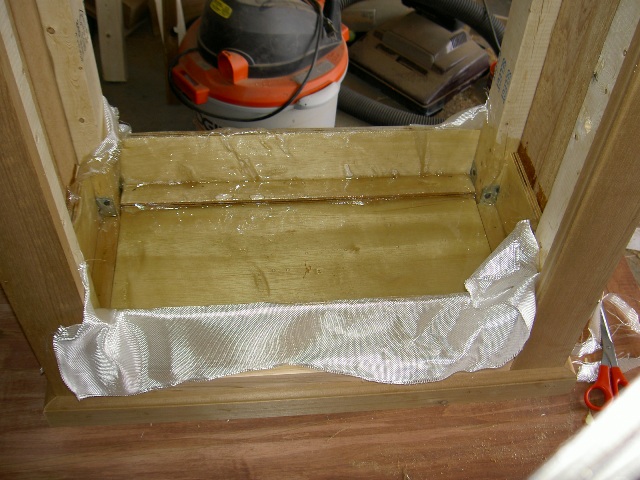
I custom made the stand from western red cedar. I bought the boards rough and planed them down to make a nice finished look. I made the frame of the stand out of 2x3's, which have plenty of strength to support the weight of this tank. I also used metal angles to attach the 2x3's to the base and top frame. This method seems to be faster and easier than using a pocket-hole or toenail technique. Plus, they will be covered up by my basin.
Base and top plates with legs cut:
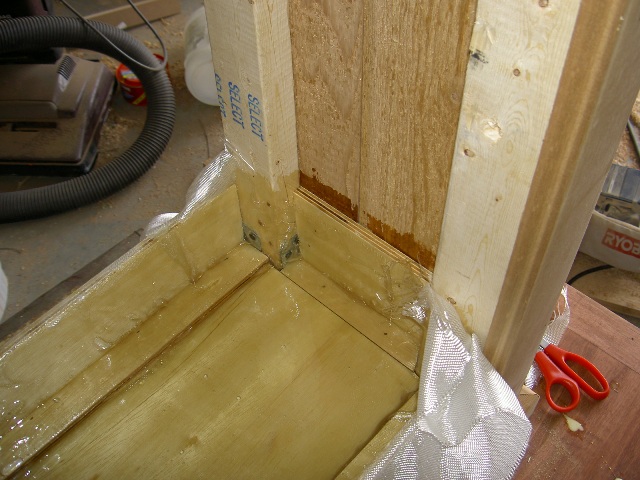
Galvanized Angles for connections:
Completed Frame:
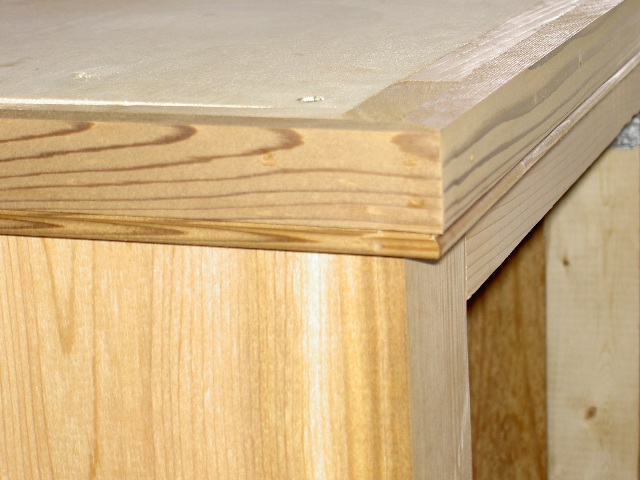
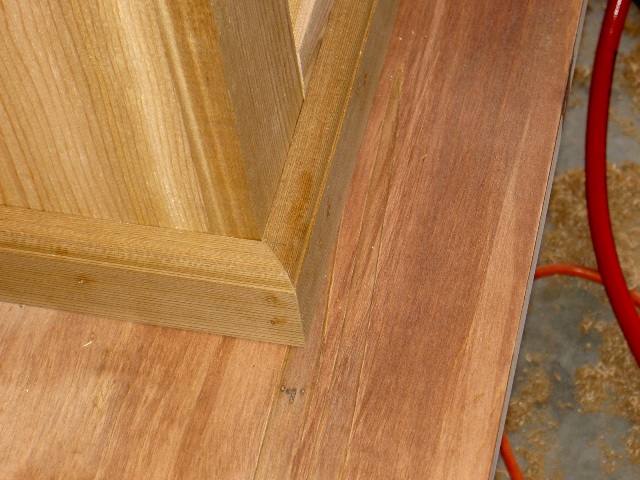
Using a router, I beaded the top skirt trim and then put a recessed bead on the top rail. I also put a recessed bead on the bottom trim to give it a nice custom look:
Top Skirt Trim:
Bottom Molding:
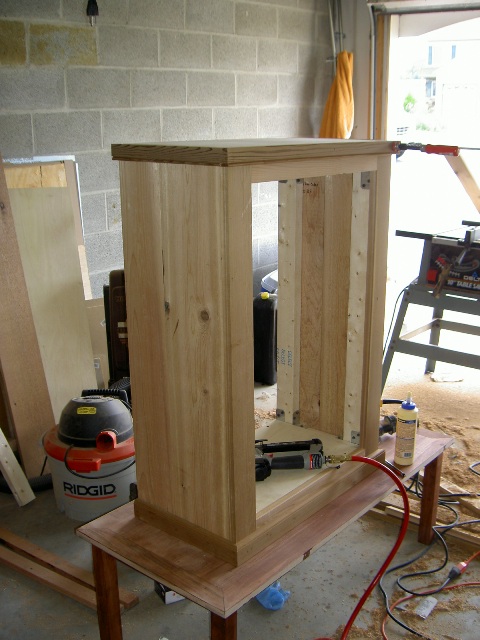
Completed Cabinet (minus door):
I wanted to take a quick moment to share my 20 gallon reef with all of you. I thought it might be neat to go through step by step and show some pictures along the way. You'll have to pardon me if I get carried away, but I am very excited about this new tank.
My previous tank was a 55 gallon drilled tank with corner overflow. It was a great tank, but far too big for my new apartment. I didn't have room for a four foot tank, as well as a refugium and sump. I decided to downsize a bit to the 20 gallon. I chose a 20 gallon high tank because I could fit it in a (roughly) 24x12 footprint. This meant that instead of taking up a whole wall with fish stuff, I could have one small piece of furniture in a corner or on a short wall. (very important compromise with the girlfriend!)
My plan was to be able to support the corals that I have now, along with my two clownfish (both over 3 years old now!). I also wanted a setup that I could grow into some hard corals with. My lighting system is made by Odyssea, and it is a 175watt Metal halide with two 18 watt Actinics and two moonlights. I like the fact that they all came in one small hood that attaches to the top of the tank with little extension legs. It is a much cleaner look than the previous hanging hood that I had, and it gives me plenty of intensity for hard corals.
Light Fixture as viewed from bottom:
I also wanted a relatively stable system in as small of a footprint as possible. This meant maximizing water volume and filtration, while minimizing overall space. I chose a 16 gallon extra high tank as my sump/refugium. As you can see (way) below, it fits pretty perfectly inside of my stand.
Completed Sump/Refugium:
I custom made the stand from western red cedar. I bought the boards rough and planed them down to make a nice finished look. I made the frame of the stand out of 2x3's, which have plenty of strength to support the weight of this tank. I also used metal angles to attach the 2x3's to the base and top frame. This method seems to be faster and easier than using a pocket-hole or toenail technique. Plus, they will be covered up by my basin.
Base and top plates with legs cut:
Galvanized Angles for connections:
Completed Frame:
Using a router, I beaded the top skirt trim and then put a recessed bead on the top rail. I also put a recessed bead on the bottom trim to give it a nice custom look:
Top Skirt Trim:
Bottom Molding:
Completed Cabinet (minus door):

")