soramsu
Member
So, work has finally begun on setting up my new tank, after about 3 months of reading, planning, reading, buying things, and reading some more....I plan on setting up a full reef tank.
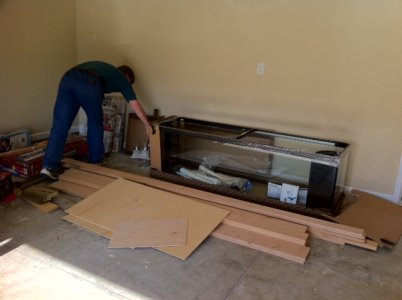
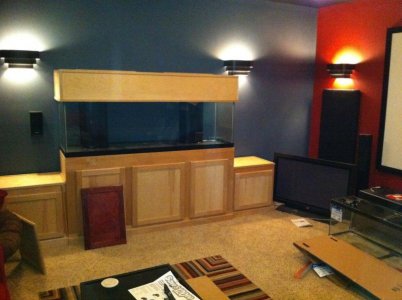
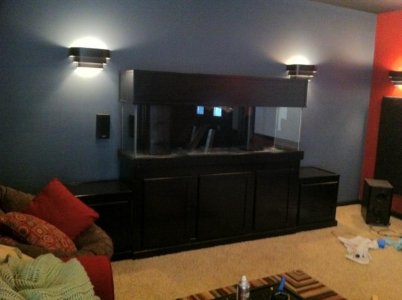
I've gotten a lot of my equipment already. A 125g Perfecto corner flo tank. Unfortunately, I just discovered after un-boxing it that the bottom rim was busted. The local shop is going to help me out on exchanging it, thankfully. I've also gotten a 40 g L tank for the sump, which I'll be adding baffles to for the return/refugium section. I've also purchased a reef octopus xp-2000 skimmer for use in the sump. Still need to get heaters/powerheads, but that will come later. I'm also planning on getting a digital aquatics system to control everything with and for monitoring some of my tank stats.
Also, this will probably be an unpopular choice here, but I'm going with DIY LED lighting from Steve's LED's. I've done plenty of research and fully understand any tradeoffs that exist here. For my application and budget, it's what I'm going with. No bashing, please :fish1: As my tank comes together and I get livestock, I'll keep updates coming with how well the lights are working.
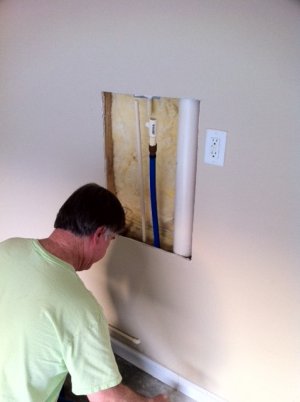
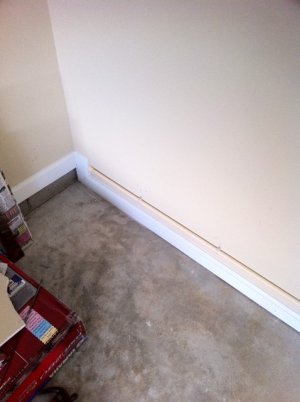
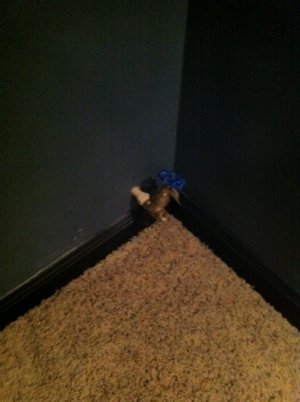
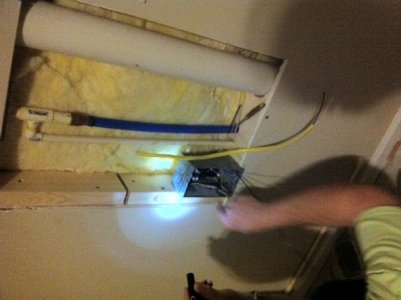
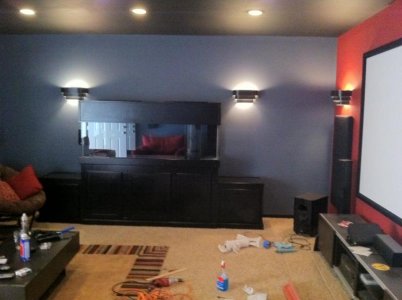
My Dad came to town this week to help with building the stand, and running an additional water line to my theater room (where the tank will go) and adding an independent circuit for the aquarium. Mostly because I didn't want the tank on the same circuit as the theater system, as that was being almost maxed out.
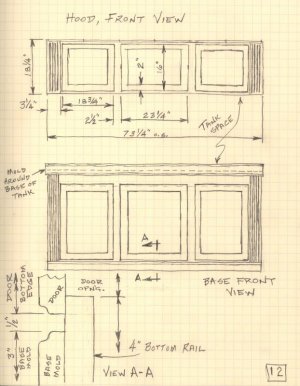
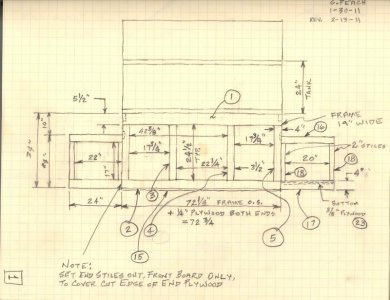
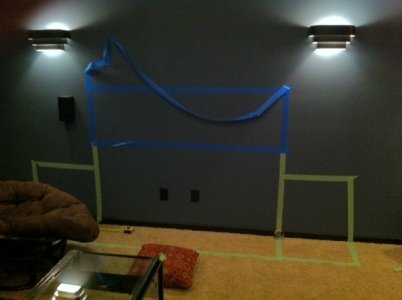
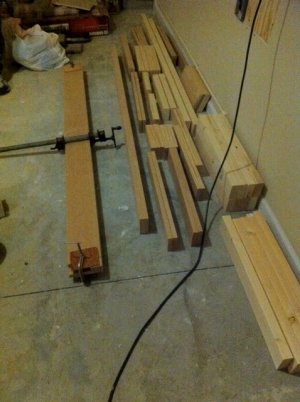
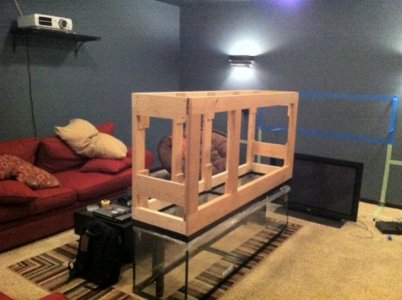
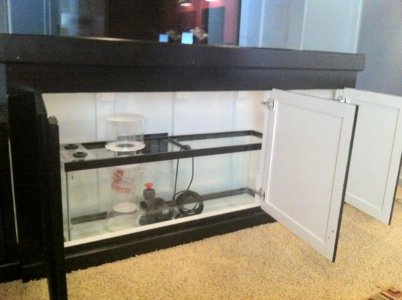
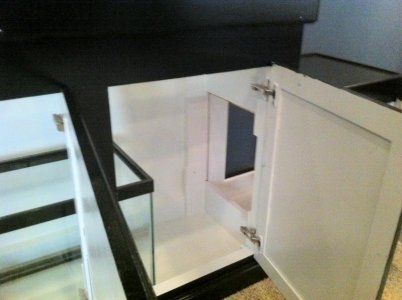
The stand will be made of alder, and will have 2 2'x2' side cabinets on the bottom for additional storage. My Dad designed the whole thing. He's an engineer (as am I, but not as detailed oriented as he is") ) and ended up with about 20 pages of drawings of cuts, measurements, drawings of joints, etc...it was all pretty impressive. Construction on the stand began this morning, and I'll update with pics as it goes along. Unfortunately, my work schedule is such I couldn't be home to help out during the day this week. He has the tools and experience with woodworking, so I think he'll do okay by himself
) and ended up with about 20 pages of drawings of cuts, measurements, drawings of joints, etc...it was all pretty impressive. Construction on the stand began this morning, and I'll update with pics as it goes along. Unfortunately, my work schedule is such I couldn't be home to help out during the day this week. He has the tools and experience with woodworking, so I think he'll do okay by himself
I've uploaded a few pictures of the stand design, as well as the plumbing/electrical that's been so far. This is my first saltwater tank, and I'm pretty excited about getting it going.
I've gotten a lot of my equipment already. A 125g Perfecto corner flo tank. Unfortunately, I just discovered after un-boxing it that the bottom rim was busted. The local shop is going to help me out on exchanging it, thankfully. I've also gotten a 40 g L tank for the sump, which I'll be adding baffles to for the return/refugium section. I've also purchased a reef octopus xp-2000 skimmer for use in the sump. Still need to get heaters/powerheads, but that will come later. I'm also planning on getting a digital aquatics system to control everything with and for monitoring some of my tank stats.
Also, this will probably be an unpopular choice here, but I'm going with DIY LED lighting from Steve's LED's. I've done plenty of research and fully understand any tradeoffs that exist here. For my application and budget, it's what I'm going with. No bashing, please :fish1: As my tank comes together and I get livestock, I'll keep updates coming with how well the lights are working.
My Dad came to town this week to help with building the stand, and running an additional water line to my theater room (where the tank will go) and adding an independent circuit for the aquarium. Mostly because I didn't want the tank on the same circuit as the theater system, as that was being almost maxed out.
The stand will be made of alder, and will have 2 2'x2' side cabinets on the bottom for additional storage. My Dad designed the whole thing. He's an engineer (as am I, but not as detailed oriented as he is
) and ended up with about 20 pages of drawings of cuts, measurements, drawings of joints, etc...it was all pretty impressive. Construction on the stand began this morning, and I'll update with pics as it goes along. Unfortunately, my work schedule is such I couldn't be home to help out during the day this week. He has the tools and experience with woodworking, so I think he'll do okay by himself I've uploaded a few pictures of the stand design, as well as the plumbing/electrical that's been so far. This is my first saltwater tank, and I'm pretty excited about getting it going.