I know some of you have cameras, but maybe you can't get it to take a good photo of your reef. I will post a few tips for you guys to try.
I bet most of you have point and shoot cameras. You will want to use the "Macro Mode" for getting close shots of coral. If you do not have a macro mode, then try to use manual mode and experiment with it. When getting close in on your subject, you will probably find the manual focus to be your best friend so you can choose the exact focus point. Auto-focus isn't always that great for macro photography. Depth of field will be one of your greatest obstacles in close-up photography. Depth-of-field determines how much is in focus before and after your subject. When taking Macro shots with coral, the depth of field can often be so shallow that you can only get a small portion of the coral in sharp focus. You will battle with this in reef photography. I can address this more latter.
Coral shots will turn out best if you have the following:
-Tripod (this keeps your camera steady to help get tack sharp pictures)
-Macro Lens (macro mode for point-and-shoot cameras)
-Shutter release cable, or wireless remote (takes away camera shake when pressing the shutter release button)
-Lens pointed level with your subject, perpendicular to the glass (shooting at an angle distorts the subject)
-White balance set correctly (critical when shooting in JPEG format, not critical for those shooting in RAW as it is adjusted when processing)
-Adequate Depth of field (Get as much of your subject in focus as possible)
-Make sure your shot composition makes your subject stand out (you don't want a distracting background)
I'll post more information for those that are interested.
Take care,
TechDiver
Last edited:

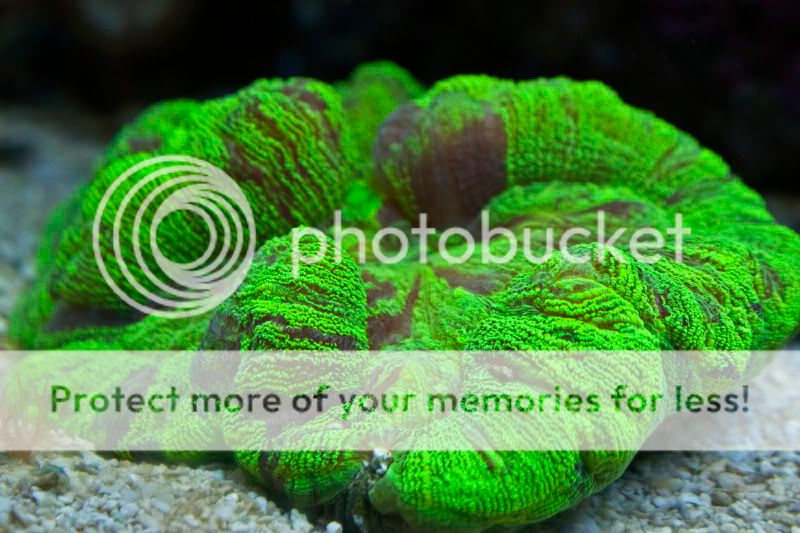

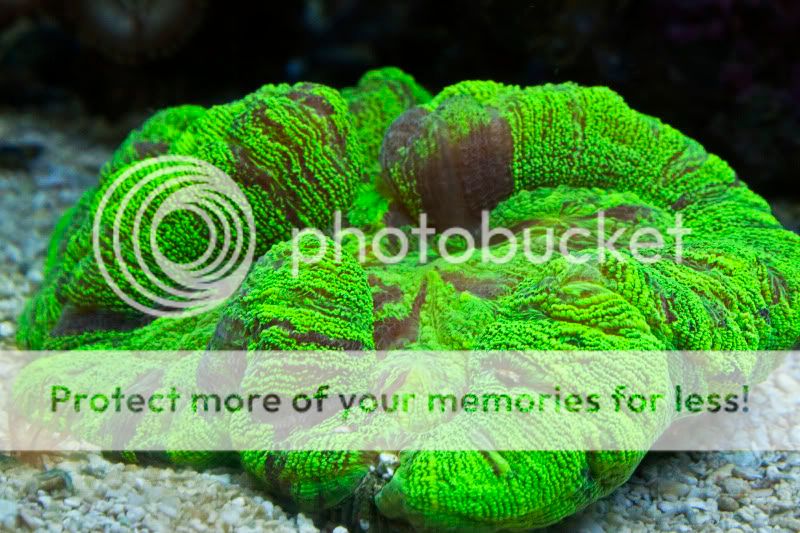
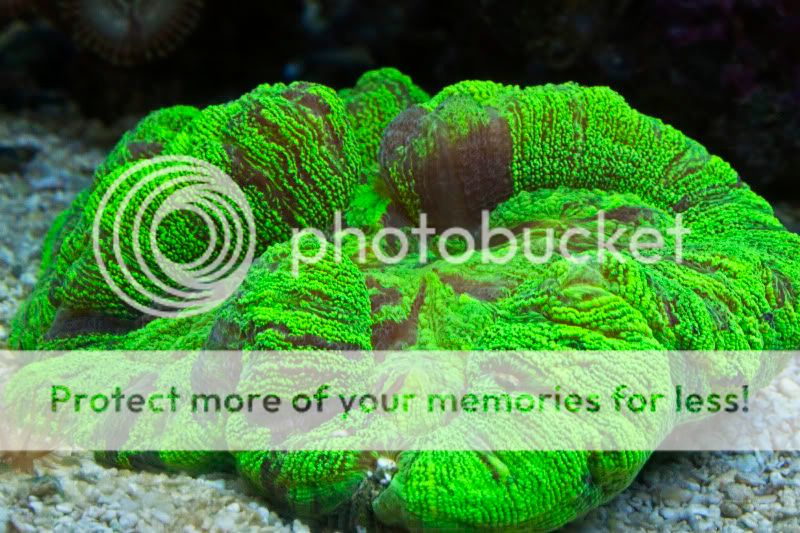
") It is doing well now and has gained some size and weight.
It is doing well now and has gained some size and weight.