RM619's Wrong dimension 180gal reef build! Yep, got the wrong tank. I'm OK with it.

reefermad619

New member
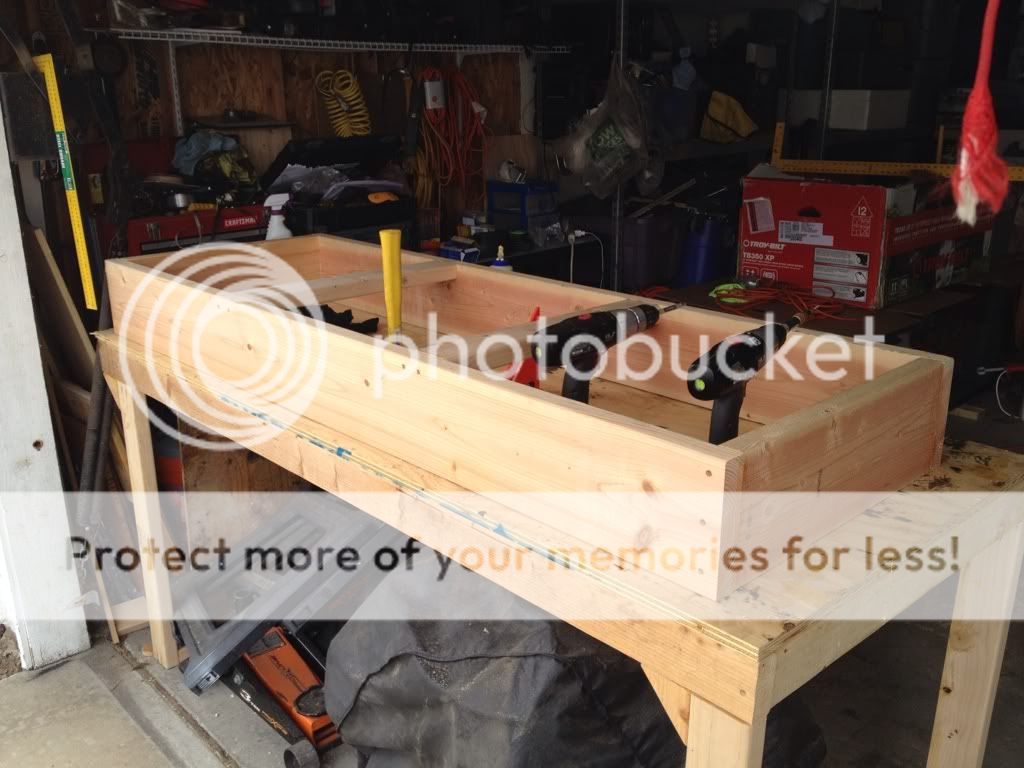
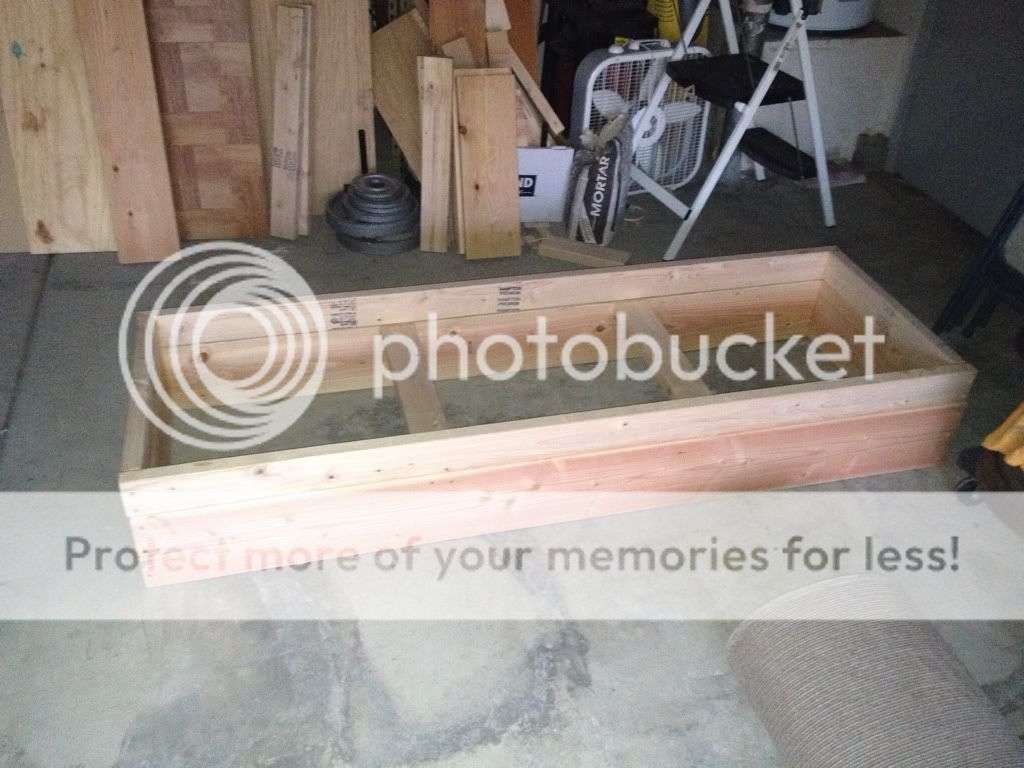
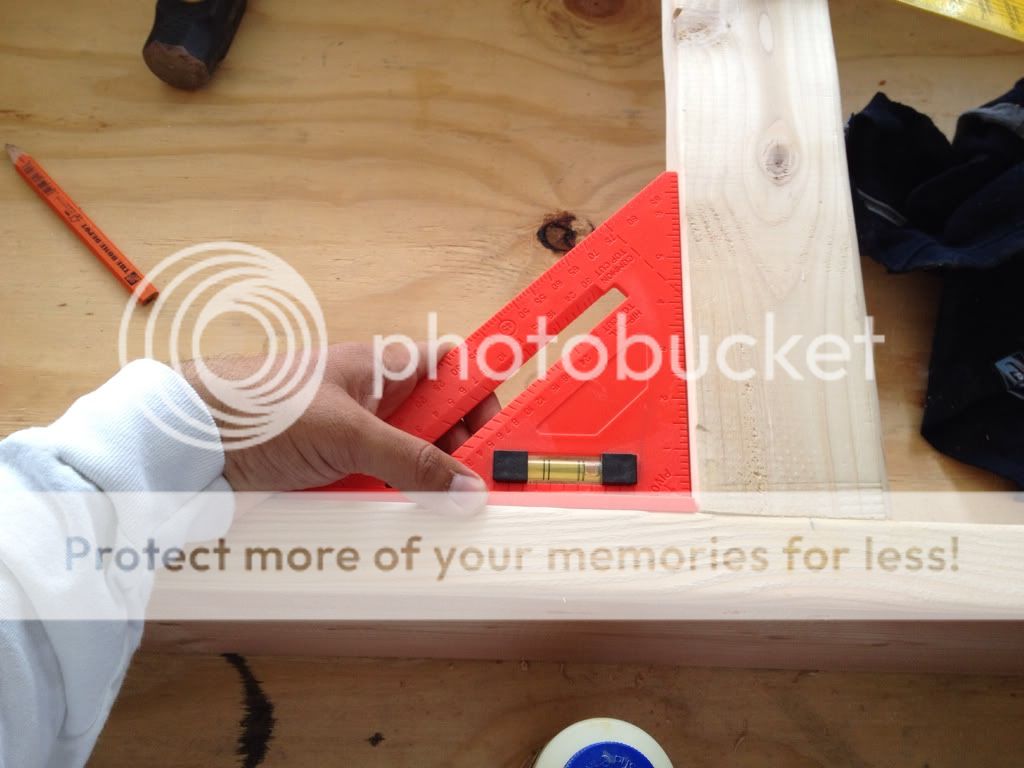
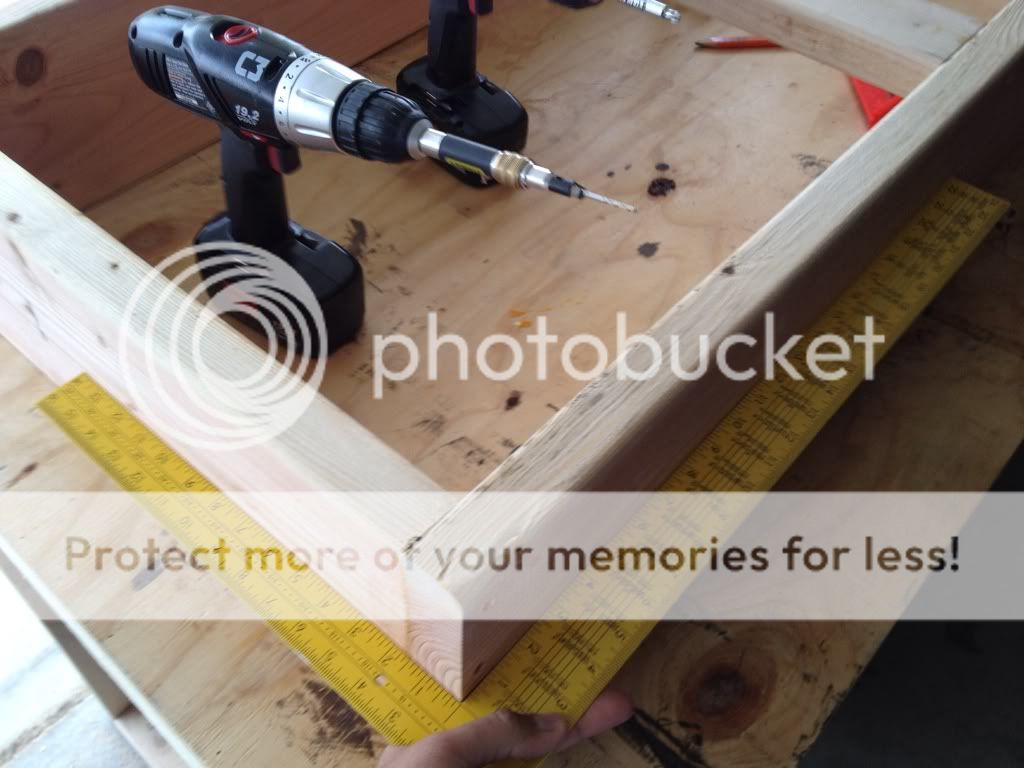
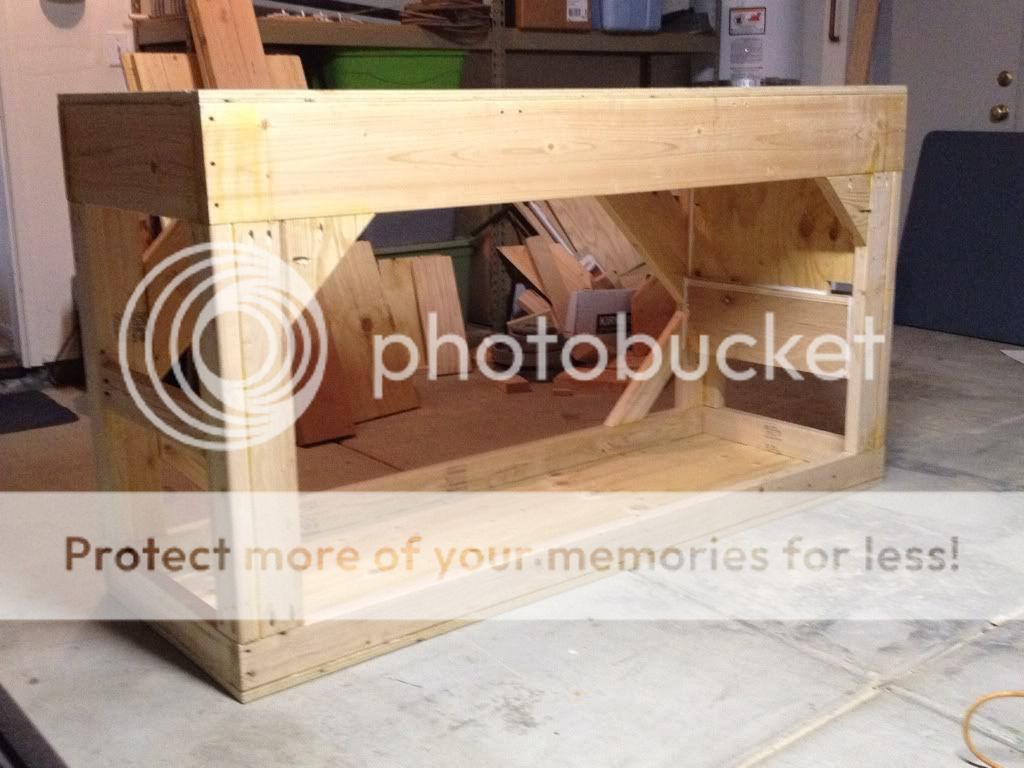
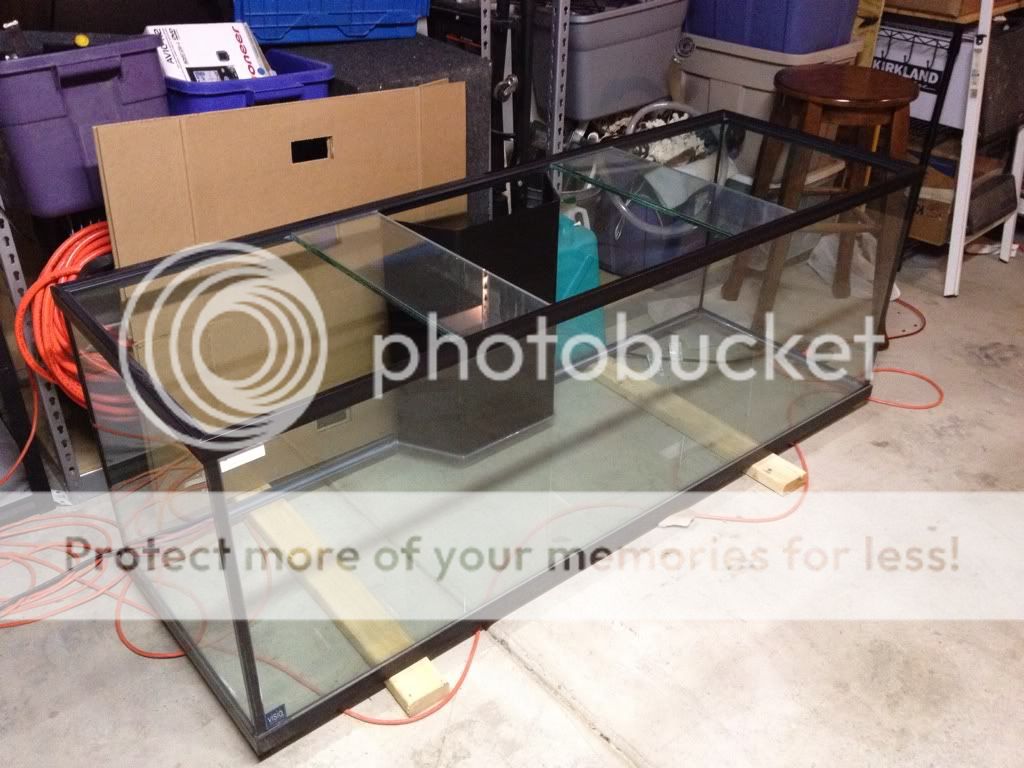
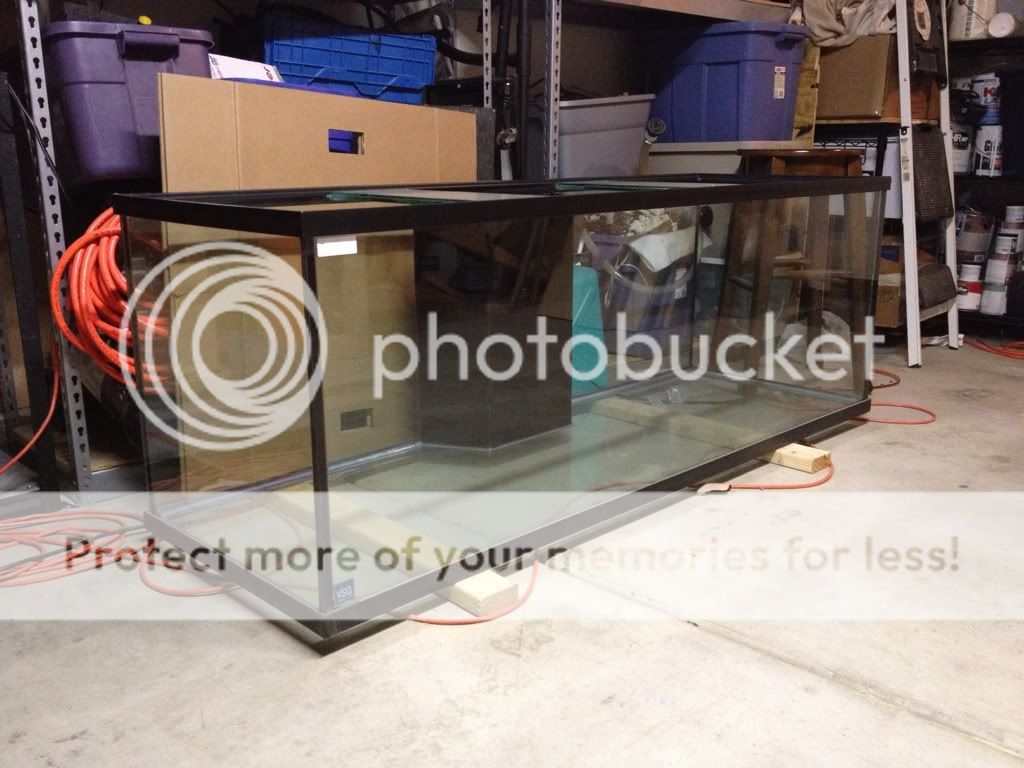
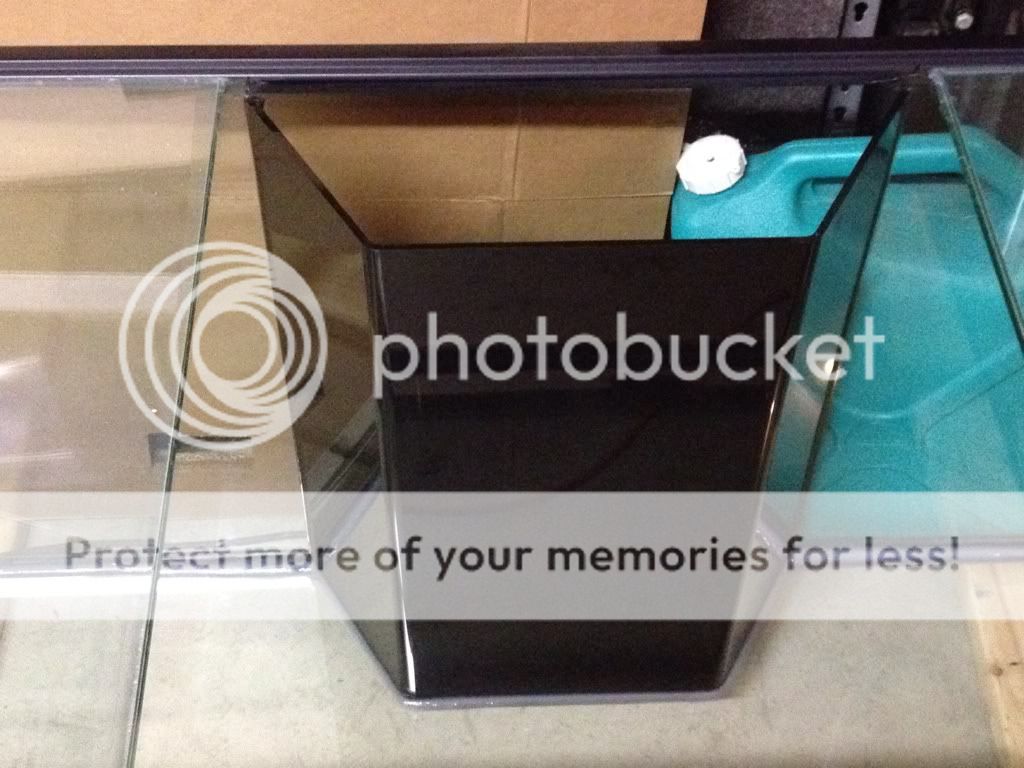
So, I get this great idea to start a new build. We have a house now and have room for a larger tank. I quickly sold my 80gal (http://reefcentral.com/forums/showthread.php?t=1832132). I put it up on local forum and it sold in 1 day! GRRRREAT!!! So I think to myself, lets do a deep 180. I look at some tanks and decide I want a 60"x30"x24". After several emails with one of my LFS, we set a price. I said I have cash! Price went even lower. GRRRREAT! I order the tank. A basic Visio with black silicone with center trapazoidal overflow drilled for the bean. Didn't opt for the fancy stuff because I think eventually this will be a FO tank. Money down on the counter. Receipt in hand. "Be hur next wednesday" -LFS. I go to pick up my new toy. I look at it and it seems a little longer in person than I thought it would. It's a smaller LFS and I figure the building is tight and maybe the tank looks longer because of some sort of optical illusion. The LFS dude tells me the tank is the biggest he's ever ordered and it's blocking almost his whole walk way to his register. Then it hits me... This tank is not 5' long! I'm a about 6'1". I lay down next to the tank and we're the same size. DAMN!!! I guess in all the hussle of quickly ordering the tank, so I could have in his next shipment, the LFS ordered a standard 180. The dude was complety embarresed. It was his mistake and he admitted it. He asked me to think about it and let him know what I wanted to do. I talked it over with my wife and my cousin (datsun owner in my sig) and they both liked the idea of a longer tank. The wall the tank is going on is about 15' long. They were thinking that at 30'' deep, the tank would stick out too far and look "weird". Well after thinking about for awhile, I soon felt the same way. But if had wanted to take up more wall space, I would have got a 240! I was still undecided and called the LFS to see what they would do to make it right. LFS says, " I can take the hit, it's my F-up." The dude was legit and crazy honest. Since he was so honest about the mess up, I felt really bad about making him take a loss on the tank. So I decided to keep it. LFS was only charging me a small mark up. And I mean SMALL! He beat another LFS price for me. So lets just say that when I shop there now, I never pay full price anymore. And that's how this journey of building the wrong tank begain.

Pics cooming soon...
 
wow very nice story. love the honesty of the LFS and shows you haw fair I little be of it will go. now you are a loyal customer.
good luck with the build!
 
Thanks Devaji!

Ive made some progress on the stand. First try at top frame was unsuccessful do to warped wood. But after 20 min of digging at HD I finally found some straight wood.

Top frame made of 2x8s
e9bd1411.jpg


Top and bottom frames. Still need to add ply top and bottom.
fa341050.jpg


Everything all squared up.
190f9f2e.jpg

493844a9.jpg

e0cbac69.jpg


Legs drilled for pocket screws and waiting to be mounted.
d255af38.jpg


Hopefully I can get some more stuff done tomorrow.
 
Last edited:
Got the legs screwed together and ready to be mounted.
40b25b68.jpg


Built it from the top up. Put some glue down, put legs on and they held in place with glue. Put glue on top of legs and then put bottom frame on. Went together like a big ol sandwich.
f772ae4b.jpg


Everything was nice and square.
708c71f6.jpg

c3b6c1fa.jpg

9ff487a4.jpg

ba53c02c.jpg


I have some extra wood lying around so I'll add some gusset type brces in the rear corners next. See you guys next time!
 
Good deal man...it's always awesome to have honest people to do business with. You can't beat that. Oh, and 6 foot tank all the way IMO.

If you don't mind me asking...how much did you get the tank for? You can ballpark it if you prefer. I am waiting out the used market looking for a used 180 or 210....they are just under $600 new, out of my budget for just a tank. Getting impatient and curious how much leverage I have for trying to get a good price on a new one.
 
Fyi your pocket holes look like they were cut for 1/2 material. Should look like this.
 

Attachments

  • uploadfromtaptalk1323132214343.jpg
    uploadfromtaptalk1323132214343.jpg
    26 KB · Views: 0
Hey rrasco I have a 210 Im selling a 210 you may be interested in if your close to me. Its a super nice setup and reay to go.
 
@ rrasco: I'll pm you the price i got.

@ Don: I know it's for 1/4". It's all I had. I let my old handyman that used to take care of the place I used to live borrow my kregg kit. The thing I'm using now is the kit HD sells that sits next to the kregg kits. The jig fits 2x lumber so I figured it would work, but after seeing the kregg pocket holes, I knew it was different :(
I figure the glue does all the work anyway. So it shouldn't matter. Plus I drill the screws in at angle so they do bite the middle of whatever they're going into. I got a Q for you don. I've seen you post in other forums and it looks like you know your wood :)
I was wondering what you would recommend for a staining process. I'm skinning the stand with maple ply. I want to stain it so the grain doesn't pop as much. I've heard gel can accomplish this because it doesn't sink in as much. What do you think? Thanks.


On the end grain to long grain joints the glue is not very strong. Your jig was supposed to be spaced back something like 1 1/4 from the edge of the board for 1 1/2" material. Not sure that is the exact number I dont use a jig I have a machine.
Gel stains use poly as a binder so they sit on top of the wood and why they are more like paint meaning they cover the grain. Get yourself some dewaxed shellac Hd has bullseye. Cut it 50% with denatured alchohol wipe or spray on then sand then spray agian and scuff before finishing. Any water based stain will use poly as a binder and will hide some of the grain.

Don
 
Got some updates...

Got the electrical portion of the stand all sectioned off.
dedfe2ba.jpg


It's sealed from the back and top.
85d9595c.jpg


Hers what it looks like with my dj strip in place. The wall above the strip will be for mounting my ato and my pc4 for my RKL.
6c01bf0e.jpg


Stand all done with 3/4" ply top and bottom.
089a9610.jpg

3fa56553.jpg


Here's some pics of the tank. Standard Visio 180 with black trapezoidal OF and black silicone.
5d48fb89.jpg

e2ea1a9a.jpg


Drilled for the bean.
12f9ed6e.jpg

2a8112f1.jpg


Now it's time to paint her up and get her all sealed up. Hopefully that can be done over the week with a hour here and there.

I also got all the leds in from rapid to make my rig. I hate how work gets in the way of my life! :(
 
Thanks guys! Got the sump area seams and knots all sealed up with caulk. This plywood was naughtier than I thought. Now I have to hit it with a couple of coats of Kilz then I'll be on to make it pretty.

117f0f90.jpg


I do this so the sump area will act as a basin as well. This should hold about 23 gallons of water. Hopefully I never need it, but redundancy is key in this hobby. I plan to make a little stand for the sump to sit on. I've got about 39" of inside height. So a 10" stand for the sump will still give me adequate height to get stuff in and out and give me a chance to clean up spills when they happen.
 
Got some more done today...

Started making a stand for the sump.
2c5f4e85.jpg

39d6e919.jpg

3bad6f2b.jpg

66f85dcf.jpg

258f97e3.jpg


Here it is with the sump on it
5096eee0.jpg


Skimmer in sump
d6dfdb69.jpg


I have more than enough room to remove the cup
2316d2ae.jpg


Hopefully I'll get the little stand painted and the big stand skinned tomorrow.
 
My dog decided to not help and take a nap.
15998c5a.jpg
[/QUOTE]

wow we have the same dog!! I mean really,really close...crazy cool
and nice work so far, I to think you will enjoy the longer tank. I have a 240 once...and LOVE it.
 
Thanks for the kind words guys!
I was able to get the ply cut for the skinning today. Here are some pics of it mocked up. I'll attach it all with wood glue and brad nails.

Side of tank
2b08c29b.jpg


Front.
7e5dab1c.jpg


Front with solids piece of 1"x6" oak for a trim.
146be2c1.jpg


Close up of trim. I'll add some crown molding under there to spiff it up.
0d0f5be6.jpg
 
More updates...

Got all the veneer ironed on and put it together.
f906fc6b.jpg


Even putt veneer where no one would see it.
cdebf964.jpg


Bottom board in front.
29238cb2.jpg


Left side.
da140c19.jpg


Right side.
1a5b8a03.jpg


Sealed the inside of the top to protect from accidental spills.
48fe84bc.jpg

546886e5.jpg


I'll be adding some crown molding and top and bottom trim tomorrow.
 
Back
Top