Small tank, big project, overboard on pictures (and words)

Xolsiion

New member
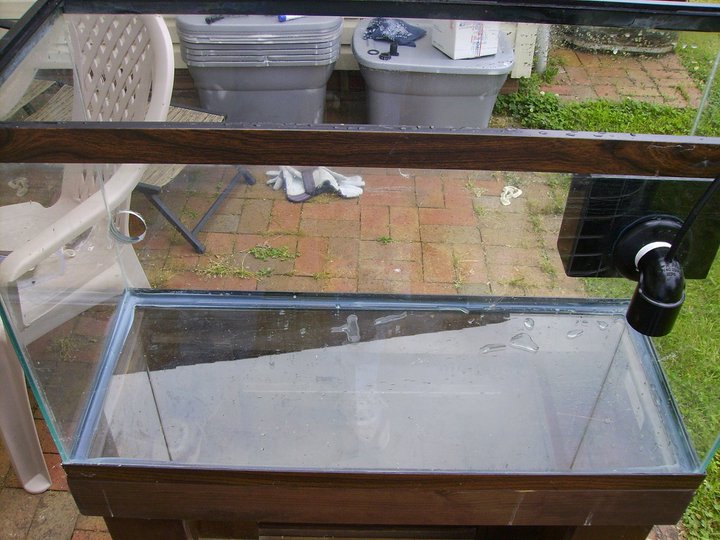
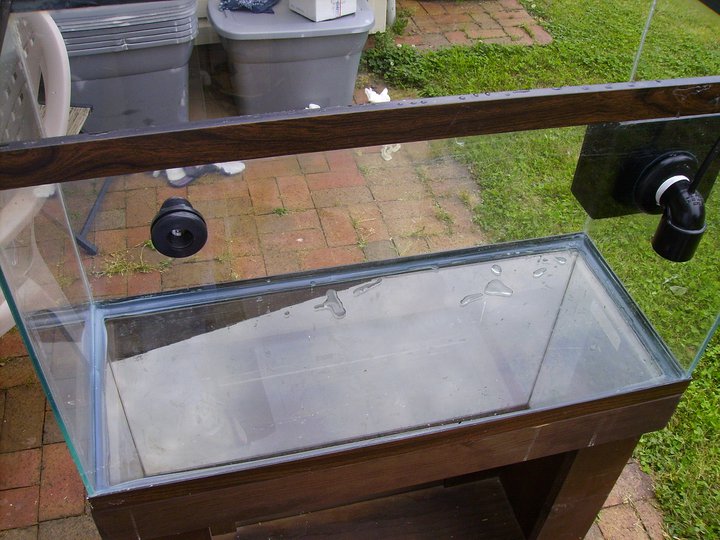
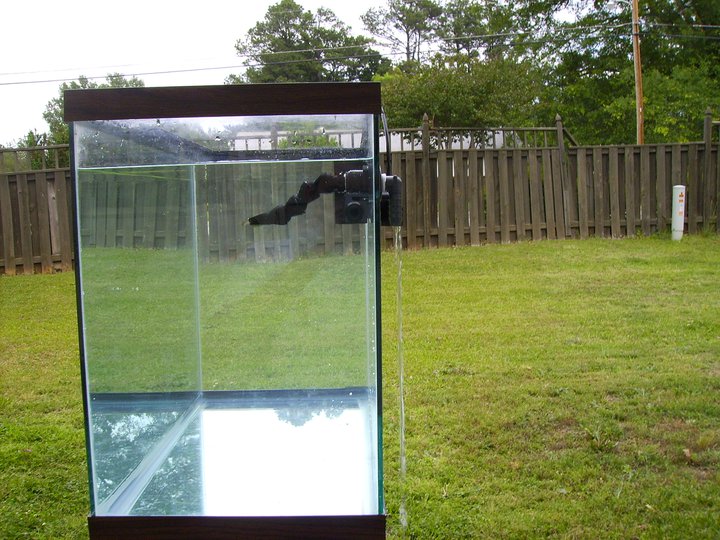
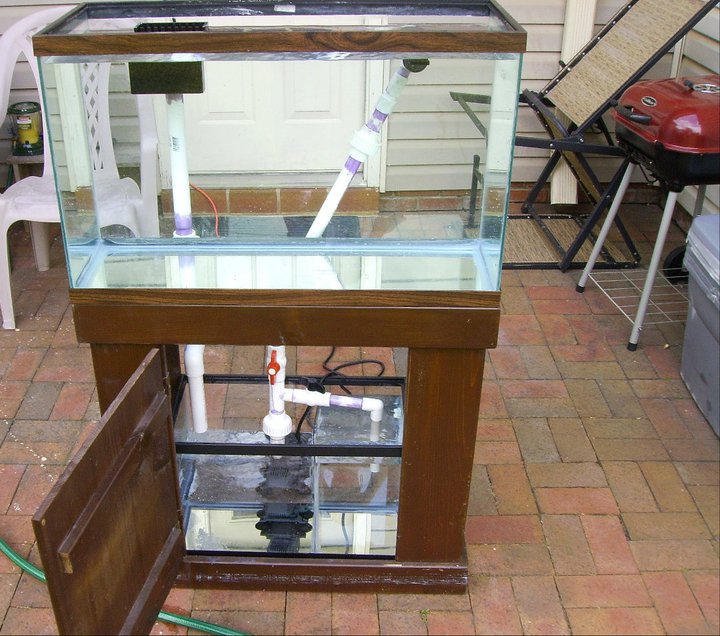
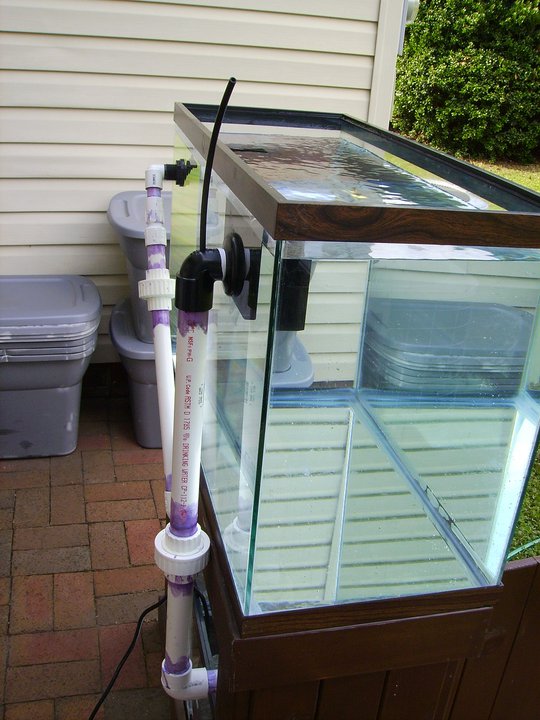
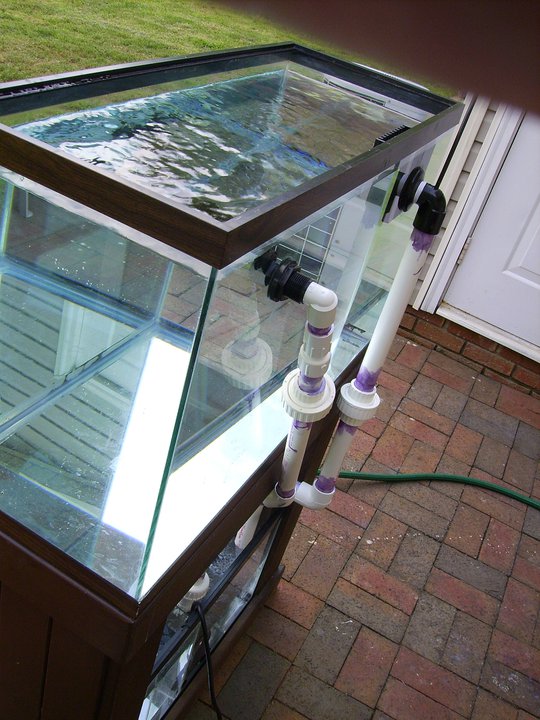
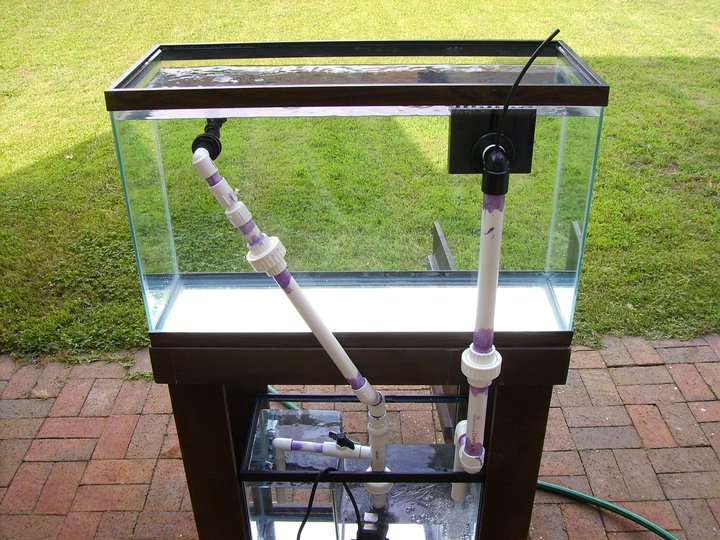
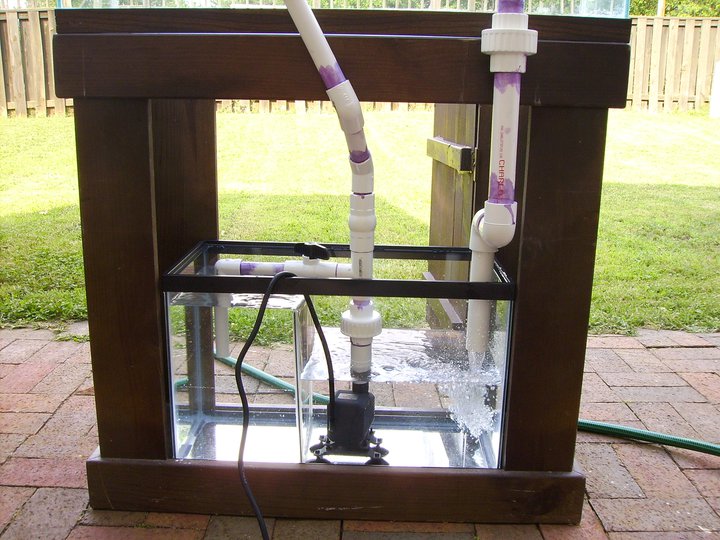
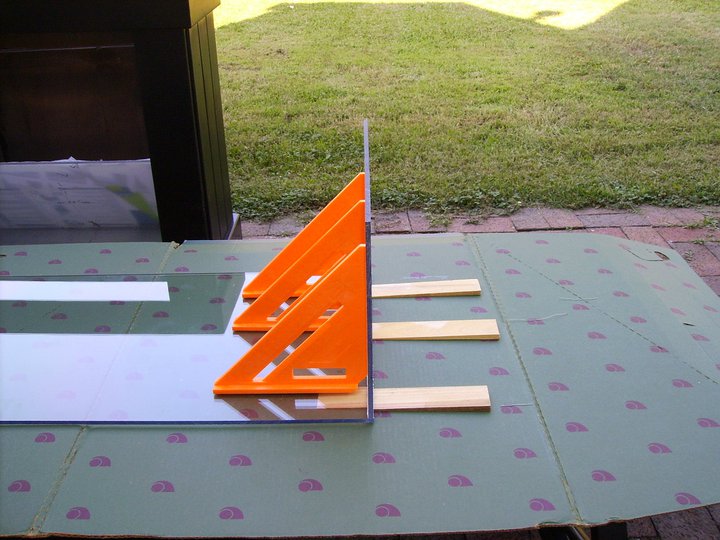
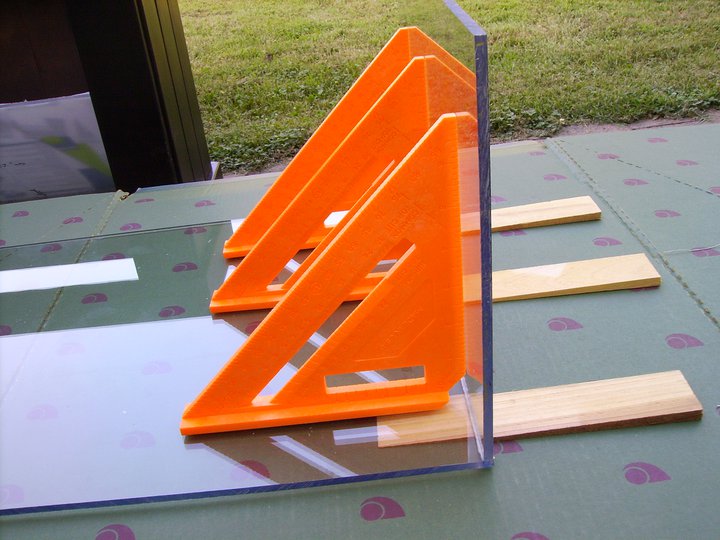
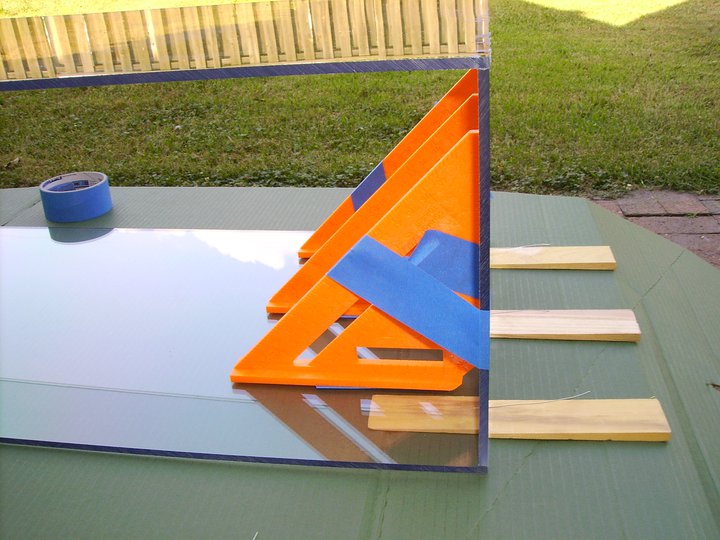
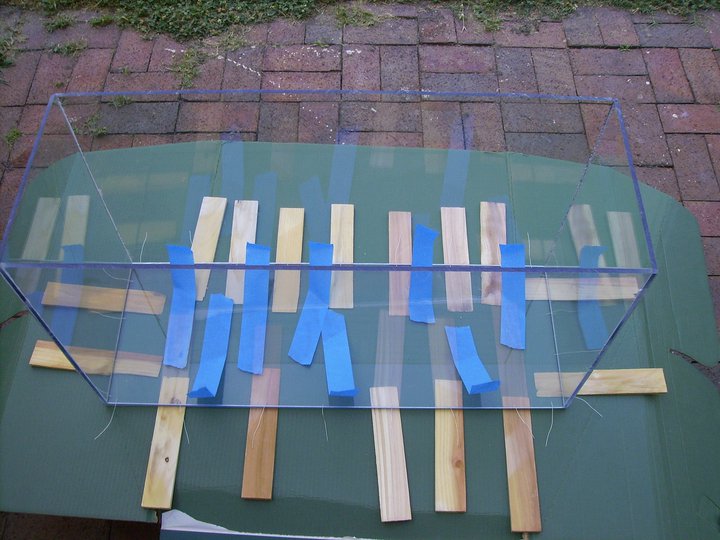
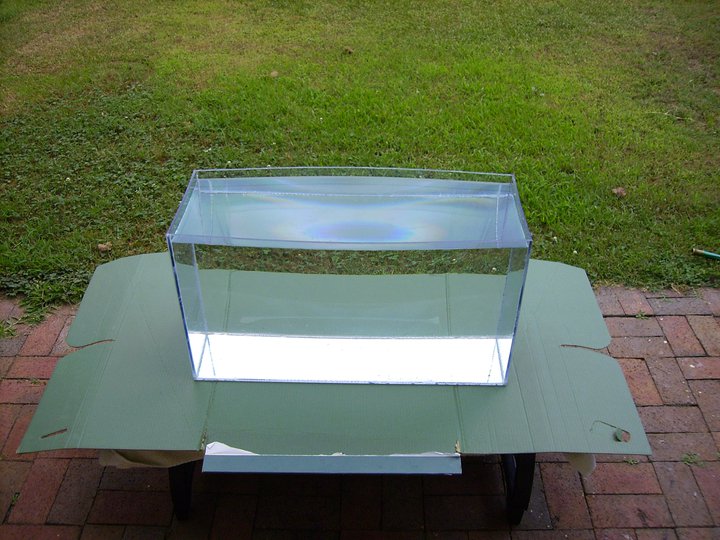
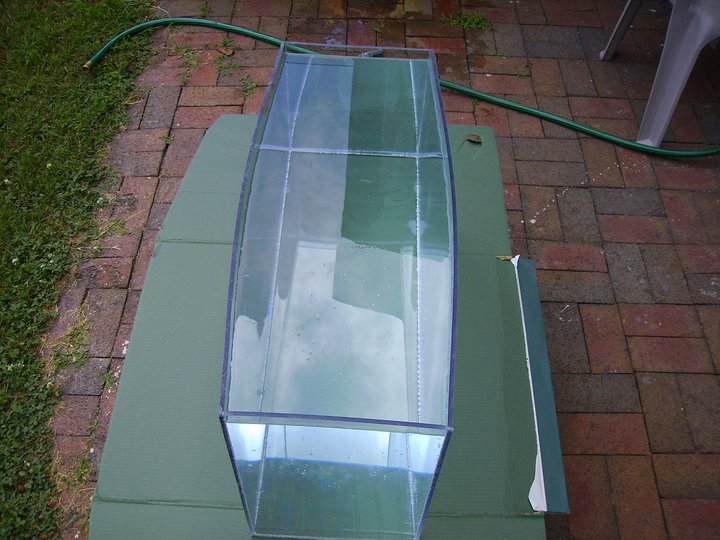
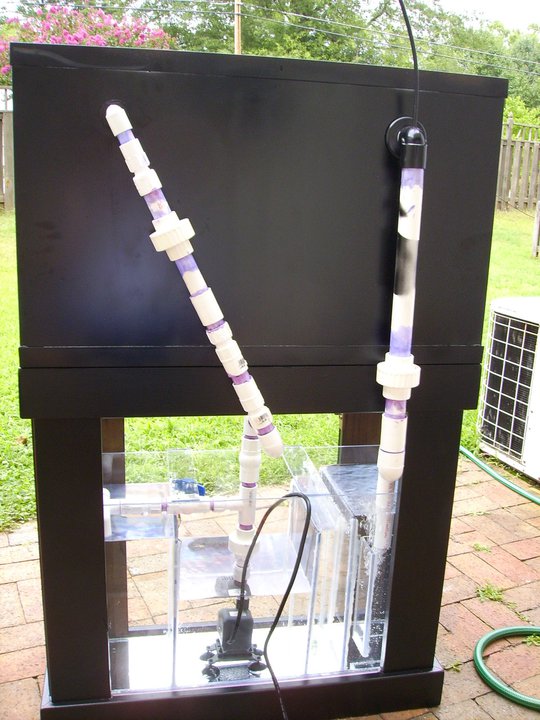
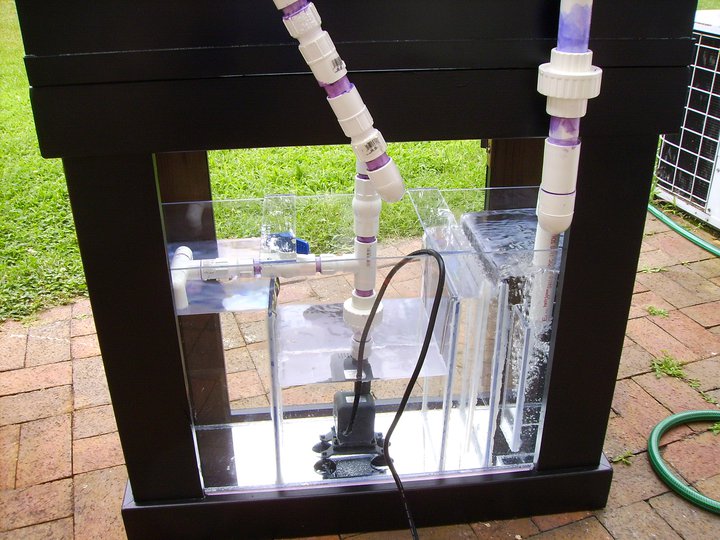
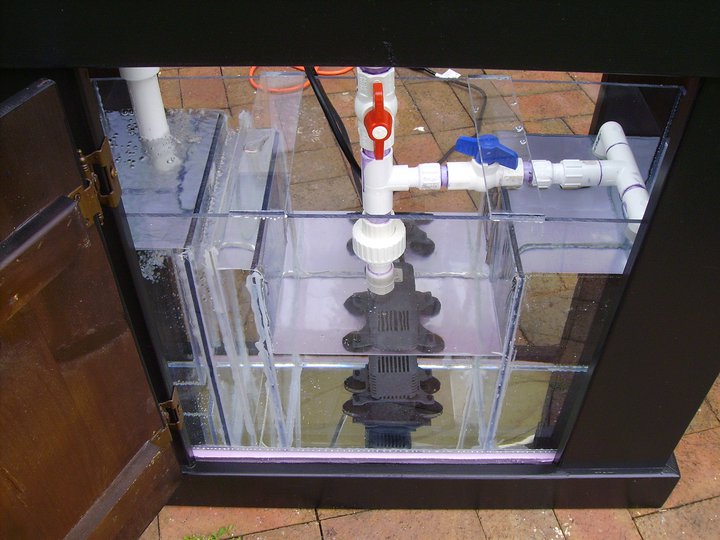
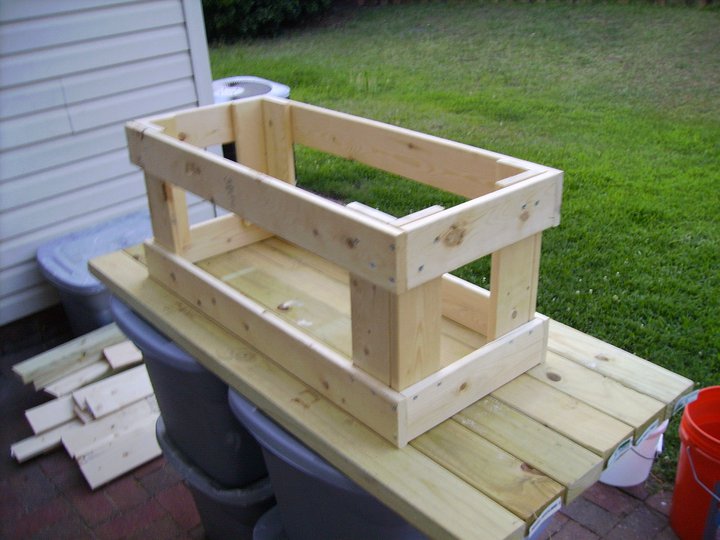
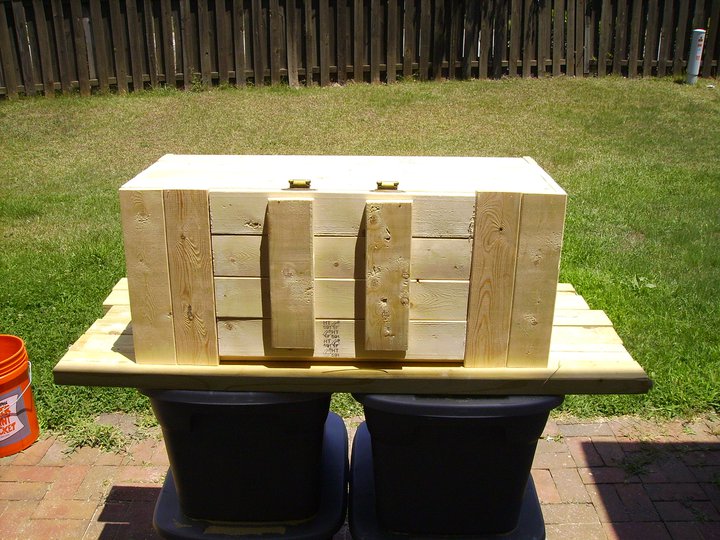
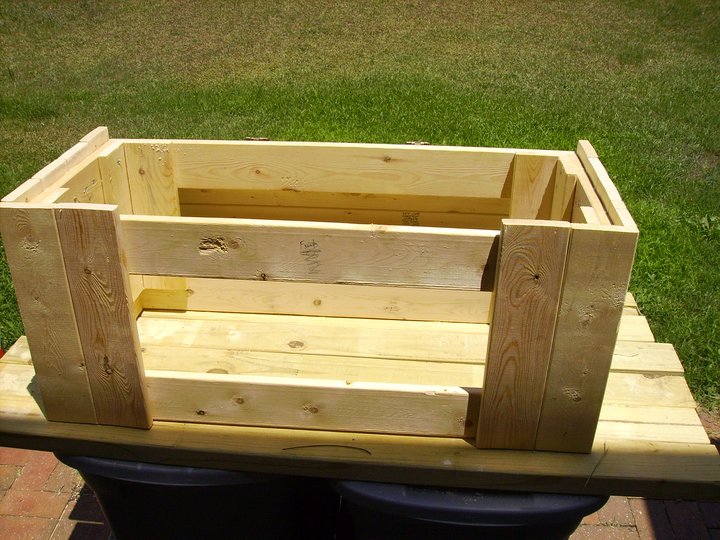
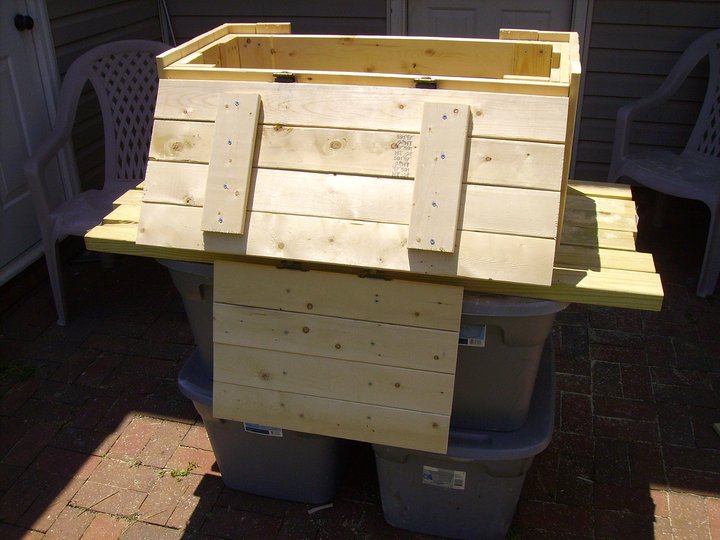
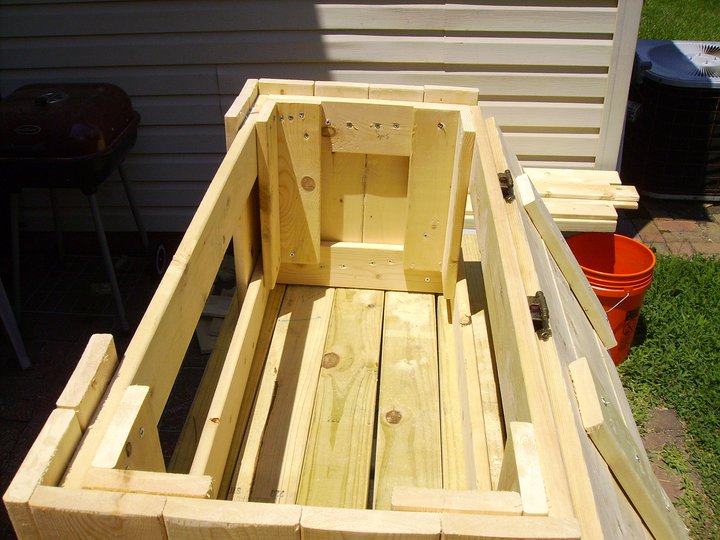
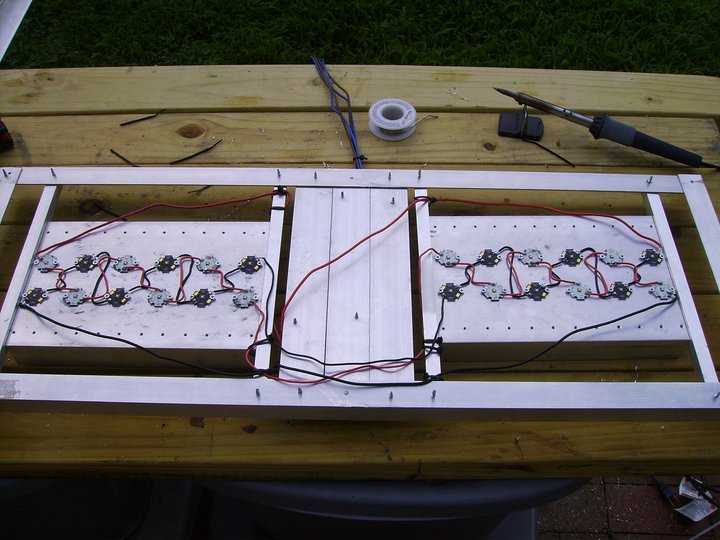
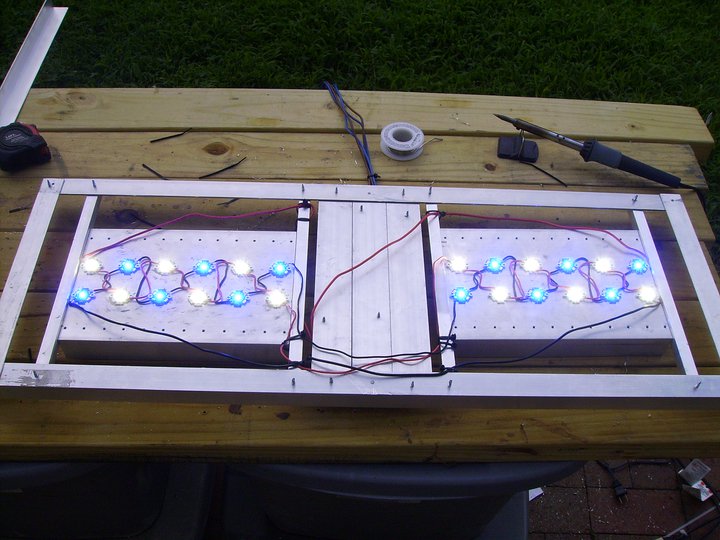
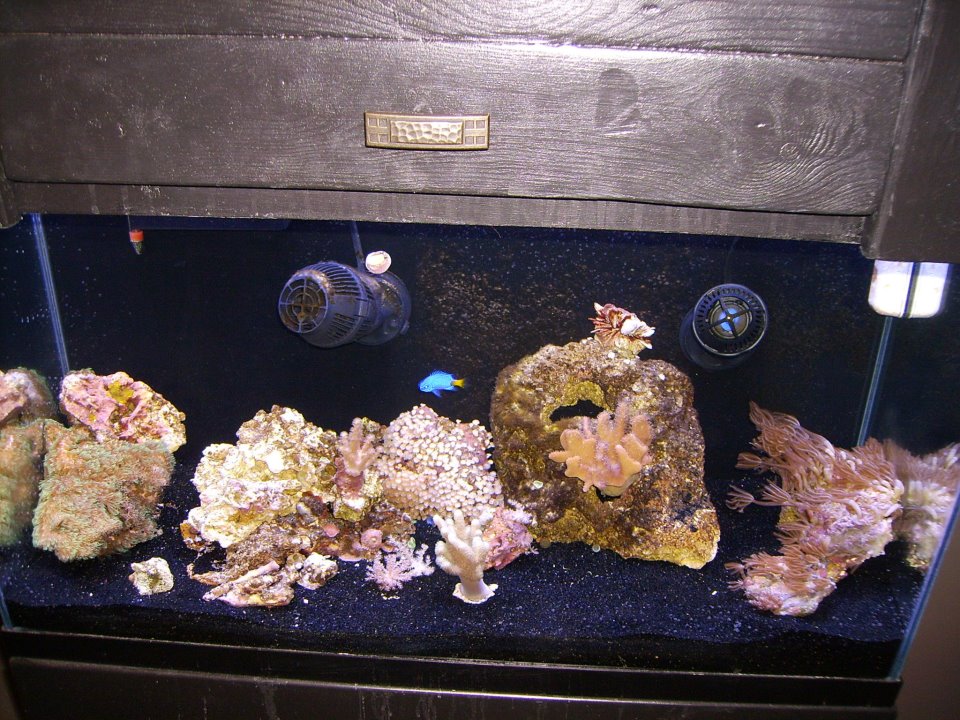
A friend of mine found a 30 gallon tank on the side of the road with a stand - free to a good home. I, being insane, decided I wanted to drill it, plumb it, fabricate a sump, build my own canopy, and fabricate an LED fixture for it. Now here I am 8 months later thinking I might do another one soonish and I wanted to capture what I did and especially the things I would do differently the next time around. Love to hear anyone's thoughts on what they see - I know I learned a huge amount but almost all the concepts came from the experts here so my hope is that someone might see things that eluded me.

Drilling, part 1
Tools used: Plumbers putty, holesaw and bulkhead from glass-holes. All told it's not that difficult to do. I made a point of following their directions and not pushing at all - just let the drill grind out the hole. Also, a battery operated low voltage drill seemed to work better than a corded drill. My brother had a fair amount of chipout because it drilled out so fast
Drill1.jpg


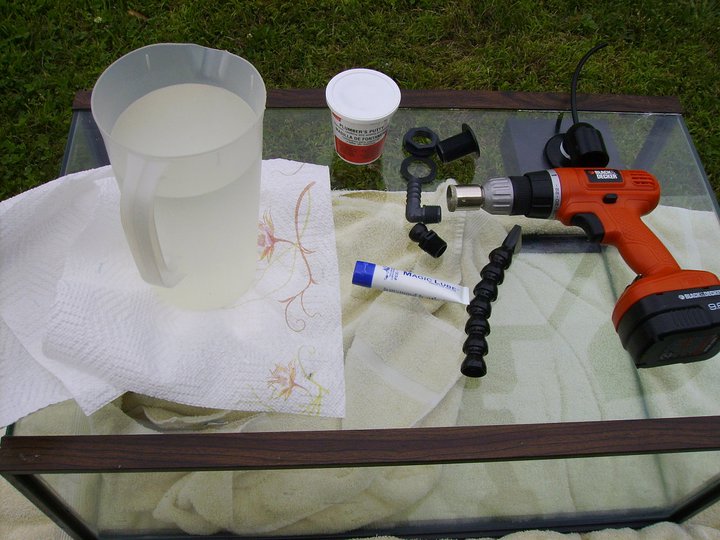
Pool of water using plumbers putty for cooling.
Drill2.jpg


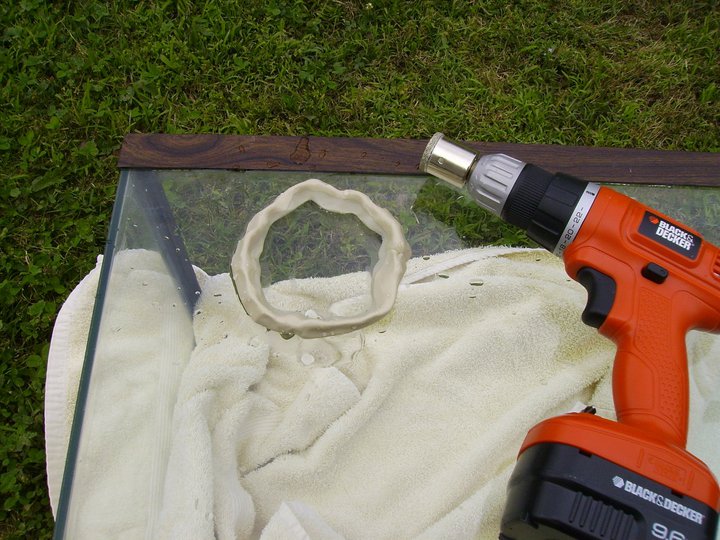
Holesaw has begun to grind the hole in. You can kind of see how the hole isn't perfectly round because it took a couple times to get the groove going. I should have made a piece of wood with the correct diameter that I could tape to the back and use as a guide - glass-holes sent one of those for the overflow but not the return.
Drill3.jpg


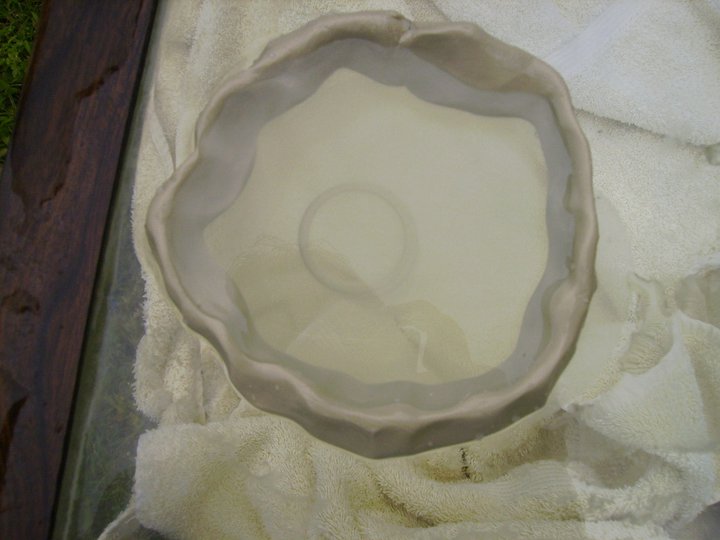
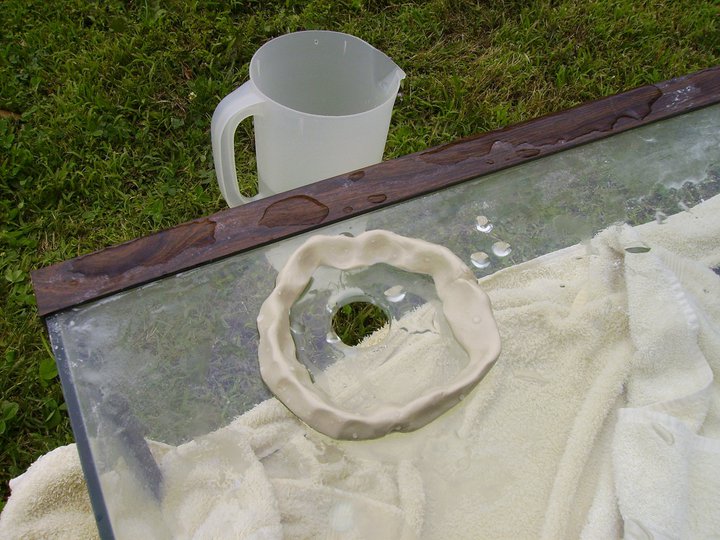
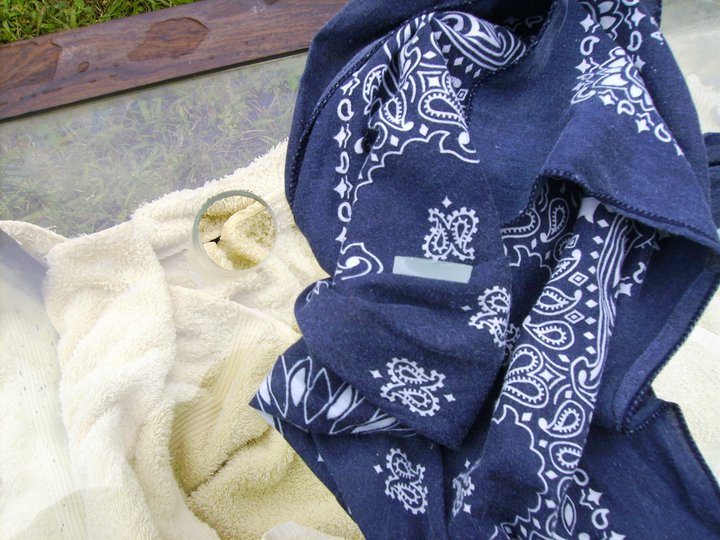
Broken through and the towels underneath caught the glass chip.
Drill4.jpg


Shot showing the thickness of the glass. This took about 15 minutes of slow drilling as I was paranoid about pressure.
Drill5.jpg

Drill6.jpg


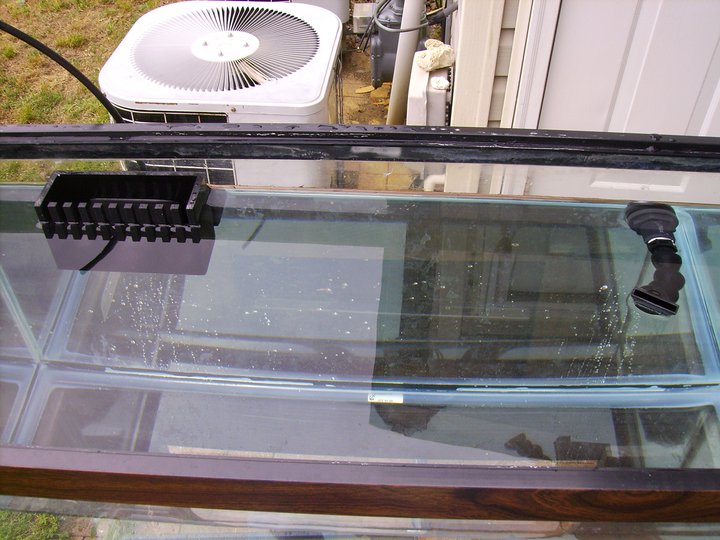
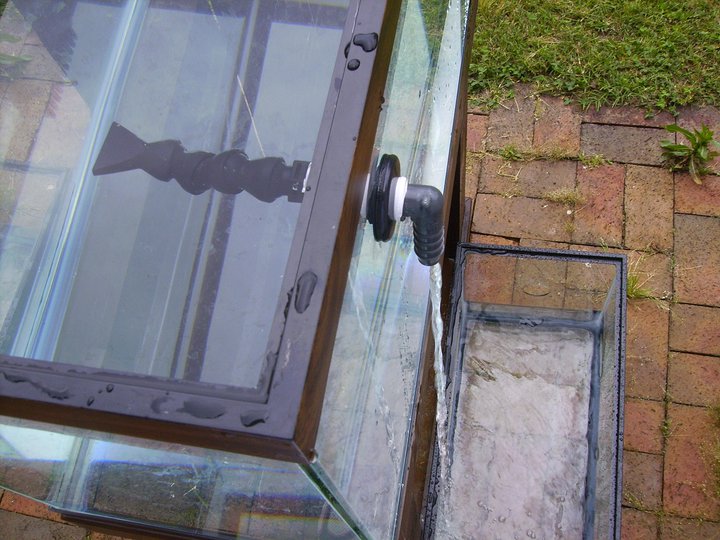
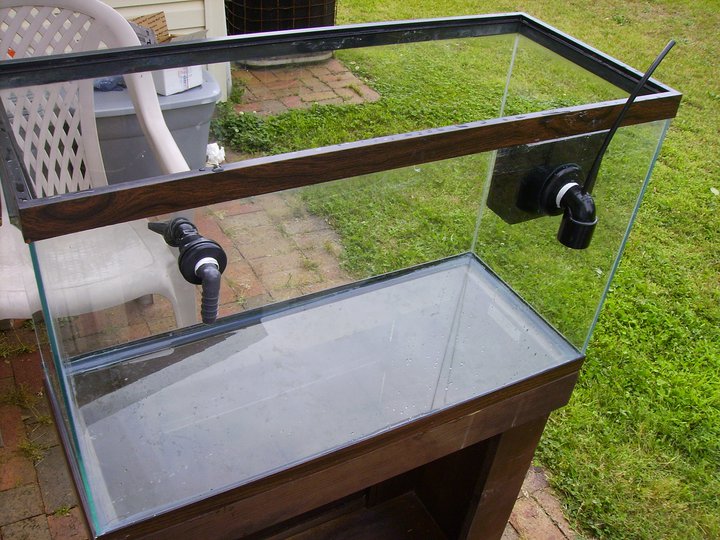
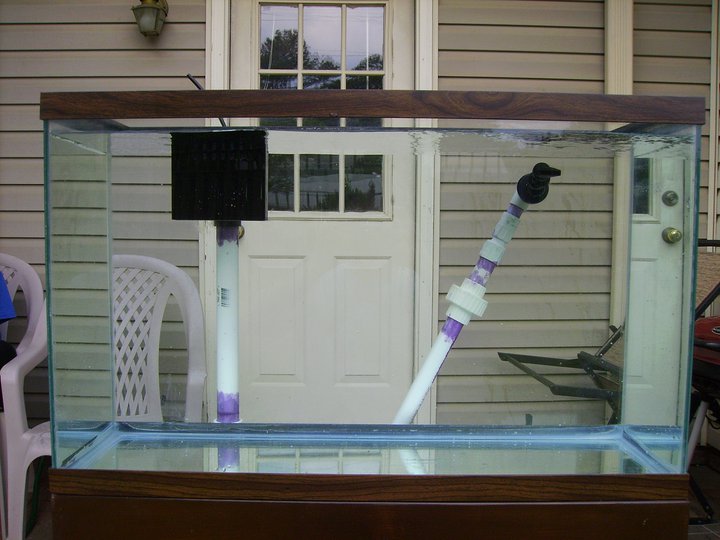
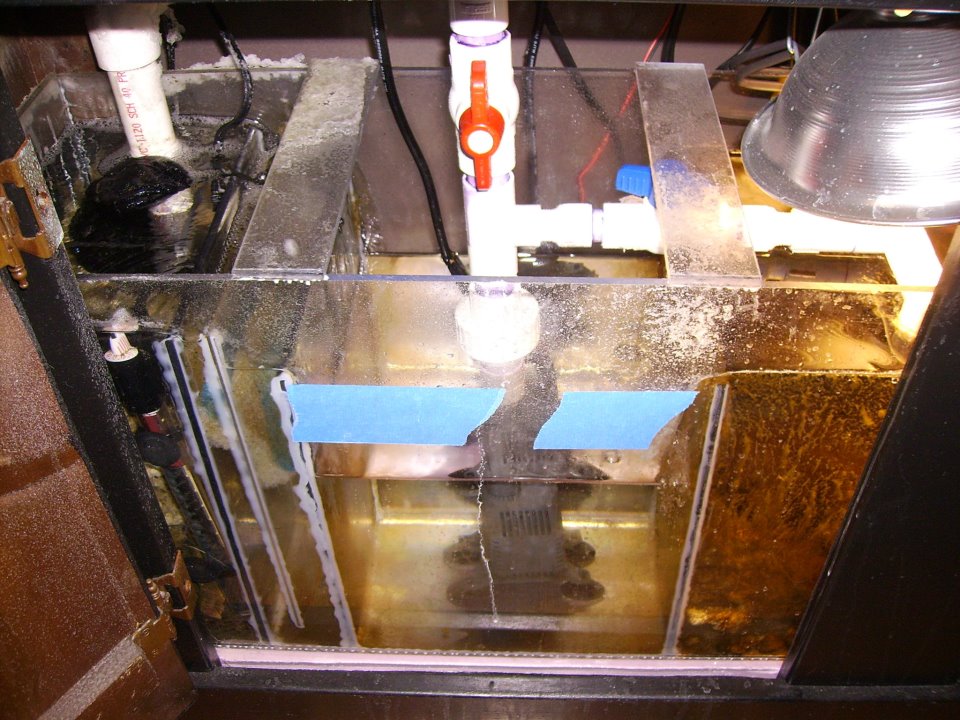
I put the bulkhead in wrong. Should have been flange/gasket on the inside and the bolt on the outside. Was fixed later.
Drill7.jpg

Drill8.jpg

Drill9.jpg
 
Plumbing
First off, I went a bit overboard on the PVC primer. Don't think it affects anything, but it looks a little unprofessional. Also, because I did rigid plumbing if I'd gotten a piece at the wrong length I could have had to scrap large parts of the return line. When I redid the plumbing I was able to put in a setup that allowed me to do a variable length pipe easily, which I describe further down. Both bulkheads should have been put higher up on the back to allow a higher water line and to lessen the suction through the return line on powerloss - I figure I could have gotten another 2 gallons of water volume if I'd went higher on the bulkheads.
Plumbing1.jpg

Plumbing2.jpg

Plumbing3.jpg


I put a T off the return that I can dial in to control the flow in the refugium to the right. I replaced this 10 gallon with a custom acrlyic further down.
Plumbing4.jpg


These bulkheads actually ended up leaking at one point, and I even cracked the return bulkhead twice. Then I found out about pipe join compound and problem was fixed.
Plumbing5.jpg

Plumbing6.jpg


I actually reworked the return line on the left. With this current build the length of the piping was important and if I got it wrong I would have to scrap major parts of plumbing. There's a solution further down when I replumbed for my custom sump.
Plumbing7.jpg

Plumbing8.jpg
 
Sump
I was able to get a sheet of 1/4in acrylic and this allowed me fabricate my own sump. Originally I could only fit a 10 gallon aquarium in the bottom of my stand but I had lots of vertical space left and a couple inches of horizontal. With this acrylic and Weld-On4 I made a sump that was 21 inches across, 9.75 inches front-to-back and 18 inches tall.

I used the pin (capillary) method - I learned almost everything I needed to know about this from Melevs Reef. Everything else I picked up from reading here on reefcentral, especially the massive acrylic thread here: http://www.reefcentral.com/forums/showthread.php?t=1056956. In spite of my reading I made one absolutely huge mistake with this - I cut all the acrlyic exactly to the length I needed! I completely overlooked the fact that Melev recommends leaving some extra space on your pieces that you can come back and route off later. It all worked out, though it doesn't look as clean as it could have. Hey, at least it sits inside the stand.

One thing that I think I did right, and that I would highly recommend, is to practice on some scrap pieces. The pin method is more difficult with less weighty pieces, but just getting some comfort with the materials and steps taken was a huge help.

I bought needle-tip applicators and Weld-On #4 from Amazon. I picked up wire from Hobby Lobby (just a spool of, I think, 20G wire, and the shims, painters tape, and squares from Lowes. The acrylic was cut with a table saw and a 70 tooth blade. It was no more difficult to cut than wood.

The plastic squares have their angles cut out to prevent smearing and contact with the corner.
Sump1.jpg

Sump2.jpg

Sump3.jpg


Keeping straight angles becomes much more of a problem by the end. I think if I had joined the edges with some extra on the sides that I could route off later everything would have went smoother.
Sump4.jpg

Sump5.jpg


Joining the base was especially painful as I didn't have any extra space for the edges. This part should have been a two person job but once the solvent was on I couldn't leave it long enough to get the wife to come help hold things.
Sump6.jpg


You can see on the edge that there's a little bit of melting on the outside of of the acrylic - this is where it stuck to one of my shims because I overdid the solvent.
Sump7.jpg

Sump8.jpg


You can see the bowing - this was 1/4 in. acrylic. I put two braces on the top that you can see in the following picture.
Sump9.jpg


And here's my sump with the baffles. Having never done this before I did not want to bond my baffles to the sides. It was hard to get a feel for the distances and things and I wanted to be able to start over. Instead I used some acrylic silicone (found near the acrylic at Lowes) to adhere the baffles to the sump. This acrylic silicone takes up to 2 weeks to cure and releases ammonia during curing - I let it sit for 3 weeks before adding water for the whole system. I have both a bubble tower and a bubble trap in this. The tower could have been taller, but I'm satisfied with the lack microbubbles and I do have room for a small skimmer down the road.
Sump10.jpg
 
Sump Plumbing
Now that I had replaced my 10 gallon sump with the custom acrylic one I had to redo some of my plumbing. I was able to salvage some things by using couplings. However, because of the height of the sump walls I had to use two 90 elbows. I'm still satisfied with my flow back to the tank though - I never had any intention of using my return pump as a major part of my display's flow and I oversized my return pump a bit just in case. Because I have the T off to the fuge I knew I could handle higher flow by letting more bleed into the fuge.

I modularized a couple things on this plumbing. First - my reducer from the 3/4in return pump outlet to the 1/2in return bulkhead was right before the bulkhead. I have unions on the return line, the drain pipe, and just above the return pump for cleaning. I should have put the union for the drain higher up as it actually hangs down lower than the bottom of the tank when it's not on the stand. I placed a male threaded adaptor on the line into the refugium so I could change how the water would enter the fuge. Currently it's a T with two 90 degree elbows to reduce the flow.

Here you can see that there's some extra connects on the return line after the 90degree angle and before the union. I placed a male end after each of these pieces. This allowed me to create a small Female to female pipe. Because I'm using rigid piping I had to get the lengths pretty close and this solution meant that I had one easily disconnected piece that I could use to vary the length. If I got it wrong it was just another small pipe with female ends that I could trade out.
SumpPlumbing1.jpg

SumpPlumbing2.jpg

SumpPlumbing3.jpg
 
Canopy
This was all 1X4 planking. It weighed a bit more than I expected by the time it was finished but it sits really tight on the top of the tank with support on all 4 corners. It was my first time working with wood so it's fairly basic. I should have actually made it about 1/8in wider on every angle as I had to sand the inside alot to get it to sit on the tank - I went a little too tight.

Just your basic box. You can see in the back left corner that there's actually space between the bottom of the horizontal pieces and the vertical butt joins. I had to do this to hide the top of the tank because the overflow was too low on the back - you could see the waterline under the tank trim.
Canopy1.jpg


Hated the front, ended up redoing with dowels between the horizontal planks and woodglue.
Canopy2.jpg


Also redid the hinges for the front with smaller piano hinges.
Canopy4.jpg

Canopy5.jpg


The idea here is that once the canopy was on I didn't want to move it much. Thus the wide opening in the front and the hinges to take the entire top up if I needed to...
Canopy6.jpg

Canopy7.jpg


Double hinged top and front let me have full access without moving the canopy.
Canopy8.jpg

Canopy9.jpg


Simple aluminum light fixture frame from stock aluminum at Lowes. I cut it using a jigsaw with a metal cutting blade and cutting fluid.
Canopy10.jpg


Here's my frame in the canopy. I'm using shelf brackets and I drilled extra holes so the height is adjustable. Turns out that part was pointless because of how my LED fixture ended up.
Canopy11.jpg
 
LED, part 1
Easily the most fun part of the whole project, but also the one that required the most research. I lost count of the number of LED threads I read here on RC. As I know next to nothing about anything eletrical I had to learn from the ground up and it all came from here.

My biggest mistake here is that I didn't do a dimming circuit. My thinking at the time was I didn't have a light meter and more light is always better. I also thought I'd be able to adjust the height if I needed to. Unfortunately, I wish it were a little less bright. 24 3W LEDS, 1/2 cool white and 1/2 royal blue is too much for the softies and LPS I want to keep and the fixture ended up being too tall for me to adjust the height.

I bought the LEDS, the drivers, and pre-drilled heatsinks from RapidLED. I was very happy with what they sent me. For the soldering iron I picked up a 40W from radioshack for like 15$. It lasted long enough for me to do the whole project but I already have some cold spots on it and would have to buy another one the next time I do a fixture. Wire (20G solid, not stranded) and rosin core solder also came from radioshack.

I had never done soldering before so I wanted to practice. This was a little DIY kit from radioshack for 10 bucks. It let me get comfortable with the concept and movement of soldering before I tackled the LEDs
LED0A.jpg

LED0B.jpg


This little guy just flashes lights when it hears noise and has a potentiometer to control the sensitivity.
LED0C.jpg


And the top of my light fixture once it was completed. I drilled holes on the side of the heatsinks so that I could sink screws in to hold the front-to-back aluminum angles and and I attached those to the frame. The drivers are sitting on flat aluminum stock.
LED1.jpg


I wired each set of 12 in series. Notice I actually picked up an oversize heatsink because I wanted to be lazy with cooling. In the end I decided it was still a little to warm (I couldn't leave my had on the heatsinks for more than a couple seconds at full heat). I did end up wiring some CPU fans for cooling further down.
LED2.jpg


I didn't use optics because I wanted maximum dispersion - and yet still so bright! Loving LED lighting, don't see myself ever going back.
LED3.jpg


Some 1/16in. acrylic as my splashguard. Being held with yet more angled aluminum. Using a hacksaw to chop the tips of all the metal screws I used to make room for this guard probably took 3 hours with a hacksaw. I really considered buying a dremmel just to cut the stupid things. You can see all the screw tips in the previous pic.
LED4.jpg

LED5.jpg
 
LED, part 2
Because my canopy is very tight, by design, so I could get jumpers and possibly an eel down the road I need a way to force air into it. 3 80mm CPU fans from newegg wired in parallel to a DC power converter with the correct voltage I just had lying around gives me my cooling. These fans are actually a little loud and I probably should have gotten an under driven DC converter. It's not much louder than cooling fans I've had on Power compact fixtures or the splash of the water hitting the sump, but something to mention. I did learn that the voltages being dealt with meant I couldn't just wire in a potentiometer - the wattages are too high. There are circuits that can be built to vary the wattage tot he fans but I felt it was a bit beyond me.
LED6.jpg

LED7.jpg


Used some acrylic for the saddle of my fan contraption. Put some stick-on velcro on the saddle and the fan holder to keep it in place and prevent rattling. I also drove an eyebolt and attached a bungee to the side - this lets me hold the front open while I'm working in the tank.
LED8.jpg


And, here's the tank in it's home. Between the plumbing and the DIY acrylic I was worried about a leak so I ran RO water in the system for about 3 weeks before salting it and adding livestock.
LED10.jpg
 
Complete
2 Months after setting everything up and loving it!
Complete2.jpg


Sump is looking good - blue tape is the maximum fill line in case the power is cut. Lighting is just a cheapo shoplamp from Lowes. I've got a CF equivalent of a 100watt bulb in it. You can also see the pink insulation I put under the sump to equalize the pressure against the stand. I need some snails in the sump so I can see what's going on, but there is a piece of Red Gracilaria that I picked up from my LFS. It doesn't toss and turn like it's supposed to so I'm not seeing fantastic growth but it's still alive and kicking.
Complete3.jpg


The only way I could get a good picture was with my flash so it completely washes out the amazing color from the LEDs. You can see my palys in the middle at the back are tightened up from the light they're getting. I'm hoping as time goes on they'll adjust. My leathers also don't get full polyp extension because of the light and my zoas are still adjusting as well. My GSP and Anthelia are loving it though. They're now segrated away from everything else because they just grow too much. The black sand was good in theory but it's magnetic and likes to stick to my magfloat. Also, every piece of white sand or detritus really shows up on it.
Complete4.jpg
 
That free tank sure caused you a lot of work:eek1:! Nicely done. I like your DIY led setup. How big are those fans (cfm)? I assume they solved your heat issue?
 
This is the most detailed thread I have seen in a long time. Awesome build and very informative. You just taught several new people how to build a complete and nice setup
 
@chamjack - Yeah, complained to my friend a number of times that he was destroying my wallet. Then I buy him beer in thanks. He's gotta be confused ;)

The fans I bought were the cheapest I could find at the right voltage. They did fix my heat problem, and it looks like they do ~31 CFM per. I can now leave my hand against the heatsinks and they are basically lukewarm.
Fans here

@Curve - Thanks! Hope it is helpful for someone, nice to give back to the site that taught me pretty much everything I know about this hobby.
 
looks good man, well done...

the canopy looks a little top heavy, but it certainly suits the needs...

and just an FYI: your bulkheads can be installed in either orientation, so long as the gasket is against the flange, whether they are inside or outside the tank doesnt matter
 
@NanoReefWanabe - Thanks! yeah canopy does look a little off, the wife keeps pointing that out too. if I had it to do again I would custom build a stand that was the same width as the canopy. i think if I had done that I could have also just used a 20 gallon tall for the sump and gotten slightly more volume.

Canopy is the thing I'm least satisfied with. I would have liked to do a deep red or ebony stain on the wood and then put polyurethane on it rather than the semi-gloss paint. Stand and canopy with that would have looked much nicer and shed the saltwater better.

I did have the bulkhead put together ok then! It looks much smoother with the flange on the inside though so I'm happy.
 
Great thread, thanks for all the documenation on the plumbing, working on mine this week w/ a glass holes kit and love the step by step. The drilling on mine was surprisingly easy as well.
 
That's a crazy amount of PVC fittings. :)

I don't think I have that many on my overflow/split-return and my closed loop combined. :)
 
Back
Top