Snootch's 55G Reef Savvy Semi Cube

Hey Snootch, awesome build. Tagging along on this one!

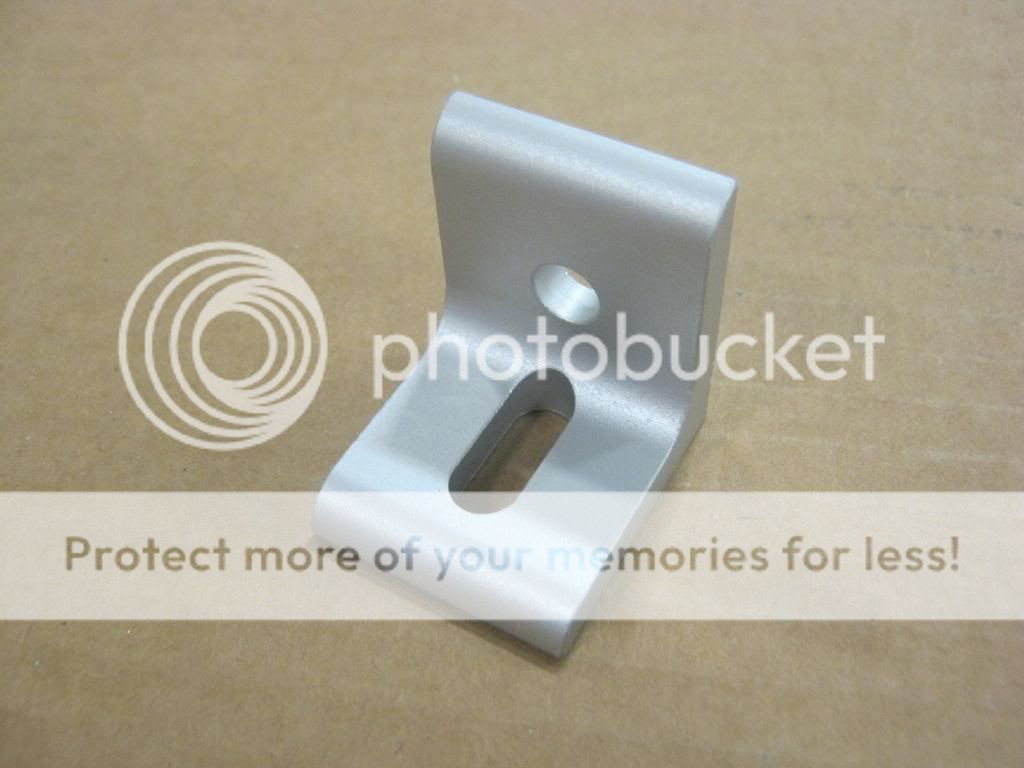
Quick question, where did you get your acrylic probe holder mount? I've seen this before, but can't remember the brand.


ReefObsessor, thank you.

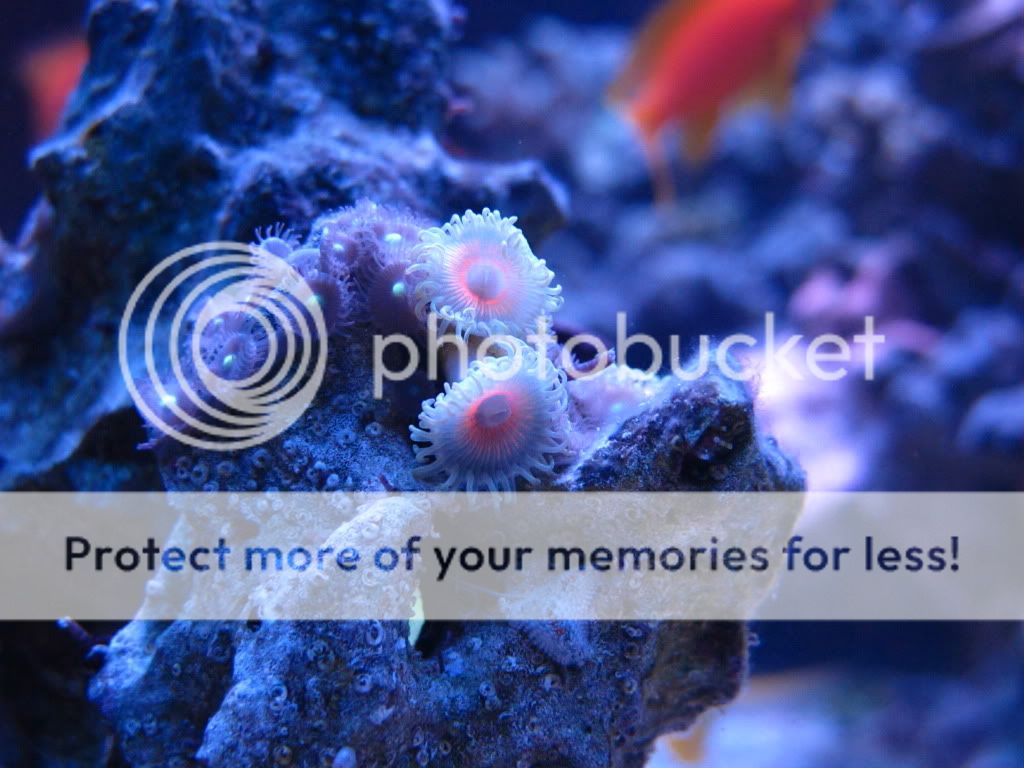
The acrylic probe holder is made by Eshopps
btw. Marine Depot has it on special for the month of June promo code ESHOPPSMAG


Will do, I am in the planning stage currently and trying not to get overwhelmed with all of the decisions! I like to research too much:) Once I start building I will be sure to post. I had a 55 gallon and then a 14 gallon bio cube years ago and I half asssed both of those tanks, cut corners and they never turned out how I wanted them to. This one will be different and I am trying to gather as much info as possible beforehand.

-What color stain did you go with? I showed my wife your build and she was very impressed with how clean it all looked and she liked that brownish red color.

-where did you purchase those hinges?


Look forward to following the progress of your tank.

biocubesquared, sorry for the late response.

The stain used was Minwax Bombay Mahogany.
http://www.minwax.com/wood-products/stains-color-guide/

I recommend that you look into other stains as this particular one is by far the worst stain I've ever had to work with. I've tried multiple techniques of applying it, all with poor results. It took me 2 days to build the stand, 2 days to prime and paint it inside and over 2 weeks to get it stained. The finish you see consist of over 10 coats of stain and even thought it turned out OK it's not the finish I was after.


I got the hinges from WoodCraft.com
http://www.woodcraft.com/Product/2001060/943/Blum-110-Deg-Face-Frame-Euro-Hinge-Face-Mount-Pair.aspx
They work quiet well for this application.
 
Last edited:
Thanks for the link to the hinges. The tank and stand look great.

-What are the size of the baffles in your sump and how did you decide on that? Did you determine water height in the sump based off ideal skimmer height?
 
Last edited:
Your LED light fixture is honestly one of the most creative and interesting pieces of equipment that I have seen in a while. I am surprised that more people haven't started making LED fixtures out of the aluminum t-slot framing. I took a lot of your ideas if you don't mind.
I saw that you used the Kapton Polyamide tape on the 1003 profile (also a great idea) and screws to hold the LEDs on. Did you also use any thermal adhesive under the LEDs or are they just held on with the screws? Also, what size are the screws (if you know off the top of your head).
Did you order your fan from Rapid as well?
Lastly, is there anything that you would change about your LED fixture if you had to do it again?
 
Thanks for the link to the hinges. The tank and stand look great.

-What are the size of the baffles in your sump and how did you decide on that? Did you determine water height in the sump based off ideal skimmer height?


That is precisely how I determine the baffle height. The skimmer I'm using runs best in 8-9" of water so I used 9" high baffles You can always try raising your skimmer to see if it performs better. It's essential that the water level in the skimmer section of your sump is constant or you'll always be chasing the optimum skimmer settings.
It's also important to note that you make sure to adjust the return nuzzles in the display tank so the sump can handle the drainage from the aquarium when the pumps are shut off without overflowing. IMO this is the only sure way of preventing your sump from overflowing. The other methods ( check valves, small holes in a return pipe ) have failed me in the past.

2012-07-17_010622.jpg


Your LED light fixture is honestly one of the most creative and interesting pieces of equipment that I have seen in a while. I am surprised that more people haven't started making LED fixtures out of the aluminum t-slot framing. I took a lot of your ideas if you don't mind.
I saw that you used the Kapton Polyamide tape on the 1003 profile (also a great idea) and screws to hold the LEDs on. Did you also use any thermal adhesive under the LEDs or are they just held on with the screws? Also, what size are the screws (if you know off the top of your head).
Did you order your fan from Rapid as well?
Lastly, is there anything that you would change about your LED fixture if you had to do it again?

Thank you, but I can't take the full credit. I used nuclearheli build as a reference.

http://www.reefcentral.com/forums/showthread.php?t=1975251

And to answer your questions:
If you choose to go with the Kapton Polyamide tape you should only use the thermal adhesive under the LEDs. Using the screws along with the tape is completely missing the point on electrical insulation. Originally, I built the fixture using the KP tape and thermal adhesive but later decided to use 2 parallel strings of 12 RB LEDs on a single driver. That forced me to move a lot of LEDs around to match the strings the way I wanted. Lifting up an LED that's attached to the tape with the thermal adhesive is a major PITA. That's when I decided to drill and tap the 1003 extrusions and only use the thermal paste this time.

I got the 4-40 allen head screws and plastic washers from ReefLEDLights
http://reefledlights.com/shop/4-40-allen-head-screws-black-qty-50/

The fan used was a XIGMATEK XLF-F1253 120mm that I had left over from my water cooled PC build.

If I had to do it again?.....hmmmm. I was very tempted to redo the whole fixture making it a little longer this time so that I can incorporate 2 ATI dimmable T5 ballasts and 4 24" ATI bulbs and ATI reflectors. I was also going to remove the 12 CW LEDs which I never use. I much prefer the look of 12NW/24RB and even with 36LEDs I can't crank them past 40%W/80%B without burning the corals.

But I noticed that my SPS corals finally started coloring up and the growth started to take off and I don't want to mess with it for now. Considering it only uses 72W @ the above settings and virtually NO heat I'm exceptionally happy with it to say the least. :spin1:
 
Snootch, thank you for the detailed responses about the allen head screws and model # of the fan you chose to use. I think I will stick with using the Polyamide tape and the thermal adhesive mainly because I think it looks good and in theory it should protect better from an electrical insulation standpoint. And from what it sounds like based on your experience, the LEDs will stick extremely well using just the thermal adhesive and the tape. I just have to make sure that I carefully plan the layout as it may be permanent.
About incorporating T5s into your LED fixture, I have already constructed the frame to allow space for them. Good idea to incorporate the dimmable T5 ballasts...now you got me thinking again!
It's great to hear that your SPS is looking good and I can certainly understand why you don't want to change anything now.
With that being said, if you are ever interested in selling your current fixture I would certainly be interested in buying it! It looks like a work of art!
 
jrlim,
I just used four 10 Series inside corner brackets like the one pictured below to bolt the light bars to the back of the stand.
Sorry, I don't have a picture to show how it turned out.

KGrHqRlgFBl-ZuLVSBQbJ3jS5oQ60_57.jpg
 
Tank/Setup Design is second to none. Very impressive. If your coral choice is as good as your overall setup you will deft have one of the top tanks on RC IMO. Love the pics of the zoas. I would add some hammer/frogspawn mixes to the tank. Would look great IMO.
 
wow i would love to buy the led light from ya. it look so slick and clean and black. how much would u charge if you was to build one and ship it to me?
 
Tank/Setup Design is second to none. Very impressive. If your coral choice is as good as your overall setup you will deft have one of the top tanks on RC IMO. Love the pics of the zoas. I would add some hammer/frogspawn mixes to the tank. Would look great IMO.

Hello Lpabsolute,
Thanks a lot for viewing and the kind words. I still have a ways to go before I'm somewhat satisfied in the coral department
I'll be moving in April so I haven't added anything to the tank recently.

wow i would love to buy the led light from ya. it look so slick and clean and black. how much would u charge if you was to build one and ship it to me?

Thank you for the complement dorky,
For the amount of $$, time and effort I put into this fixture you could easily buy a brand new, middle of the line LED fixture like Ecotech Radion. But if that's your cup of tea, it's really not that difficult if you have the time and basic power tools. It sure as hell is a lot more fun and rewarding than just slapping down a credit card and waiting couple of days 'till the brown truck pulls into your driveway.


Epic build my friend. Love the LEDs

Thanks a lot. Glad you like it.

I'd love to see some more pictures please. How bout some sump pics :)

I haven't changed much inside the stand with the exception of upgrading the skimmer.

Here you go:

IMG_1502.jpg


This is what it looks like today
IMG_1876.jpg
 
is there a led thread build or make a list of material that you use to make it happen? cuz i would like to do something like this on my 40g
 
MimicOcto8 and yukyuklee , thank you.

dorky, sent you a PM.

Lpabsolute, I already have a small hammer in the tank.

IMG_2752.jpg


I need to look into a better digital camera. This Canon G11 doesn't do very well with close up shots.......at least not in my hands. What's a good starter DSLR Camera under $500?

greenpolyps.jpg


IMG_2762.jpg


IMG_2759.jpg
 
Back
Top