Zachtos 300G SPS reef build (Wisconsin)

zachtos

Active member
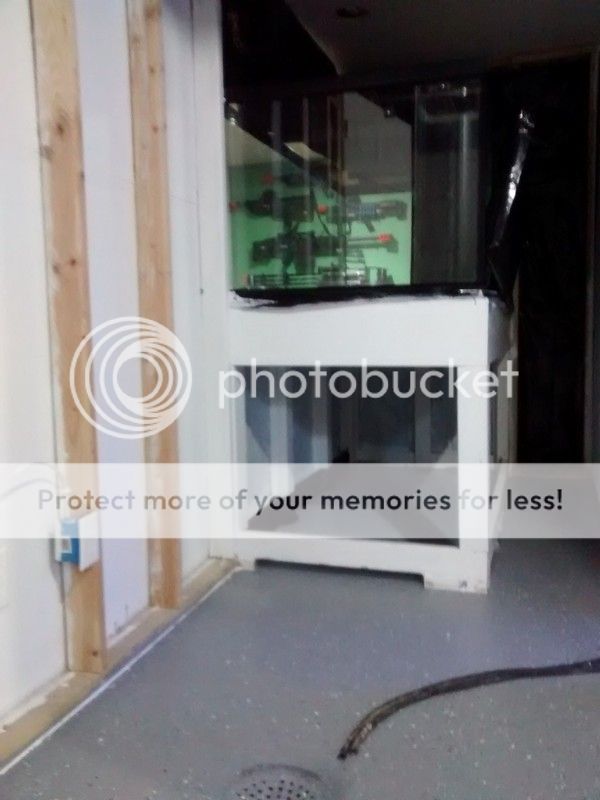
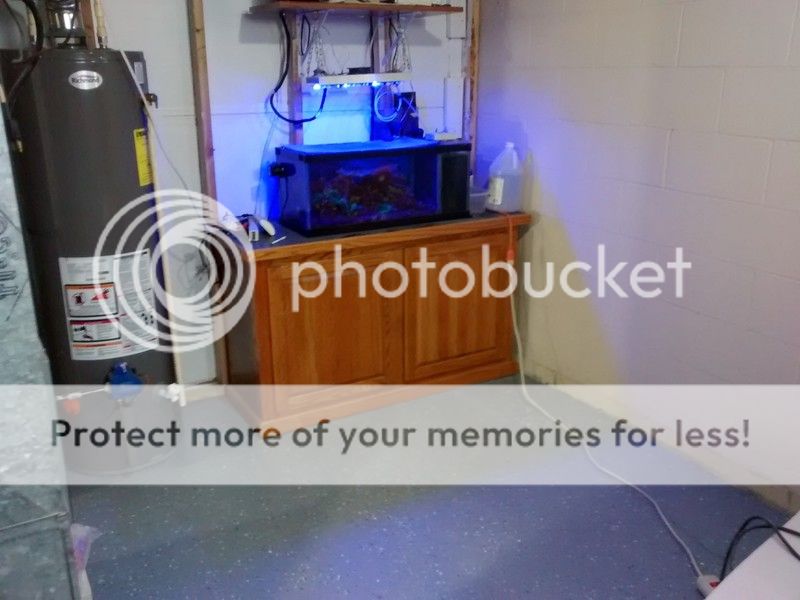
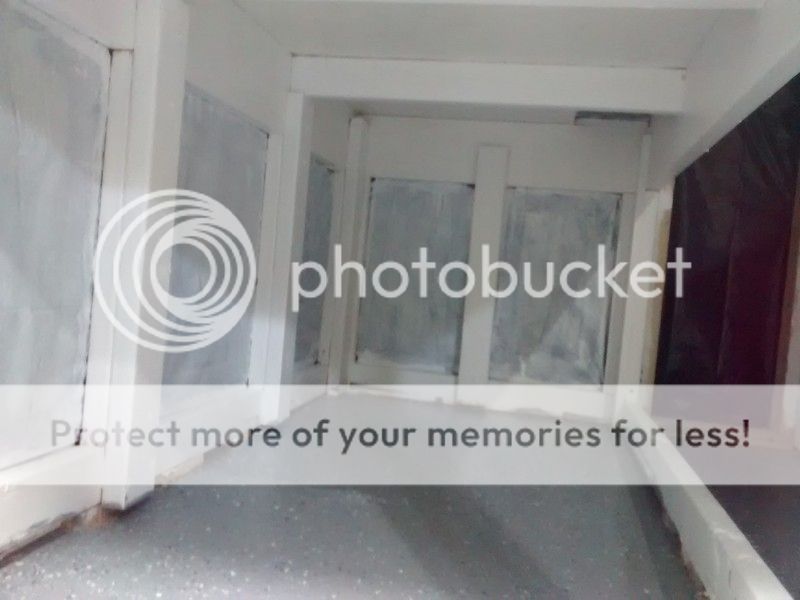
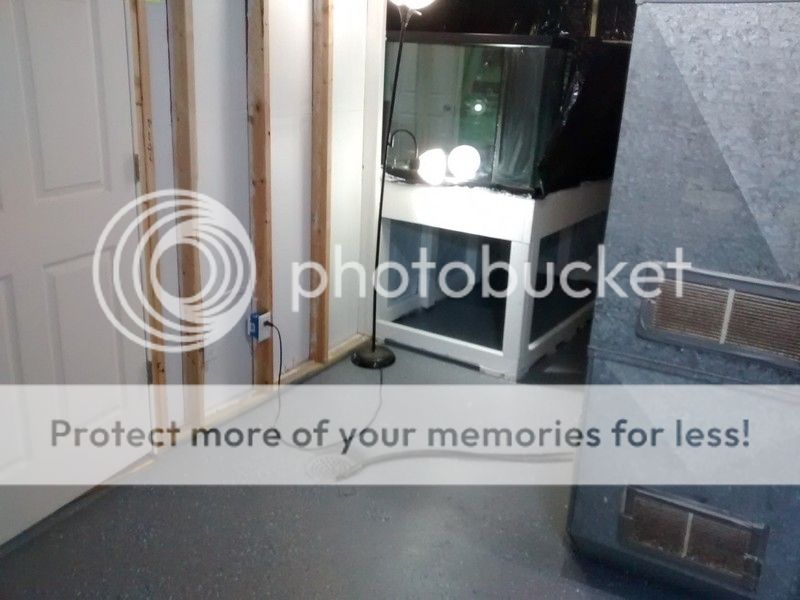
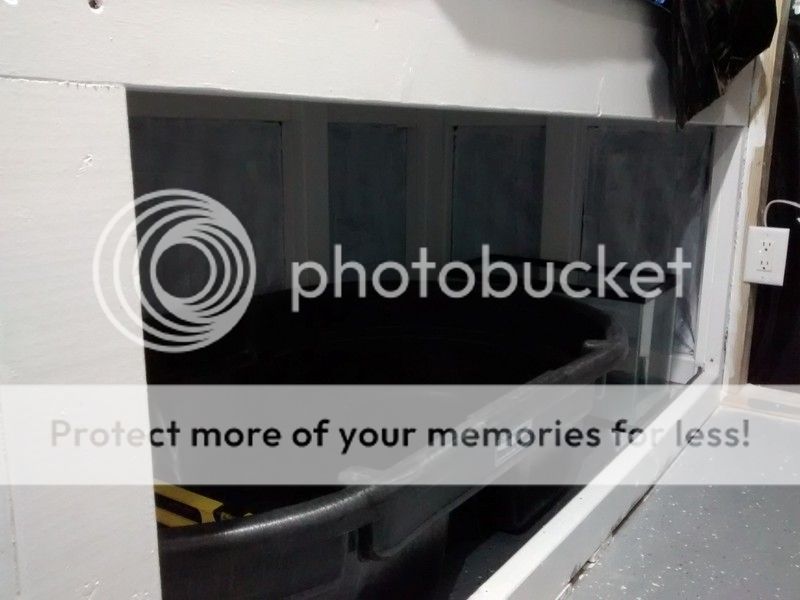
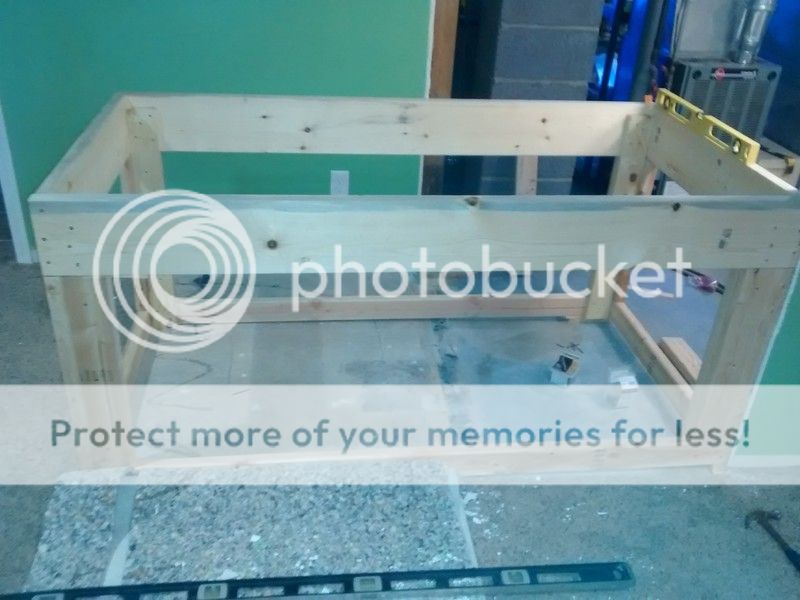
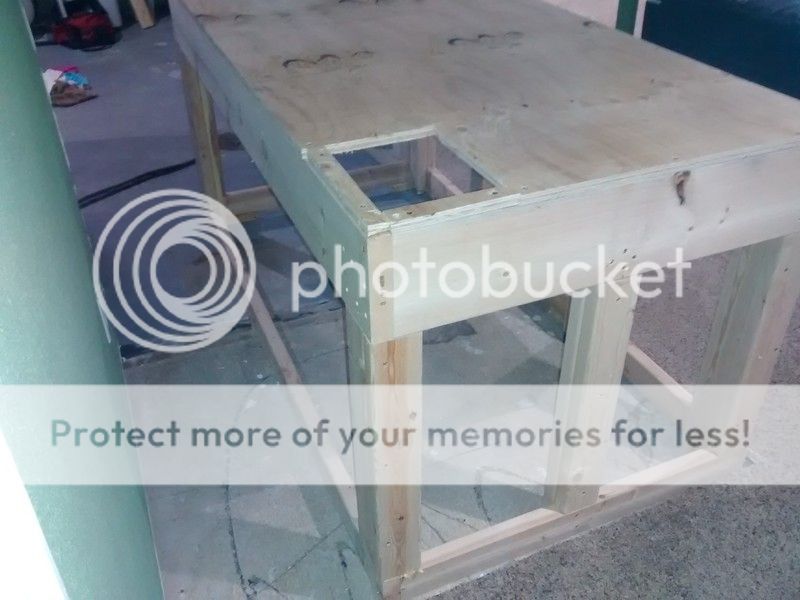
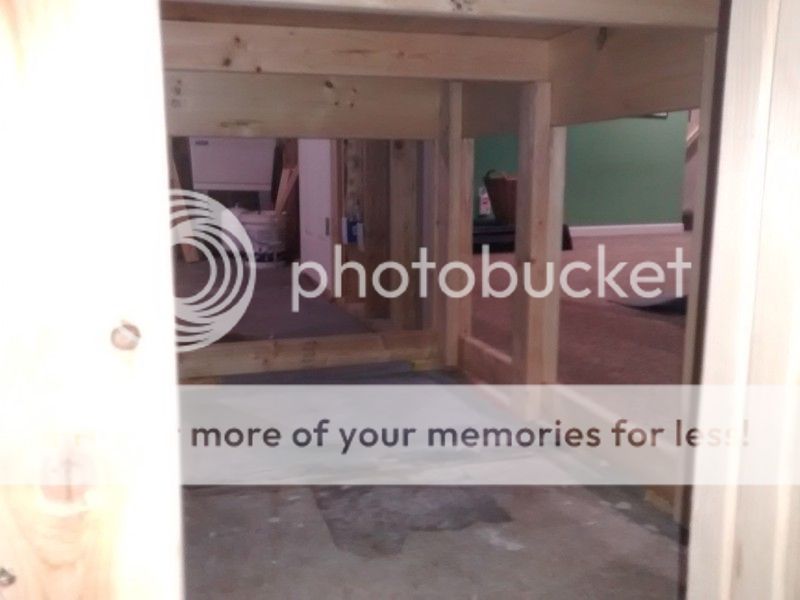
The tank partition/stand build progress

IMG_20160629_204509851_zps0uu1tbkd.jpg


IMG_20160622_205241526_zpsz0226g14.jpg


IMG_20160626_200646753_zpsznbz3lb4.jpg


IMG_20160626_235056395%201_zpse5unbxos.jpg


IMG_20160622_205324995%201_zps7mreceut.jpg


IMG_20160626_235122189_zpsleuxzxmy.jpg


IMG_20160626_235128190_zpskx6pjokt.jpg


IMG_20160628_210131500_zps8ibjqpx4.jpg


IMG_20160622_205341720%201_zpspaxrykw8.jpg

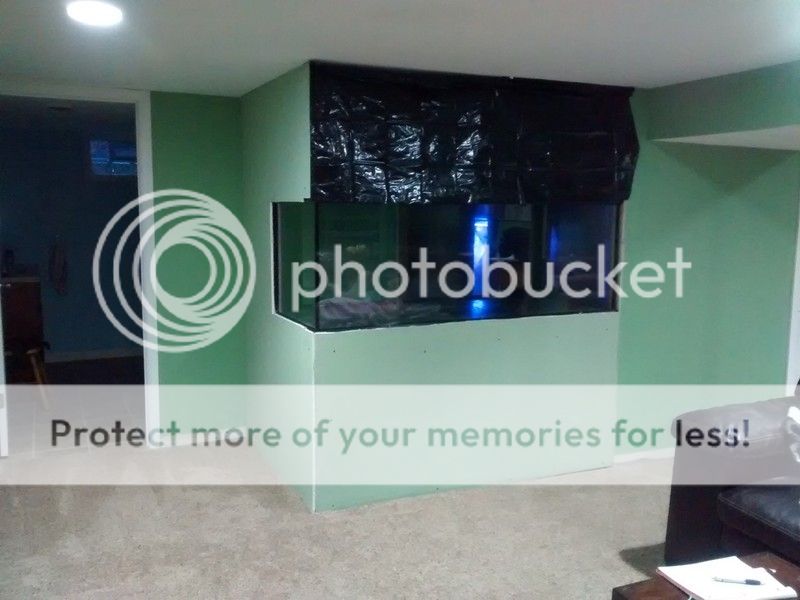
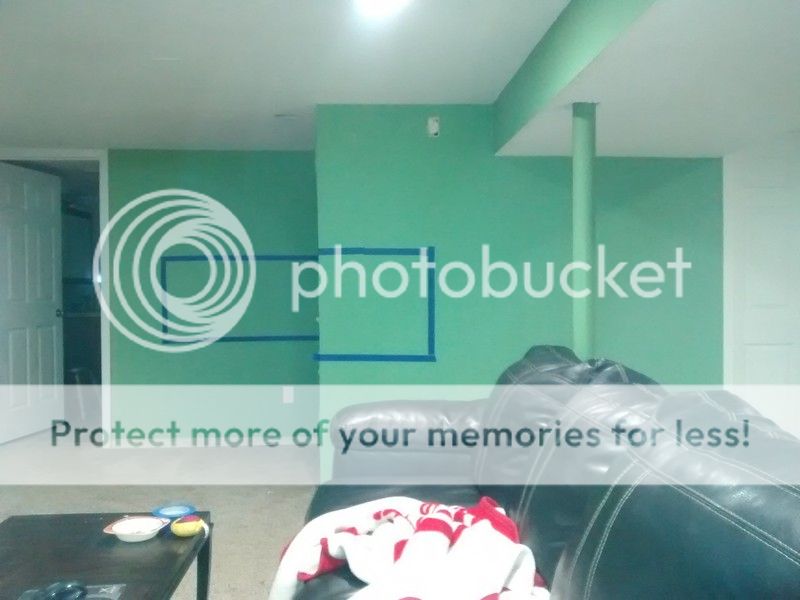
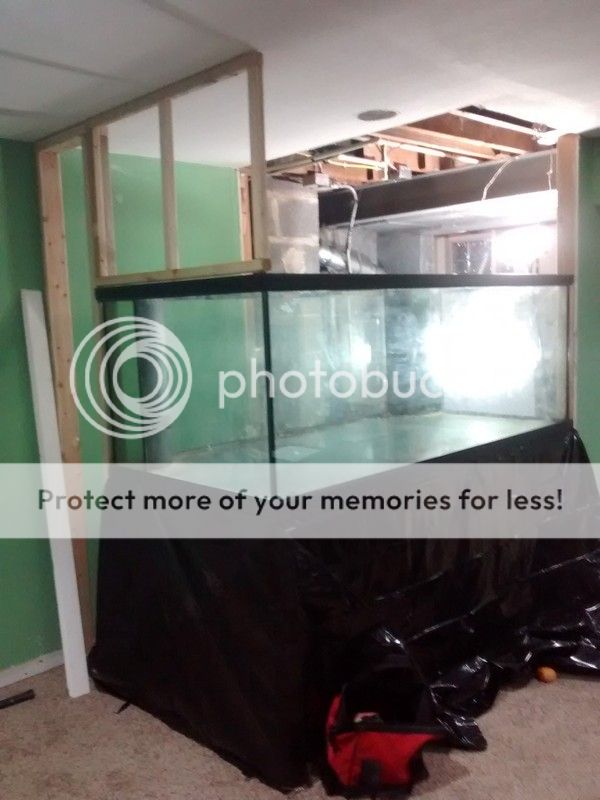
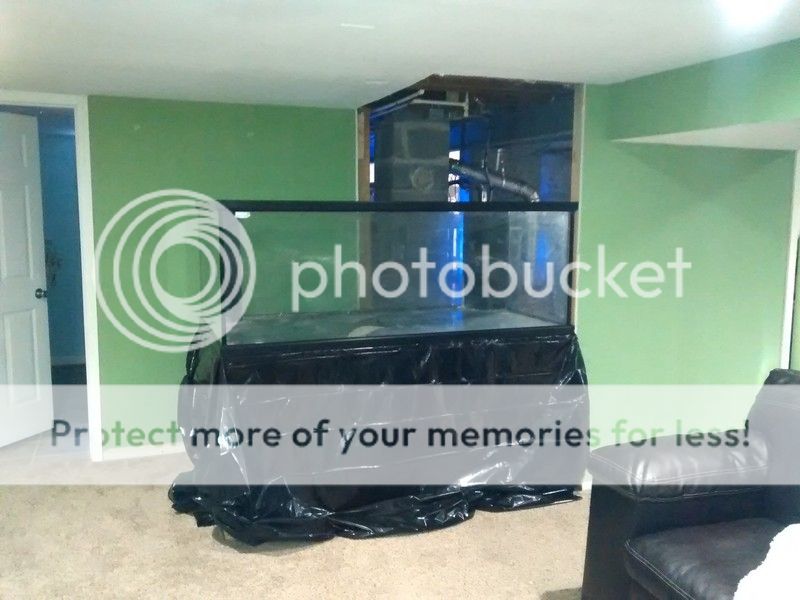
The family room/finished basement is the chosen room.


Introduction:
I'm an Electrical Engineer living in Milwaukee, Wisconsin, living out my dream job designing laser tag gear for a living! Basically get paid to go in every day and build cool stuff, show said stuff to my boss, watch him lose his mind, then figure out when we can find the time/funds to add it to the production line. We are designing the world's first high end outdoor laser tag gun aimed at the consumer market, it pairs with your smart phone to play high end games, similar to airsoft/paintball but better. I'm also married with a wife, 3 year old daughter and another kid on the way in January.

History:
Zachtos 240G reef - my old SPS reef that I ran 2007-2014 (google 'zachtos reef')

zachtos-sps-forest-corals2-jpg-4198

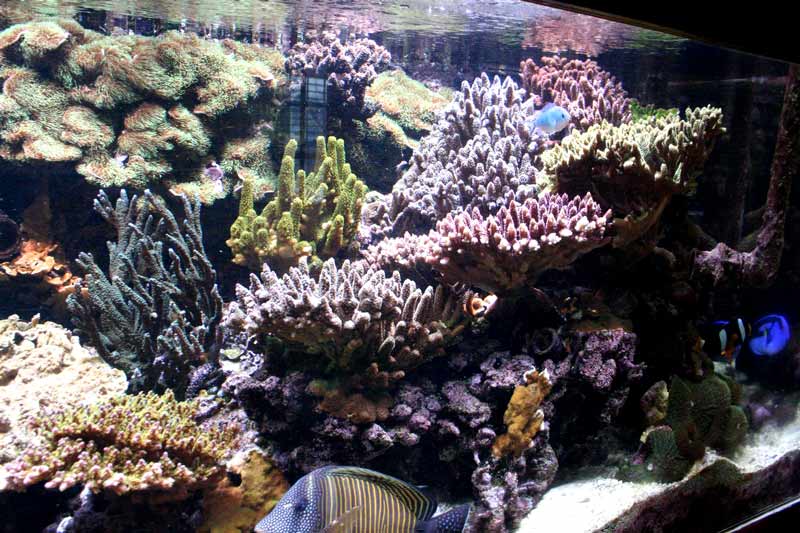
I've had a 240G reef before, so I'm a veteran (and the wife has already dealt with the addiction). I had to tear it down 2 years back to accept this job in another state, but I feel stable enough now to start again. In general, I like to DIY and experiment with many of the new trends in the hobby. I also work hard to keep costs down through energy consumption, full product life cycle analysis and bulk purchasing research. Such as buying carbon in 50 pound bags from a water purifcation plant, using driveway salts to supplement water chemistry, building my own LEDs to keep energy/heat/build costs low, heating with natural gas to keep energy costs low, insulating tanks to keep heat contained and fighting the ongoing battle with humidity control. I enjoy the system design phase more than the coral trimming phase. I am partial to SPS coral, tangs and some angel fish. I like running low nutrient for bright colors and planning for the future.

Plans:
This time I will improve the design to be more energy efficient, quieter and easier for maintenance. I will try my best to quarantine and have a proper frag system. I am spending money on certain items when I need high quality engineering, and am willing to DIY in other areas where I see room for improvement based on market products. I am still buying some items used to meet the budget of $12,500 (which is already kreeping to $14,000 to date, working to reduce)

Tank
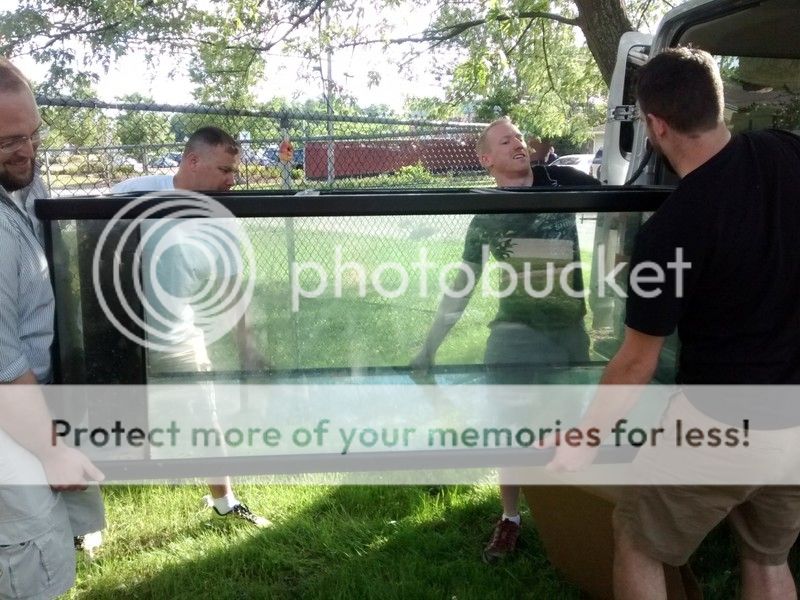
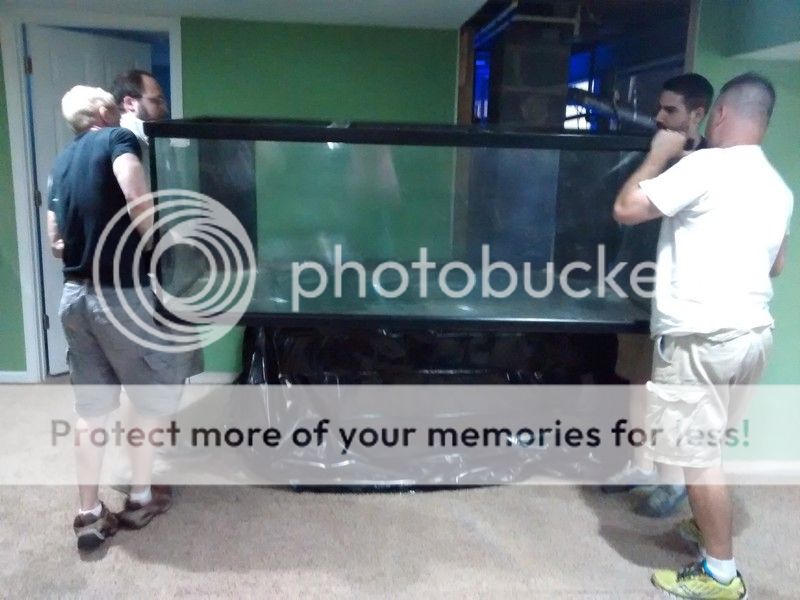
  • 300G deep dimension marineland glass tank (used - starphire sides $1000)
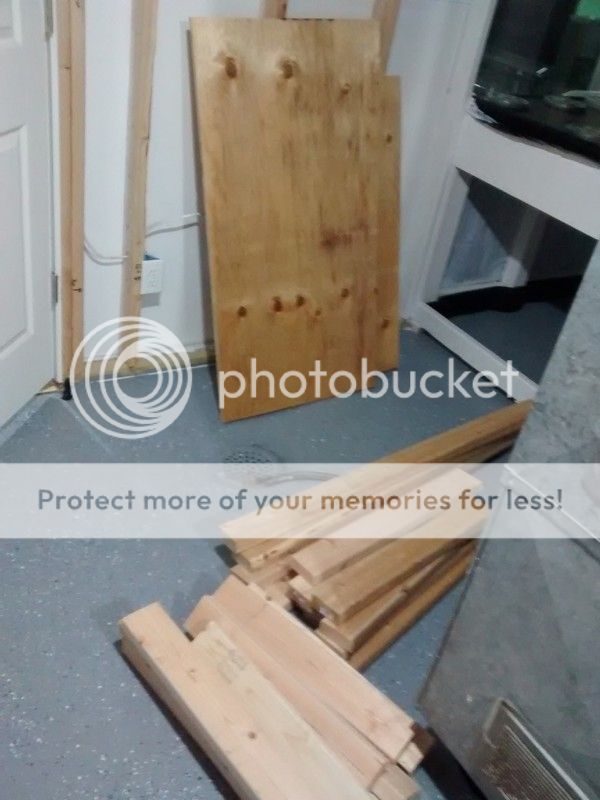
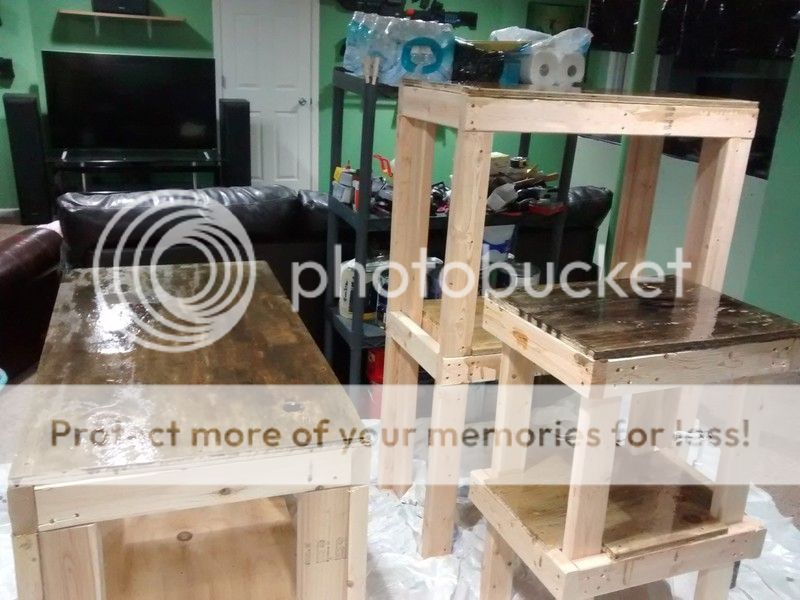
  • DIY tank stand (2x8 top, and 2x4 for remainder, based on DIY stand thread on RC)
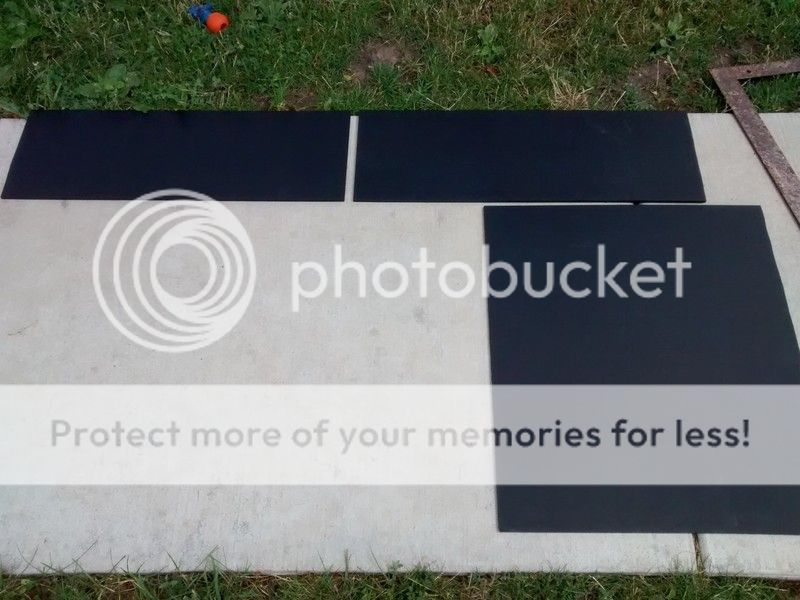
  • Barebottom HDPE sheets (no sand/nutrients)
  • DIY foam background (great stuff pond foam, egg crate and pieces of rock)
  • Mesh or glass covers undecided (light loss vs humidity control still a debate)

Filtration
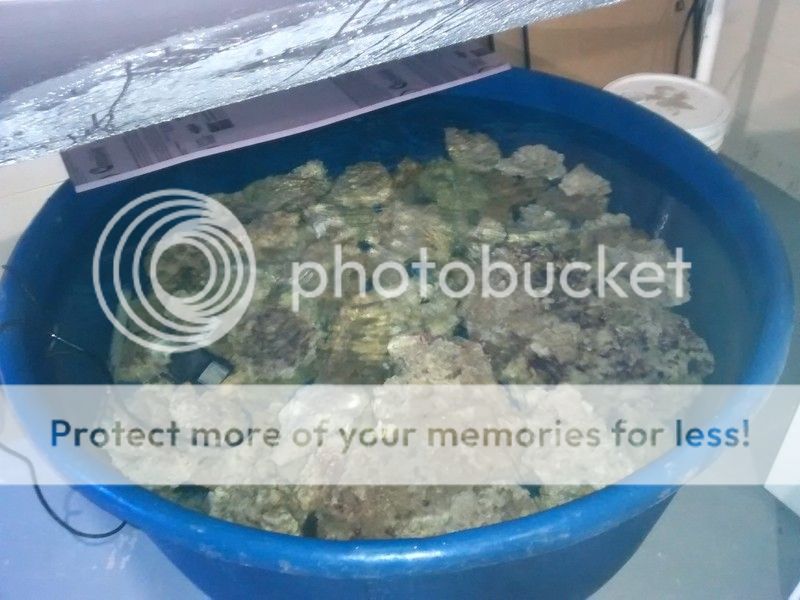
  • 400-500lbs of live rock in display
  • 50G rubbermaid sump
  • Super Reef Octopus SRO-5000INT 10" In Sump Protein Skimmer (bought for $500 with auto neck cleaner, and use with my old 5000 Bubble Blaster pump)
  • Algae Turf Scrubber DIY (24"x18"), rated for about 35 cubes of frozen food per day
  • Carbon in a 2 little fishes reactor (2-4 cups/month, I buy 50 lbs per year for $140)
  • 10-15% bi-weekly water changes

Flow
  • Two(2) Vortech MP-60 (used - upgrading to quiet drives)
  • One(1) or Two(2) Tunze wave box - new (will decide if need second unit later)

Lighting
  • LED DIY fixture for display tank (royal blue, blue, cool white, violet, deep red - still planning density and ratios)
  • LED DIY fixture for both sides of turf scrubber (660nm x 24 per side, 420nm x6 per side)
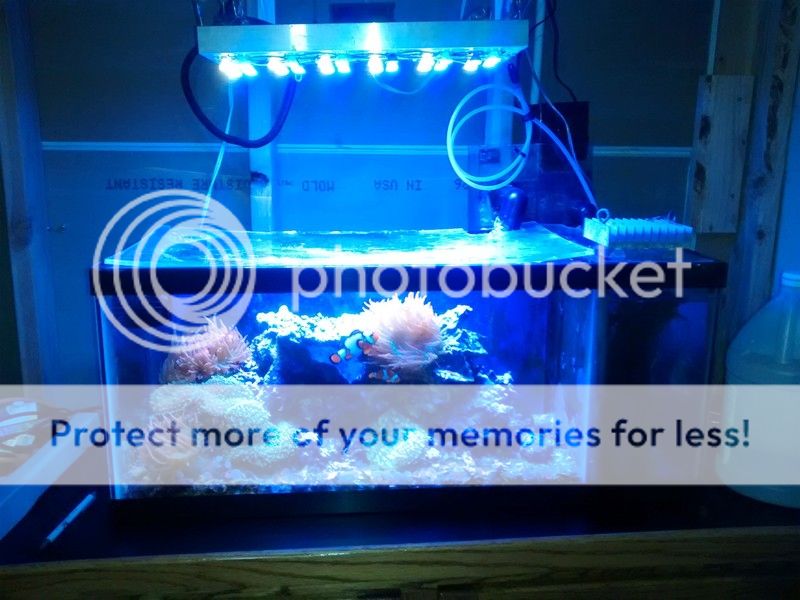
  • Existing DIY LED fixture for frag tank (36LED of 2:1 royal blue to neutral white)
  • moonlight (royal blue LED for Display x 6-12)
  • Sliding light rail for LED fixture?

Controllers
  • 3 part solution doser (Jebao v2) - will dose according to Randy's old recipe - No Ca Reactor this time
  • DIY microcontroller - undecided what I want desgin yet (lights, feed timer, auto feeder, PH, water sensor, bluetooth/WIFI, etc)
  • ATO float switches and relays connected to dual aqualufters fed from 55G barrel of water
  • Ranco temperature controller for gas water heater closed PEX loop
  • battery backup for return pump x 1

Heating/Cooling
  • -PEX coil connected to water heater with TACO hotwater recirculation pump and Ranco temperature controller (NO RESISTIVE HEATERS)
  • -Cooling not usually needed in basement setup w/ LED in northern USA, but we shall see.

Plumbing
  • Two(2) - DCS-9000 Jebao v3 return pumps - cheap, energy efficient, unreliable though, so am wiring in parallel with 1 unit on battery backup
  • Four(4) - 1" durso standpipes to sump which will all drain feed the algae turf scrubber waterfall (bean/herbie are not easy to use for a drain fed device)
  • One(1) - 1" durso standpipe from frag tank to sump
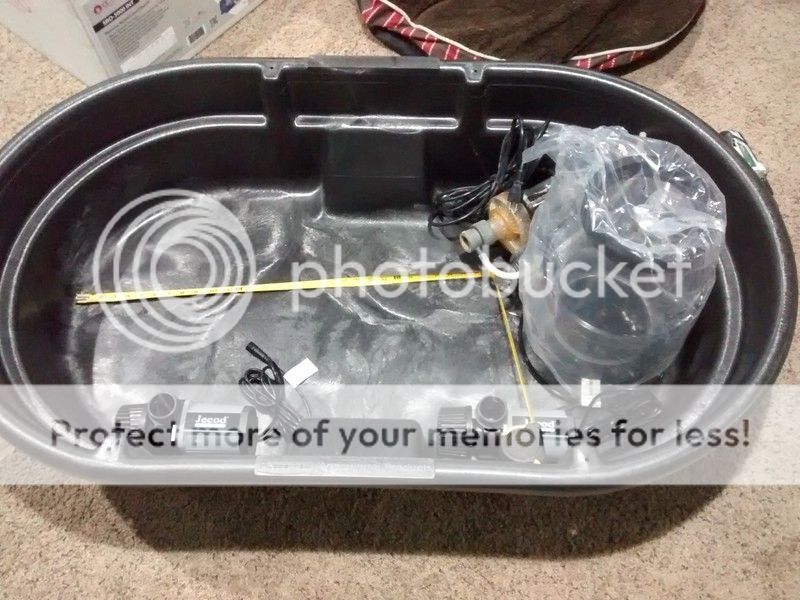
  • Water change station = Two(2) 55 gallon barrels, 1 for ATO, 1 for SE
  • returns = flexible and rigid PVC,
  • drains = flexible pool hose

Quarantine
  • 40G breeder glass tank
  • CPR bakpack skimmer and mag3 pump
  • automatic feeder
  • PVC pipe hiding places
  • Dim LED light if any?
  • small resistive heater if needed (not sure I need though?)
  • *unknown what chemicals I need yet

Tank Room
  • -300G sealed in wall
  • -skimmer/ATS/returns/carbon in sump under main tank
  • -Frag tank plumbed to DT sump
  • -two circuits (20A with GFI outlets for DT lights, nonGFI for pumps) and other 15A circuit for frag/QT/dehumidifier
  • -QT tank is independent system
  • -WC station using two 55G barrels and valves, mag9 for mix pump
  • -Water changes with a dip/depth gauge and pool hose to drain/refill via gravity
  • -storage of salts/carbon underneath WC station
  • -dehumidifer under frag tank stand
  • -extra stand by wash basin for extra QT tank if need
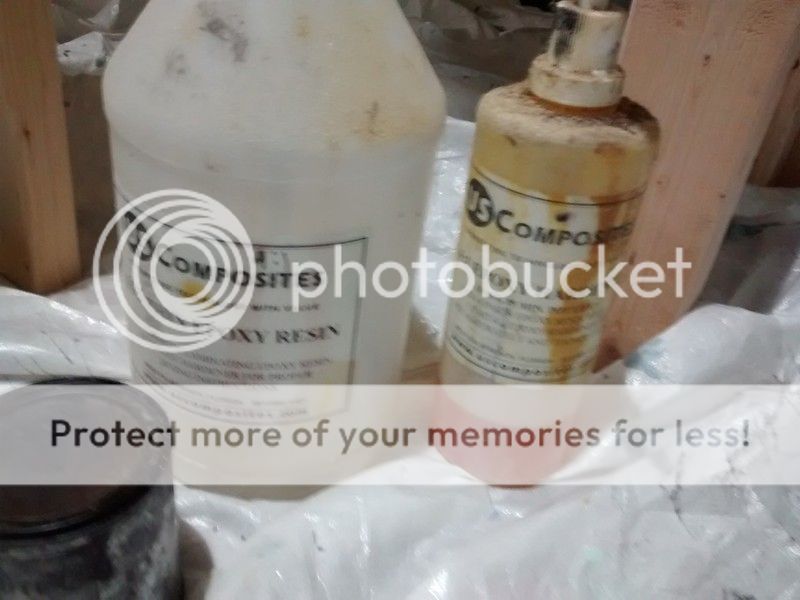
  • -stands coated with epoxy resin
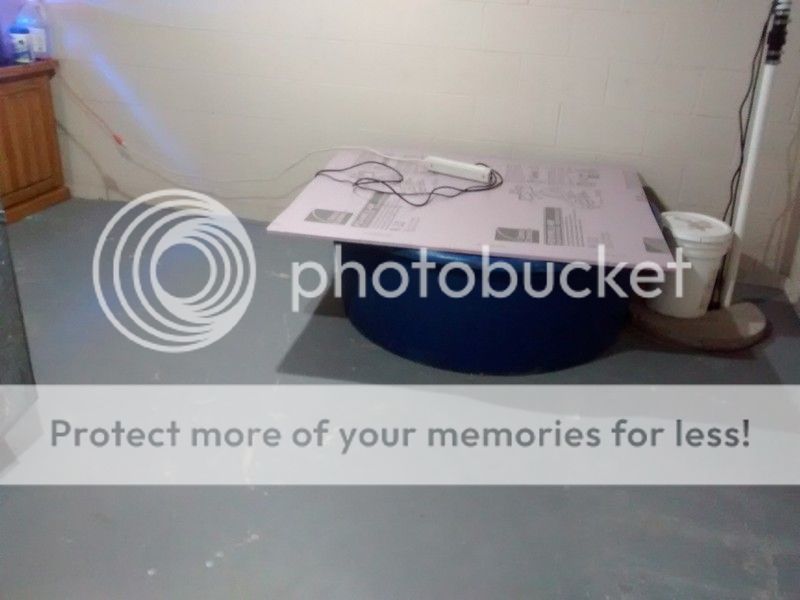
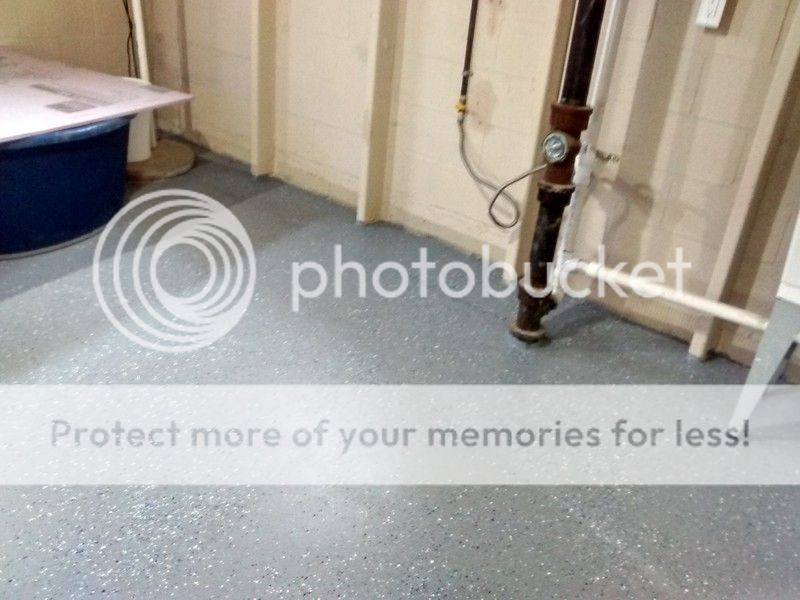
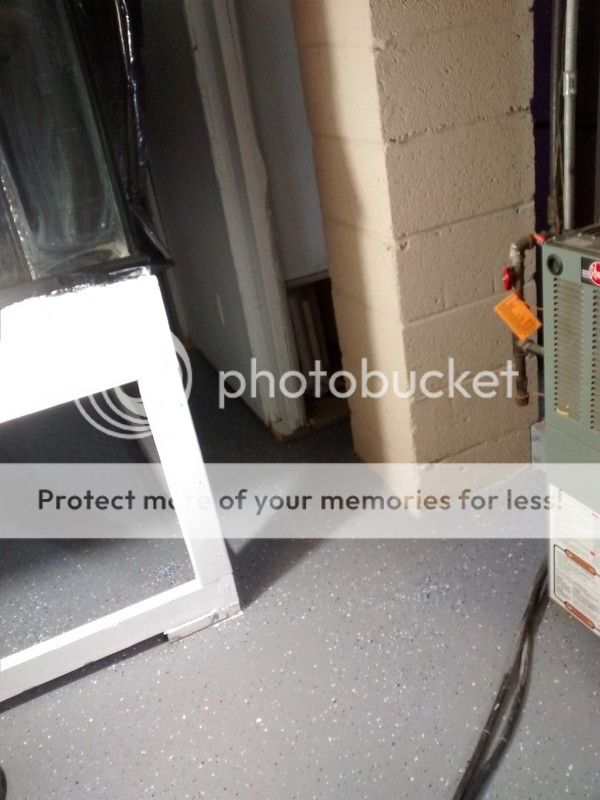
  • -floor coated with new epoxy paint
  • -seams filled with silicone and/or rubber trim
  • -new 5.0cf deep freezer for fish food (and eventually an automated feeder system to DT)

Livestock plans:
  • Tangs, Angels, SPS (monti and millipora) , nothing solid yet.

Summary
The theme of the build is to minimize the tank room this time. Less open bodies of water so I won't have humidity issues. Powerful skimmer this time, instead of a DIY one that I always wondered about. Algae turf scrubber to pickup remaining nitrate/phosphate with natrual nutrient export technique. No expensive chemical filtration like GFO, just carbon in bulk for cheap water clarity. Energy efficiency with LED and gas water heating. I really wanted to try a bean/herbie silent overflow this time, but It's not compatible with drain feeding a turf scrubber because of level inconsistency. I have a feeling the skimmer will be fairly loud anyway, so why bother? The return pumps and flow pumps are all quiet, so should only hear the trickle from the durso and skimmer suck/hissing. I am hoping gravity can do my water changes via ball valve in bottom of sump and then refill via valve from an elevated 55G barrel full of SW, just run out a 25' pool hose as needed. I want to avoid a calcium reactor this time, and try for pure 3 part dosing. I got tired of changing CaReactor media, O-rings, pumps, PH probes/controllers, solenoids, CO2 refills... I think the overall cost for 3 part will be cheaper, and more reliable, but I will find out, and I arleady got 50 lbs of MagFlake - deadsea, Epsom Salt, SodaAsh/pool, CaCl prestone driveway heat.
 
////////////////


Tank Move
IMG_20160627_173033455%201_zpstyvcu37f.jpg


IMG_20160627_175438173_zps5jkmi5zy.jpg


IMG_20160627_180105391_zpstfkhxo5n.jpg


Barebotton starboard/HDPE

IMG_20160724_122926462_zpsk2j9eze3.jpg


IMG_20160724_124420625_zps9wtsqc6u.jpg


IMG_20160724_130953193_zpsfyvr8nks.jpg


IMG_20160724_130948610_zpsvecrotvx.jpg


Frag/Quarantine, Wash Basin, Water Change dual barrel stands
IMG_20160724_214514550_zpsvniv5mrg.jpg


IMG_20160729_015026932_zpsvpuktmsq.jpg


IMG_20160729_015105645_zpsfmlwcari.jpg
 
Leftovers from my old 240G reef
IMG_20160622_205427795_zps5jkiivio.jpg


IMG_20160622_205438370_zpsmbvuqmys.jpg

Liverock purchased waiting for a tank.


Tank room floor

Before epoxy:
IMG_20160722_232904746_zpsgm9dqfqm.jpg


IMG_20160722_232847565%201_zpsxt8jry96.jpg


IMG_20160722_232840897%201_zps0f3bwitj.jpg


After expoxy:
IMG_20160724_131309673_HDR_zps752upebr.jpg


IMG_20160724_131301962%201_zpspsxccuwn.jpg


IMG_20160724_151619323_zps9cskc4rl.jpg


IMG_20160724_131325571_zpszegco5jd.jpg


IMG_20160724_131256674_zpsva5blcwj.jpg
 
IMG_20160724_131245145_zpsankttyuk.jpg


Preliminary Sump
IMG_20160720_204101673_zpsunhi7xoq.jpg


300gDDholes_zpsygteogyx.jpg

300G DD marineland bulkhead hole schematic. Planning to use all 4 holes for 1 inch durso stand pipes, and 2 returns over the top of the tank
 
This weekend I completed all of the electrical installation. I also painted the stands for the quarantine/frag and water change station.


Wiring of the new panel additions. 20A circuit for main tank (10 AWG feeding 3 strings of #14, I know not to code, but safe if not overload, which I'm not). 15A (#14 AWG) for frag/QT/dehumidifer. 15A for utility room lights and mix tank. 15A for furnace and freezer. I balanced the load out a bit better on the phases too, and tested all connections of course. It's hard with only 100A to do this, but I purposely used gas for water heater, dryer, range, furnace to free up space, and I will heat the tank with gas water heater loop as well.

IMG_20160731_174954616_HDR_zpshbbr3jbz.jpg

outlets above the water change station on the utility room circuit. I have a toggle switch for mix pump which will use portable GFCI plug if needed. Other plugs are for auto top off.

IMG_20160730_174019815_zpspkbdspei.jpg

Display tank outlets ready for termination


Done with terminations, these are all GFCI outlet fed above tank (splashes) Main tank 20A circuit.

IMG_20160730_174009359_zpsuvjxziwd.jpg

Frag tank outlets ready for terminations


Frag tank wired, one GFCI for light above frag tank, rest are non GFCI for pumps, less safety risk there with submerisble power heads usually. These are on their own 15A circuit, bottom four are Main tank 20A circuit.


Side tank outlets, the one closest is GFCI, others are not (can't have nuisance trip and lose recirculation) Main tank 20A circuit.


Frag tank below, quarantine tank above. Can barely net any fish out due to low clearances, but it will work. Dehumidifer fits under, and the drain is right next to it. All water slopes right to the drain for spills. It is BRIGHT in this room now, I have total of 7 LED daylight bulbs through the room, I hate working in dim lit utlity rooms. I want this to feel more like a labratory.


circuit for the test station and below for the hot water recirculator to display tank. Also what appears to be a belly up dead frog.


Cleaning station and room for extra tank if needed, GFCI washer circuit. Also my RO/DI system in background, new DI membrane 98% rejection I think, DOW brand.
 

close up of water maker.


Water change station, not plumbed yet, but all nice and neat. Also a new 5.0cf deep freezer for fish/wife food. The desk will be cleared for test station later after I move the frag tank.

Here are photos of my 3 part dosing chemcials and bulk granular carbon. I placed them into 5 gallon pails for moisture control and ease of storage.


carbon is cheap this way, $140 for 55 pounds!


Soda ash will be new for me, only ever used baking soda, and this is pool grade, but supposedly safe.

IMG_20160731_224345252_zpszhigiwfd.jpg

Sump under tank with 3 part top off container (will partition 10G into 3 section). The sump will house skimmer/returns/carbon/turf scrubber. Frag tank will drain into here.
 
DIY foam background build


Some shots of the build.
-10 cans of 'great stuff pond and stone'
-4 tubes of DAP window and door 100% silicone
-wax paper (under foam)
-seran wrap (between edges)
-4 pieces of light diffuser/egg crate
-hot glue (to hold egg crate in shape before foam)
-200 lbs of dry base rock
-2 part epoxy (1/8 of gallon)
-6 brushes for epoxy (disposable)
-argonite sand
-knife
-foam shaver / rasp
-hammer/chisel
-angle grinder (shaping rocks/foam)
-2x4's for bracing
*overall project cost w/o rock = $150, + 200 lbs of base rock (for 2 feet x 7 feet)


Basically I just cut egg crate to the shape of the tank areas I wanted to cover. I used hot glue to hold the overflow sections together in shape, no zip ties. I left 1" above egg crate for overflow and braces. Cut the egg crate in a zig zag to hide the seems. Put seran wrap between the edges and wax paper behind the egg crate. I used box tape on the curved overflow sections. Then lay down rocks in the general jig saw pattern I wanted. I chiseled some rocks to make flat on the back to stick out as ledges for coral mounting. I could not go TOO BIG on the rock or I would not be able to lift up the final product w/o breaking it, I suggest no more than 18" x 24" segments to avoid this problem. Lift up rock, lace a generous amount of foam down under the rock, then put the rock back into the wet foam. I added rocksalt to the foam while wet to create pock marks, this is a waste, just shave the foam when you are done and add epoxy and sand (looks OK even w/o sand). Let cure overnight.


Zip ties are not needed, the rocks held very well, but you could pry a rock out if you try hard enough. I then added extra foam between all the seems that did not quite have enough coverage. You need 2 spare cans, 1 to fill extra holes on day 2, and another for the seem in the tank after install. I then started the day long process of shaving excess foam with a rasp and knife. Removing the wax paper and tape was easy. The back needed shaving with knife to make flat again. Some rocks needed encouragement to fit back together and flat based with the angle grinder (not hard).


Once all the pieces were back together in a good configuration, I mixed up 2 part epoxy (I also had red and blue dye to make it purple, but that was a wasted effort overall). I painted all the exposed foam on the front sides and then sprinkled generous amounts of fine argonite sand. Let sit overnight. It worked very well. Vacuum up the mess.


Next was installation into the actual tank itself. Very heavy pieces, maybe 50lbs each, and not easy to lift into the tank w/o breaking any of the egg crate. Test fit, then apply zig zag silicone. I found I needed huge dabs in each corner of the background pieces to make sure it made good contact, as some warpage occured during the foam curing process, which made it not perfectly flat anymore. This was a hard part of the job, running back and forth cutting 2x4's to make perfect sized braces to keep the background pieces smushed against the glass.


Easy to confirm as you can see throught the back glass if the silicone is expanded flat or not good contact. Next day I removed the bracing and added foam to the exposed seems. Next day I shaved that foam down again and added more epoxy and sand. Now that everything is siliconed and foamed together, it is very stable. It will be a nightmare to remove one day if the tank leaks, I move or have to sell it. Final day I let the daughter vacuum up the excess sand. Looks great to me so far.


The only mistakes I made where on the seem where the side panel meets the overflow, had a bit of a gap and had to fill w/ extra foam, but you can't tell. The side wall is mostly for the MP60 pump and tunze wavemaker, so I did not totally cover the wall so I could move as needed. I added some purple paint to exterior glass to make opaque wall for now. Only want visible from the left side and front panel.


Overall, I am very pleased with the project. This is my 3rd and by far, best foam background. 90% rock coverage makes it look amazing, and offers great places for coral shelving. Epoxy/sand are not needed but will fill in while corraline takes over. My tank is probably too heavy to lift now I bet, but I hope that I won't be changing jobs or experiencing a tank failure in the next 5-10 years (PLEASE). Next project I have not posted photos of yet is the plumbing (done but no time to document yet).
 
Salt water mix station plumbing is almost done, more photos of full setup soon.


Natural gas hot water heater closed loop complete. This heats my aquarium with a Ranco controller and a hot water recirculation pump. Typical installation cost is around $250 with all parts/plumbing. It should save someone with a tank like mine (LED lighting), about $10-20 per month in electric heating. Gas is cheaper per BTU vs electric in most areas, especially with the advent of fracking. Plus, no more heaters that fail and shock you or leak stray voltage. Heats much faster than electric heaters based on the coil size.


20G Frag tank is drilled and plumbed into the main tank off the return line. I will use the LED light fixture off my existing anemone tank for now in near future. The top tank is a 40G quarantine tank in progress.


I plumbed basic durso stand pipes for now. I may tinker with herbie overflows later based on how loud it ends up being, I was fine with the last tank though honestly.


I rigged up the auto top off controller (I built one years ago), and set the depth to about 6-7" for according to the skimmer manual ideal depth.


The dual DCS-9000 jebao returns are rigged up, these are a bit of a gamble, I can switch to something better if they fail. I wanted quiet pumps, not reeflo pumps if I can avoid this time around. I used 1.5" tru unions with some flex PVC, to rigid 1.5" PVC then to 1.5" wye, then reduce down to two 1" spouts into the display (4 total). I also cut a 1.5" bulkhead to drain the sump, not shown, maybe will use for water changes.


I also got preliminary plumbing setup for the algal turf scrubber. I am feeding it off 2 of the 4 stand pipes, and estimate it's flow based off pump curves should be around 900-1200gph. The slot will be 18" long, hopefully giving 50+ gph per inch, above the 35gph minimum recommendation.

3 part doser storage container. Cut some acrylic, siliconed into a 10G tank and water tested OK. will use the jebao doser pump and controller to dose the salts into my tank instead of CaReactor.


I cut the screen to be about 18" x 10" exposed area and roughed it up. It's supposed to be rated for (18"x10" / 12) = 15 'cubes per day. Or in my plans, 3 sheets of 4"x8" nori, 2-3 auto feeder dry pellet feedings and 4 frozen cubes of food. I hope when combined with skimmer, high flow and barebottom, that I will be good to go. I still need to buy parts to build some kind of LED light. I know what I want, but not sure on enclosure and water/splash protection. Also a bit of confusion on LED density and optics.


Looking good !

Missed a couple weeks with wife, then baby and now me catching a nasty bug, but looking back man that is a helluva lot of breakers for a 100 amp panel, looks more like a 200 amp panel in size
 
Looking good !

Missed a couple weeks with wife, then baby and now me catching a nasty bug, but looking back man that is a helluva lot of breakers for a 100 amp panel, looks more like a 200 amp panel in size

Yep, all the houses out here for some reason were 100A breakers, annoying. Too expensive to upgrade it, but I did free a ton of breaker space by using GAS for water heater, stove/range, furnace, dryer. The only real loads are 2 TV entertainment centers/PCs, dryer/washer/furnace motor, 1 fridge, LED lights each room (9W each), bath exhaust x 2, AC (think it's 2 or 3 ton), misc. tools/load as needed. Really I think my load is quite small. I think the tank will draw maybe 20-25A peak load. I should buy a meter to measure the loading on the main wire though, but thermal scan is very low, but I have not added the tank load of course.
 
Man I cant imagine electri water heater, stove, heat, dryer on a 100 amp panel, you would really need to watch how many of those are used at once, then a tank on top of that, whew... good job switching those gas
 
Yep, all the houses out here for some reason were 100A breakers, annoying. Too expensive to upgrade it, but I did free a ton of breaker space by using GAS for water heater, stove/range, furnace, dryer. The only real loads are 2 TV entertainment centers/PCs, dryer/washer/furnace motor, 1 fridge, LED lights each room (9W each), bath exhaust x 2, AC (think it's 2 or 3 ton), misc. tools/load as needed. Really I think my load is quite small. I think the tank will draw maybe 20-25A peak load. I should buy a meter to measure the loading on the main wire though, but thermal scan is very low, but I have not added the tank load of course.

Man I cant imagine electri water heater, stove, heat, dryer on a 100 amp panel, you would really need to watch how many of those are used at once, then a tank on top of that, whew... good job switching those gas

We had Stove/Water Heater/Dryer/AC/Hot Tub on a 100 amp panel when we moved in. Couldn't believe the PO left it that way. It was fine as long as you didn't run the dryer and the hot tub full bore at the same time.

Luckily it's affordable to put in bigger service out here.

You can buy a pretty cheap and decent amp clamp (https://www.amazon.com/Klein-Tools-...UTF8&qid=1472219773&sr=8-4&keywords=amp+clamp) you can slap around individual circuits or the mains coming into check out your load if you want.

Remember though, 100A breakers are only rated for continuous draw of around 80A most of the time with spikes tossed in.


Good looking build so far, looks like you've got a good plan!
 
Really great build. Thoughtful and original design. Thorough execution. Nice work!!
I'd be paranoid about the vertical rock work being held only with silicone, but I know that stuff is incredibly strong; I would probably fashion some kind of brackets across the top anyway just to help me sleep better. Did you use ball valves for the feeds over to the frag tank? You'll want those to be able to take those things offline when needed.
 
Back
Top