Duality
New member
Well I'm the type of guy that loves hands on and tinkering with stuff. When things get slow and boring I'd rather be messing in the garage then watching tv. So the other day I was going through my old fish stuff and tossing bad and broken stuff. You all know we all have a few powerheads that are in need of new impellers but know one day I might have a pump that goes out and I might need a temp back up.
So I came across an old rio 1100 that I had modified with a needle wheel impeller to use on an old hob skimmer. Well the rio was junk it always would stop and had issues with starting. It literally was a pump that was only meant as a last resort temp. I got to thinking how could I fix this pump to see if I can make it better. To figure out how to make something better I had to figure what was wrong with it in the first place. So after close inspection I figured out that the magnet was not spinning right it was slightly wobbly. On the old style impellers the magnet spun around a titanium or ceramic shaft. On most new style impellers the ceramic shaft is part of the impeller and the impeller assembly spins in ceramic bearings located at the end or one in the middle and the other at one end.
Well I really like the idea of modding this rio after a new style pump that has the bearing in between the impeller and the magnet, so that there was no bearing in front of the impeller and slowing down the flow of air and water.
I had an old gyre pump that was done the cord split, so I took the old bearing and ceramic shaft off of it. I started off by installing the ceramic shaft in the old rio magnet. I cut off the old impeller and slightly drilled the hole out a tad bit bigger in the center. I drilled the hole a bit smaller then the ceramic shaft tho so that I could have a snug fit between the shaft and magnet. This is so the magnet won't slip or come loss from the shaft
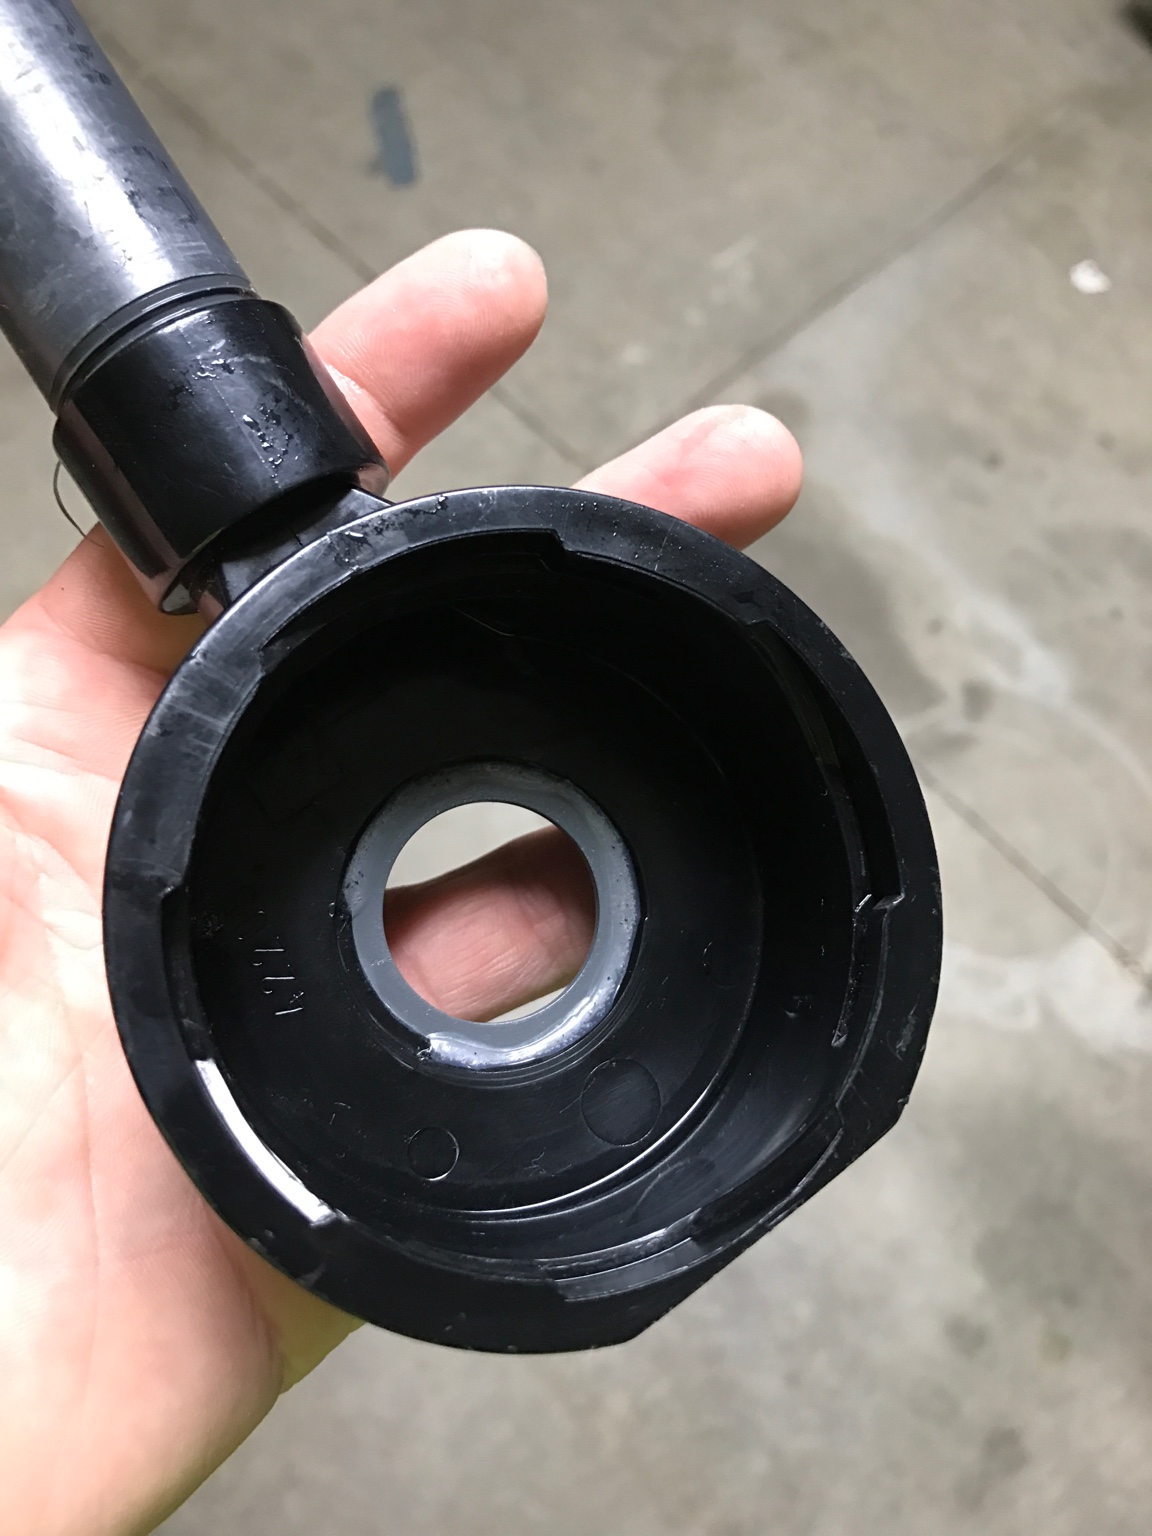
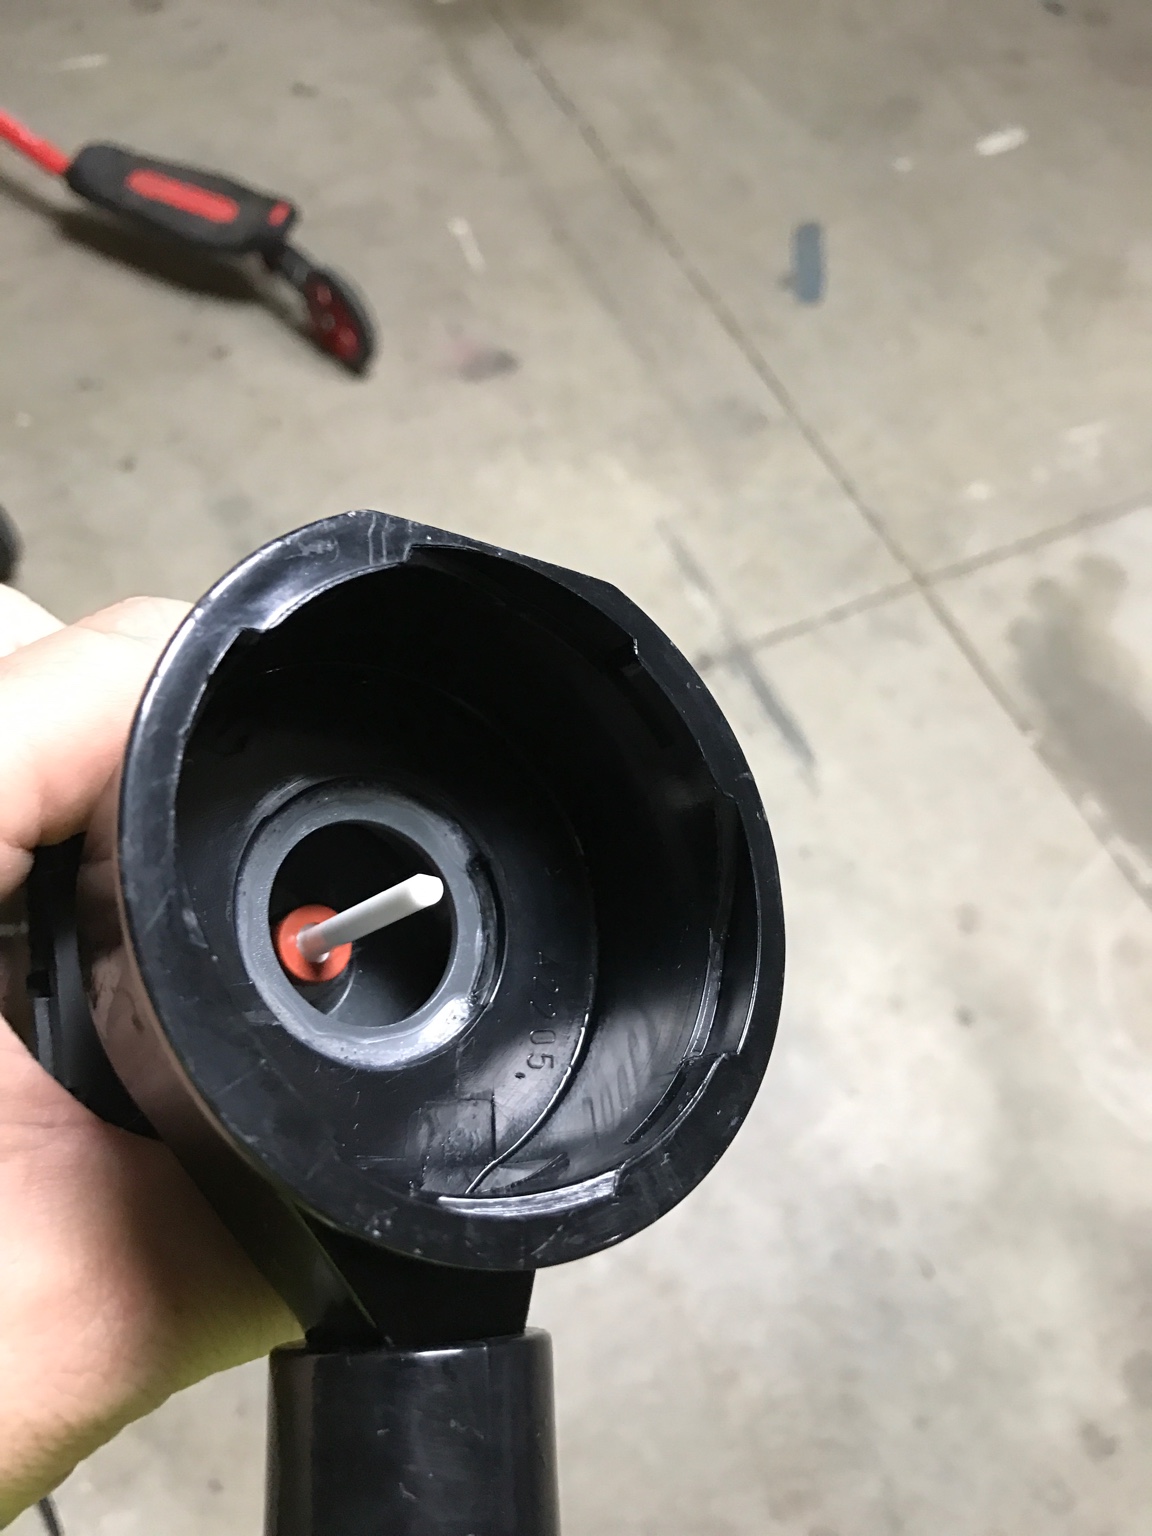
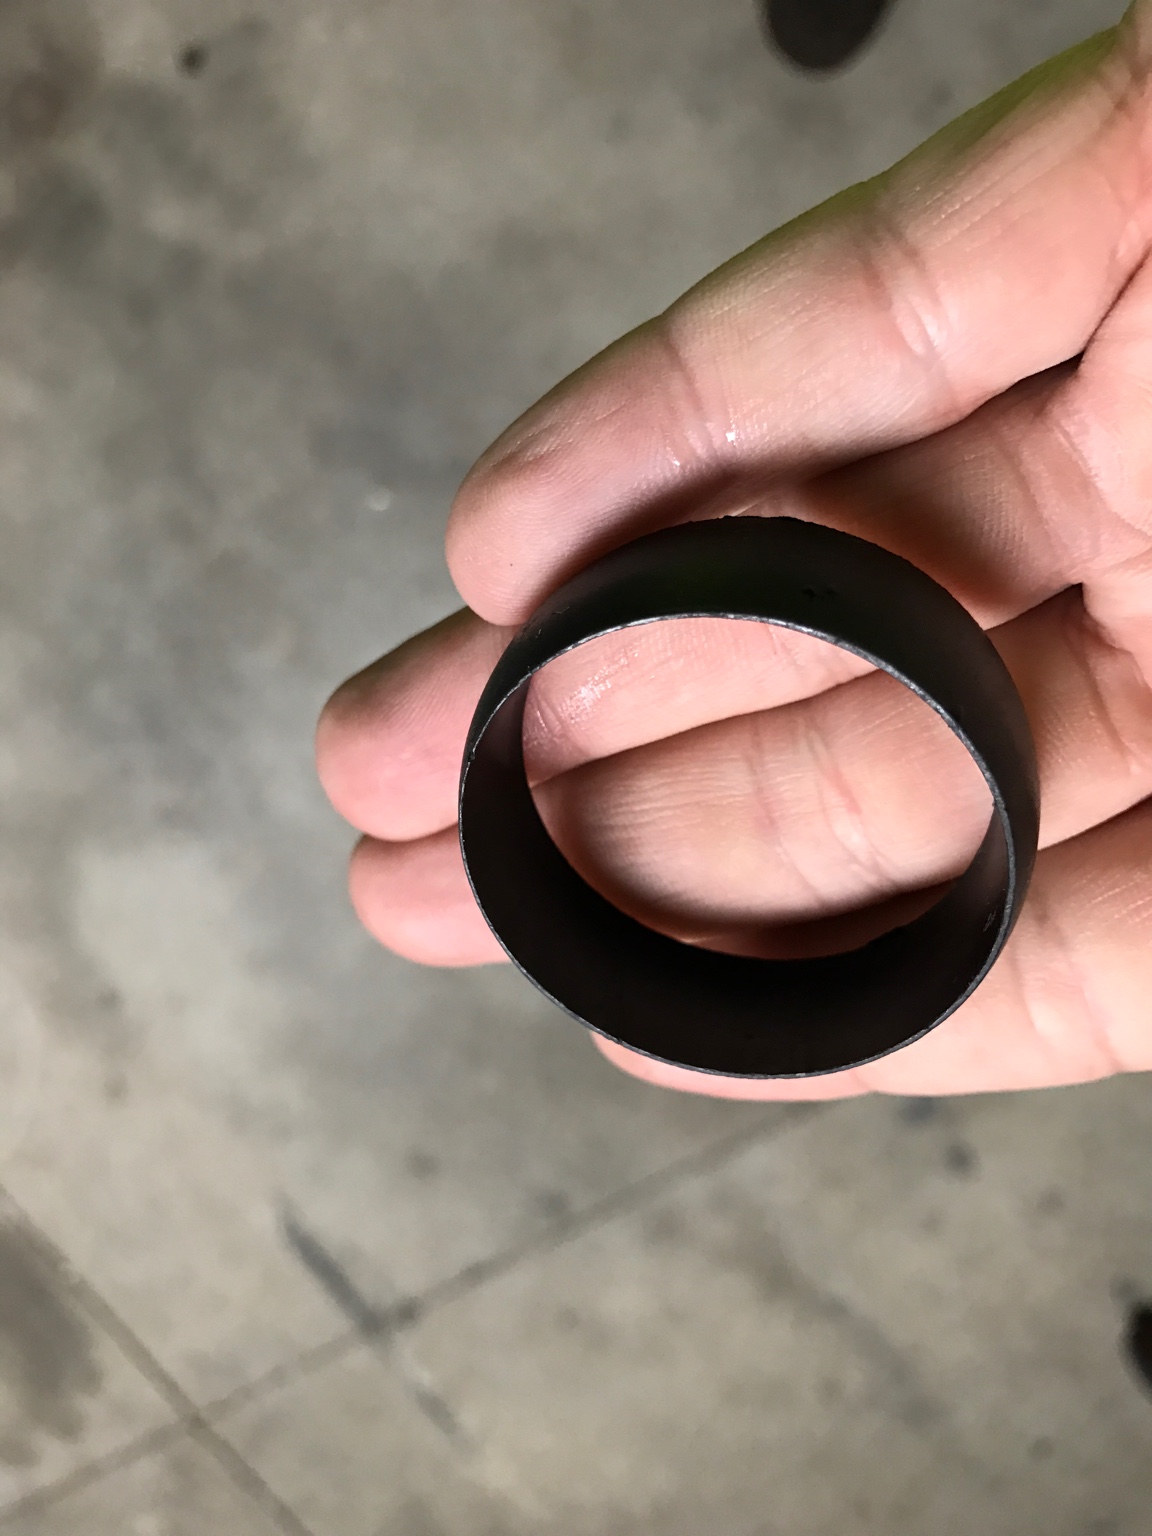
Next I drilled a hole in the end of the of the rio so the ceramic bearing would fit.
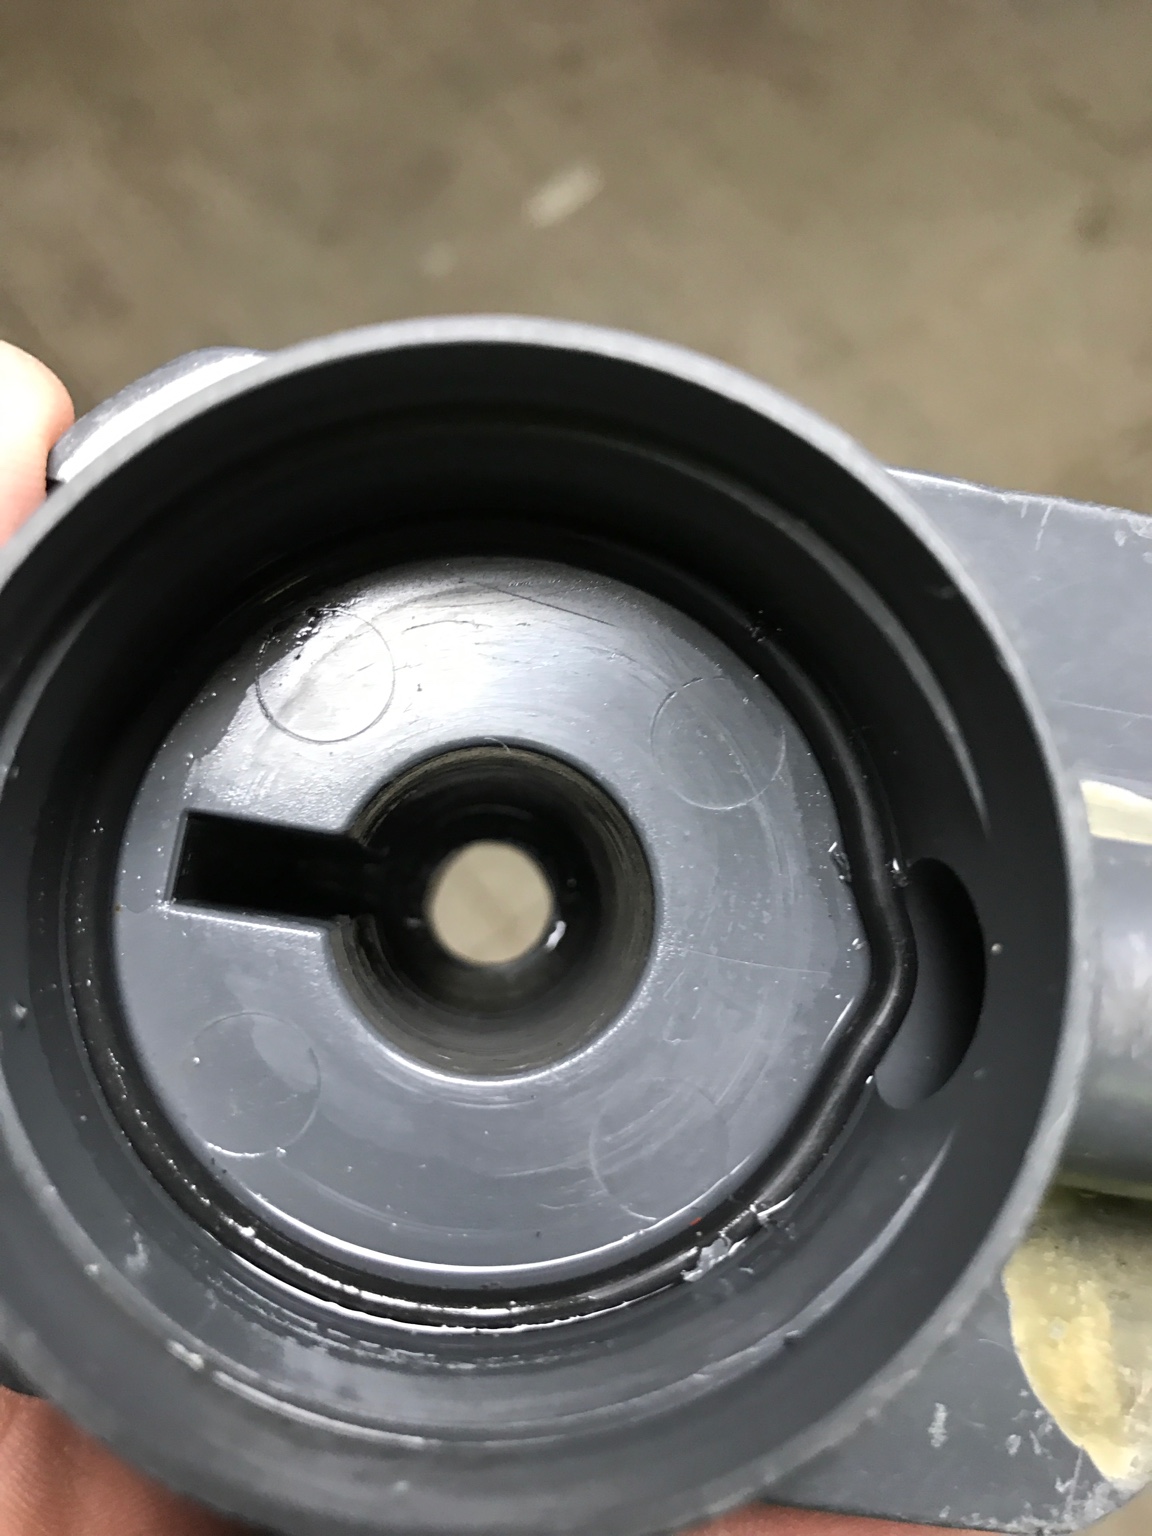
Then I installed the bearing

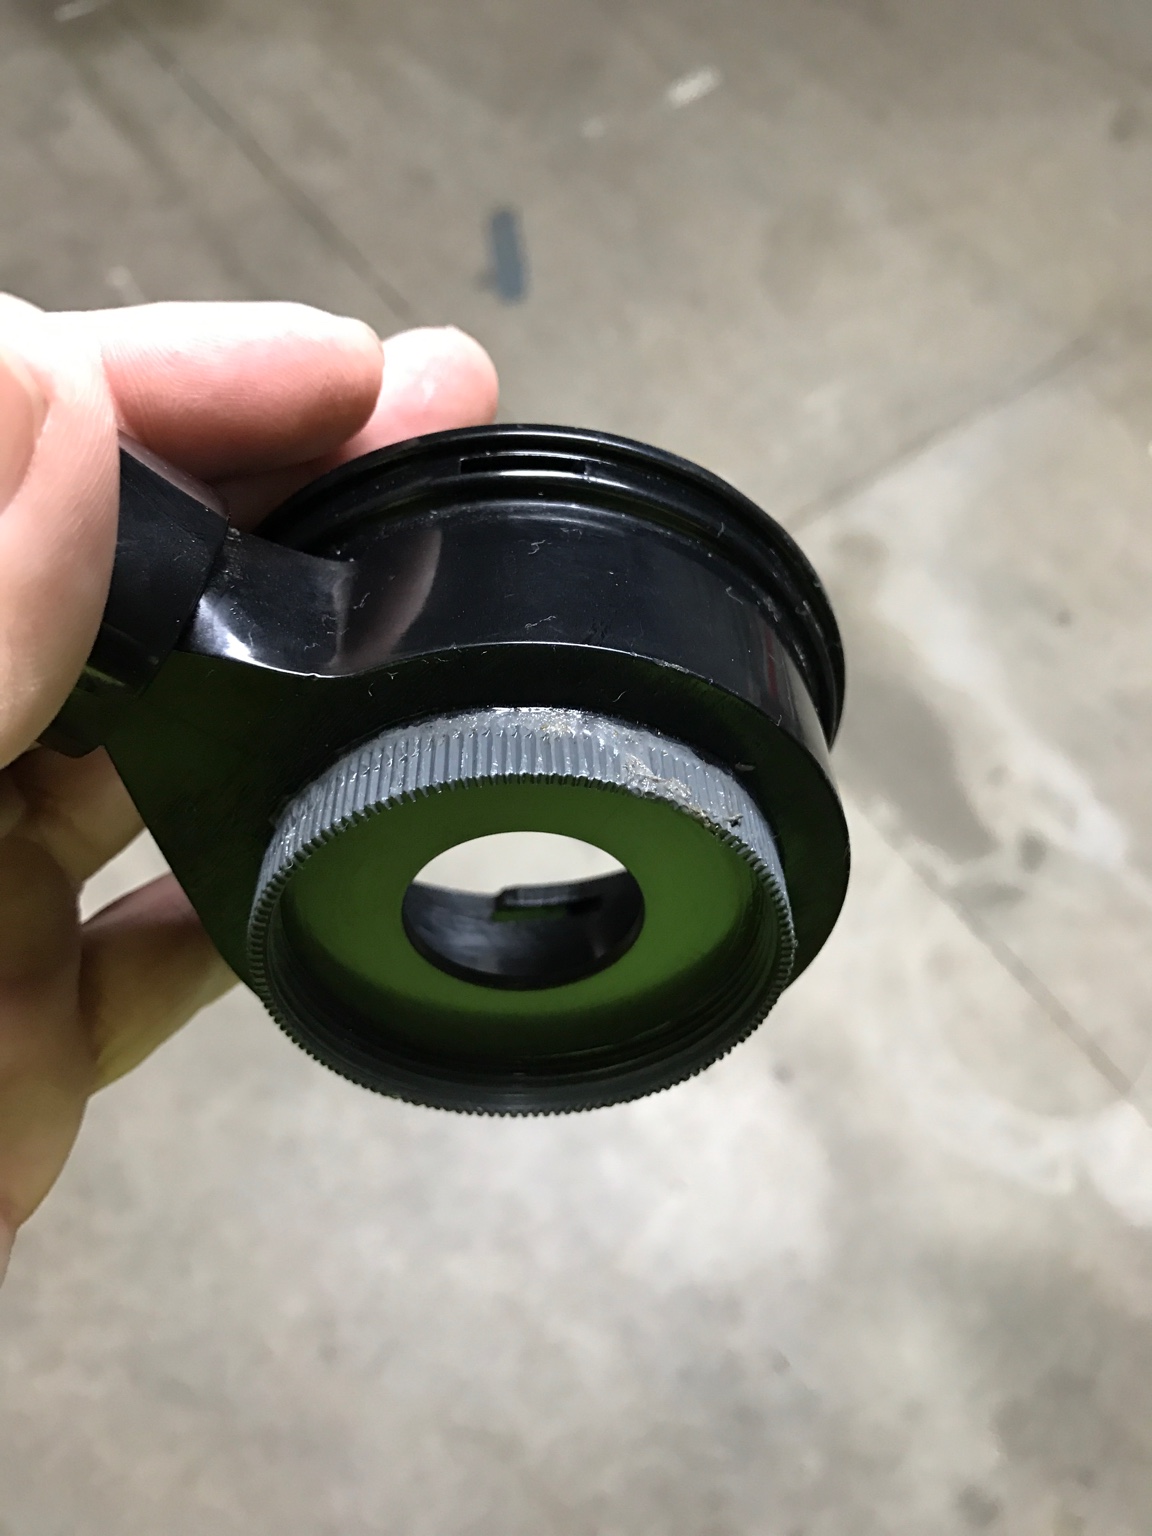
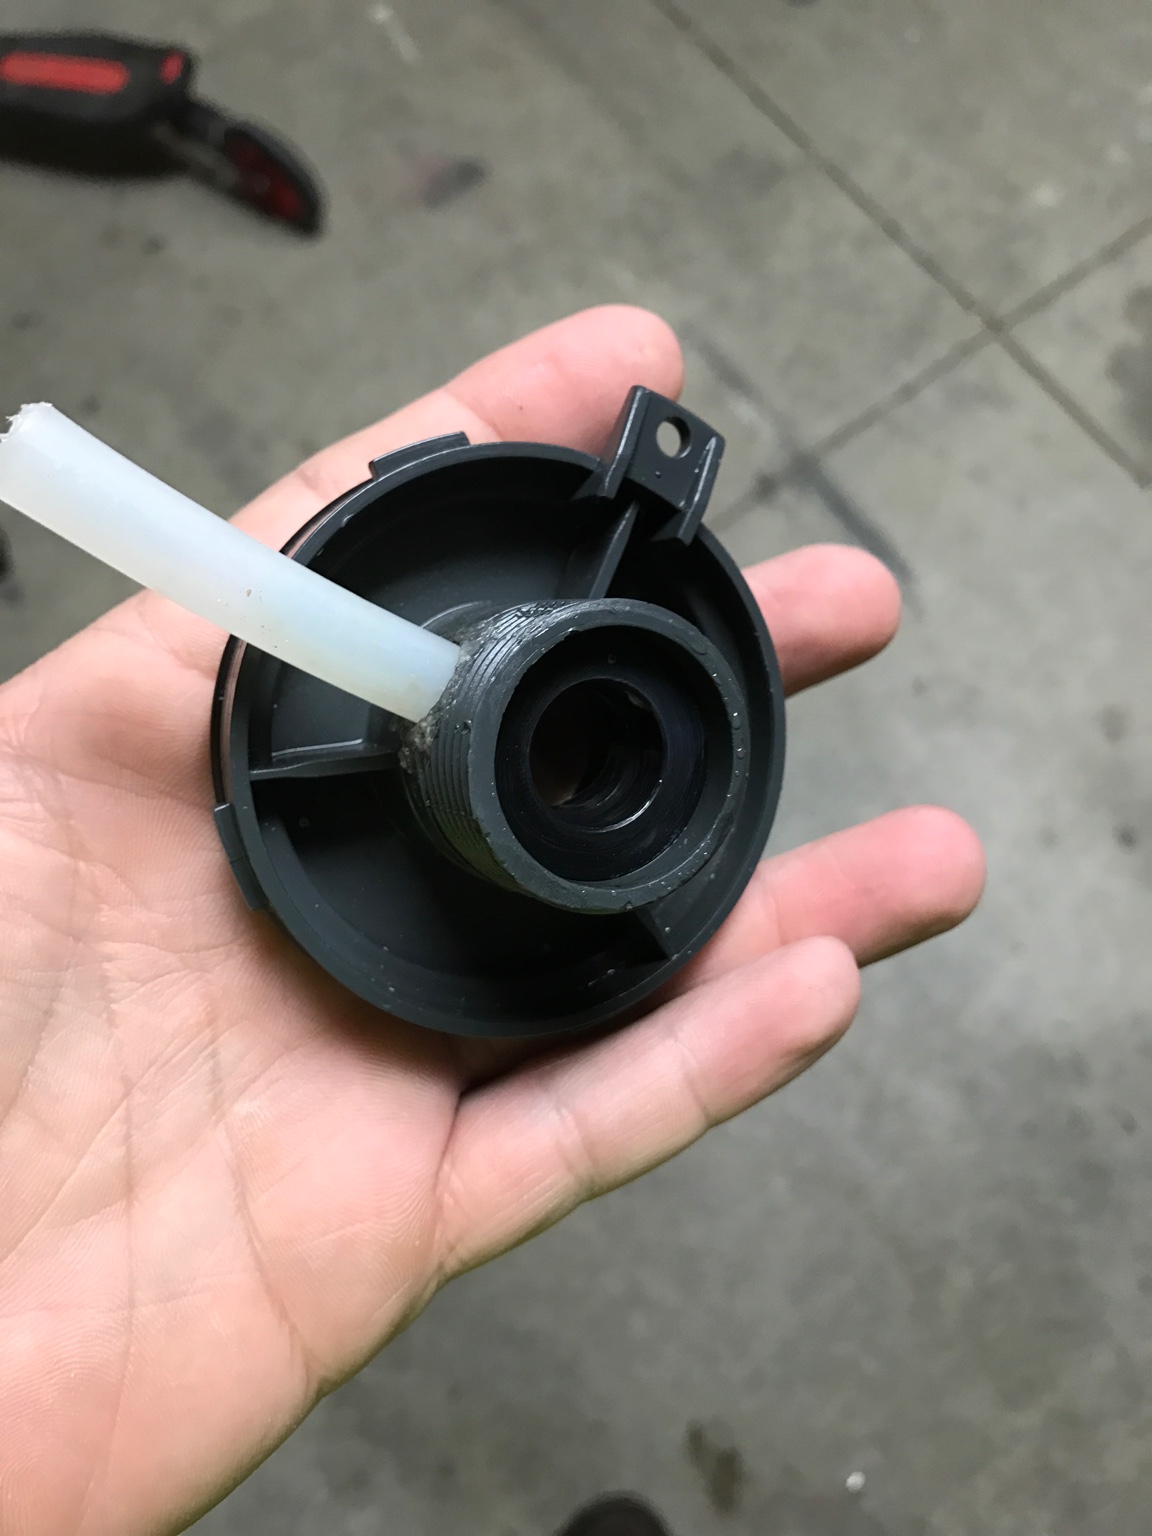
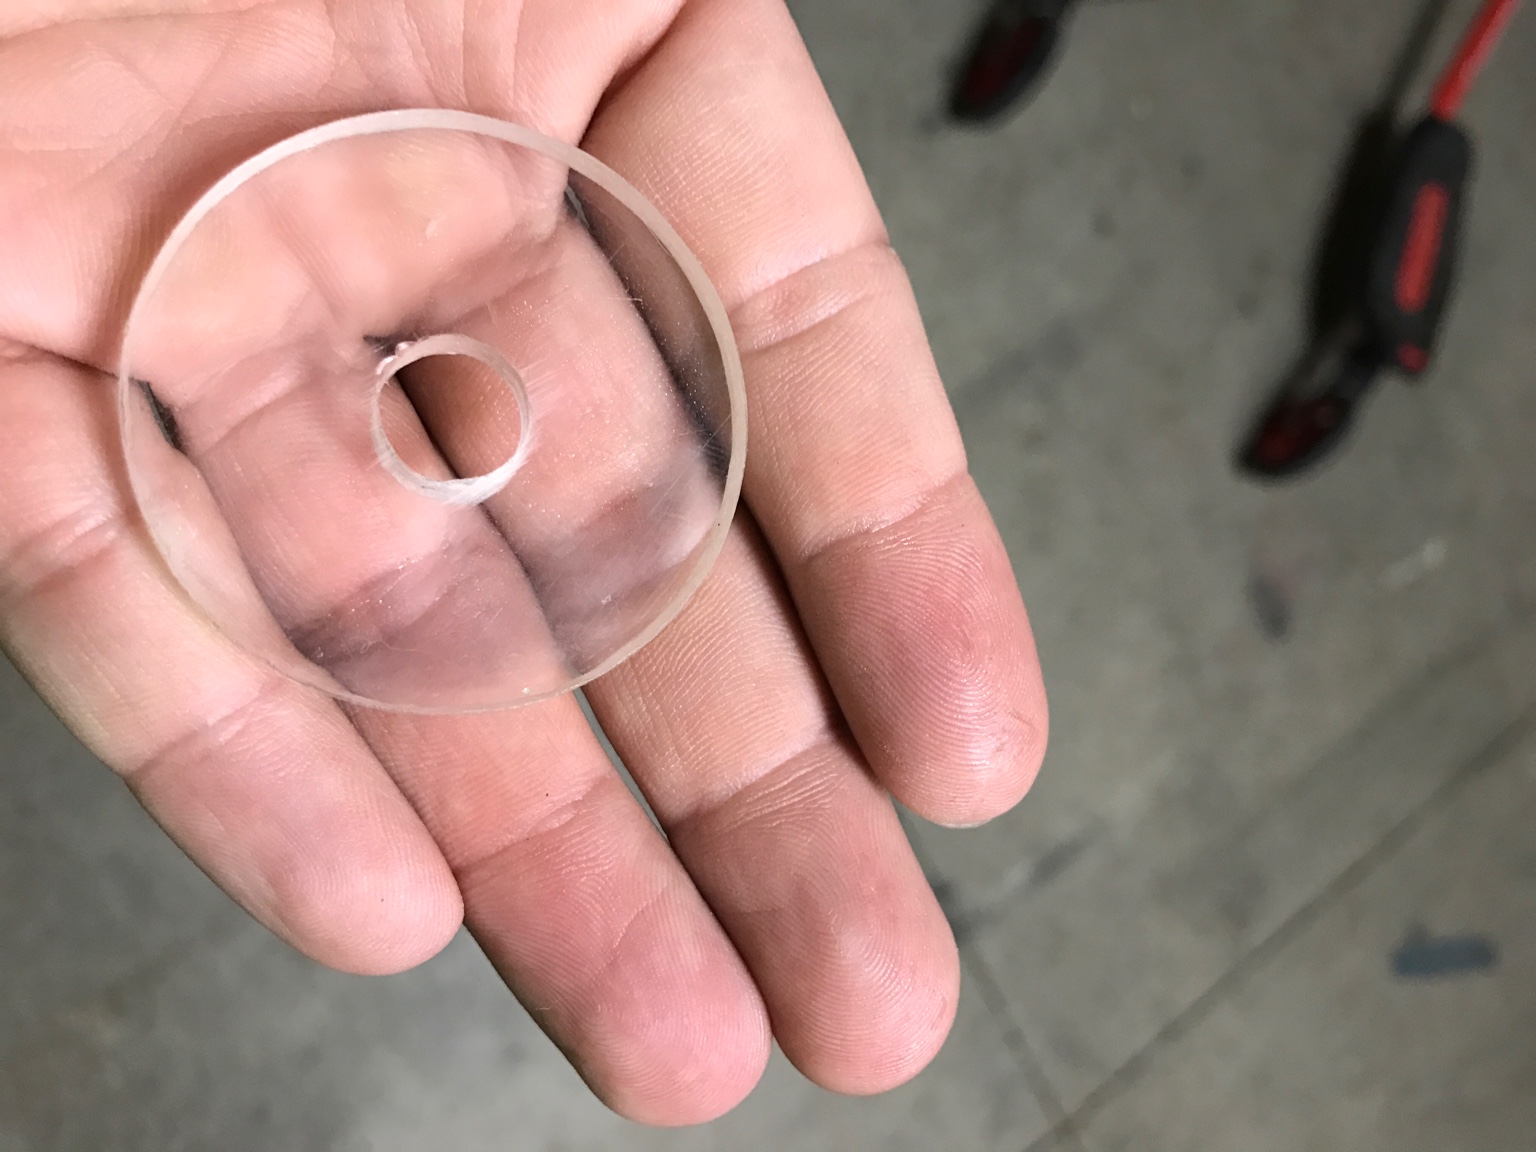
Next I had to fab a center plate for the middle bearing to sit. I made this center plate out of an old piece of acrylic I had in the scrap pile.
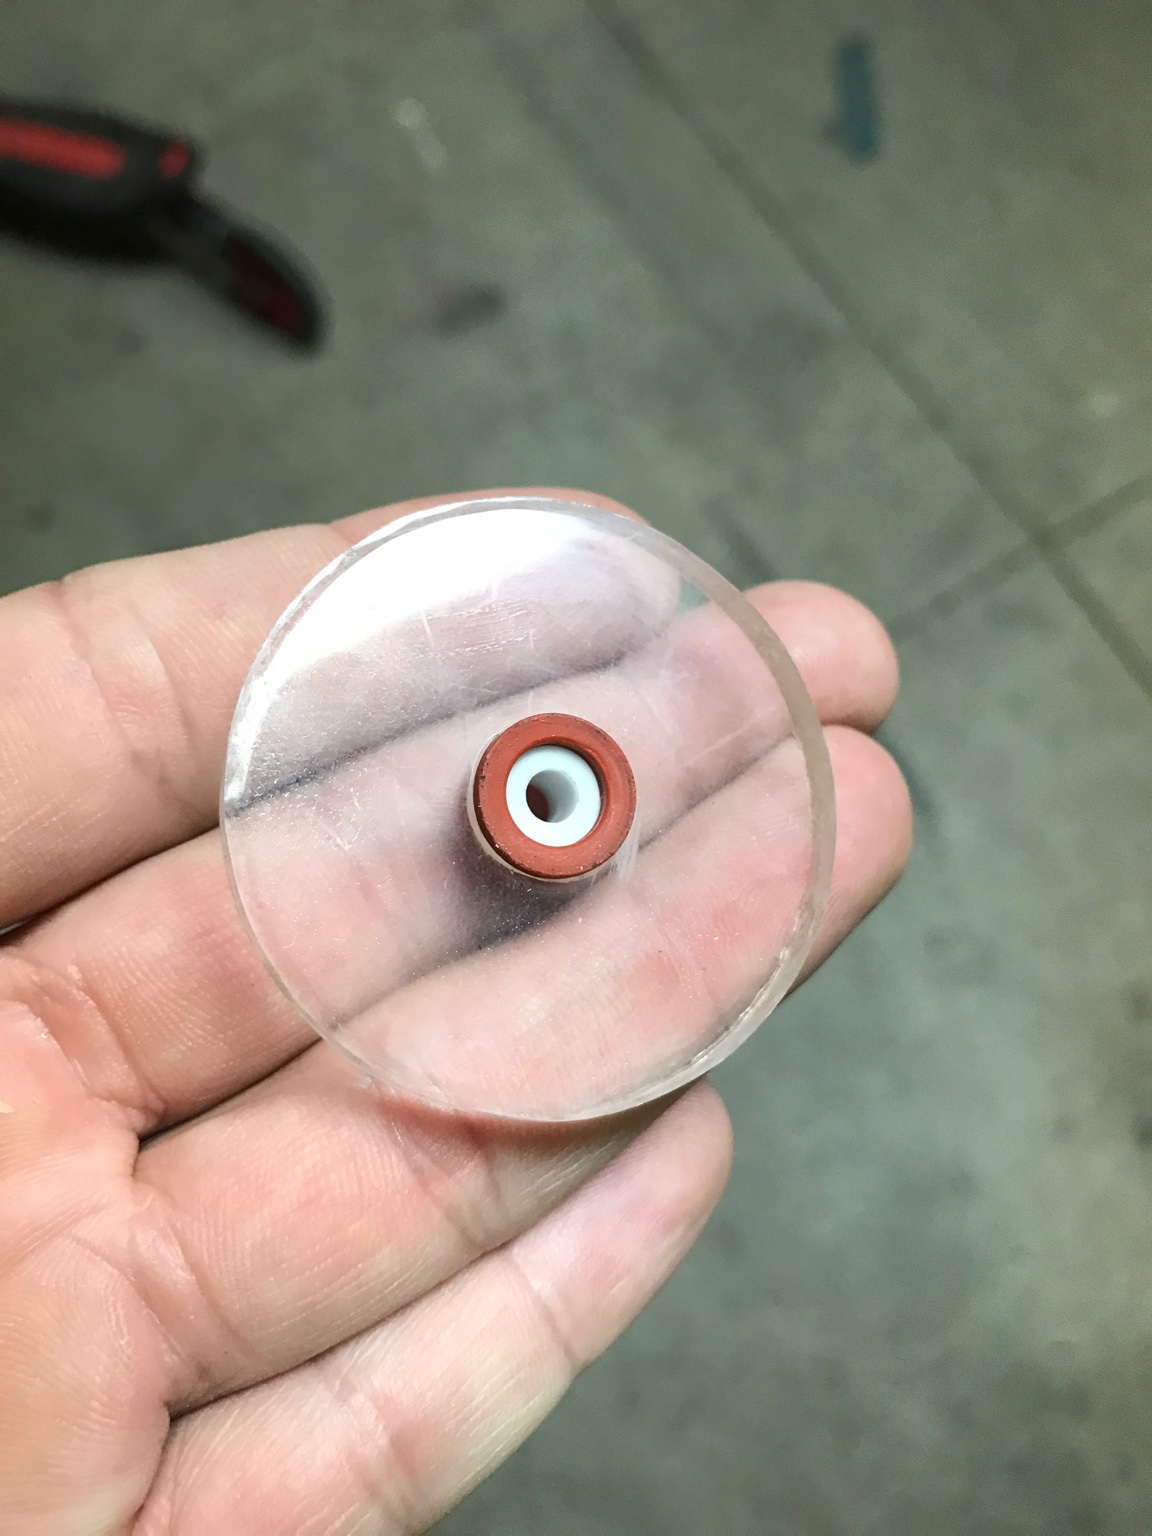
Then installed the bearing in that
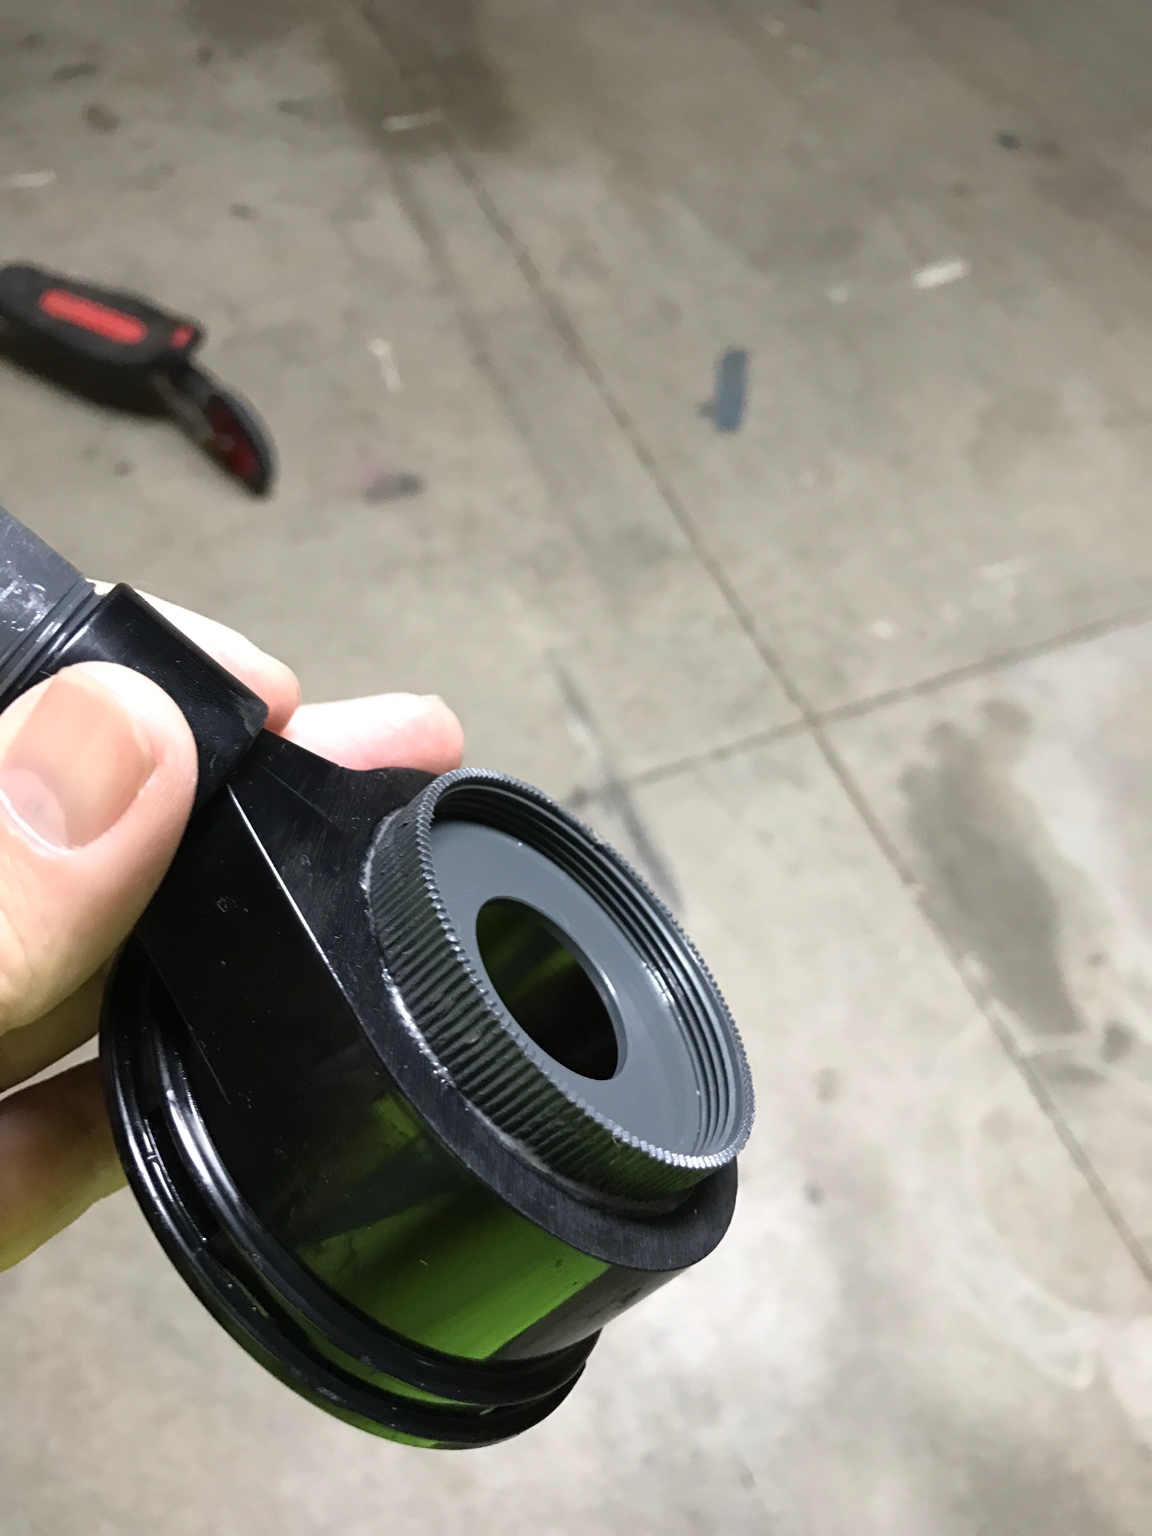
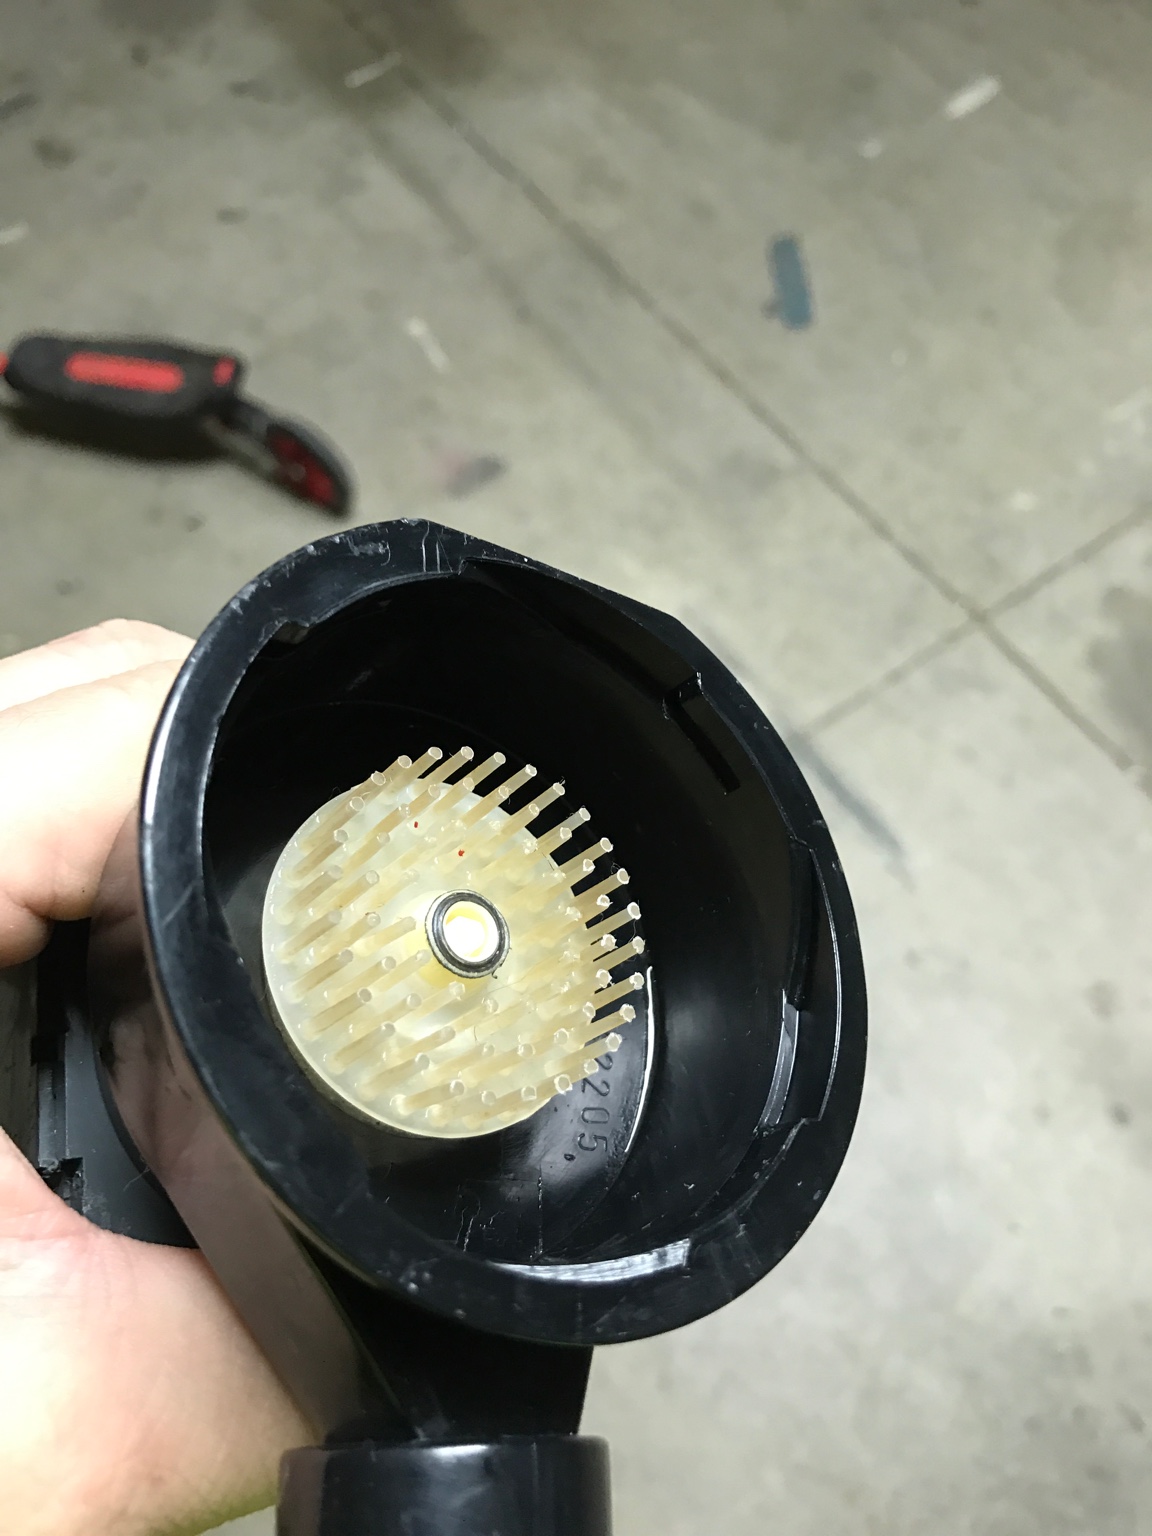
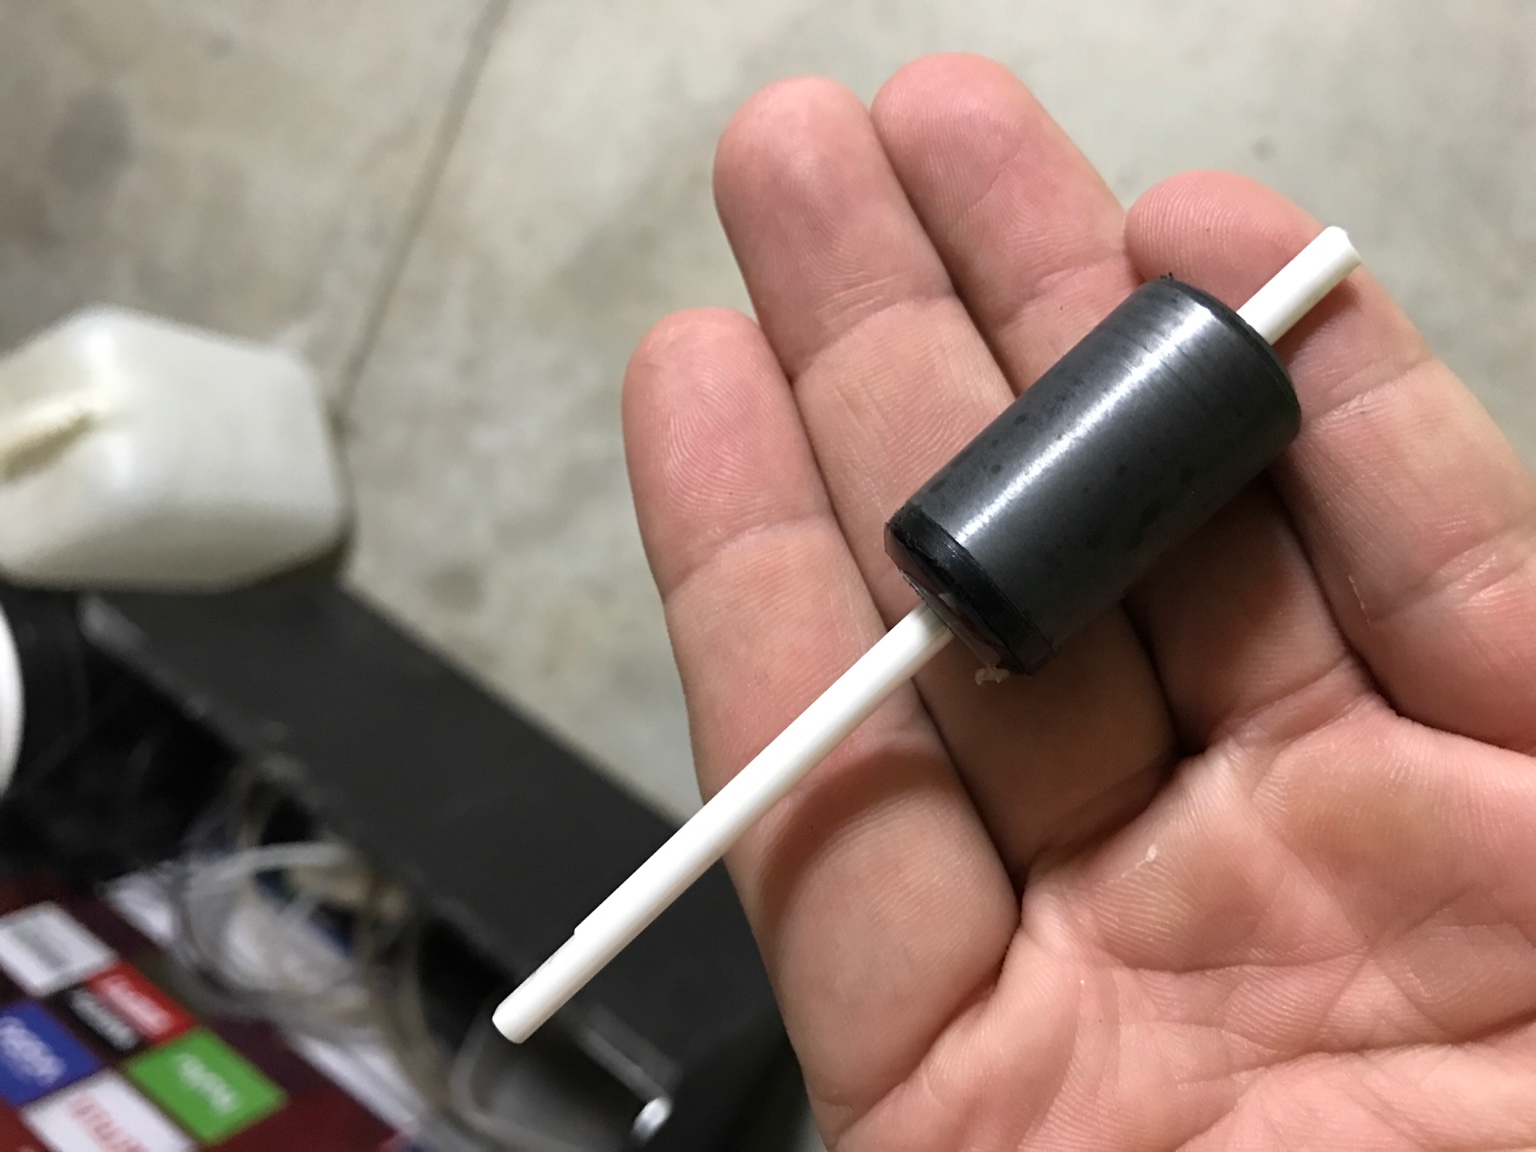
This is now what my impeller assembly looks like
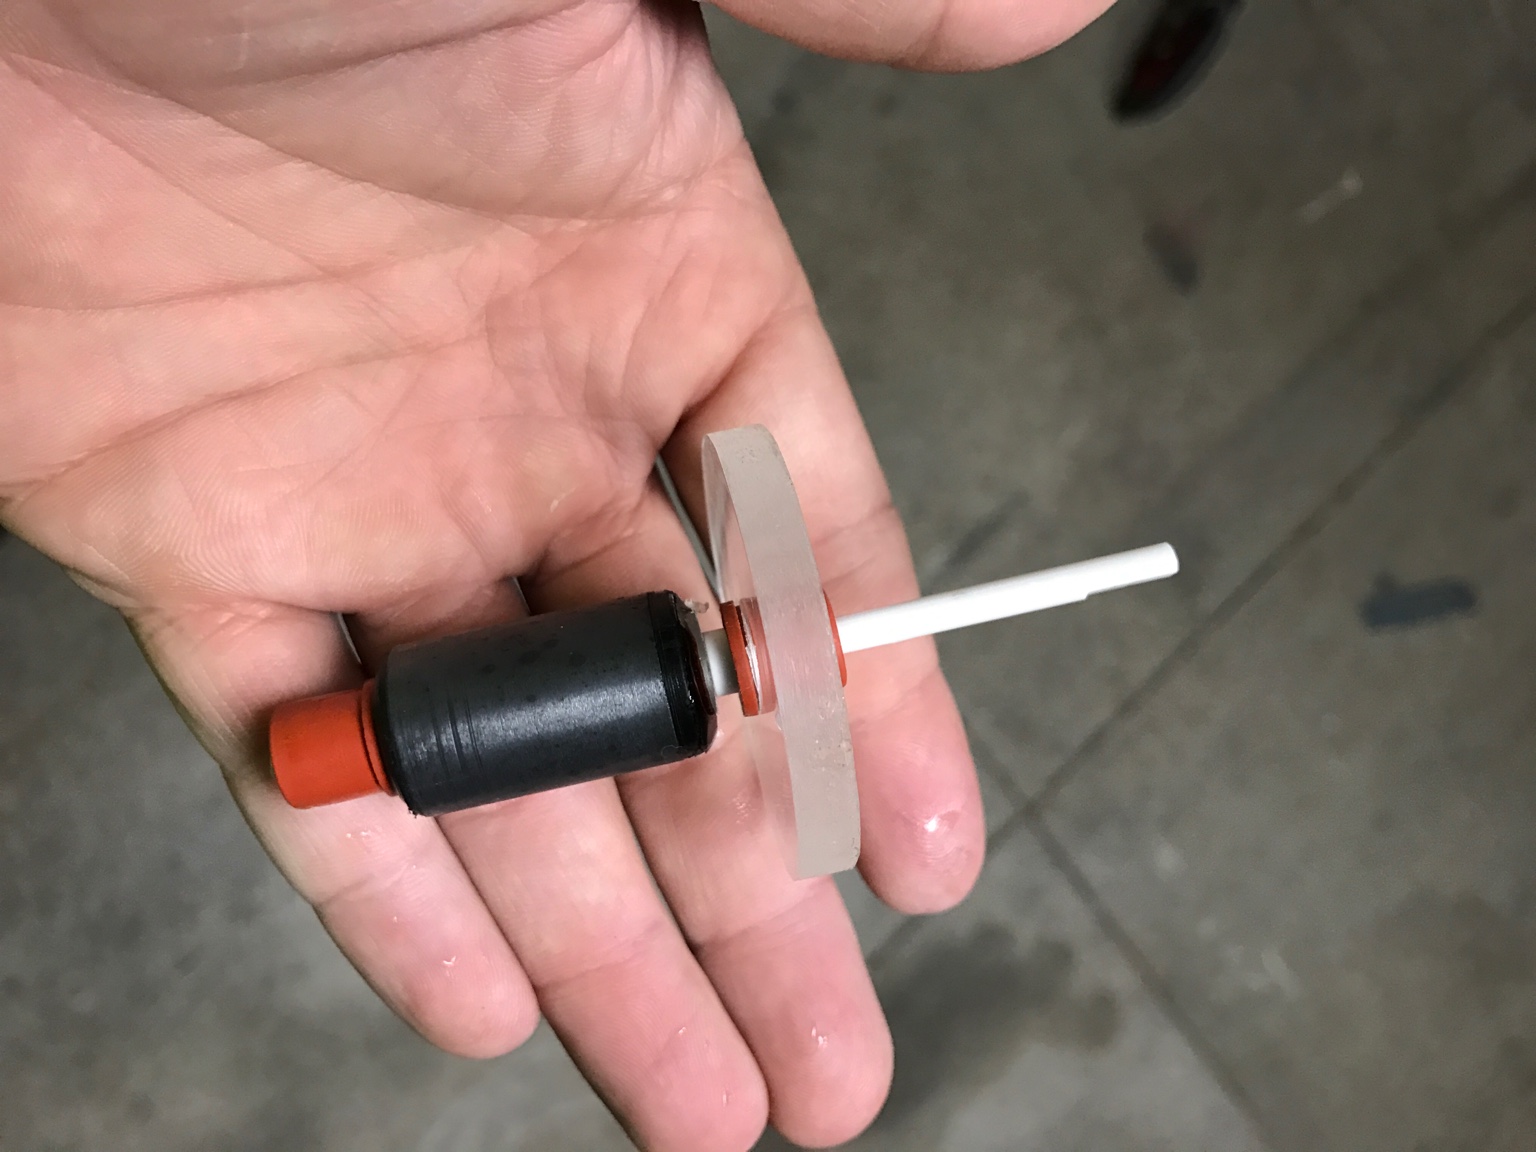
I did put a rubber gaskets in between the middle bearing plate and the motor block to stop any rattling and to keep the pump quiet, you can see the rubber gasket in the first pic.
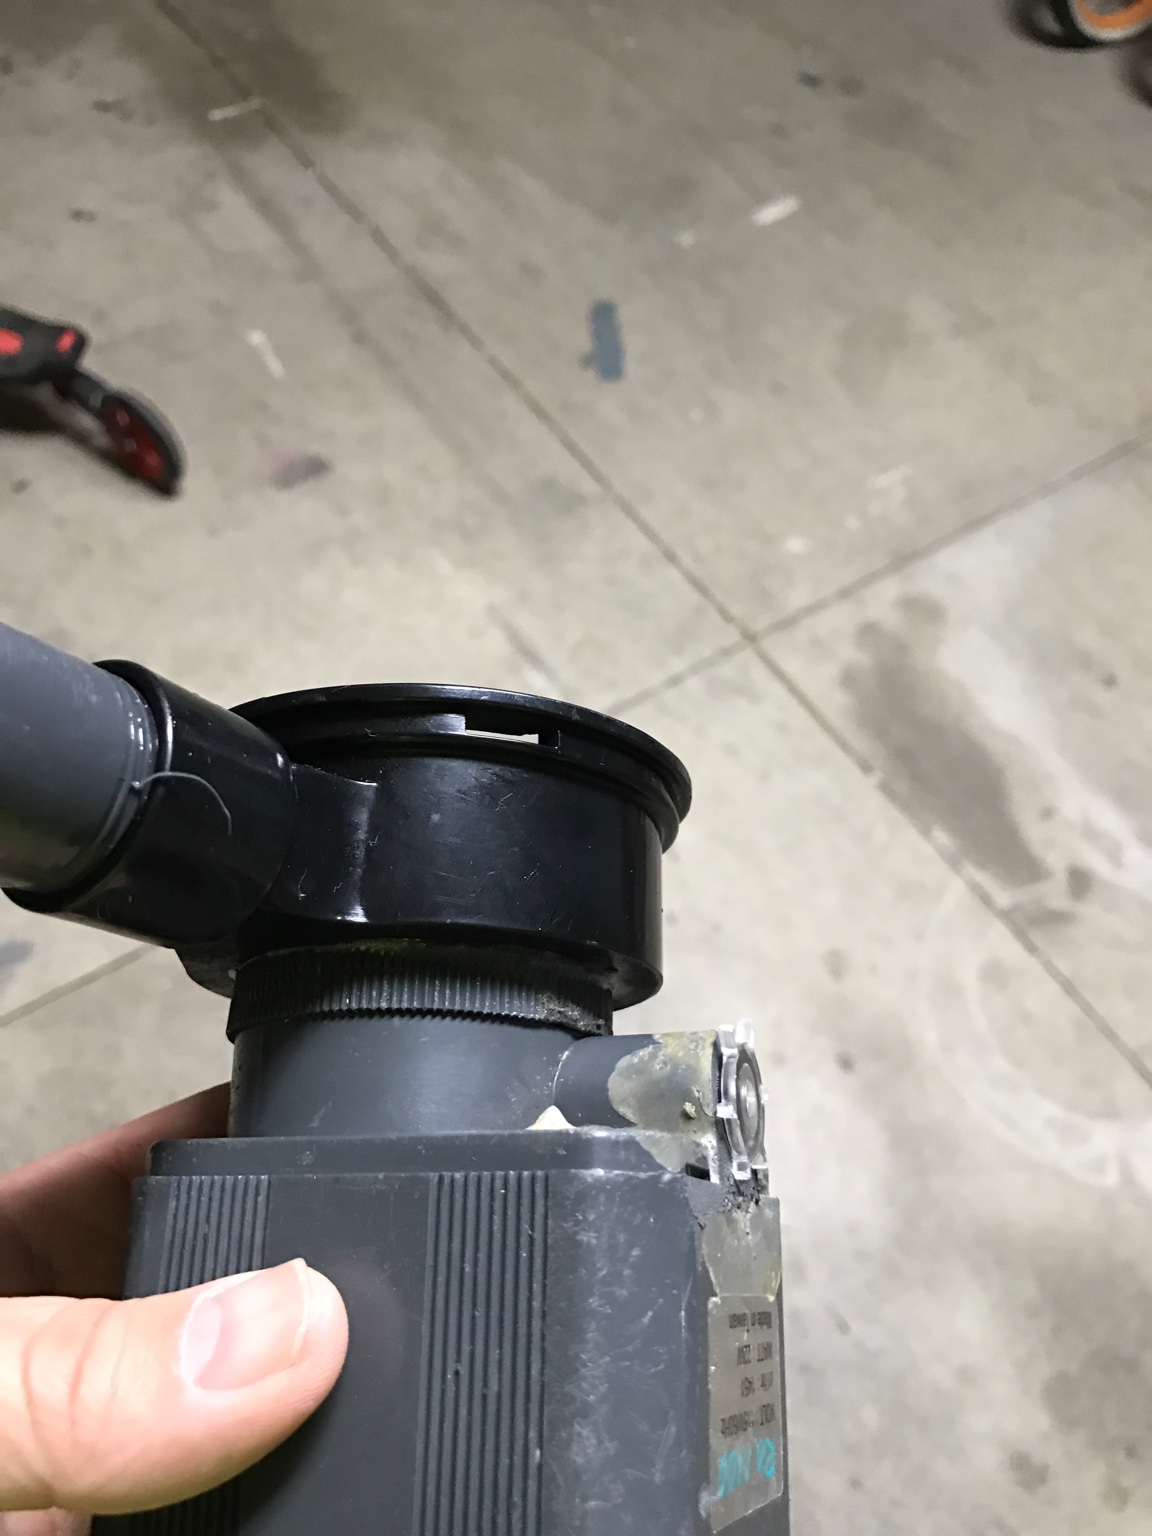
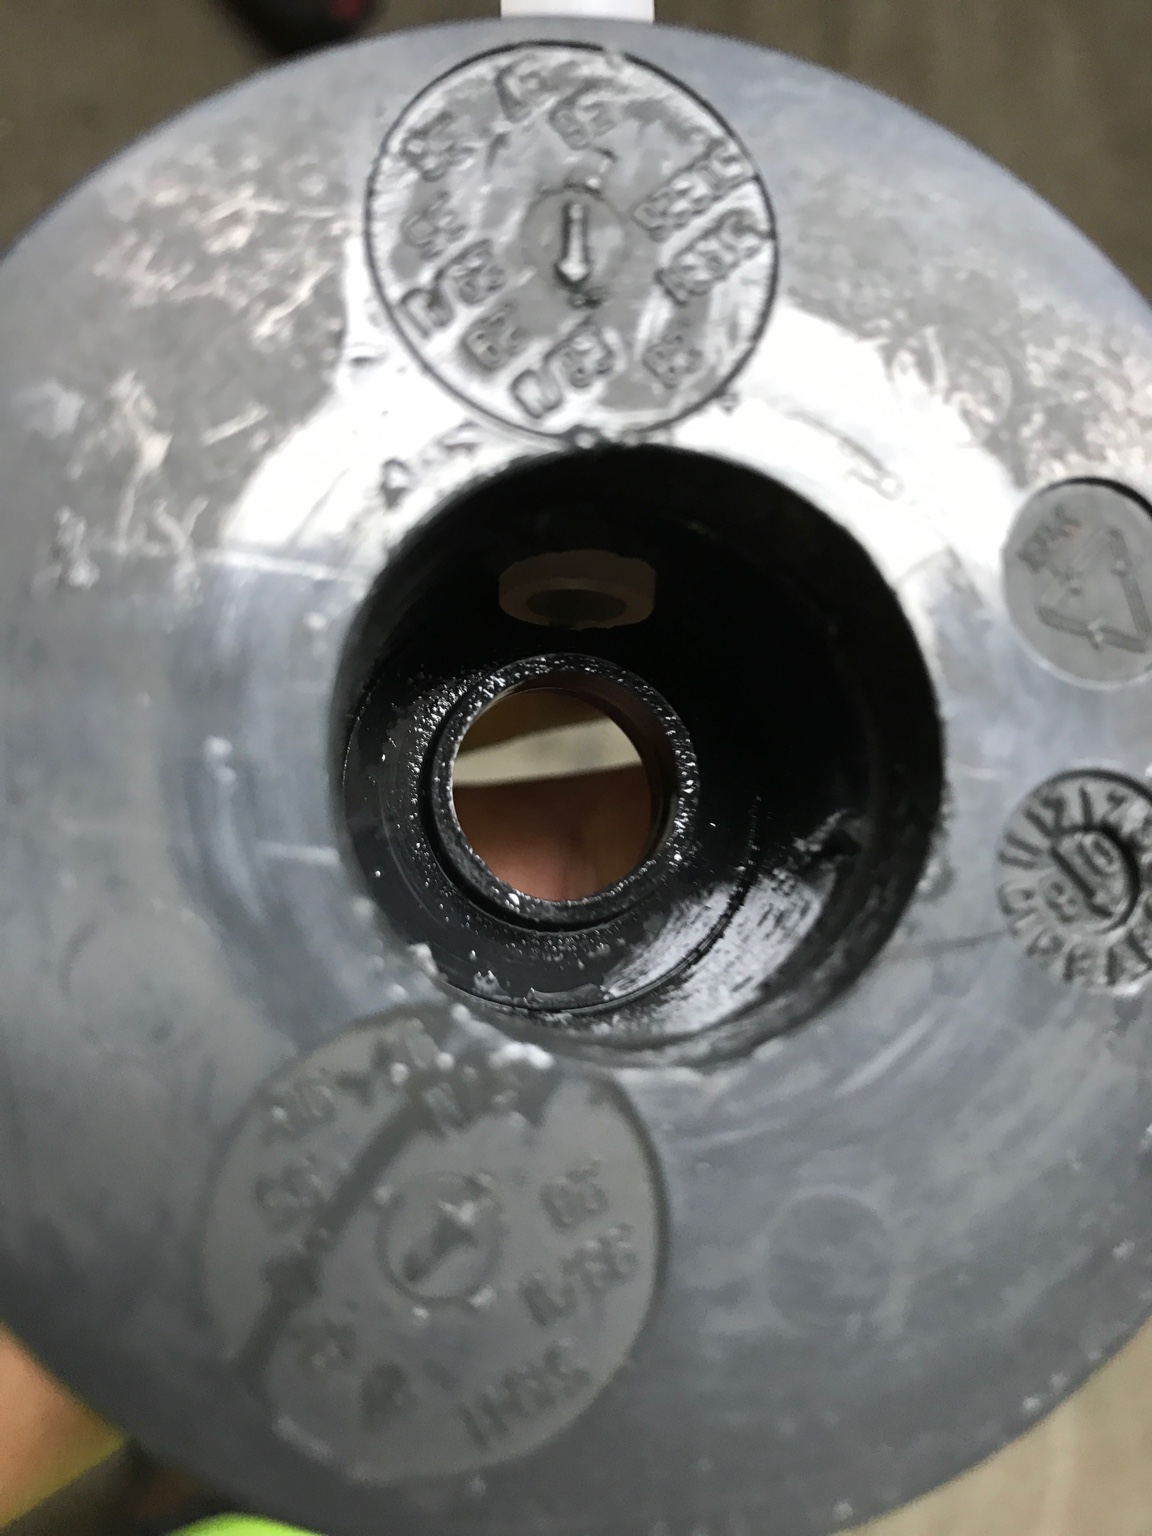
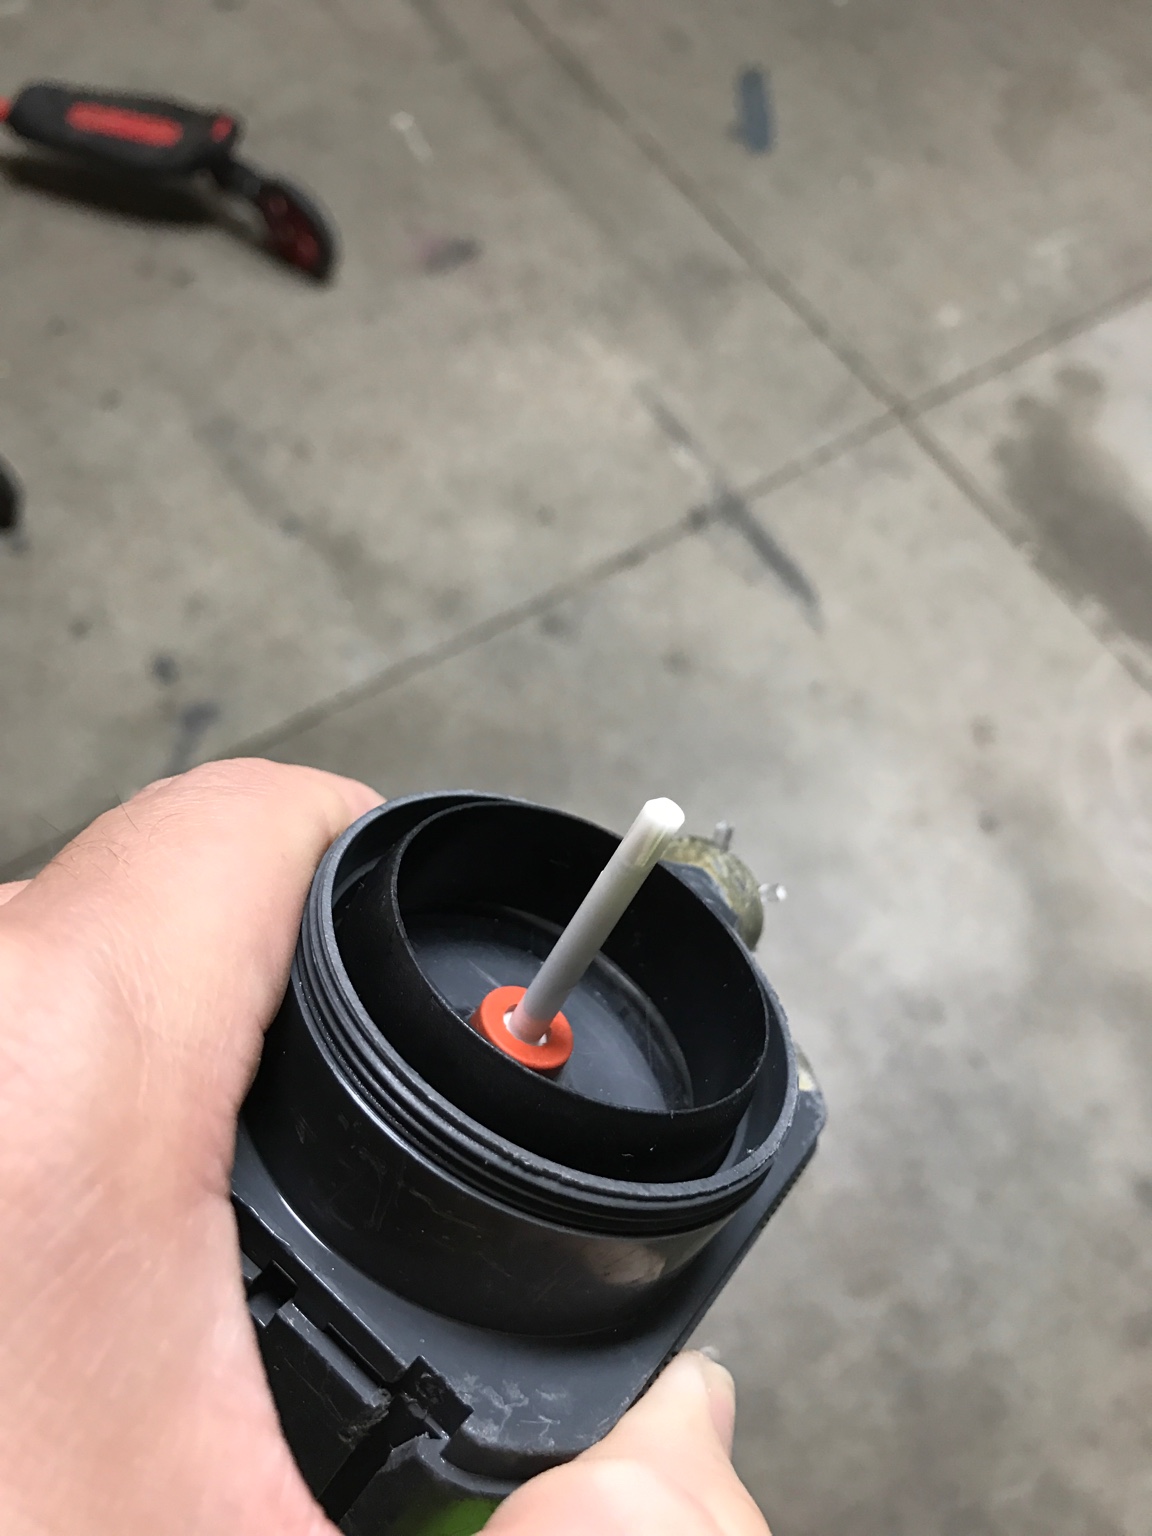
Here's the magnet assembly in the motor block
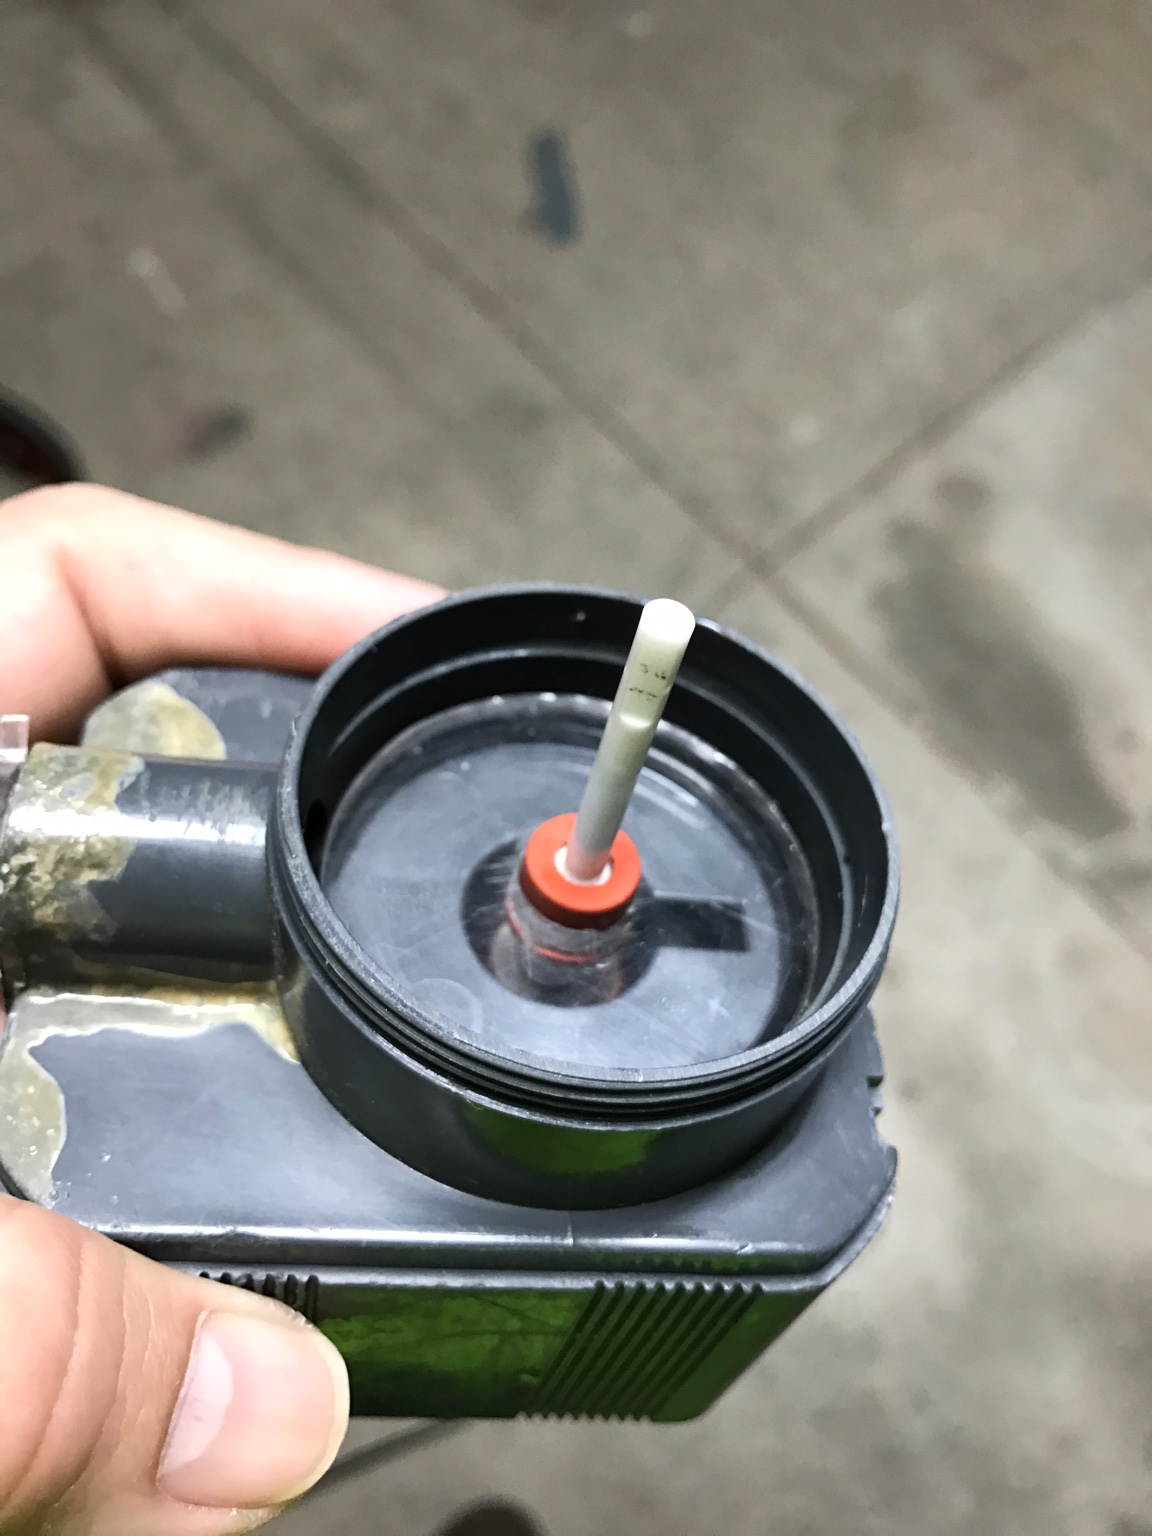
Then I had to put a washer in between the bearing plate and screw on cap that held the stock intake plate in place
So I came across an old rio 1100 that I had modified with a needle wheel impeller to use on an old hob skimmer. Well the rio was junk it always would stop and had issues with starting. It literally was a pump that was only meant as a last resort temp. I got to thinking how could I fix this pump to see if I can make it better. To figure out how to make something better I had to figure what was wrong with it in the first place. So after close inspection I figured out that the magnet was not spinning right it was slightly wobbly. On the old style impellers the magnet spun around a titanium or ceramic shaft. On most new style impellers the ceramic shaft is part of the impeller and the impeller assembly spins in ceramic bearings located at the end or one in the middle and the other at one end.
Well I really like the idea of modding this rio after a new style pump that has the bearing in between the impeller and the magnet, so that there was no bearing in front of the impeller and slowing down the flow of air and water.
I had an old gyre pump that was done the cord split, so I took the old bearing and ceramic shaft off of it. I started off by installing the ceramic shaft in the old rio magnet. I cut off the old impeller and slightly drilled the hole out a tad bit bigger in the center. I drilled the hole a bit smaller then the ceramic shaft tho so that I could have a snug fit between the shaft and magnet. This is so the magnet won't slip or come loss from the shaft
Next I drilled a hole in the end of the of the rio so the ceramic bearing would fit.
Then I installed the bearing
Next I had to fab a center plate for the middle bearing to sit. I made this center plate out of an old piece of acrylic I had in the scrap pile.
Then installed the bearing in that
This is now what my impeller assembly looks like
I did put a rubber gaskets in between the middle bearing plate and the motor block to stop any rattling and to keep the pump quiet, you can see the rubber gasket in the first pic.
Here's the magnet assembly in the motor block
Then I had to put a washer in between the bearing plate and screw on cap that held the stock intake plate in place