A new, completely changed version of the AQma WiFi LED Control lighting controller . Management of the entire functionality from the level of the WEB interface. It needs ESP32 and RTC DS3231 clock to work.
For soft, diagrams, etc., please visit: Sterownik oświetlenia – AQMA WiFi LED CONTROL | magu.pl
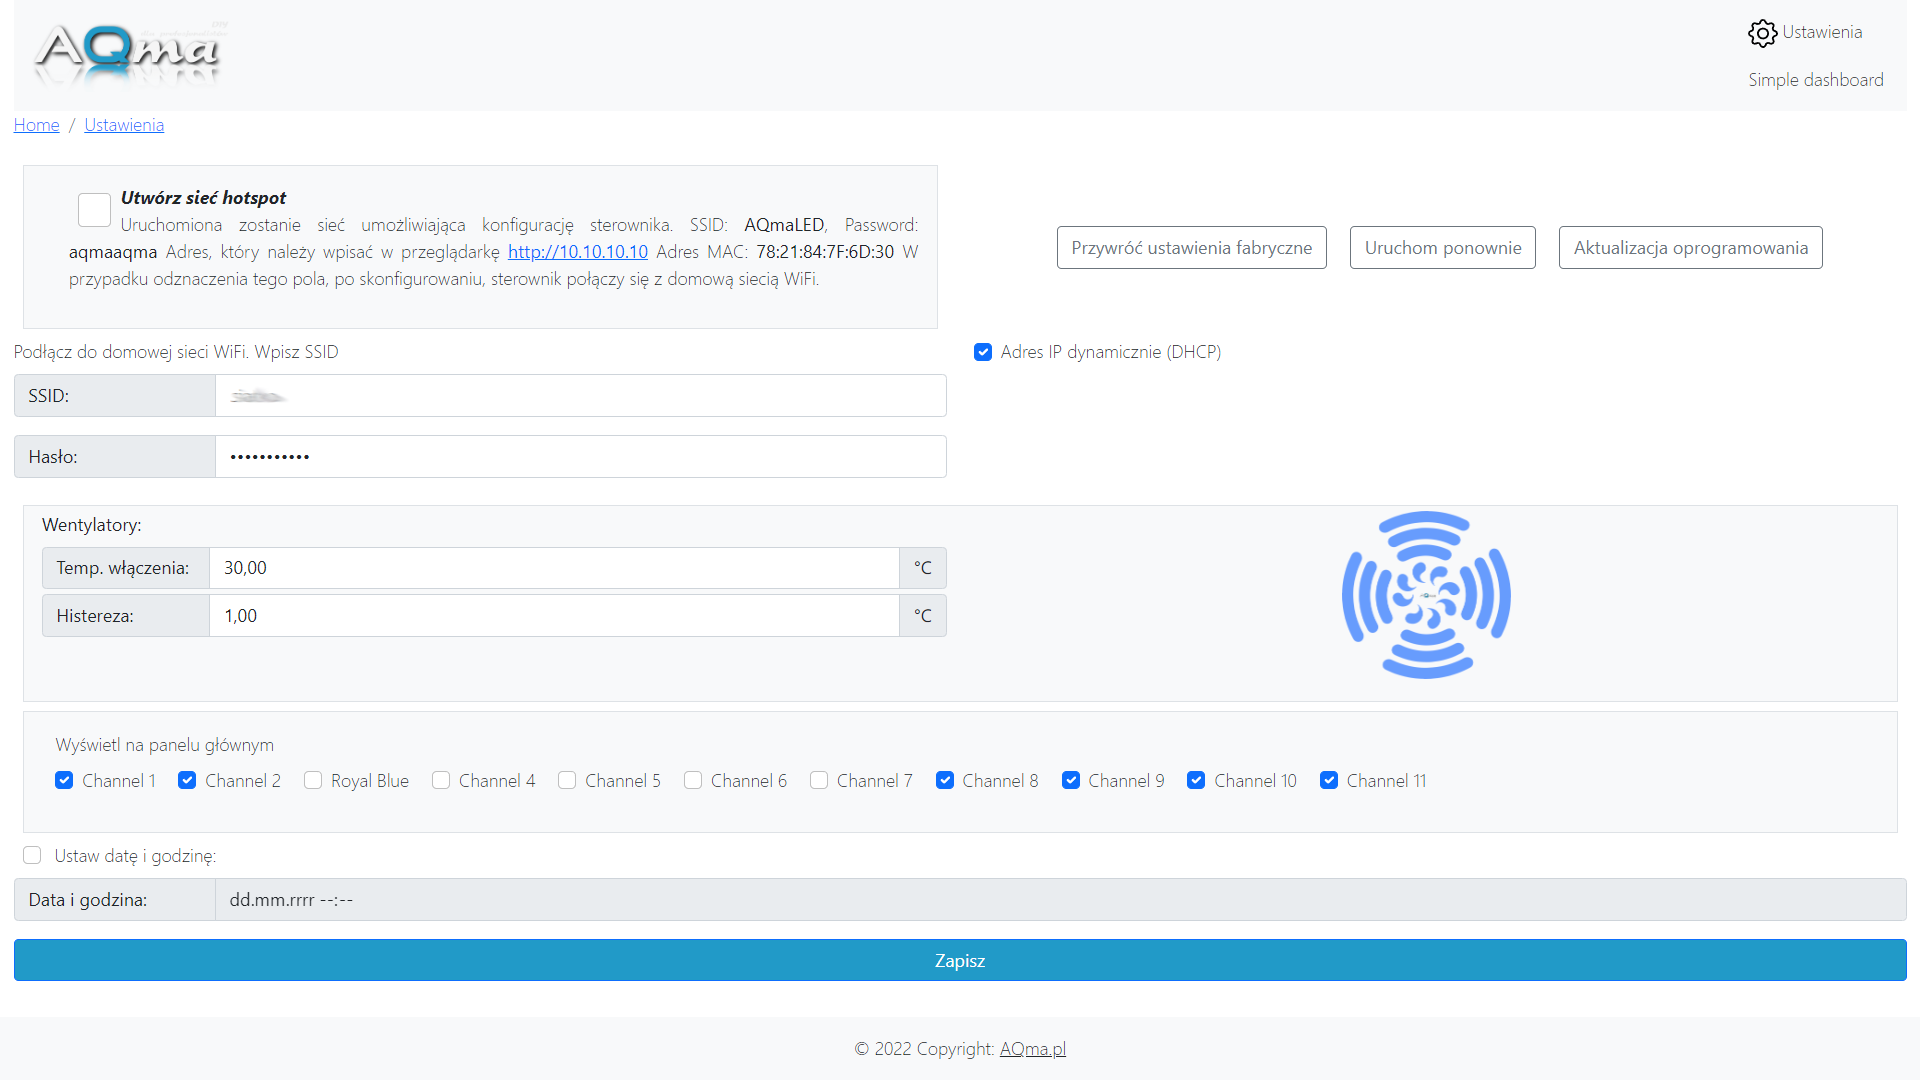
After the first turning on, the controller will start in the hotspot mode. Turn on WiFi on the phone / computer and connect to the "AQmaLED" network with the "aqmaaqma" password, this network will not have access to the Internet. Then go to the website http://10.10.10.10 (necessarily http) now on the settings tab you can configure the driver to connect to the home WiFi network (recommended configuration). After this operation and restarting, AQma WiFi LED will connect to the network and will be available like other devices in the house. To make it easier to find the address that has been assigned to the controller by the home router (unless a fixed IP address has been manually configured on the settings tab), the device will broadcast its IP address via Bluetooth for 60 seconds after start-up. So you just need to run a search for Bluetooth devices on your phone, In the case of building the driver on your own, I recommend sticking to the diagram, it is very important and can save a lot of money, e.g. using WROOM 32 and not using the stabilizer shown in the diagram may end up burning the computer / laptop motherboard connected to the USB port, although it should be there there may be a separation, but Chinese creations do not have to have it ... I probably bought all the available versions of ESP32 and I saw various interesting facts, so if you do not want to spend money on a ready controller, do it yourself, STICK THIS SCHEME.
Functionalities :
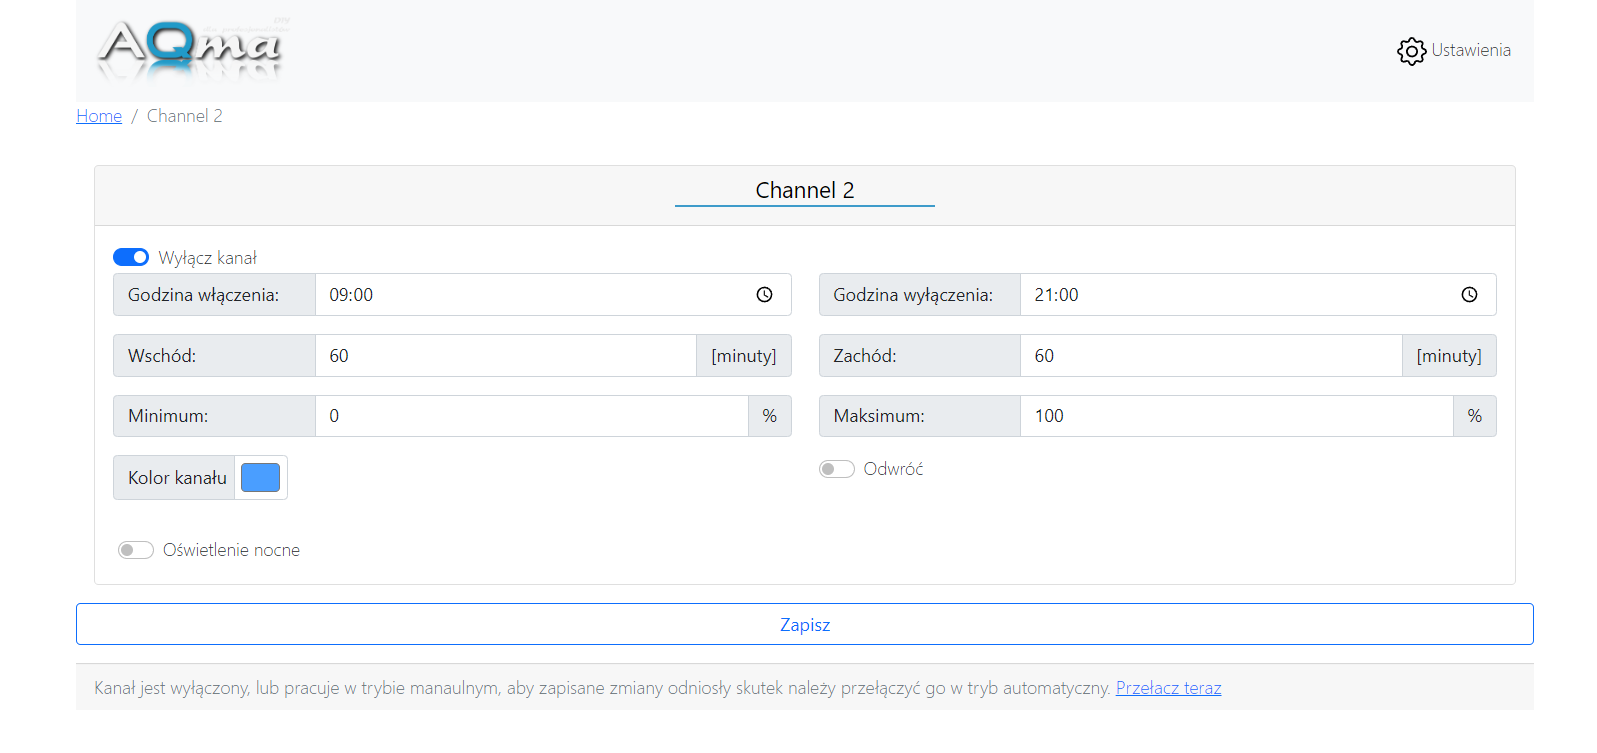
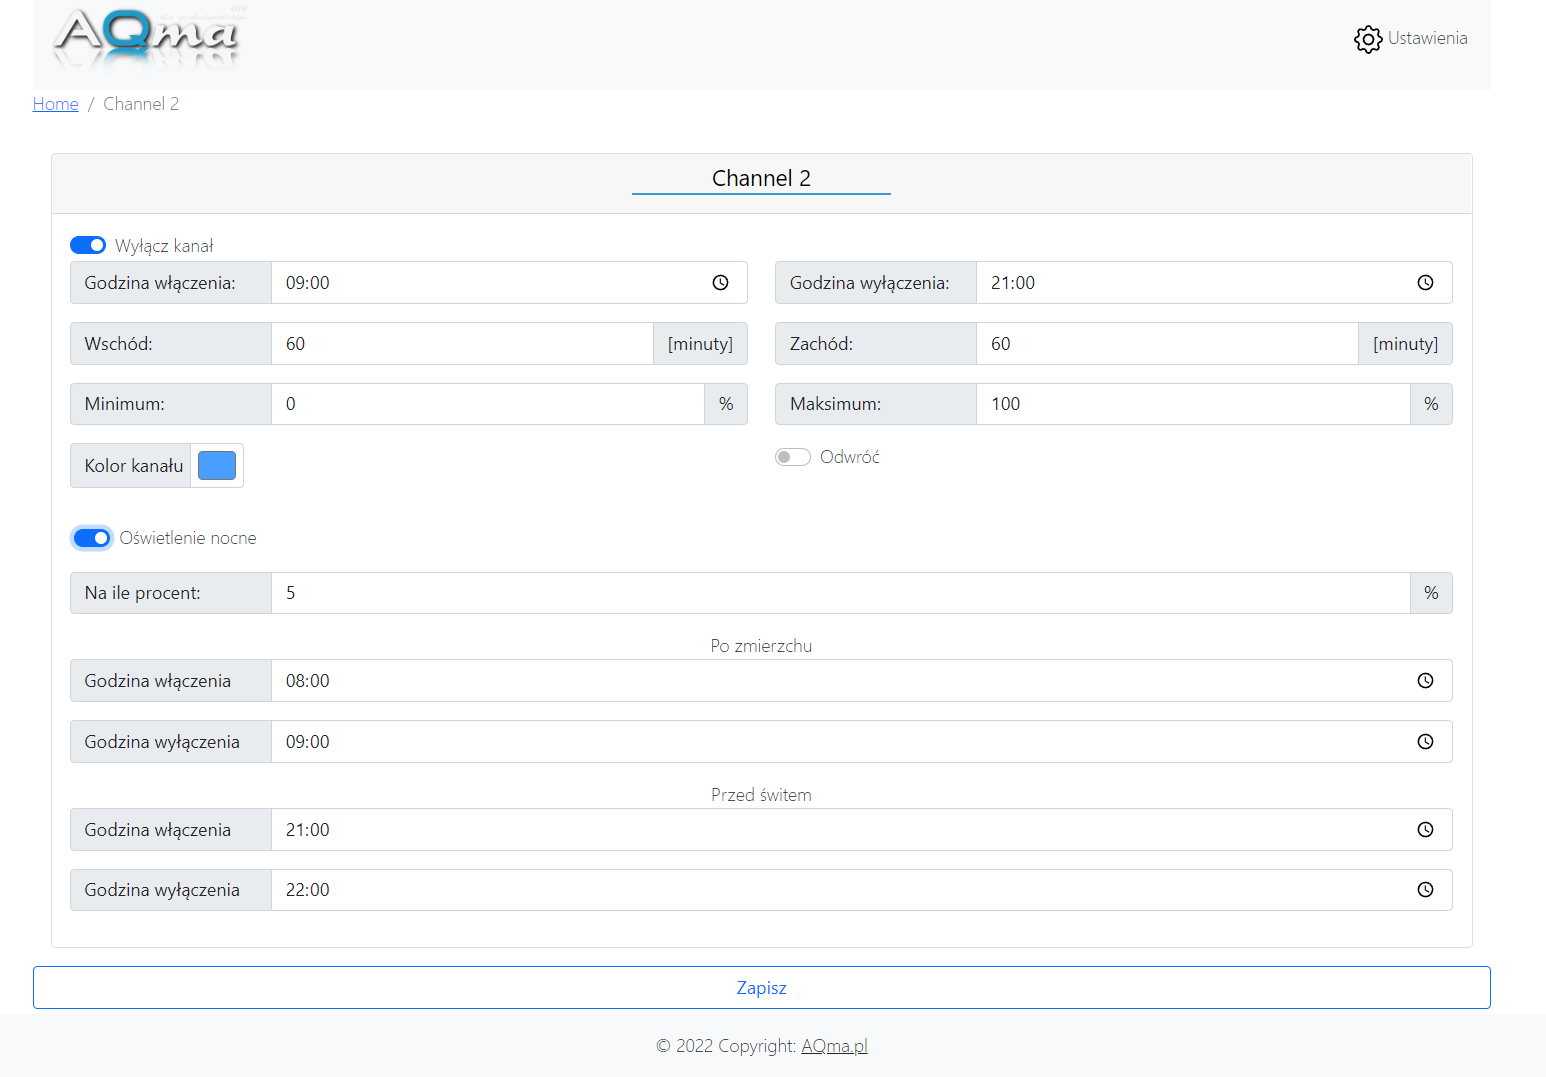
Of course, the whole thing is responsive and adapted to display on mobile devices.
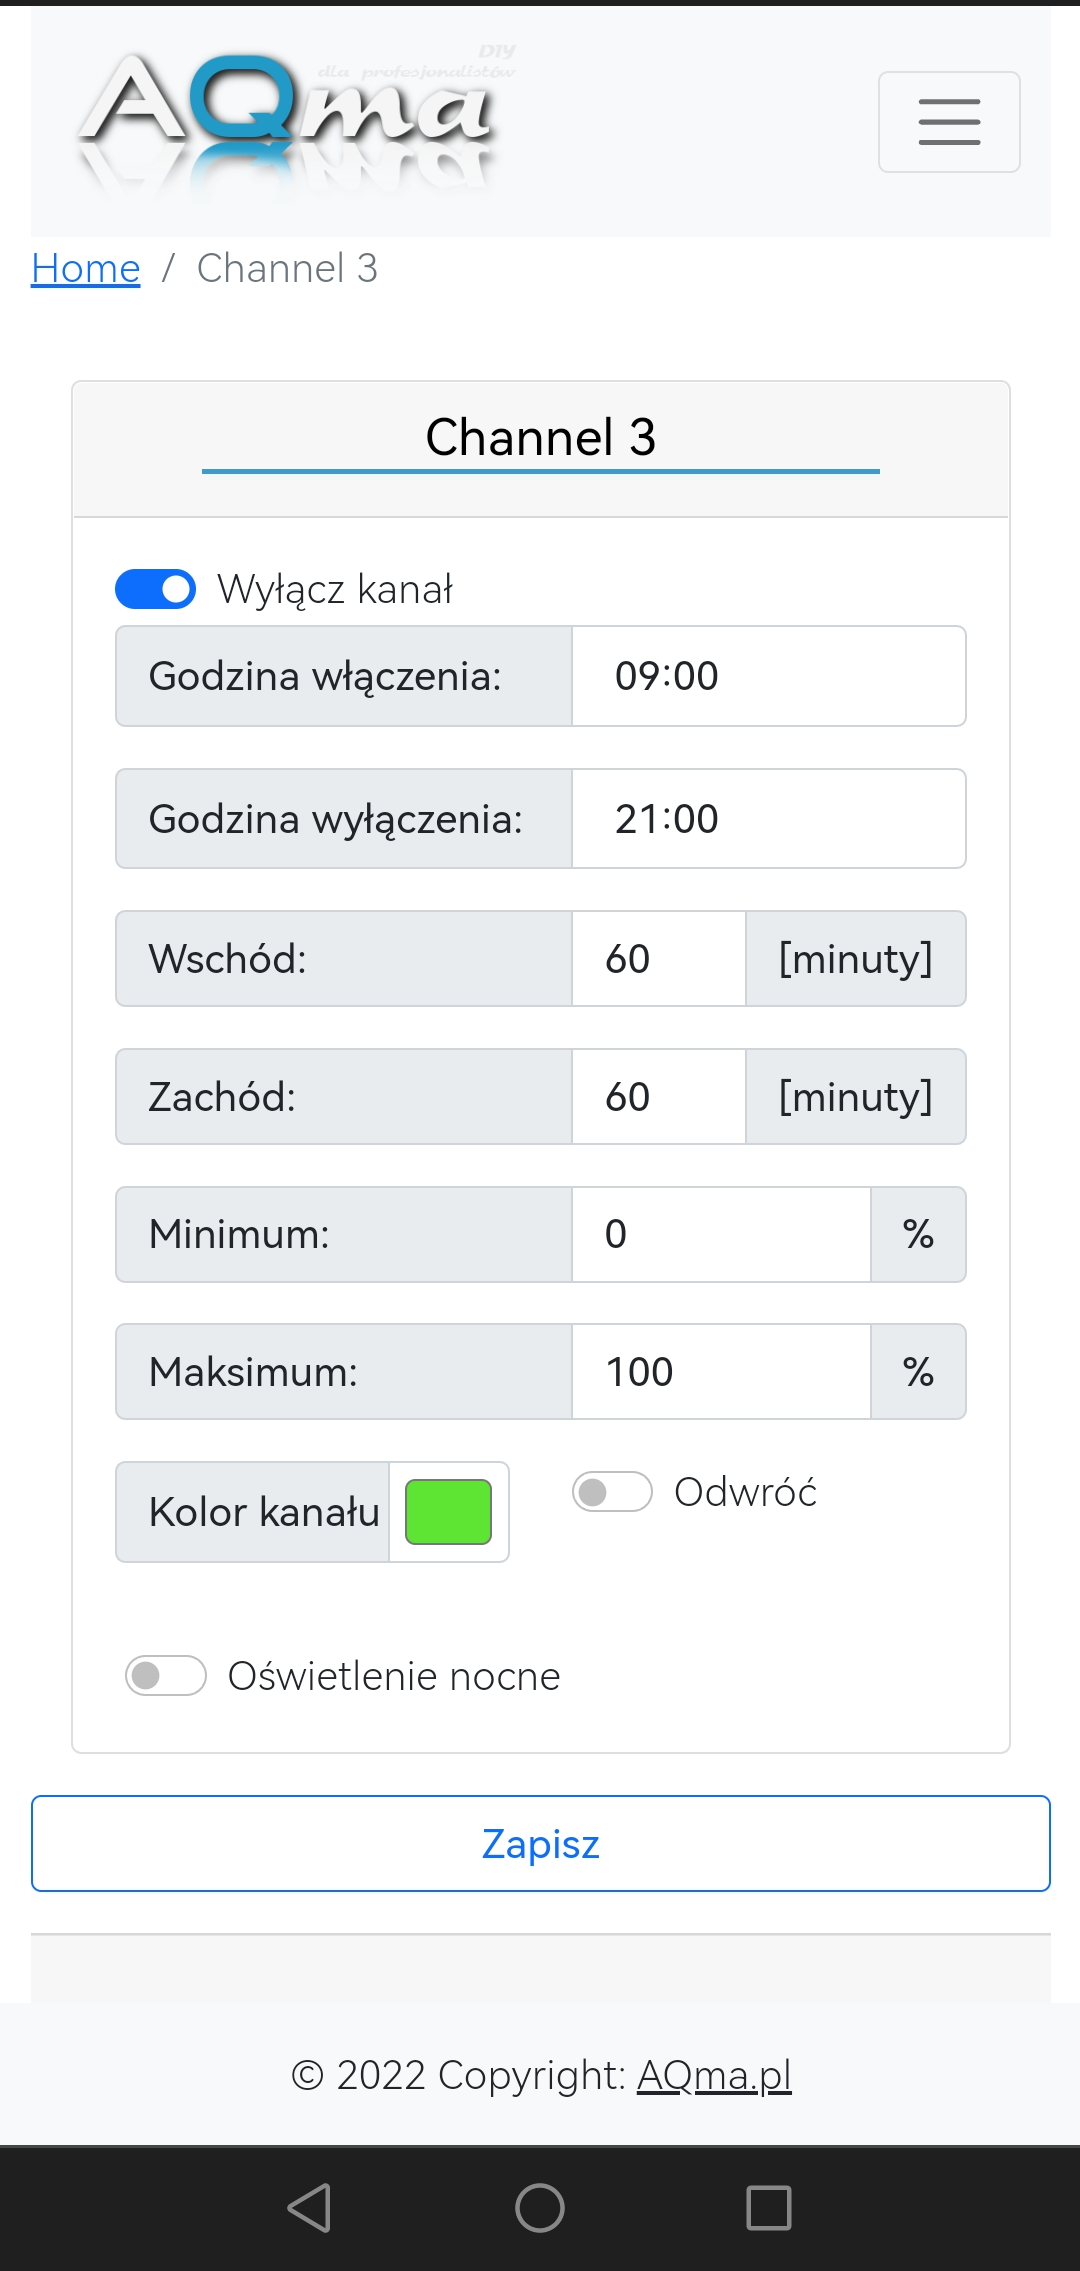
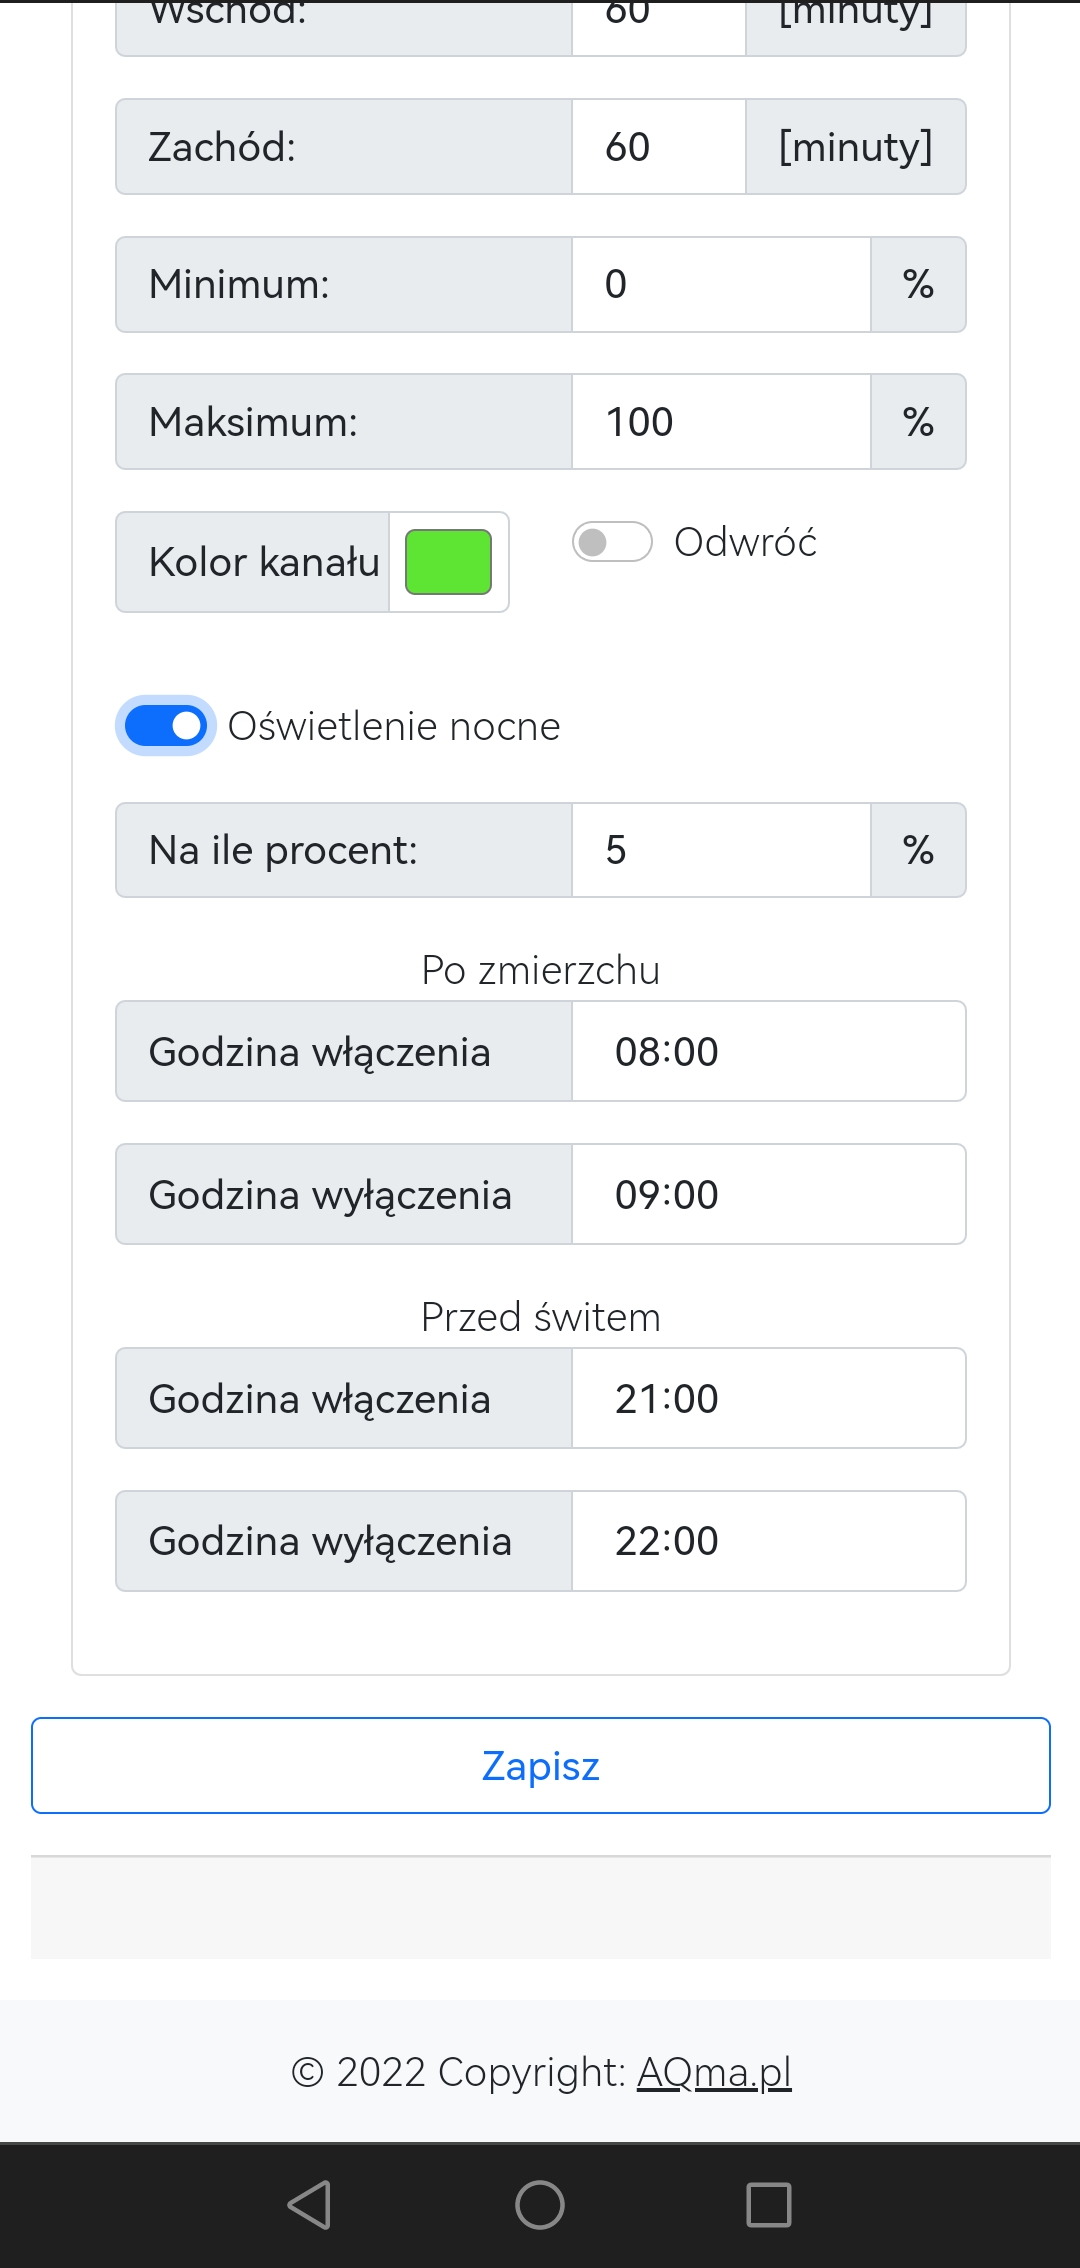
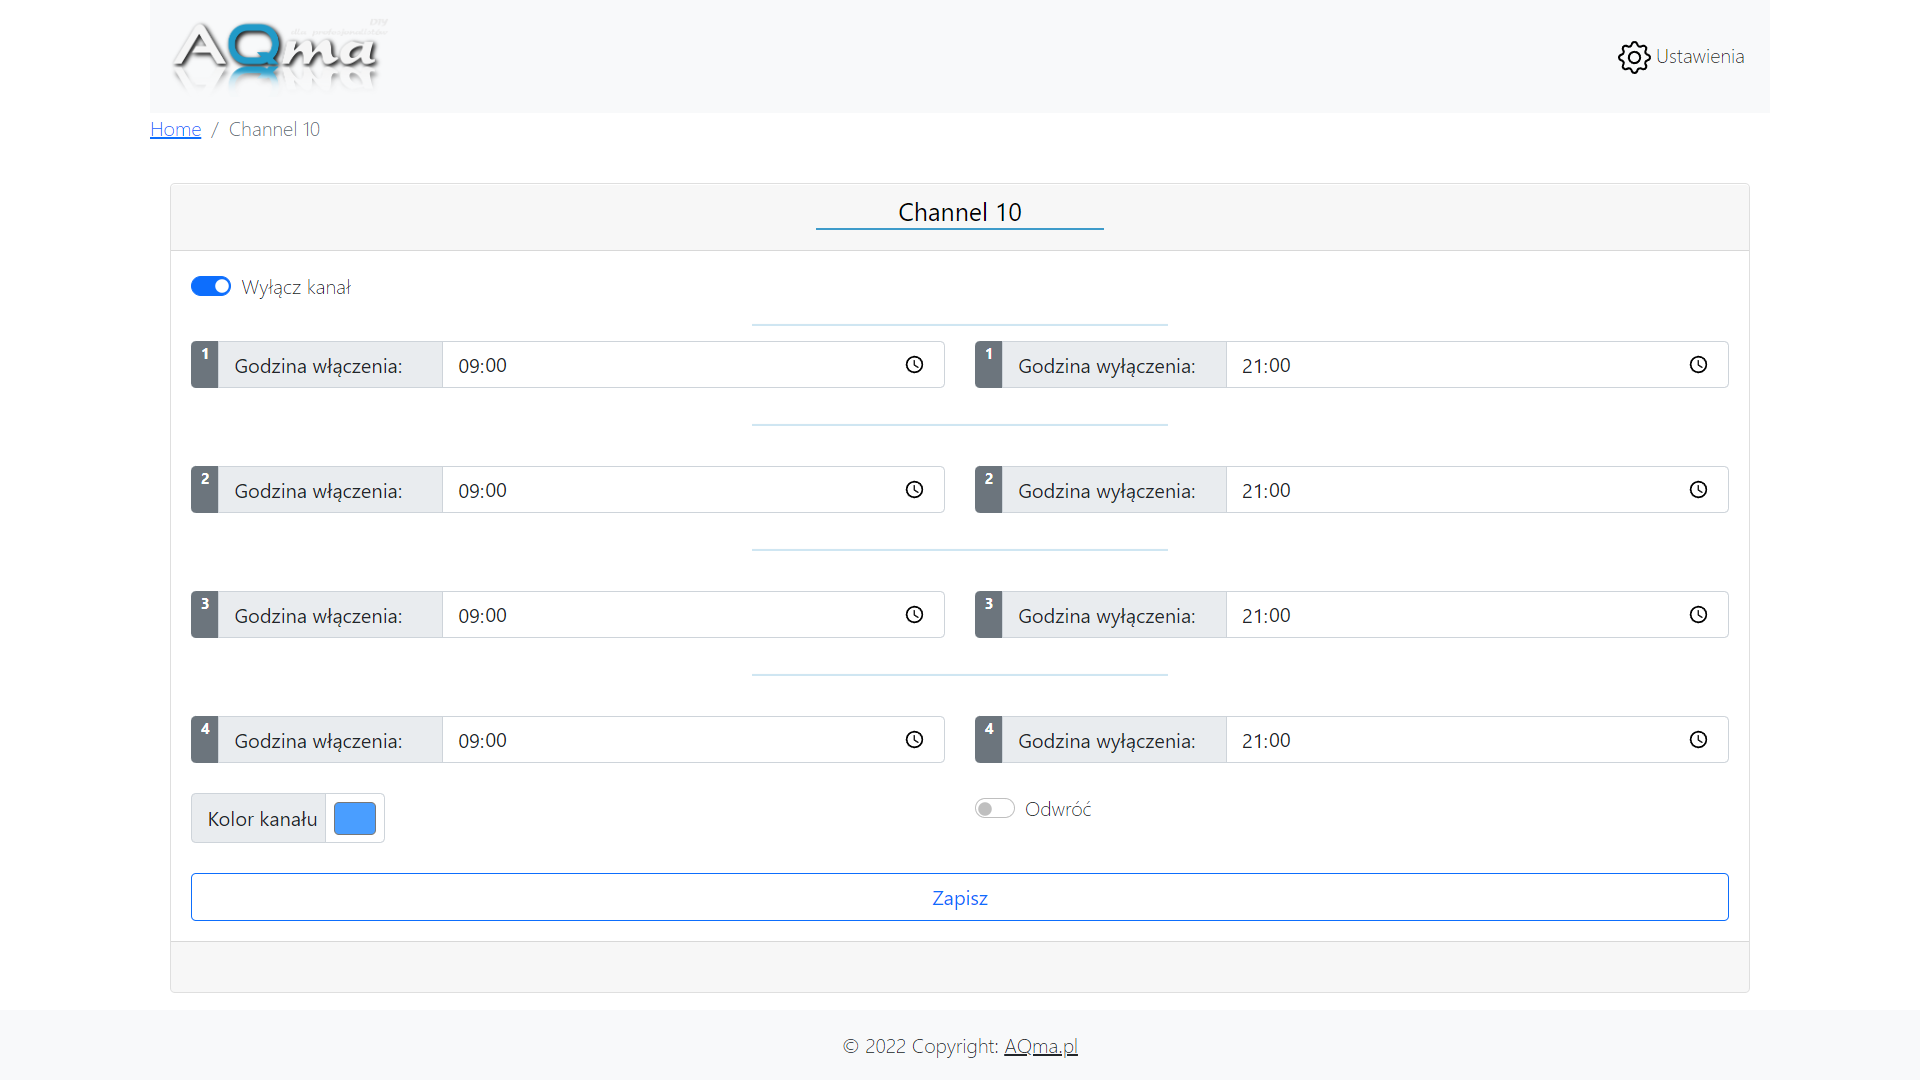
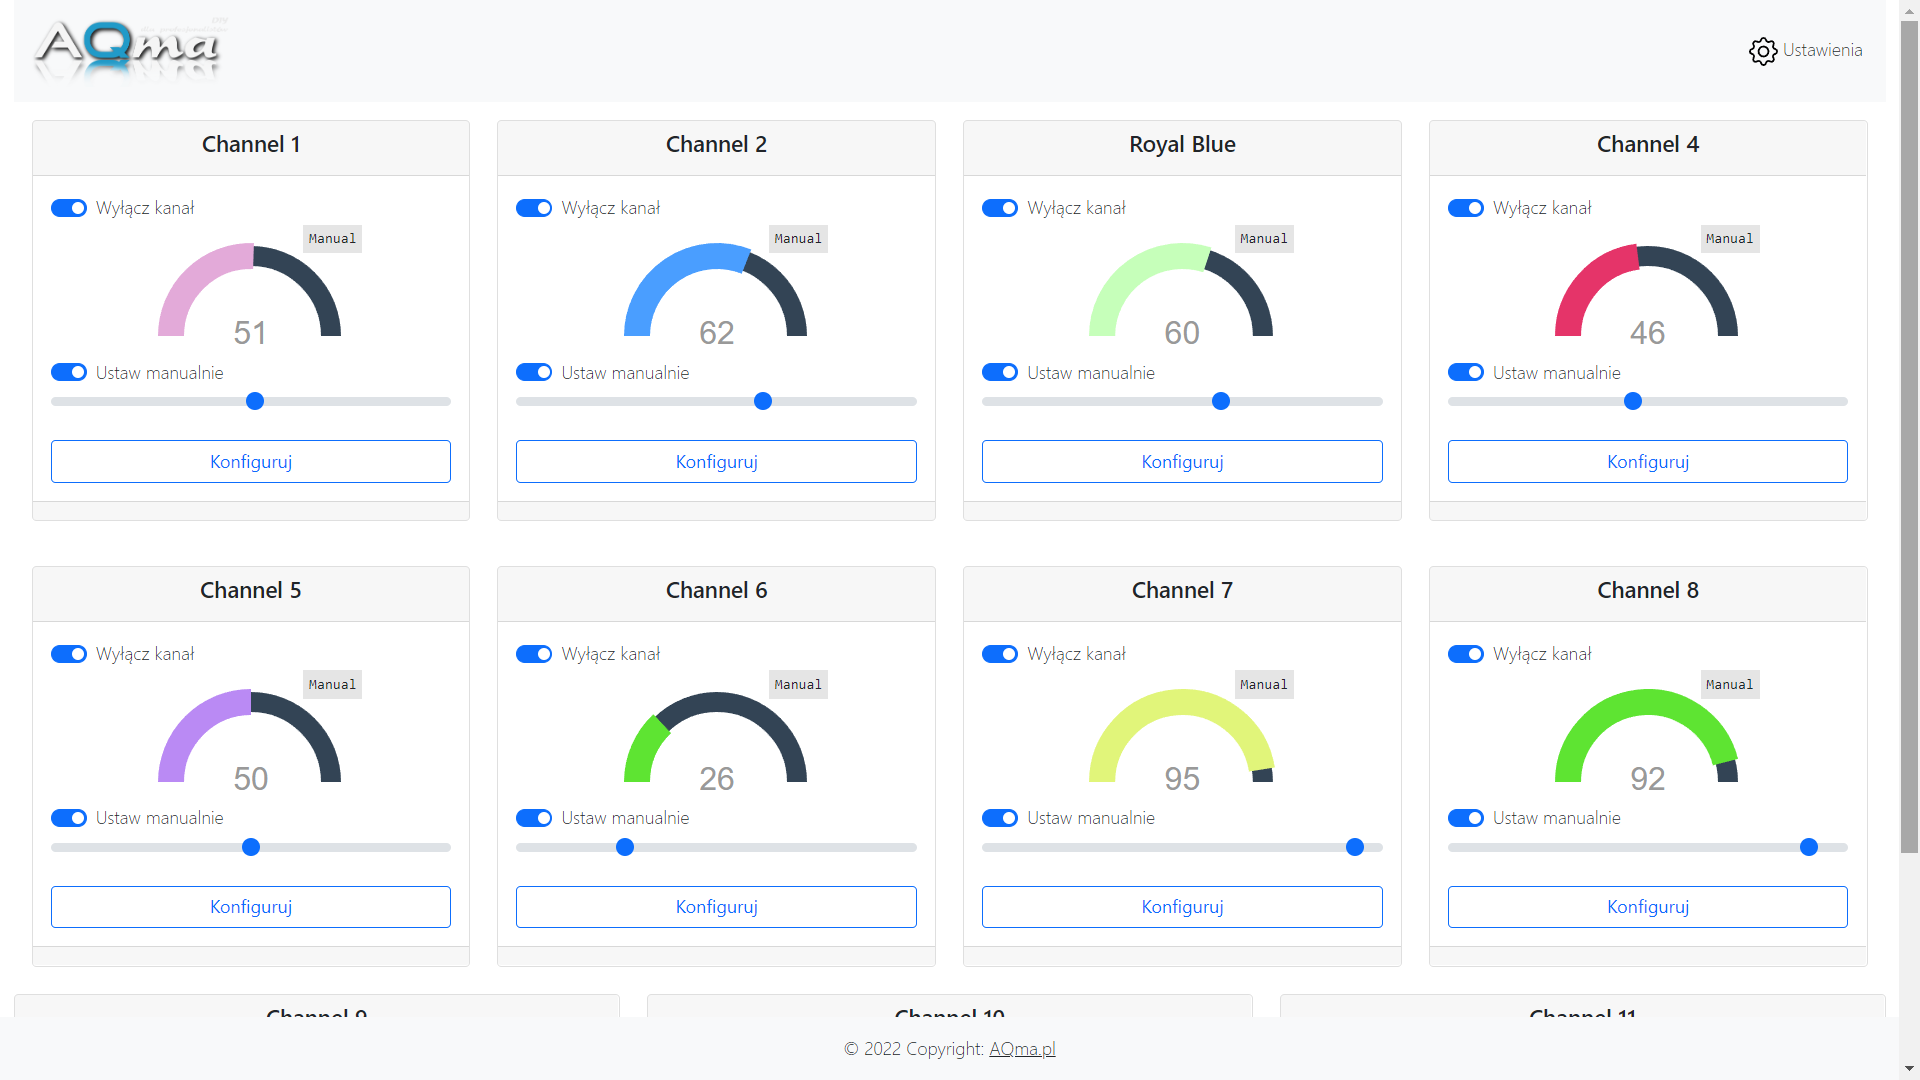
I SSR relays (e.g. for fluorescent lamps with 230 V).
For soft, diagrams, etc., please visit: Sterownik oświetlenia – AQMA WiFi LED CONTROL | magu.pl
After the first turning on, the controller will start in the hotspot mode. Turn on WiFi on the phone / computer and connect to the "AQmaLED" network with the "aqmaaqma" password, this network will not have access to the Internet. Then go to the website http://10.10.10.10 (necessarily http) now on the settings tab you can configure the driver to connect to the home WiFi network (recommended configuration). After this operation and restarting, AQma WiFi LED will connect to the network and will be available like other devices in the house. To make it easier to find the address that has been assigned to the controller by the home router (unless a fixed IP address has been manually configured on the settings tab), the device will broadcast its IP address via Bluetooth for 60 seconds after start-up. So you just need to run a search for Bluetooth devices on your phone, In the case of building the driver on your own, I recommend sticking to the diagram, it is very important and can save a lot of money, e.g. using WROOM 32 and not using the stabilizer shown in the diagram may end up burning the computer / laptop motherboard connected to the USB port, although it should be there there may be a separation, but Chinese creations do not have to have it ... I probably bought all the available versions of ESP32 and I saw various interesting facts, so if you do not want to spend money on a ready controller, do it yourself, STICK THIS SCHEME.
Functionalities :
- 8 separately controlled PWM channels .


Of course, the whole thing is responsive and adapted to display on mobile devices.


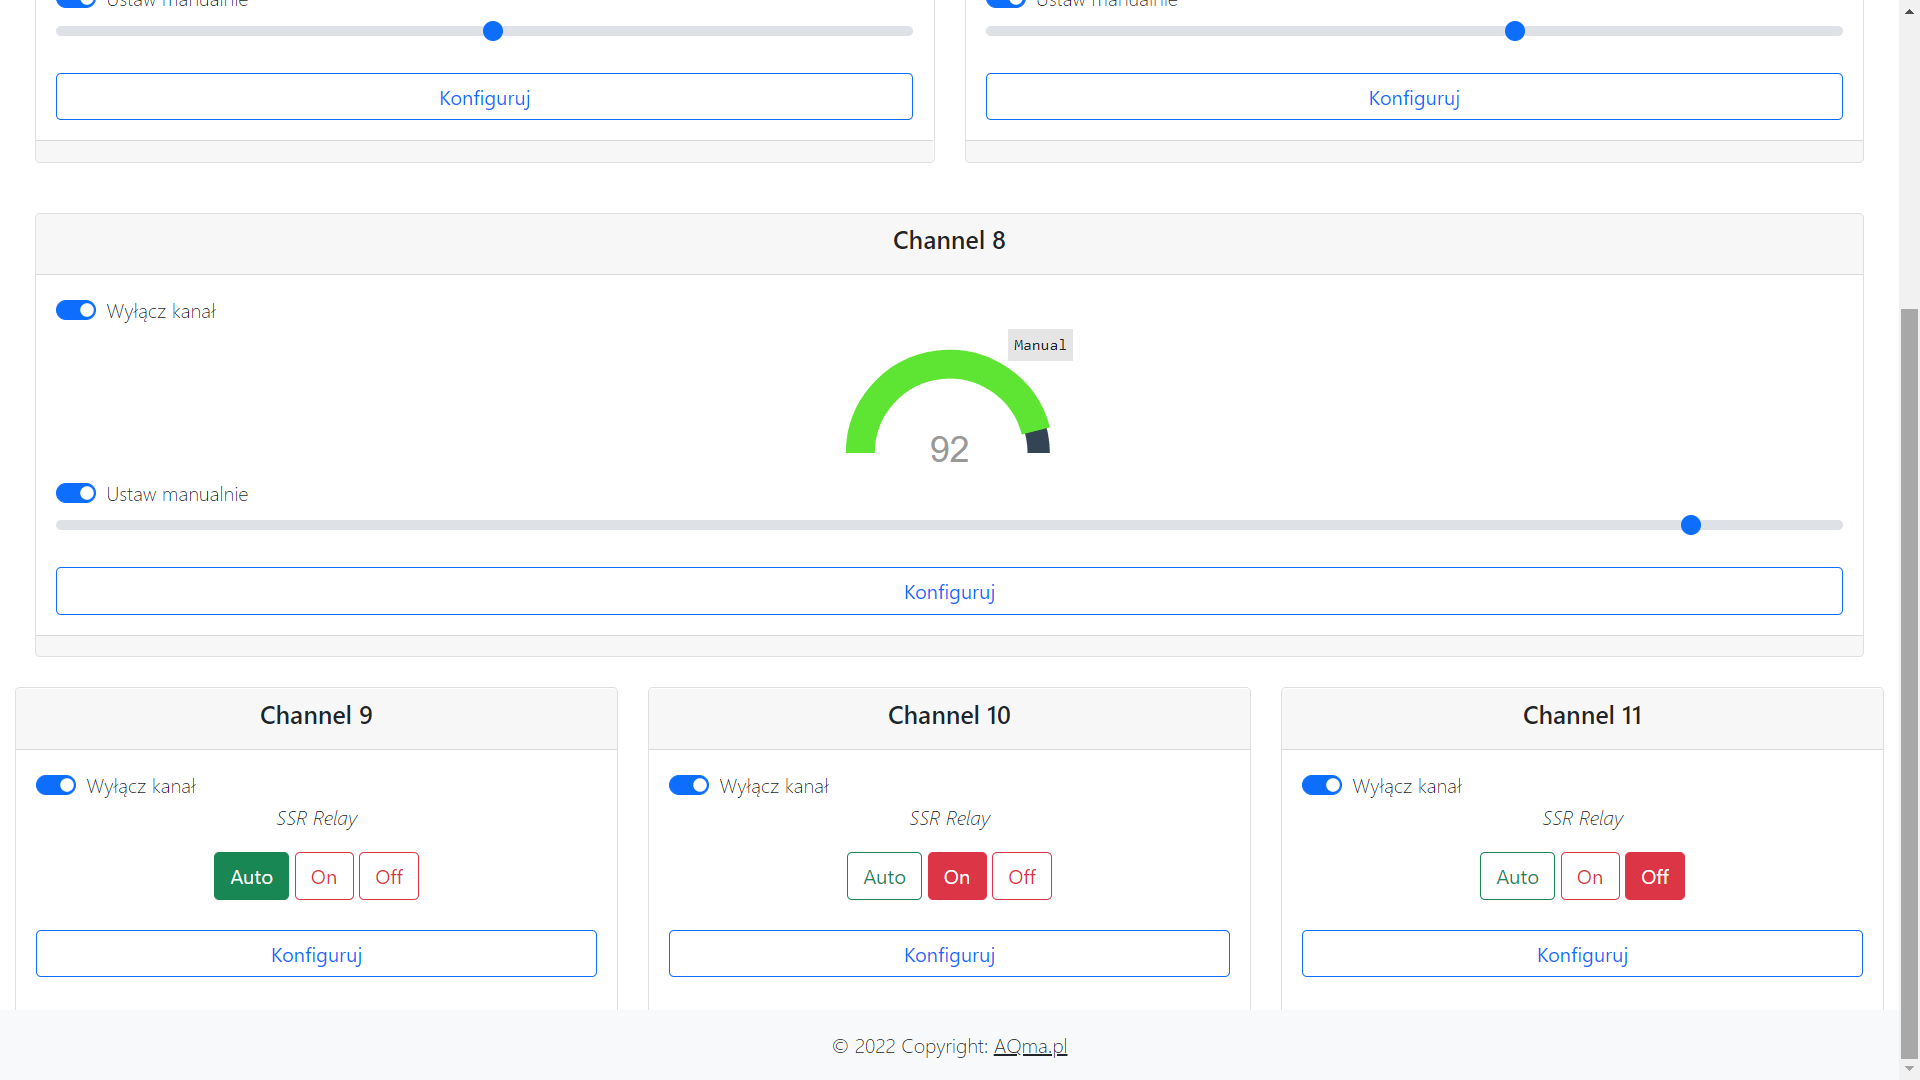
- Three channels for SSR relays (7V - 12V). These channels work as timers with the possibility to configure four time ranges of activation.

- Controlling the switching on of fans based on the temperature of the lamp.
- The controller can work as an Access Point or as a client connected to the home WiFi network (recommended configuration). It is also possible to set static IP addresses.

- It is possible to use the interface by several users at the same time. Changes are represented with immediate effect (for all connected users) without the need to refresh the page. Now what is it for? I was looking for a decent display for DIY, the prices are high and the quality is average, and there is a good touch etc ... It's hard. It would be nice to have something that connects to the home WiFi network, displays the interface, in this case the website, and maybe it still has a touch ... I have a few such devices in the drawer and probably most of you too
 .
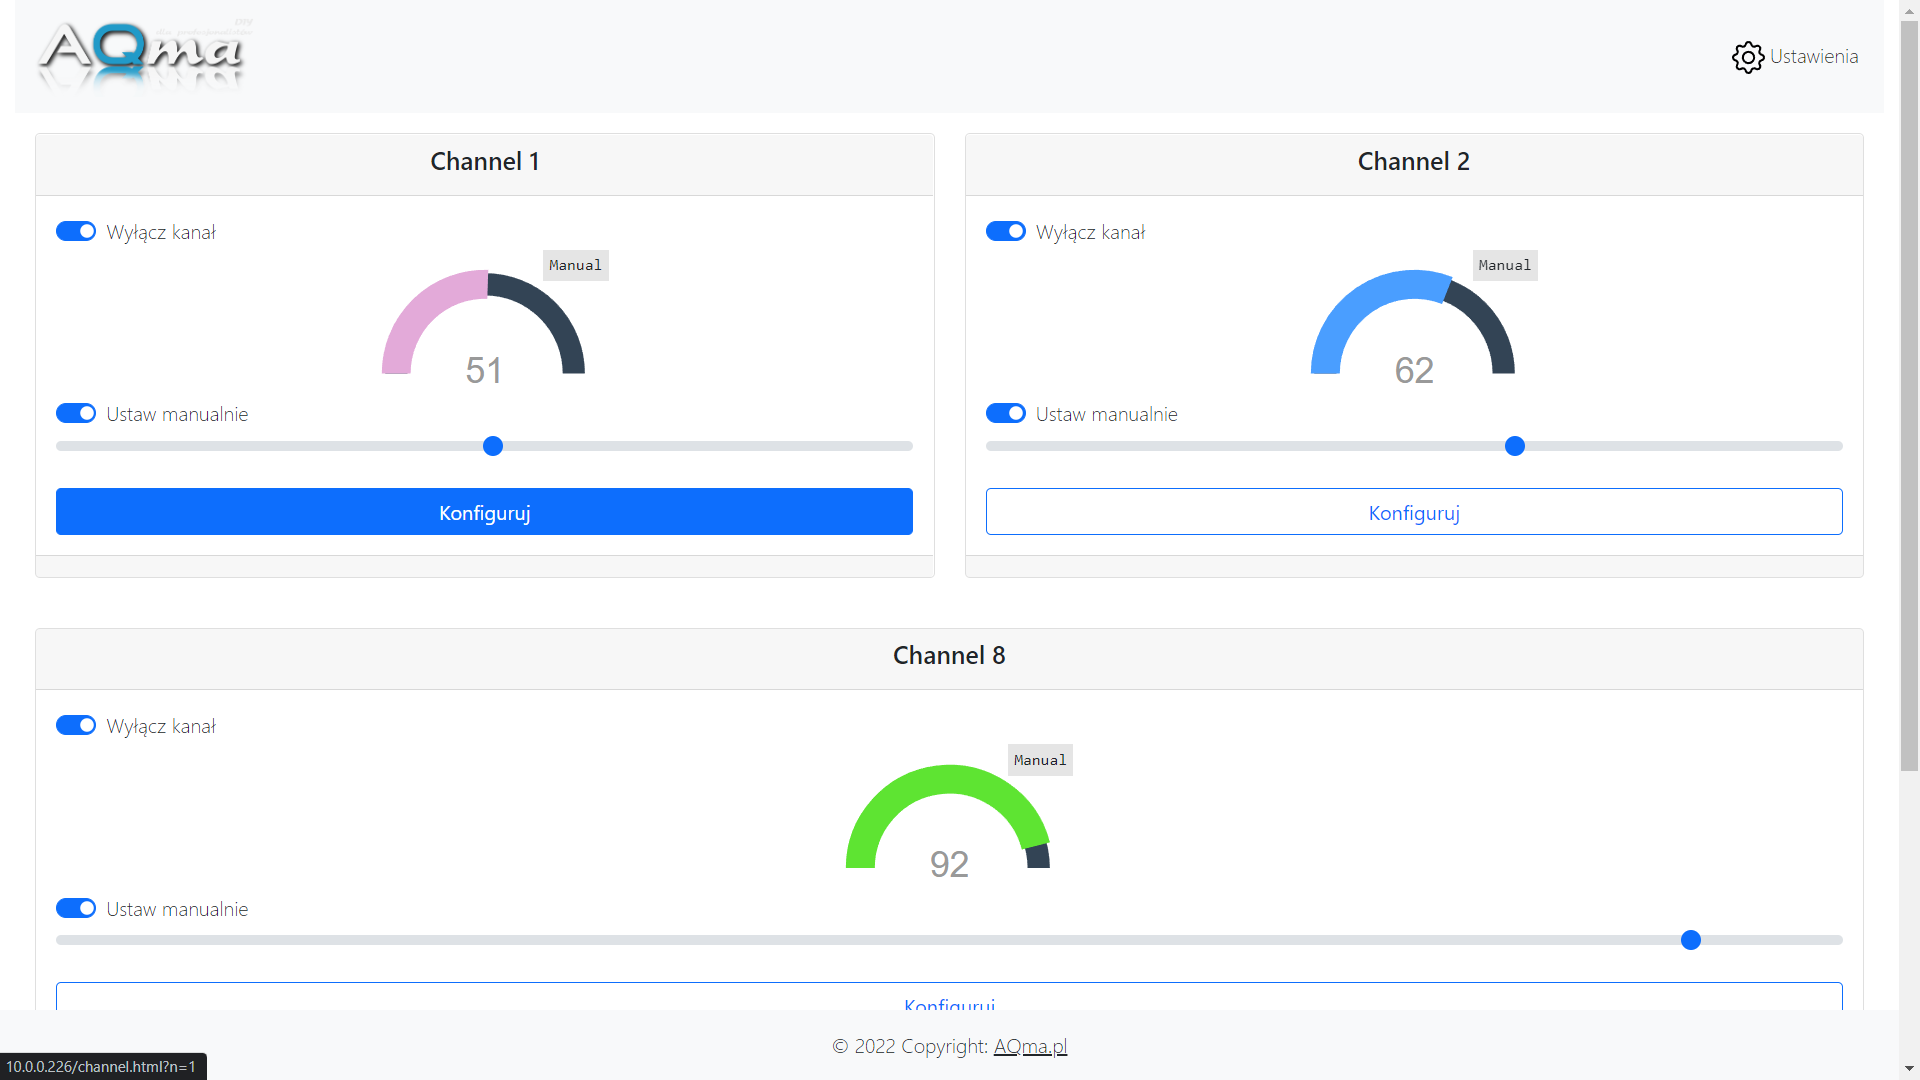
. - The main interface has the ability to hide unused channels. And it looks like this:

I SSR relays (e.g. for fluorescent lamps with 230 V).


- Three lighting profiles, e.g. for photos or acclimatization.
- The ability to automatically load profiles at a specified time. This makes it possible to create very complex lighting schemes. Each of the channels has the ability to go through three separate sunrise and sunset cycles, while maintaining the possibility of configuring all channel parameters.
- Software update from the interface, via WiFi without the need to connect cables.
- All software and scripts are "on" the driver, no internet access is needed.
- The controller works with a smart home, it is possible to use the API (this is what describes it), I have currently developed a link with Home Assistant, I will also describe it. My idea is that the power of some channels depends on the overproduction of PV. It is a pity to lose these watts. In addition, there are three SSR channels that allow you to turn on very heavy loads (230V), which can also be useful.
Last edited:
