In wall tank build (suggestions welcome)

Bretts05jeep

New member
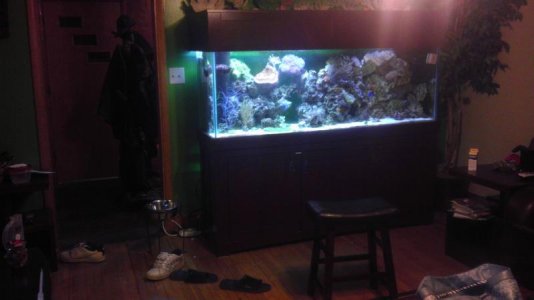
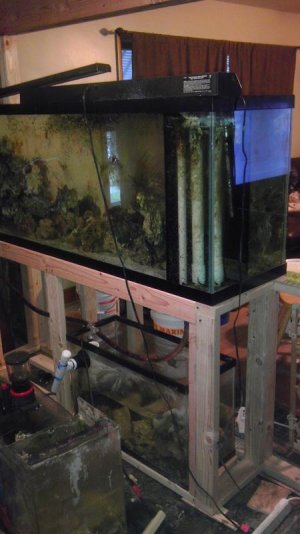
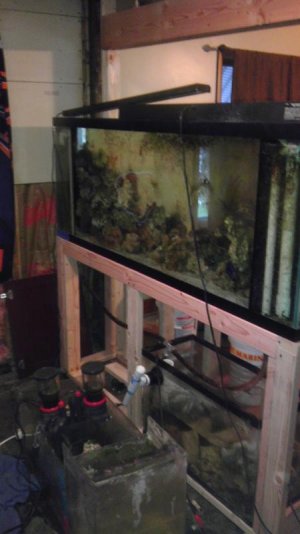
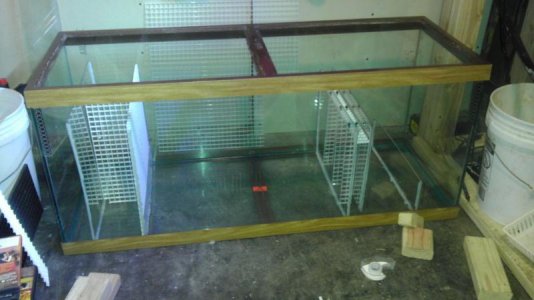
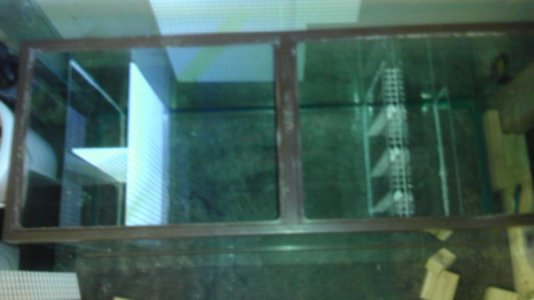
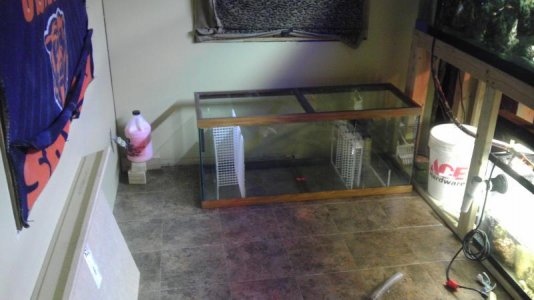
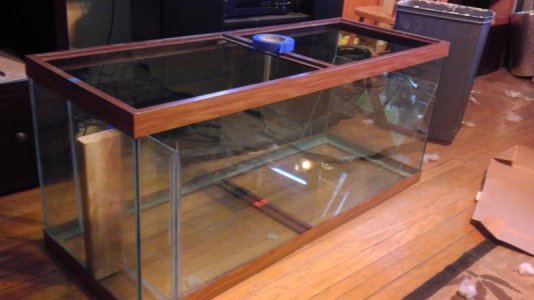
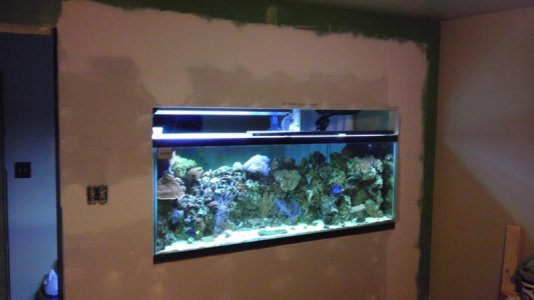
The tank is 150 gallons (72x18x27). The refugium/sump is probly about 15 to 20 gallons. I have an 80 gallon tank that Im going to turn into the refugium and a 30 gallon that will be a frag tank.

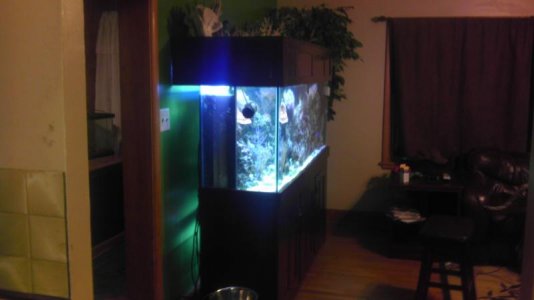
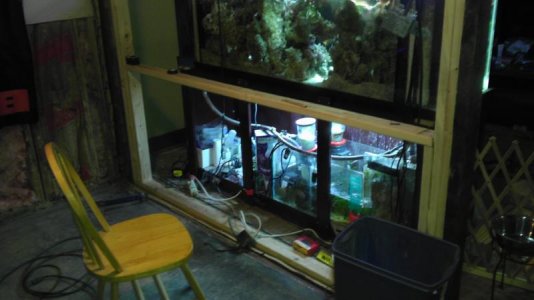
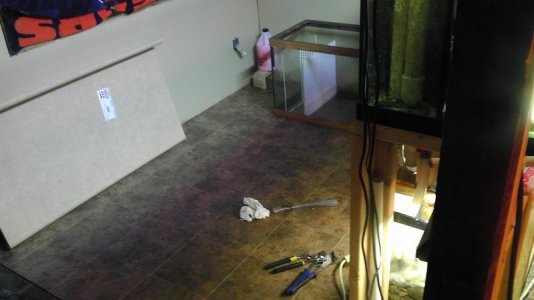
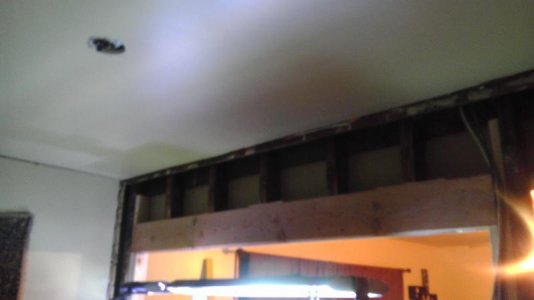
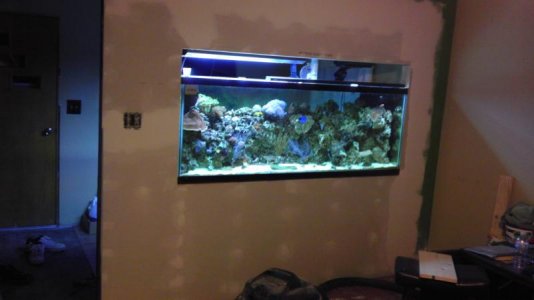
So about a week ago I was looking at my tank and I decided to put my tank in the wall:D. Im pritty much moving it straight back and about a foot to right.

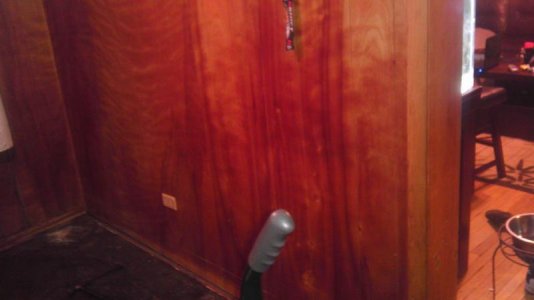
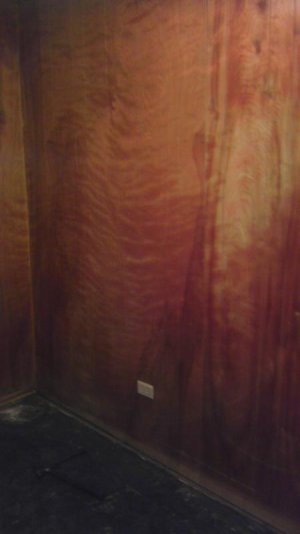
A couple hours later I had the floors down to the concrete :lolspin:.
 

Attachments

  • IMAG0072.jpg
    IMAG0072.jpg
    31.4 KB · Views: 5
  • IMAG0073.jpg
    IMAG0073.jpg
    27 KB · Views: 5
  • IMAG0074.jpg
    IMAG0074.jpg
    28.8 KB · Views: 4
  • IMAG0075.jpg
    IMAG0075.jpg
    28.1 KB · Views: 6
  • IMAG0078.jpg
    IMAG0078.jpg
    23.6 KB · Views: 5
I now have the hole in the wall and I have the wall framed. Next step is to build the stand.
 

Attachments

  • IMAG0083.jpg
    IMAG0083.jpg
    43.3 KB · Views: 6
  • IMAG0084.jpg
    IMAG0084.jpg
    31 KB · Views: 5
  • IMAG0085.jpg
    IMAG0085.jpg
    29.9 KB · Views: 5
  • IMAG0087.jpg
    IMAG0087.jpg
    32.1 KB · Views: 6
So I got the tank on the stand, and all the fish and coral are back in the tank :fish1: . I didnt finish until about 2am.

I managed to break my refugium which isnt to upsetting because I was only going to use it as a temp. So I am now using my 30 gallon which was going to be my frag tank.

So I guess my next step is to restack my rock and start building my 80 gallon refugium.
 

Attachments

  • IMAG0091.jpg
    IMAG0091.jpg
    50.2 KB · Views: 5
  • IMAG0092.jpg
    IMAG0092.jpg
    41.5 KB · Views: 4
Looking good so far. Are you going to have enough room to put the new sump under there? Also when you do the drywall I would definitely build in a way to get into the tank from the front. I did mine with "chest hinges" so I could open it from the front and keep you lid open. If you decide to do the same thing, you can see it on my 210 build. It definitely made life a lot easier.
 
I was going to make it so I could get into the top from the front but not the bottom. Miller do you have any pictures of the front of your tank, im still trying to figure out what exactly im going to do.

The refugium is going to go on a 90 degree angle off of the tank ( if you are looking at the pictures from the back it will be the left side of the tank. I am going to build a work station above it. I started on the refugium but ran out of silicone.
 
Cabinet Facing

Cabinet Facing

Hello,

Once you finish drywall you could install cabinet facing with doors. I second the fact to easly be able to clean and work in tank from the front.

Looking Good:wavehand:
 
Finished my refugium. First chamber on the left is were water enters, than bio balls, than sand and plants, than spong to catch large debris, than protine skimmer and return pump.

That is about where it will sit on the floor.
 

Attachments

  • IMAG0096.jpg
    IMAG0096.jpg
    47 KB · Views: 6
  • IMAG0097.jpg
    IMAG0097.jpg
    30.1 KB · Views: 4
  • IMAG0099.jpg
    IMAG0099.jpg
    46.6 KB · Views: 5
If you check my original build that was done last March or April, all of the pics are in there (pjmiller33's 210 in wall build). If you can't find them shoot me a message and I will send them to you.
 
I now have all drywall, paint, and floor done in the room behind the tank.

Hopefully I will have time to pipe everything to the refugium tomorrow.
 

Attachments

  • IMAG0116.jpg
    IMAG0116.jpg
    38.8 KB · Views: 5
  • IMAG0117.jpg
    IMAG0117.jpg
    47.1 KB · Views: 5
  • IMAG0120.jpg
    IMAG0120.jpg
    23.9 KB · Views: 5
So I used plexiglass for my dividers in my refugium and the water flow was causing it to bow, so I took it out of service and I am going to start over. :headwally:

So this time I had 1/4 inch glass cut and had the edges finished sanded so I dont cut myself or the silcone on the bottom of the tank. Glass this thick should be bullet proof. :uzi:
 

Attachments

  • IMAG0156.jpg
    IMAG0156.jpg
    24.9 KB · Views: 5
  • IMAG0160.jpg
    IMAG0160.jpg
    43.2 KB · Views: 5
  • IMAG0161.jpg
    IMAG0161.jpg
    26.5 KB · Views: 6
  • IMAG0159.jpg
    IMAG0159.jpg
    22.5 KB · Views: 6
Here are some pics of how its coming along in the front.
 

Attachments

  • IMAG0152.jpg
    IMAG0152.jpg
    32.5 KB · Views: 6
  • IMAG0154.jpg
    IMAG0154.jpg
    35.9 KB · Views: 5
  • IMAG0153.jpg
    IMAG0153.jpg
    33.8 KB · Views: 6
Back
Top