Lyle's 3 gallon Pico

lpsouth1978

New member
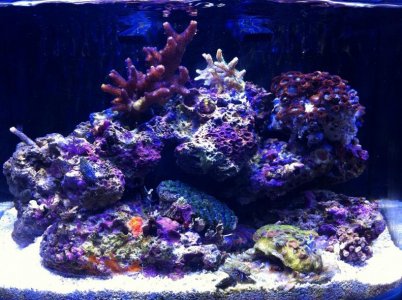
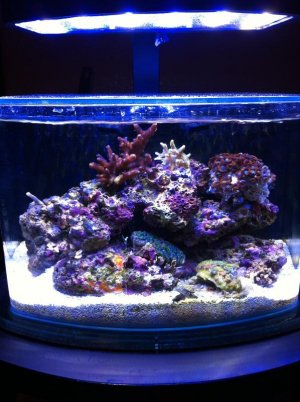
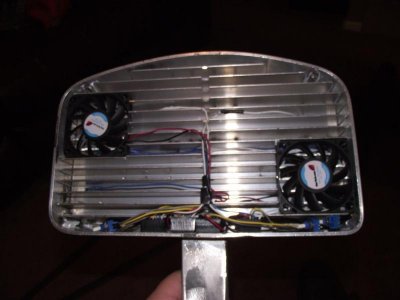
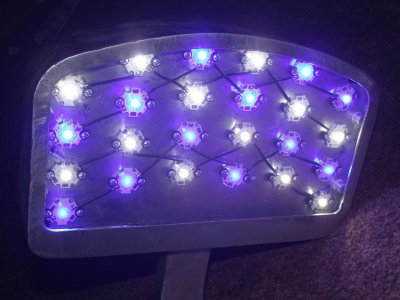
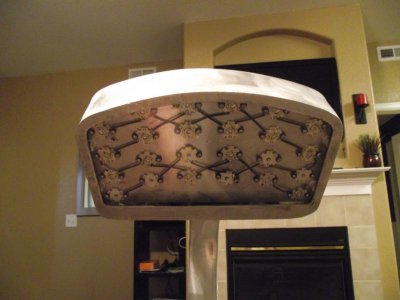
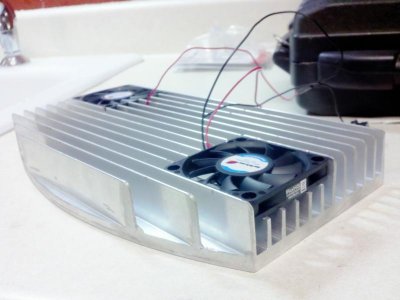
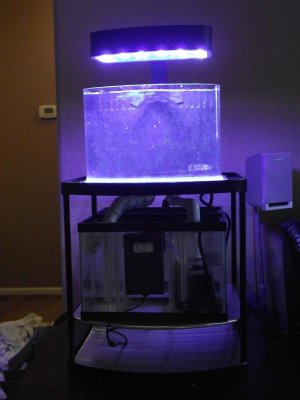
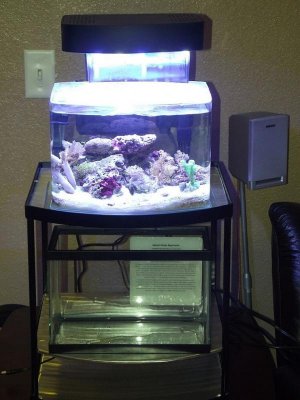
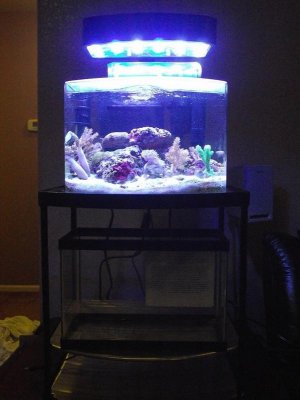
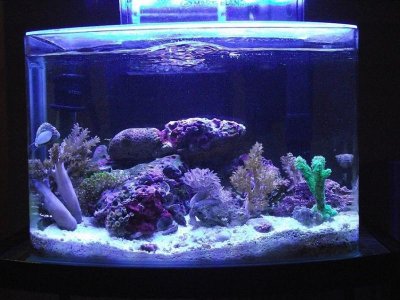
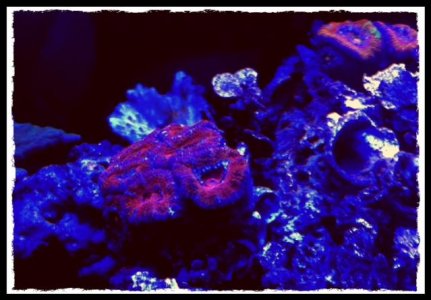
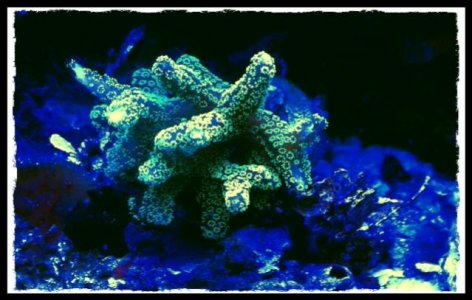
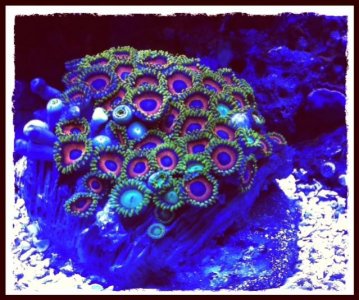
I started this project more than 6 months ago and it is finally nearing it's completion. I had an idea to drill a 3 gallon pico and make a system capable of keeping the most demanding SPS. This is what I have come up with.

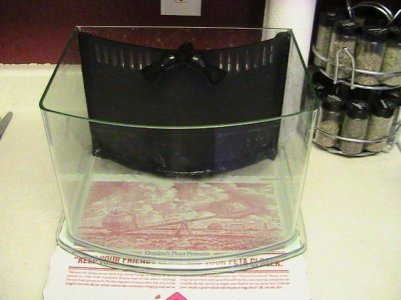
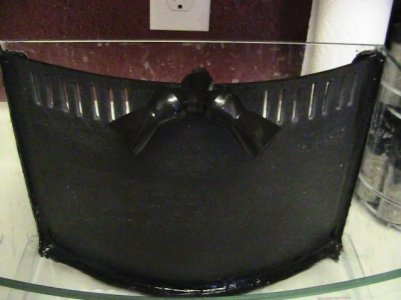
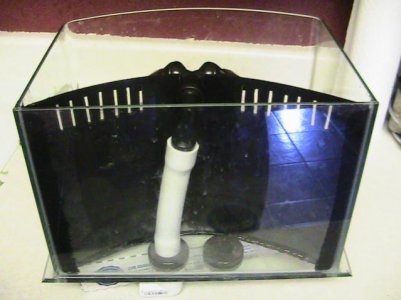
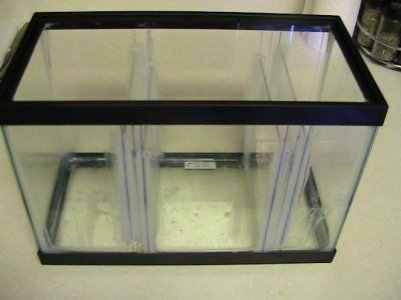
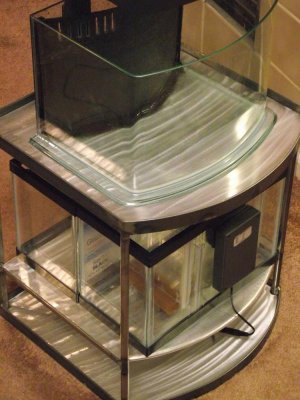
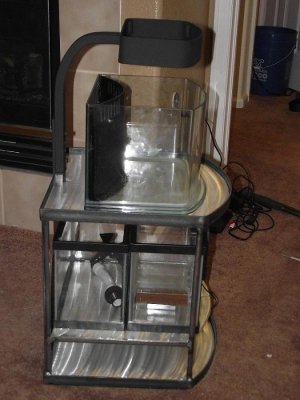
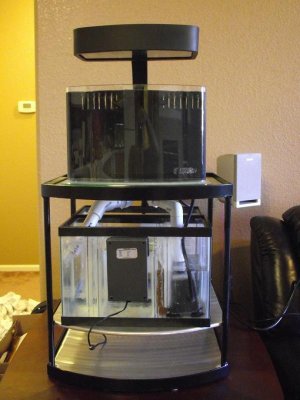
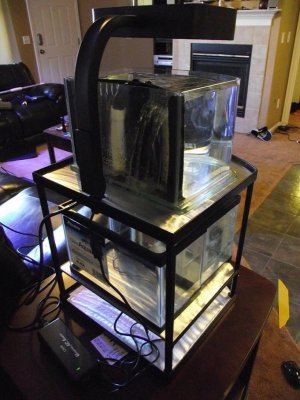
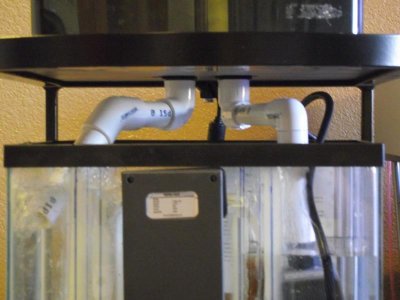
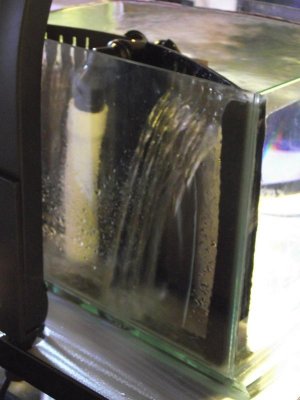
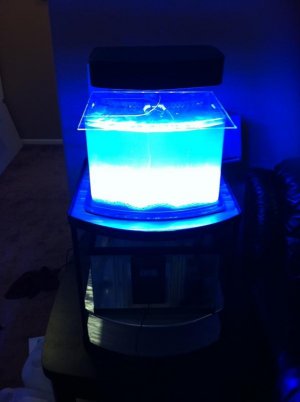
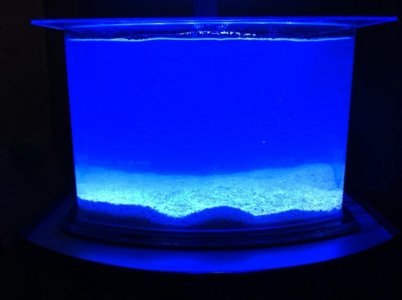
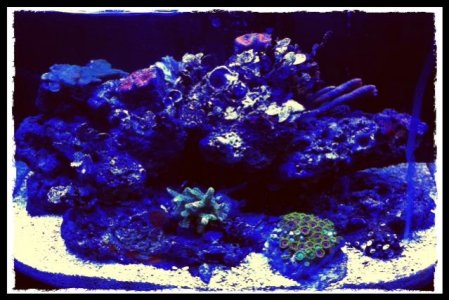
I obviously started by drilling two holes in the bottom of a JBJ 3 gallon Picotope. Once this was completed, I took the tank into a local plastics shop and had a custom back built for the overflow and return. It is made from a single piece of ABS plastic curved to fit in the back of the tank. I used lock line and a piece of hose to create the return. Here are some pictures of what it looked like at that point.
 

Attachments

  • IMG_1591.jpg
    IMG_1591.jpg
    43.3 KB · Views: 11
  • IMG_1592.jpg
    IMG_1592.jpg
    33.5 KB · Views: 9
  • IMG_1594.jpg
    IMG_1594.jpg
    35.6 KB · Views: 11
The next thing that I had to work out was the lights. The light that comes with the Picotope is barely capable of keeping mushrooms and zoas, no way it could keep SPS.

For this I decided to do a custom DIY LED build. I was not happy with any of the pre built fixtures so I decided to make my own. I purchased all of the flat and tube aluminum that I would need and had a friend help me weld the fixture together.

I thought a long time about how many LED's to use on this small tank and finally settled on 24. I know that is a lot, but I like having the ability to control the amount of light and the color. I am using 12 CREE XR-E cool white, and 12 CREE XR-E Royal Blue. I have these connected to 1000mA buck pucks. This allows me to really change the amount of light and customize the color. I also wanted a fairly low profile fixture, so I am not using any optics.

I purchased a heatsink online and cut out two small areas from the fins to put fans in it, and everything works perfectly. Here are pictures of the light fixture and the heatsink before painting and final assembly of the light.
 

Attachments

  • Light_1.jpg
    Light_1.jpg
    40.2 KB · Views: 8
  • Light_3.jpg
    Light_3.jpg
    52.2 KB · Views: 10
  • Light_5.jpg
    Light_5.jpg
    44 KB · Views: 13
  • 2010_09_18_20_37_40_872.jpg
    2010_09_18_20_37_40_872.jpg
    42.1 KB · Views: 9
Now that the light was completed it was time to concentrate on the stand. Again I decided to go DIY for this. The stand is made of all steel tube and angle iron. I again had a friend help me weld the whole thing. I then had it powder coated.

The stand has three shelves, all made from aluminum. The top shelf holds the aquarium. This has two holes drilled in it to allow the plumbing to pass through it. The middle shelf holds two 2-1/2 gallon tanks. One tank is the custom sump/refugium, the other is for the Auto top-off reservoir. The bottom shelf will hold the power/surge protector, light timers, control units, etc. Here are some more pictures
 

Attachments

  • IMG_1595.jpg
    IMG_1595.jpg
    32.7 KB · Views: 10
  • DSCF7290.jpg
    DSCF7290.jpg
    67.6 KB · Views: 11
  • DSCF7289.jpg
    DSCF7289.jpg
    65.8 KB · Views: 11
  • DSCF7291.jpg
    DSCF7291.jpg
    57.5 KB · Views: 11
Finally it was time to connect all f the plumbing and do a wet test. This worked out well. I am using a ViaAqua pump rated at 296 gph. My first run with the wet test showed that the pump was more efficient that the drain. After a few adjustments to the plumbing (a 45 degree elbow and a 1 inch pipe instead if 1/2 inch) and everything works perfectly.

I still have to take the completed stand down to the plastics shop to have a cover made for the stand and then I will be ready to start cycling the tank. I will not be able to get that done for a couple of weeks, so I decided to put my non-drilled pico on it in the meantime. Here are some pics of the wet test and with the non-drilled pico. More to come once I have the plastic cover done and start stocking it.
 

Attachments

  • Stand02.jpg
    Stand02.jpg
    56.1 KB · Views: 8
  • Stand03.jpg
    Stand03.jpg
    70.5 KB · Views: 10
  • Stand05.jpg
    Stand05.jpg
    57.1 KB · Views: 11
  • Stand01.jpg
    Stand01.jpg
    39.7 KB · Views: 8
  • Stand06.jpg
    Stand06.jpg
    47.3 KB · Views: 10
more pics
 

Attachments

  • Stand07.jpg
    Stand07.jpg
    45 KB · Views: 10
  • Tank.jpg
    Tank.jpg
    64.2 KB · Views: 9
  • Tank2.jpg
    Tank2.jpg
    54 KB · Views: 11
  • Tank1.jpg
    Tank1.jpg
    78.4 KB · Views: 8
Finally! There is water and sand in the tank. I got all of the plumbing squared away and all of the leaks are fixed. I still need to bend all of the plastic for the stand shroud and finish the DIY ATO. Hopefully that will be done by the end of the night tomorrow. I also hope to have live rock in it by tomorrow night. Here are a couple of pics. They are not very good, it is very difficult to get a good picture with the LED's. Hopefully I will be able to get some better pics later.
 

Attachments

  • photo.jpg
    photo.jpg
    28.7 KB · Views: 9
  • photo1.jpg
    photo1.jpg
    29.7 KB · Views: 10
I just started on a 3g JBJ myself, this is a fantastic build and is coming along really nicely.
 
Amazing job! If I make a suggestion you might try openin up your rock work a bit and making it more irregular.
 
Update!

Everything is going GREAT with the pico. As I expected, the light is a little intense, but I love being able to dim it and change colors. I did rearange the rocks a little bit, but not a lot. So far I have added 12 dwarf hermits, a porcelain crab, two small acan colonies, a green birdsnest, and a small watermelon zoa colony. Here are some new pics. These are the best I could get with my iphone, butI think they came out pretty good.
 

Attachments

  • Acans.jpg
    Acans.jpg
    44.2 KB · Views: 12
  • Birdsnest.jpg
    Birdsnest.jpg
    45.2 KB · Views: 13
  • Zoas.jpg
    Zoas.jpg
    71.8 KB · Views: 9
  • FTS.jpg
    FTS.jpg
    56.3 KB · Views: 9
This is an amazing tank! Where did you buy the black separate thing that hides your plumbing?

Thanks duncan. I made that false back wall. I bought a piece of black ABS plastic from a local plastic shop. I had to cut it, heat it and bend it into shape, cut the slots in it, and silicone it in. I used a length of steel flat bar to make the slots. I simply heated it up with a torch and melted the slots in the plastic. Then I just cleaned them up with a razor blade. Worked well and gave me completely uniform slots.
 
New Pictures!!

The lights had not been on very long when I took these so not everything has opened up yet. Also, I took these pictures with my Iphone so not the greatest quality.

I have added a few new things and have a couple of sexy shrimp as well. They are hard to get a good pic of using the iphone, but I did include a pic of one of them.
 

Attachments

  • pico60.jpg
    pico60.jpg
    102.5 KB · Views: 9
  • pico4.jpg
    pico4.jpg
    85.3 KB · Views: 9
  • pico5.jpg
    pico5.jpg
    82.7 KB · Views: 9
  • pico20.jpg
    pico20.jpg
    87.2 KB · Views: 10
  • pico3.jpg
    pico3.jpg
    87.2 KB · Views: 9
More new pics. These were taken with my Iphone and do not show the true colors, things are more blue than in reality, but I think they are good pics none the less.

pico2.jpg


Pico.jpg
 
Bravo! Can't wait to see your aquarium grow out. Are you running a skimmer?

I'm not running a skimmer. I am relying on weekly water changes right now. I have looked for small protein skimmers, but it is virtually impossible to find one that will fit in the sump.
 
Back
Top