BrianKC
New member
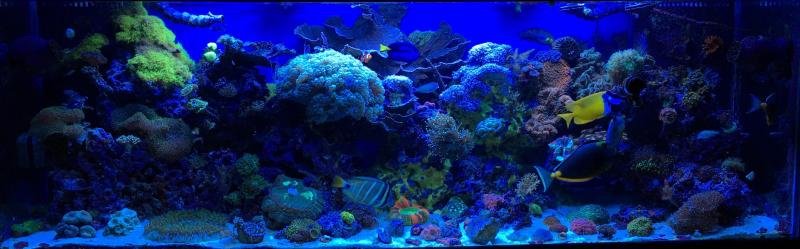
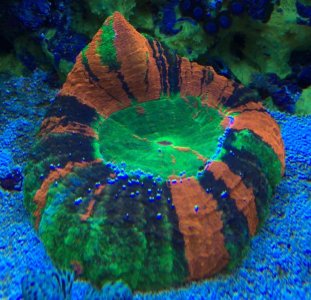
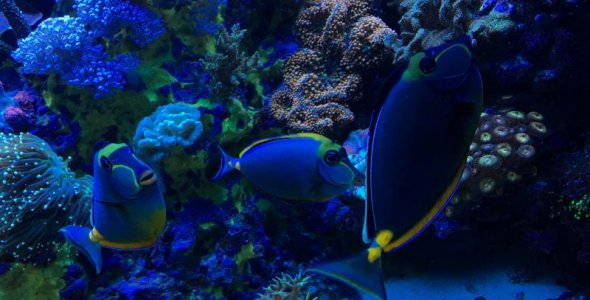
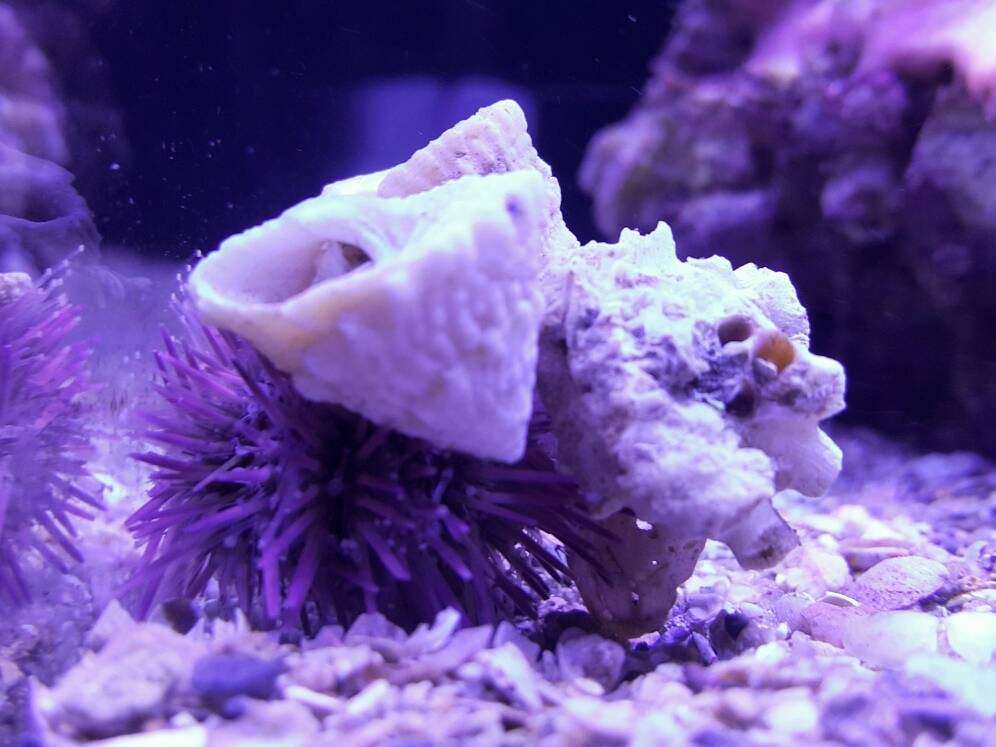
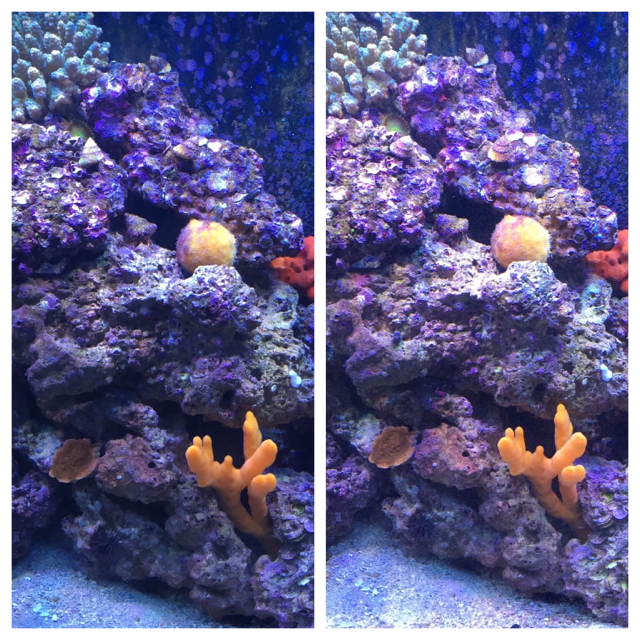
I posted this tangentially in a different thread but thought I'd share more broadly. My wife works in advertising and a few weeks ago one of her photographer colleagues shared an app that he uses when he doesn't have his high-end camera handy and only has his cell phone. It's called VSCO. It's available on both iPhone and Android. The usability of this app SUCKS (hence the forthcoming tutorial) but it works really well. At the end of this post I've shared the difference between two photos taken 10 seconds apart; the first with the native iPhone camera app on an iPhone 6 and the second with VSCO. Here's the short-hand to get near-accurate photos of your reef with VSCO (these instructions are for iPhone. I'm sure android is similar but different). I hope this helps avoid all the super-blue photos I see on here all the time:
1. Open the app.
2. Hit the "take picture" button; it's a circle with a square around it in the lower left.
3. With the camera on, hit the lower-left button again. It may look like a sun, it may say something else.
4. Pick WB. This is white balance. Slide it pretty much all the way to the right. This neutralizes the over-blue that your LEDs and your phone can't agree on. This is the main value of the app.
5. Hit that button again. Pick the sun. This is brightness. Slide it around until the pic looks about right to you. Your phone thinks your tank is brighter than it is and tends to over-darken the image.
6. Optional; if you tap the image area with two fingers, you can independently adjust the exposure and focus area. Contrast that with the stock iPhone camera where you can tap, but it sets both focus and exposure on the same point. This is very cool if you want to get some additional depth of field/focus going on. Use this outside of your reef photography at a party or outside to get some cool bokeh effects happening.
7. Snap yo pic.
8. Tap the new thumbnail in the lower right.
9. Pick your pic.
10. Tap the dotted circle in the lower right.
11. Tap save to camera roll.
12. Your pic is in your camera roll ready to share with RC and the world!


 Eventually I'll get motivated enough to figure it out.