SGT_York
New member
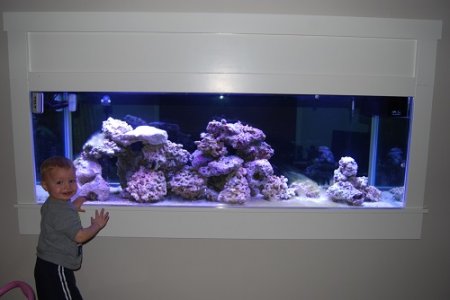
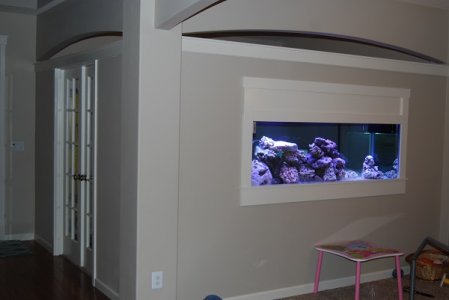
Long time coming, but I've left the active service and bought my first home, that I intend to keep, so my wife gave me the go ahead to build the tank of my dreams. (for now ") ) The task was to section off a portion of our front room to add an office so we figured the wall would make the best location for our tank. The tank needed to be visible from both length sides and price was a significant factor. It is a standard 180G that uses a Bean Animal overflow with the sump just beneath. I had also been checking out the Gyre and built my tank around it. The benefit of the gyre was to give me enough surface flow to facilitate surface skimming due to the narrow length of my weir. 27" was the maximum I could get out of a 24" wide tank.
) The task was to section off a portion of our front room to add an office so we figured the wall would make the best location for our tank. The tank needed to be visible from both length sides and price was a significant factor. It is a standard 180G that uses a Bean Animal overflow with the sump just beneath. I had also been checking out the Gyre and built my tank around it. The benefit of the gyre was to give me enough surface flow to facilitate surface skimming due to the narrow length of my weir. 27" was the maximum I could get out of a 24" wide tank.
The center column in the first attachment pic is structural the trim is matched to fit the architecture of the house.
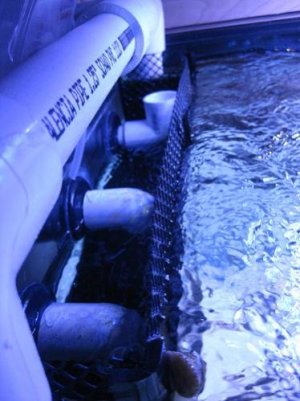
The overflow is 19" long and 4" wide and gave me just enough space to split my 1.5" return into two 1.25" drops on the sides.
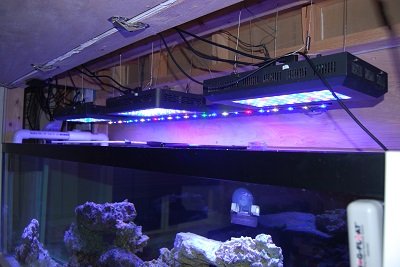
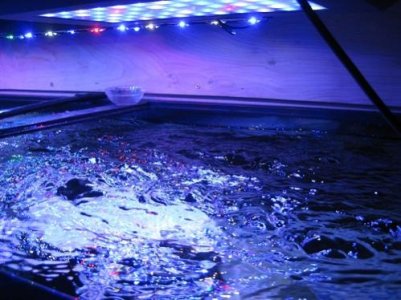
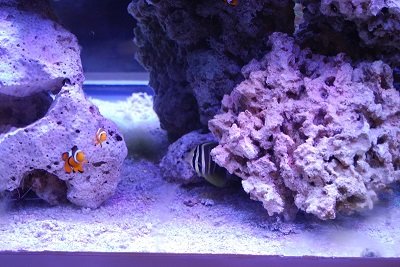
Used the standard reefbreeder LED lights and a RapidLED 48" custom job that I had from my previous 120G tank.
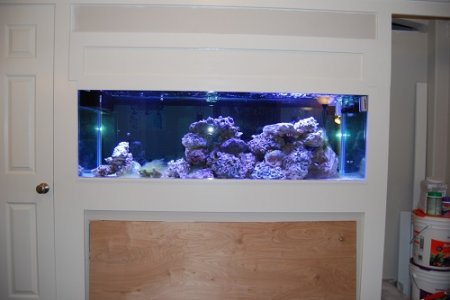
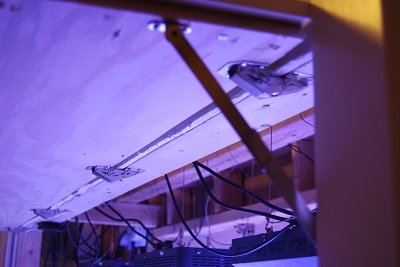
The tank is accessible through the panels above that are mounted with the hinges seen in attachment 2 the hinges are available at the box store. The internal wood/gypsum was sprayed with poly, the outside is caulked and painted to match the home.
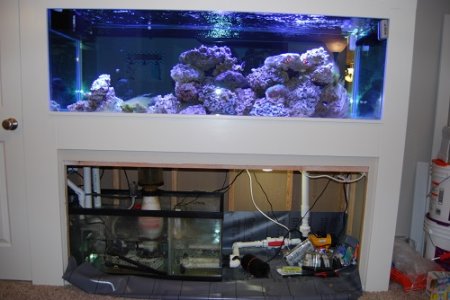
I was concerned about the effects the gyre and waves would have on the overflow so I drilled the siphon line as low as the overflow would allow and am very glad I did. The start up time is 15 seconds with a small pan world 100. New Waveline will be added shortly. The waves introduce a few bubbles into the siphon so the added depth of the hole helps in that regard, I was concerned that the wave action would occasionally break the siphon so I lowered the hole.
I love the flow on this tank and the tiny footprint within the display from both the powerhead and the overflow.
) The task was to section off a portion of our front room to add an office so we figured the wall would make the best location for our tank. The tank needed to be visible from both length sides and price was a significant factor. It is a standard 180G that uses a Bean Animal overflow with the sump just beneath. I had also been checking out the Gyre and built my tank around it. The benefit of the gyre was to give me enough surface flow to facilitate surface skimming due to the narrow length of my weir. 27" was the maximum I could get out of a 24" wide tank. The center column in the first attachment pic is structural the trim is matched to fit the architecture of the house.
The overflow is 19" long and 4" wide and gave me just enough space to split my 1.5" return into two 1.25" drops on the sides.
Used the standard reefbreeder LED lights and a RapidLED 48" custom job that I had from my previous 120G tank.
The tank is accessible through the panels above that are mounted with the hinges seen in attachment 2 the hinges are available at the box store. The internal wood/gypsum was sprayed with poly, the outside is caulked and painted to match the home.
I was concerned about the effects the gyre and waves would have on the overflow so I drilled the siphon line as low as the overflow would allow and am very glad I did. The start up time is 15 seconds with a small pan world 100. New Waveline will be added shortly. The waves introduce a few bubbles into the siphon so the added depth of the hole helps in that regard, I was concerned that the wave action would occasionally break the siphon so I lowered the hole.
I love the flow on this tank and the tiny footprint within the display from both the powerhead and the overflow.
")