mkarston
New member
210 â€"œ Build in Progress â€"œ Pictures
OK, well I finally had some time to take the pictures of my camera and get this thread started. I have planning this 210 build for about a month, and like all projects it started with a story.
About 3 months ago I only had a 90 gallon reef tank, then I started become more active in the hobbies again after not giving it too much attention over the past year or so, and wanted to upgrade my lights. Since, I really wanted MHs for the “shimmer†affect and the canopy was only 8 inches tall, I decided to put together a 65 gallon reef that I could cost-effectively plan, and build the way I wanted. Well, this 65 wasn’t even 100% cycled and I knew I had a serious heat issue that wasn’t going to go away. The tank was right next to my thermostat, and was causing my A/C to run 24/7, and the tank water was around 85 degrees and I wasn’t willing to make the modifications to my house that would have solved this problems. (cutting holes in the wall for chiller, moving thermostat, etc…)
Then realizing that I wasn’t going to be able to have the tank I wanted in this new 65 either I was done fooling around, sold my 90 gallon, and started to plan this 210 gallon build! I new that with a few adjustments I could pretty much use the equipment I had running my 90 gallon to run my 65, and take all the newly purchased equipment I had bought for the 65 and use it on my 210.
08-12-2006:
Here is the night I bought the lumber to build the stand.

08-13-2006:
Here are a few shots of the stand built on the wall its going to go against.

<br>

<br>

08-15-2006:
Here is a picture of the sump and fuge. The Fuge will be the large 37 gallon column tank with the hole in the top, and the sump will be smaller 29 gallon tank to the left. I have since moved a couple baffles in the 29 gallon to allow for a larger return area and more overflow room to accommodate this 210. This should put me at about 260 gallons of water volume.

<br>

<br>

08-18-2006:
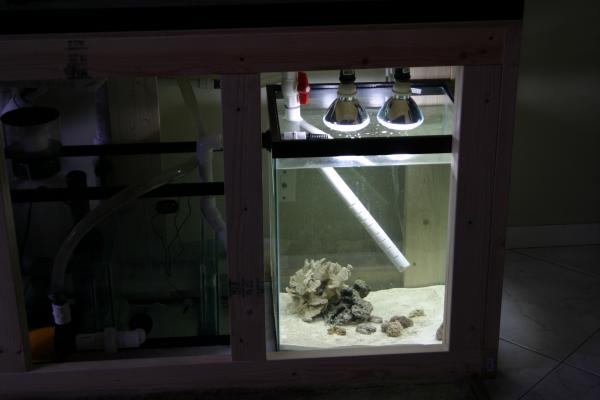
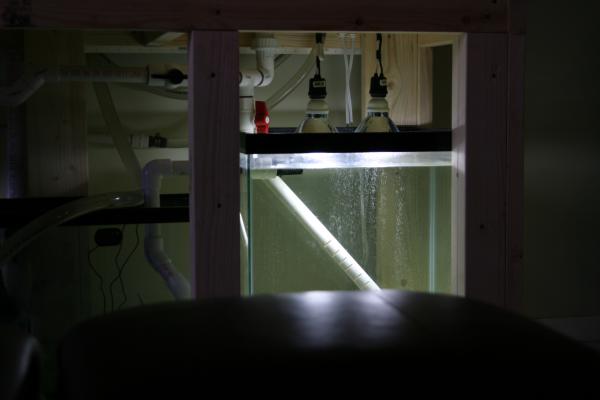
I got the 210 tank and got it set in place.

Before getting the actual tank, I had already decided to order custom wood cabinet doors, paneling, molding, trim, etc… from Home Depot. It is a bit expensive, but it will come ready to use finished in the style and color I pick. This allows me to set the tank up on its bare frame, and then once the stuff comes in from Home Depot I will just tack the “skin†on to the frame.
I will try to keep this thread up-to-date with my progress, but would love to hear your comments.
As far as equipment, I plan to pumps for all my circulation, a pan-world 50ps-x for the main return, and a Sequence Dart on a close loop. I currently have nearly 300 lbs of live rock, and is a good mix of hatian, figi, and tonga.
For the lights have been back and forth, but as you can see I have a really open floor plan in my house and would really like to try to make my canopy hang from suspension wire to allow some natural sun light to hit the tank as well. Right now the plan is to squeezes 3 250W XM 10K SE MHs and 2 57†80W T5 HO Blue plus bulbs in to a 7†tall canopy that will hang about 6†above the tank.

I already have 2 of the MH setups (bulb, ballast, reflector, & mogul) or and either a IceCap 660 or 430 to use depending on which I keep to run my 65 gallon.
I think if I hadn’t already bought the MH setups for my 65, and could have done it again, I would have gotten the DE HQI for solely for their smaller size.
Thanks, and look forward to all your feedback.
Craig
OK, well I finally had some time to take the pictures of my camera and get this thread started. I have planning this 210 build for about a month, and like all projects it started with a story.
About 3 months ago I only had a 90 gallon reef tank, then I started become more active in the hobbies again after not giving it too much attention over the past year or so, and wanted to upgrade my lights. Since, I really wanted MHs for the “shimmer†affect and the canopy was only 8 inches tall, I decided to put together a 65 gallon reef that I could cost-effectively plan, and build the way I wanted. Well, this 65 wasn’t even 100% cycled and I knew I had a serious heat issue that wasn’t going to go away. The tank was right next to my thermostat, and was causing my A/C to run 24/7, and the tank water was around 85 degrees and I wasn’t willing to make the modifications to my house that would have solved this problems. (cutting holes in the wall for chiller, moving thermostat, etc…)
Then realizing that I wasn’t going to be able to have the tank I wanted in this new 65 either I was done fooling around, sold my 90 gallon, and started to plan this 210 gallon build! I new that with a few adjustments I could pretty much use the equipment I had running my 90 gallon to run my 65, and take all the newly purchased equipment I had bought for the 65 and use it on my 210.
08-12-2006:
Here is the night I bought the lumber to build the stand.

08-13-2006:
Here are a few shots of the stand built on the wall its going to go against.

<br>

<br>

08-15-2006:
Here is a picture of the sump and fuge. The Fuge will be the large 37 gallon column tank with the hole in the top, and the sump will be smaller 29 gallon tank to the left. I have since moved a couple baffles in the 29 gallon to allow for a larger return area and more overflow room to accommodate this 210. This should put me at about 260 gallons of water volume.
<br>

<br>

08-18-2006:
I got the 210 tank and got it set in place.
Before getting the actual tank, I had already decided to order custom wood cabinet doors, paneling, molding, trim, etc… from Home Depot. It is a bit expensive, but it will come ready to use finished in the style and color I pick. This allows me to set the tank up on its bare frame, and then once the stuff comes in from Home Depot I will just tack the “skin†on to the frame.
I will try to keep this thread up-to-date with my progress, but would love to hear your comments.
As far as equipment, I plan to pumps for all my circulation, a pan-world 50ps-x for the main return, and a Sequence Dart on a close loop. I currently have nearly 300 lbs of live rock, and is a good mix of hatian, figi, and tonga.
For the lights have been back and forth, but as you can see I have a really open floor plan in my house and would really like to try to make my canopy hang from suspension wire to allow some natural sun light to hit the tank as well. Right now the plan is to squeezes 3 250W XM 10K SE MHs and 2 57†80W T5 HO Blue plus bulbs in to a 7†tall canopy that will hang about 6†above the tank.

I already have 2 of the MH setups (bulb, ballast, reflector, & mogul) or and either a IceCap 660 or 430 to use depending on which I keep to run my 65 gallon.
I think if I hadn’t already bought the MH setups for my 65, and could have done it again, I would have gotten the DE HQI for solely for their smaller size.
Thanks, and look forward to all your feedback.
Craig


