50g Cube of Joy!

MrSkumFrog

New member
Hello Reefers!

Here's the story of my new build. I Currently have a RSR 250 that is my SPS science experiment. I love SPS; however, I've had frag stagnation, growth and sometimes death. My current tank is 10 months old and I suspect that the system is just too young. Regardless, I prefer SPS.

My wife (Joy) loves softies because they "move" and "grow"; In my previous SPS Reef, I've tried to mix the two with limited success. I've had SPS growth; however, my bronze mushroom rock and zoa colonies did nothing. After I had moved the softies into my dirty, low flow nanocube, everything thrived.
I broke down and sold the nanocube a few years ago.

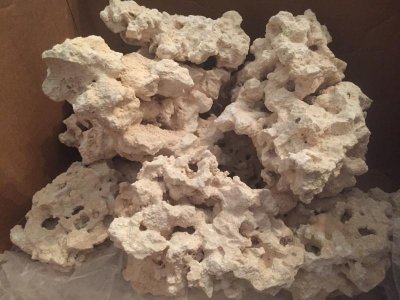
My wife has been asking me for months to purchase corals that I'm not fond of e.g. GSP, Zenia and Kenya Trees. I've decided to build a tank for her. She wants me to pick the equipment and she picks the livestock.

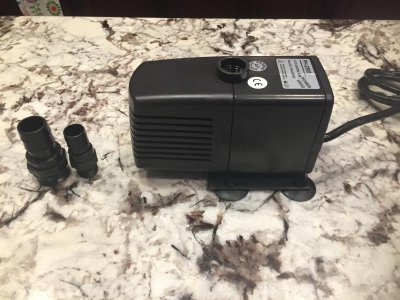
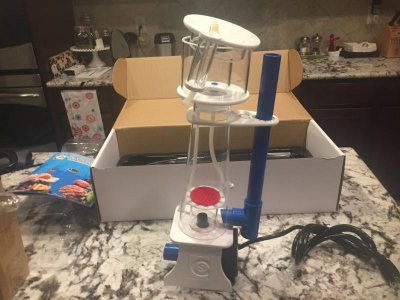
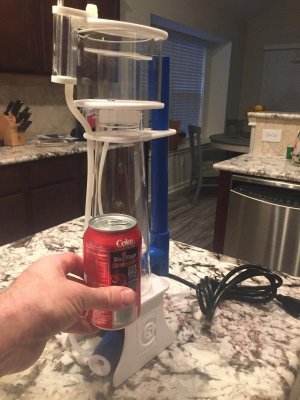
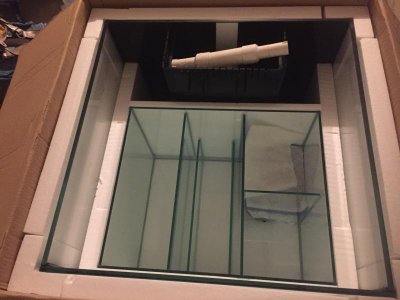
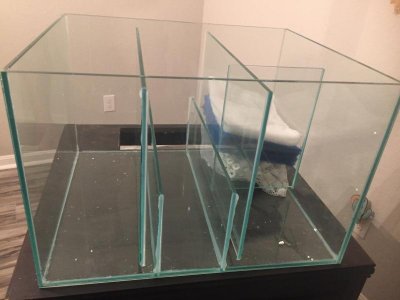
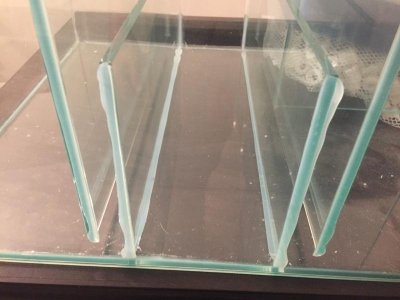
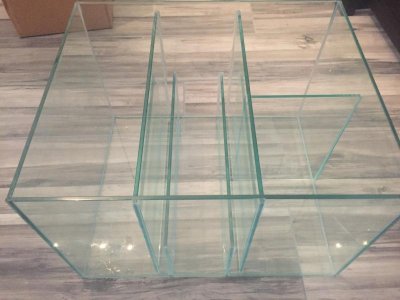
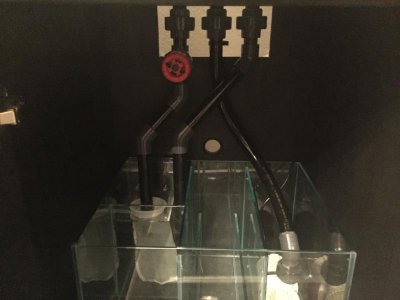
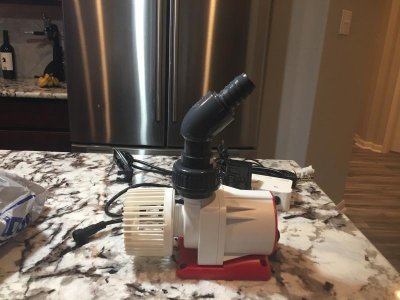
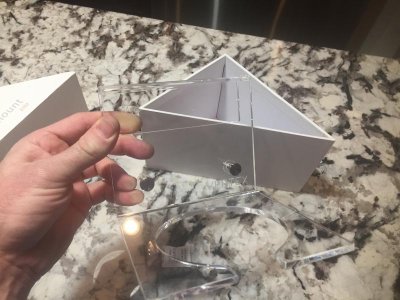
I decided to go with the 50g SC Aquarium cube. The package comes with a pump, sump and skimmer. I plan on doing some upgrades and I'm glad next week is BLACK FRIDAY! I opted out of the MDF stand. I paid maybe $180 for an upgraded wood stand. I'm sure I could have built one, it probably would have been pretty ghetto.

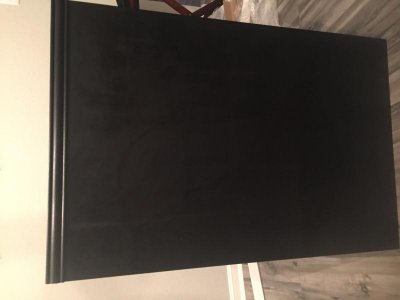
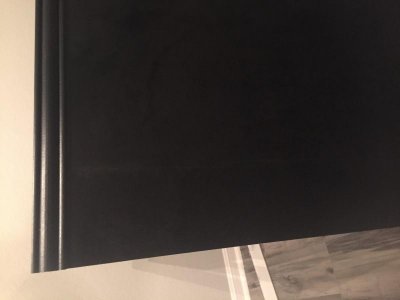
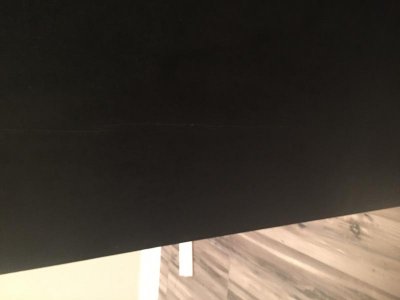
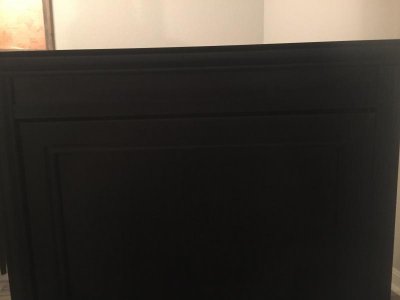
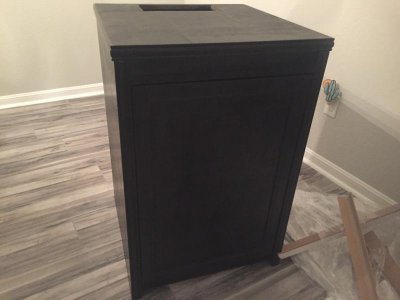
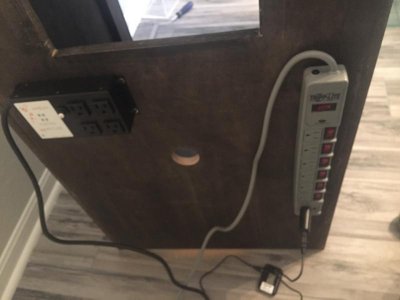
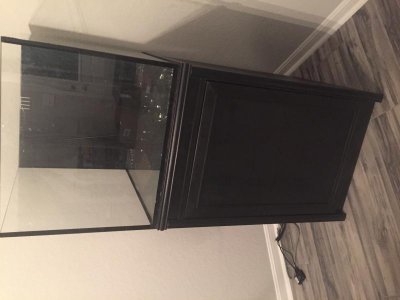
I asked SC Aquariums for a different wood stand. I didn't want to go with the "Rustic Series". I was shown a picture of a black plywood stand that I decided to go with. The stand does have a (superficial?) crack down the side and the door seems crooked. I may be able to adjust the hinges and level the door out. The stand isn't a smooth, sleek shiny Stand. It has more of a rough old furniture look to it. I haven't decided if I'm going to reprint it as of yet.

It was dark when I unwrapped the stand. I'll post more photos in the daylight.

Thanks

Nate & Joy

Please visit my YouTube page
9StickNate
 

Attachments

  • IMG_8260.jpg
    IMG_8260.jpg
    23 KB · Views: 2
  • IMG_8261.jpg
    IMG_8261.jpg
    21.5 KB · Views: 2
  • IMG_8265.jpg
    IMG_8265.jpg
    18.7 KB · Views: 2
  • IMG_8267.jpg
    IMG_8267.jpg
    15.9 KB · Views: 2
  • IMG_8270.jpg
    IMG_8270.jpg
    35.9 KB · Views: 2
I unboxed the pump and showed it to my wife.
Joy said, "what's that?"

I told her it was "A Sandcrawler Pump".
Joy knew it was something for the aquarium, but lacked the understanding or vision of a Star Wars reference.

Regardless...
I'm going to keep this as a spare. Maybe I'll use it for mixing salt or as a backup. I'm intriqugued by the Jebao DC return pumps. What size would you recommend?

Utini!
 

Attachments

  • IMG_8281.jpg
    IMG_8281.jpg
    71.6 KB · Views: 2
Yeah I have the 80G PNP system. First thing I did was upgrade the return. It's loud, large, and cumbersome.

Mine has been happily mixing my water for over a year now.

I ended up going with a waveline DC pump. Very tiny pump(smaller then a coke can), but moves a ton of water. The only thing that made me decide on that pump was the ability to have it apex controlled.
 
It's been a few weeks since I've posted. I've mostly been waiting on online orders to arrive.
 
Last edited:
Here's the setup of the skimmer. I'm not really a fan. It's small and the assembly and materials aren't to my liking. I wasn't exactly expecting a Bubble King. I decided to go with a Simplicity DC Skimmer. I have one on my Red Sea Reefer and they're affordable, well built and they put out some gunk! I did get a good Black Friday Sale price; unfortunately, they are on backorder.


Thanks for viewing!
Nate and Joy
 

Attachments

  • IMG_5931.jpg
    IMG_5931.jpg
    60.1 KB · Views: 2
  • IMG_5938.jpg
    IMG_5938.jpg
    61.7 KB · Views: 2
  • IMG_5939.jpg
    IMG_5939.jpg
    63.7 KB · Views: 2
  • IMG_5940.jpg
    IMG_5940.jpg
    55 KB · Views: 2
Nice! I have the same problem in which my gf wants soft corals with movement.

Anyway want to sell that sc skimmer for cheap lol shipped to 91406
 
I think you'll find that 302 would surprise you. I have the 301 on my 80 and it's a beast of a skimmer. Nothing fancy about it for sure, but it's still a basic cone design skimmer, and they all work fairly well.
 
Nice! I have the same problem in which my gf wants soft corals with movement.

Anyway want to sell that sc skimmer for cheap lol shipped to 91406

I hear ya. It's as if, the more invasive the coral, the more appealing?

In regards to the skimmer; I'm going to store it as a backup.


Thanks
Nate and Joy
 
I had decided to go with BRS Reef Saver rock. I've used it in the past and I liked aquascaping with it. It locked-in easily, kind of like legos. It was also on sale.

After receiving it, I discovered some things that I had forgotten about. It's a very dense, heavy rock and can be challenging to cut, drill or shape. While dryscaping, I couldn't construct anything that didn't resemble a pile of rocks.

In the past, I've come up with some cool scapes, only to reconstruct and remove pieces to increase flow. This time around, I plan on using less rock and also create some open areas on the sandbed for mushroom rocks and acans.
 

Attachments

  • IMG_6038.jpg
    IMG_6038.jpg
    59.7 KB · Views: 2
  • IMG_6039.jpg
    IMG_6039.jpg
    62.2 KB · Views: 2
  • IMG_6040.jpg
    IMG_6040.jpg
    65 KB · Views: 2
  • IMG_6041.jpg
    IMG_6041.jpg
    68.8 KB · Views: 2
I changed my mind and picked up some Pukani rock. I'll sell this Reef Saver rock locally; hopefully, I'll get some of my money back.

The Pukani is a very dirty rock. I'm going to soak it in bleach and prep it well. The rock is so light and sculpable. I'll be able to add acrylic rods and shape ledges and overhangs with no problem.

Thanks for viewing
Nate and Joy
 
It's time to do an eval of the sump.

Wow this is heavier than it looks! The camera doesn't pickup the green color of the sump.

As you can see, the right side has a horizontal partition with a gap underneath. Water drains into the upper right corner and flows through the optional sponge, ceramic bag, bioballs and floss pad. It then flows to the vertical pre-refugium area and to the bottom right hand corner chamber, where the skimmer is housed.

I plan on using a filter sock and omitting the bioballs, ceramic rings and filter floss pads in the first chamber. If and when the pads get clogged, the water would rise and spill out of the sump. Since there's no emergency overflow in the first chamber; I'll stay away from anything that could impede flow.

I'll probably put some pond matrix or rock rubble in the middle section. I'll probably not use chaeto. I do like refugiums; mostly, just to observe the microinhabitants. I think the benefits of nitrate and phosphate reduction would be minimal.

I plan to turn the sump 180 degrees, so the drain, filter sock and skimmer are on the left side. I'm right handed and space may get cramped; this may be easier to access the filter sock.

Regards
Nate & Joy
 

Attachments

  • IMG_5943.jpg
    IMG_5943.jpg
    47.5 KB · Views: 2
  • IMG_5946.jpg
    IMG_5946.jpg
    40.4 KB · Views: 2
  • IMG_5945.jpg
    IMG_5945.jpg
    44.8 KB · Views: 2
  • IMG_6031.jpg
    IMG_6031.jpg
    50.1 KB · Views: 2
I decided to use a Trip Lite Surge Suppressor and an Apex Jr.
I decided to go with the Jr, mostly as a failsafe for my heaters, plus I'll get a temperature display.

I drilled a 2" hole just situated above the sump. I'll be able to pass cables out of the tank.
 

Attachments

  • IMG_8402.jpg
    IMG_8402.jpg
    32.8 KB · Views: 2
  • IMG_8406.jpg
    IMG_8406.jpg
    36.7 KB · Views: 2
  • IMG_8467.jpg
    IMG_8467.jpg
    32.2 KB · Views: 2
Time to plumb this cube up! I left a few inches (~3") between the unions and bulkheads. This gives me room to cut the union off and dissassemble and still have room to glue on anew union.

I went with the Reef Octopus Varios D.C. Return pump. So far, I'm really impressed. It's very silent!

A used a Vertex filter sock holder. I initially purchased a "sock it" filter sock holder; which, I wasn't impressed with. The sock-it seemed bulky and the thumbscrews protruded outwards. I would have had to attach it to the refugium wall (if that makes sense).
 

Attachments

  • IMG_8466.jpg
    IMG_8466.jpg
    40.4 KB · Views: 1
  • IMG_8517.jpg
    IMG_8517.jpg
    37.8 KB · Views: 2
  • IMG_8504.jpg
    IMG_8504.jpg
    57.5 KB · Views: 2
  • IMG_8489.jpg
    IMG_8489.jpg
    64.2 KB · Views: 2
  • IMG_8596.jpg
    IMG_8596.jpg
    36.1 KB · Views: 1
Back
Top