90 Gallon build

adam1103

New member
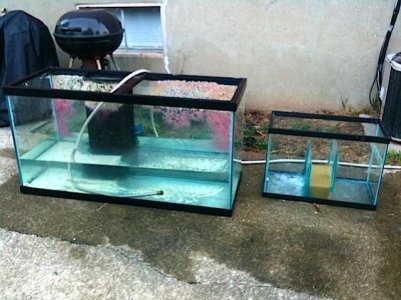
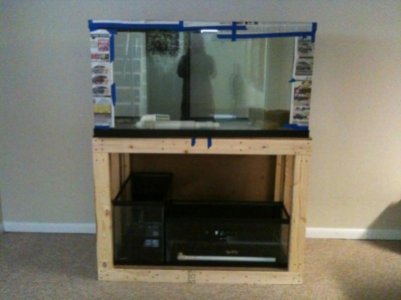
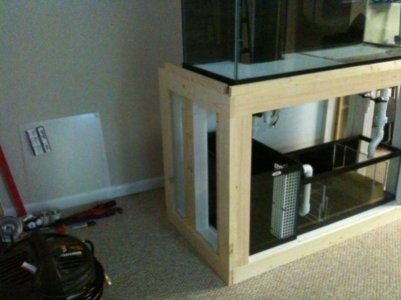
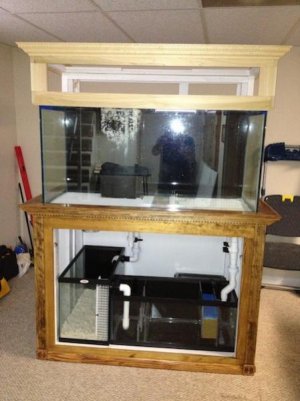
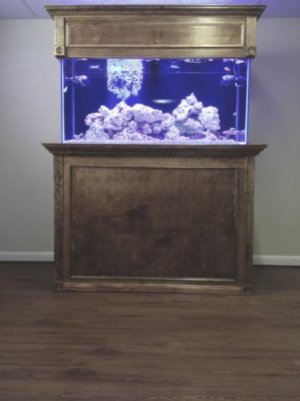
So I'm Still quite new to the hobby and seem to be learning something new everyday. But I assume that even the most experienced reefer feels like there still in that same boat. I started in reefs with a modest 46 gallon bow front and finally decided to upgrade to a 90 gallon AGA. So I figured why not just start a build thread! here we go! I purchased the 90 used for 100.00 and it even came with a 20 gallon sump. I wasn't for sure if I wanted to use the 20 or get something bigger for the sump. I always hated the sump i had in my 46 because it was small and didn't allow me to use all the space required.

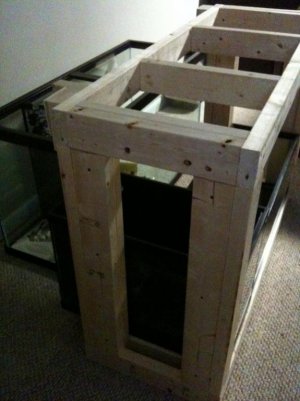
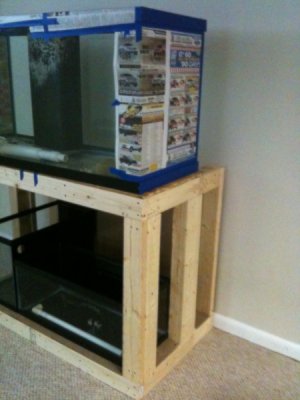
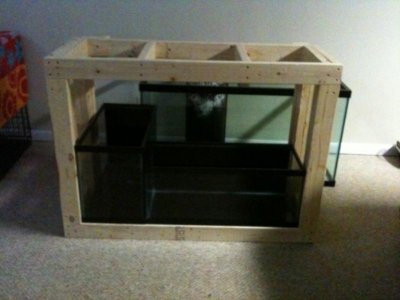
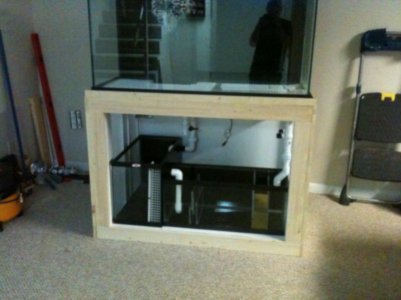
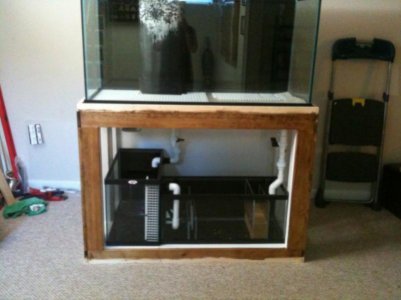
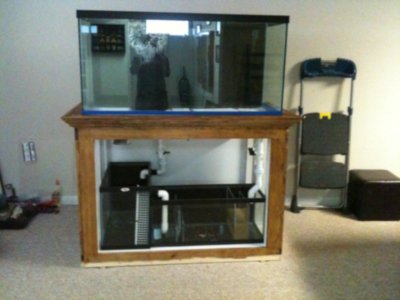
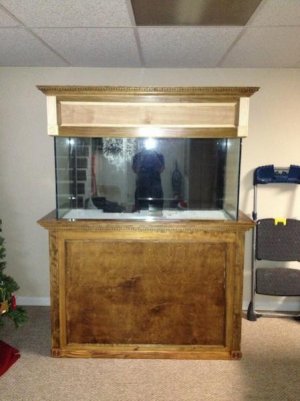
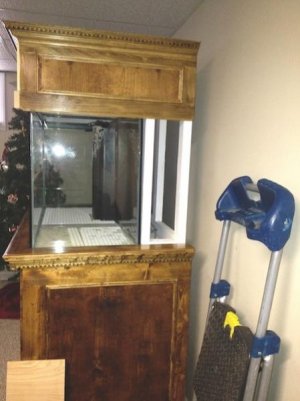
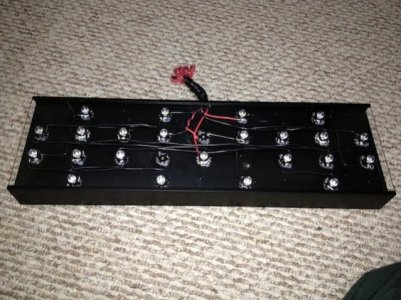
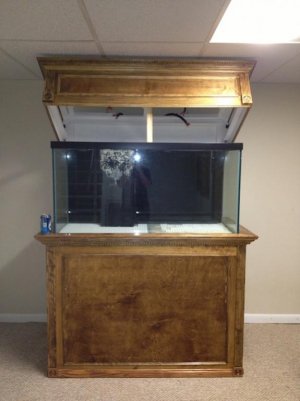
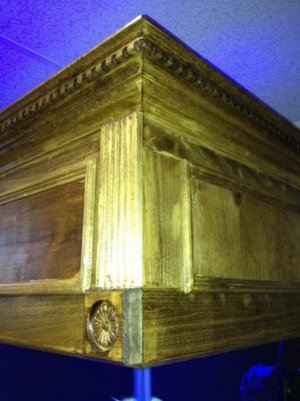
Here are a few pictures of the tanks purchased and the stand in construction phase.

http://www.reefcentral.com/forums/attachment.php?attachmentid=220929&stc=1&d=1361384088

http://www.reefcentral.com/forums/attachment.php?attachmentid=220930&stc=1&d=1361384272

http://www.reefcentral.com/forums/attachment.php?attachmentid=220932&stc=1&d=1361384384

http://www.reefcentral.com/forums/attachment.php?attachmentid=220931&stc=1&d=1361384384

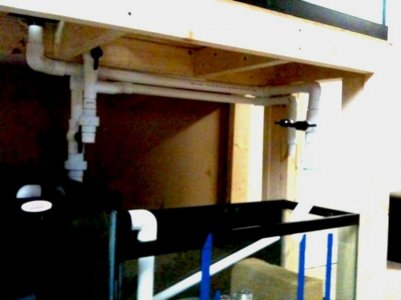
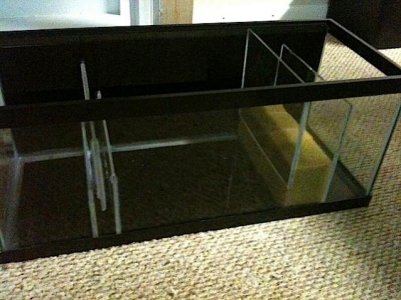
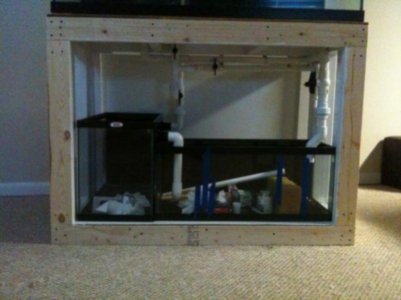
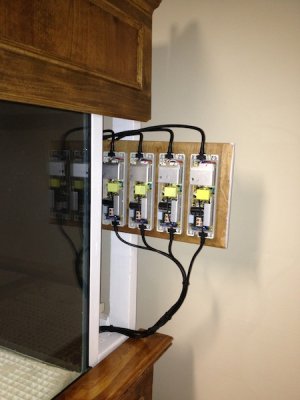
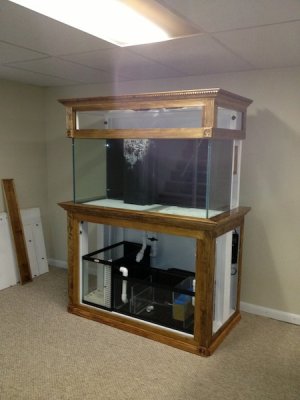
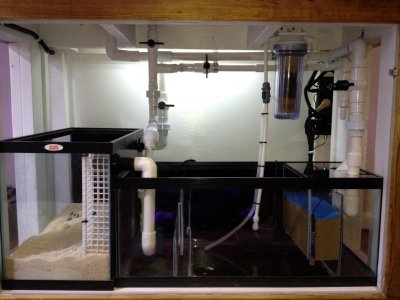
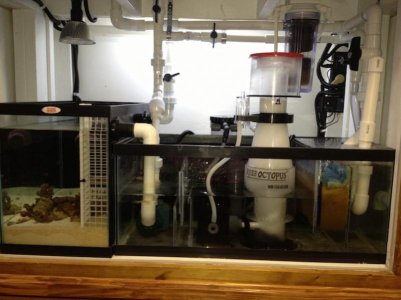
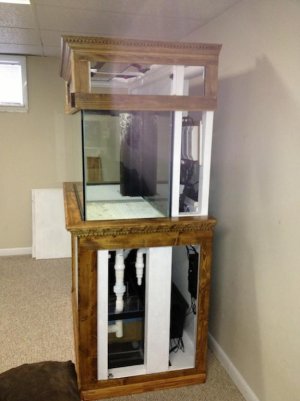
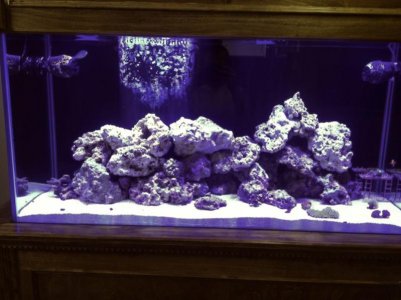
As you can see I actually decided to extend the back of the stand to allow me to keep the majority of the electrical equipment behind it. As well as giving me room to place two 20 gallon aquariums under the DT. The 20 long will be for my skimmer and return as well as any other equipment. And the standard 20 is going to be my refugium. Sorry that some of the pictures aren't that great. I painted the back of the sump/refugium as well as my DT.


http://www.reefcentral.com/forums/attachment.php?attachmentid=220934&stc=1&d=1361384855
 

Attachments

  • new tanks.jpg
    new tanks.jpg
    58.7 KB · Views: 22
  • stand.jpg
    stand.jpg
    52.2 KB · Views: 17
  • extending stand.jpg
    extending stand.jpg
    70.7 KB · Views: 19
  • Sump .jpg
    Sump .jpg
    42.4 KB · Views: 23
  • fitting sumps.jpg
    fitting sumps.jpg
    41.2 KB · Views: 18
So at this point I was very happy with the stand and the amount of space that i had under the DT. I then started on dry fitting all my plumbing and drilling the holes for the 20 gallon refugium. And determined which skimmer I would be using so I could make the baffles in my sump the correct height. After all that I painted the inside of the cabinet white to try and hide the white plumbing a bit.http://www.reefcentral.com/forums/a...nt.php?attachmentid=220936&stc=1&d=1361385347
 

Attachments

  • dry fit plumbing.jpg
    dry fit plumbing.jpg
    42.2 KB · Views: 19
  • baffles for sump.jpg
    baffles for sump.jpg
    54.2 KB · Views: 21
  • plumbing.jpg
    plumbing.jpg
    45.5 KB · Views: 17
Now that I had the basic plumbing figured out it was time to start the fun part of trimming out the stand. I used 1/2 inch by 4inch ash planks for the stand. I cut basically a square out of four pieces and used a kregg jig for pocket holes to attach them together. Wish I had taken more photos of this process.. After getting the 2 sides and the front done It was time for stain. Just a FYI, when I made all my sides I made sure my side panels were longer that way the trim that I was going to put on the front would cover the seems.http://www.reefcentral.com/forums/a...nt.php?attachmentid=220946&stc=1&d=1361387516
 

Attachments

  • start trim.jpg
    start trim.jpg
    50.8 KB · Views: 17
  • trim 2.jpg
    trim 2.jpg
    47 KB · Views: 22
  • stain.jpg
    stain.jpg
    47.8 KB · Views: 20
Here I was finishing up the construction of the canopy and had made the doors for the stand. I used 4x8 sheets of ash and cut them down to the size of the openings of all my sides. Then just used some really small trim to cover up the seems. I used some type of drawer holder to hold the doors in place. there was about an 1/8 inch diffrence all the way around the doors to allow them to come out easily, as well as for expansion.http://www.reefcentral.com/forums/a...nt.php?attachmentid=220953&stc=1&d=1361388257
 

Attachments

  • canopy 2.jpg
    canopy 2.jpg
    37.2 KB · Views: 21
  • back opened.jpg
    back opened.jpg
    34.7 KB · Views: 16
Now for lighting and electrical!! I decided to go with all LED's. So I spent a few months trying to figure out exactly what I needed as well as what was the best for the price. So I decided to go with a DIY kit from Rapid. the 90 gallon dimmable kit to be exact plus a few extras. Also decided to go with the Apex Jr. so a break down of exactly what I'm using for lighting..

20 cool white XP-G 10 on each driver
20 Royal Blue XT-E 10 on each driver
8 Violet on a Nano Driver
2 Red on the same as the Red
2 Green 1 On each of the drivers with the Royal Blues

Only using 3 channels on the Apex VDM module. Both the White Drivers are on channel 1. Both the Blue/green on channel 2. Reds/UV on channel 3.
All the LED's are mounted on two 6x20 inch Heat sinks with a 90mm fan on each. I knew the LED's were going to be about 8 inches off the water so I went with 80 degree optics. also I basically made a whip off the fixture so I could disconnect everything from the top of the stand.
http://www.reefcentral.com/forums/attachment.php?attachmentid=220956&stc=1&d=1361389174
http://www.reefcentral.com/forums/attachment.php?attachmentid=220957&stc=1&d=1361389174
http://www.reefcentral.com/forums/attachment.php?attachmentid=220955&stc=1&d=1361389174
 

Attachments

  • Drivers.jpg
    Drivers.jpg
    71.6 KB · Views: 21
  • LEDs.jpg
    LEDs.jpg
    60.9 KB · Views: 17
  • hanging LEDs.jpg
    hanging LEDs.jpg
    43.6 KB · Views: 19
Now that the stand is for the most part complete I started putting everything in the sump and figured out all the locations for my equipment. I have a BRS GFO reactor powered by mj1200. In the far right back corner I placed my Apex jr. and my PM1 module. My DIY ATO and 3 gallon resivore is behind the 20 long sump. The ATO is connected to a Kalk reactor. For my fuge light I used a 56k LED light I picked up at lowes.
http://www.reefcentral.com/forums/attachment.php?attachmentid=220972&stc=1&d=1361399833
 

Attachments

  • image.jpg
    image.jpg
    54.7 KB · Views: 21
Looks slick! If you ever wanted to, it looks like you could fit a 40b under your tank. Could allow you more room for equipment and flow through your sump without excessive microbubbles. Love the stand and canopy though!
 
I also took a marineland 18 inch 1 watt led light I had laying around and rewired the 3 way switch to extend it to reach to the far right corner. It works great for a work light!
 
im heading down the same path as you right now except I want to have a 40 gal breeder as a sump becuase i have one just laying around. how much was you lumber for your stand if you dont mind me asking.
 
Honestly I have about 400 in the stand/canopy. Plus all the hardware for the doors piano hinges and drawer sliders for the drivers. Could have done it cheaper if I would have measured twice and cut once! Lol!
 
I think the stand looks great.

Not sure if I'm missing something, but where is your skimmer? Is it not in place yet or are you not putting one in?
 

Attachments

  • front 3.jpg
    front 3.jpg
    94.4 KB · Views: 24
  • front 2.jpg
    front 2.jpg
    25.9 KB · Views: 20
  • ledge.jpg
    ledge.jpg
    100.9 KB · Views: 19

Attachments

  • side doors off.jpg
    side doors off.jpg
    44.4 KB · Views: 16
  • set up 2.jpg
    set up 2.jpg
    60.6 KB · Views: 20
  • canopy trim.jpg
    canopy trim.jpg
    41 KB · Views: 16
So As I said before I'm going to go through all my equipment that I'm using.
I guess we'll start with the Tank...
90 Gallon AGA
Skimmer- Reef Octopus NW150
BRS GFO/Carbor Reactor powered by a mj1200
Two Little Fishies KW Reactor 300 powered by a mj1200
Return Pump- Triton3 by Deep Blue 850 GPH
2 Koralia 1400's
Apex jr
Apex VDM Module
Apez PM1 Module
All my lighting is LED From the display tank, the refugium, and even the work light.
I guess my next major purchase is going to be a MP40... But Im really not looking forward to having to sell a kidney to afford one!
 
Back
Top