agent462's 220 rimless shallow peninsula reef

nmbr6

New member
I'm already a ways into this build but I've been chronicling it over at TCMAS. I figured I'd share it out to the broader audience here at r2r. I'm going to take a lot of the content I already posted and put it over here. Forgive me If I miss changing something like "got this today" or "coming tomorrow".

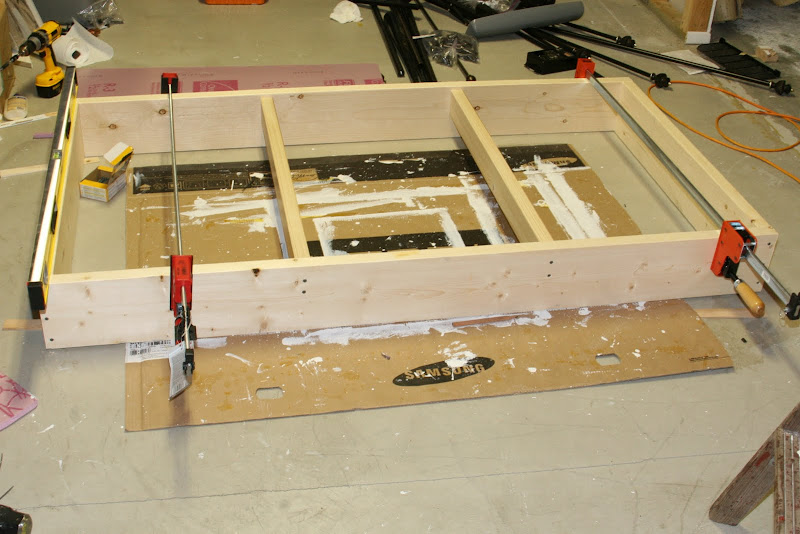
Ok, I thought it was time to start my tank build thread. I've ran smaller reefs for a few years now. I bought a house in August so it was only time to start a large reef.

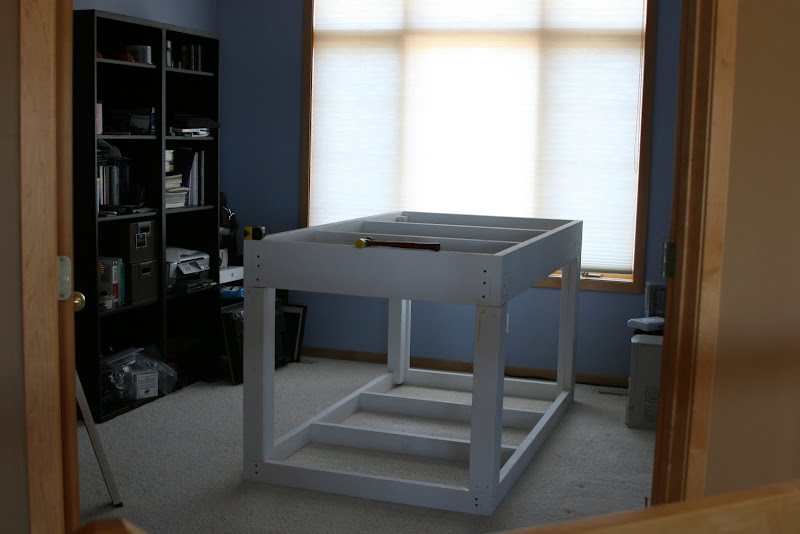
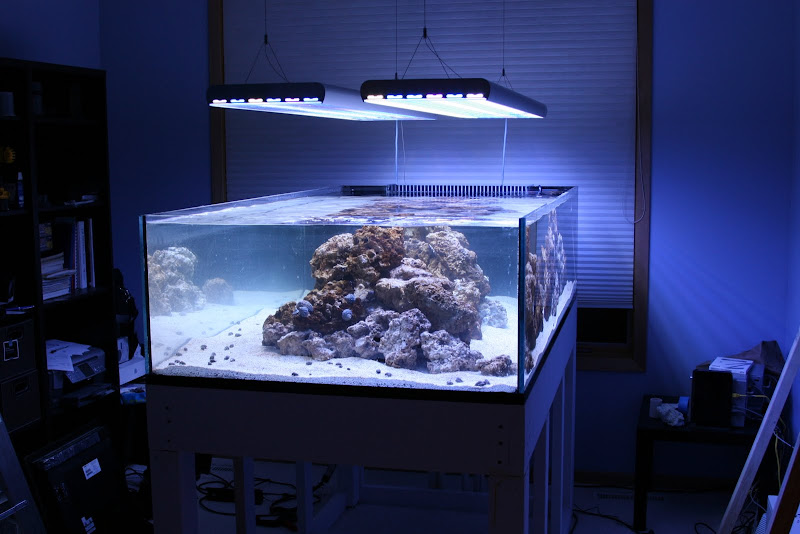
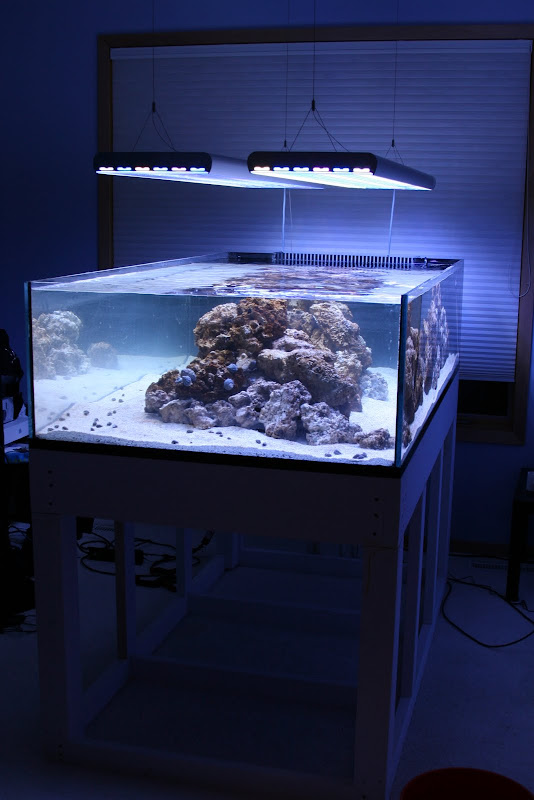
I knew I wanted a large reef and rimless. I decided on peninsula because of the layout of the room and it's really nice to have both sides to 'reef out.'

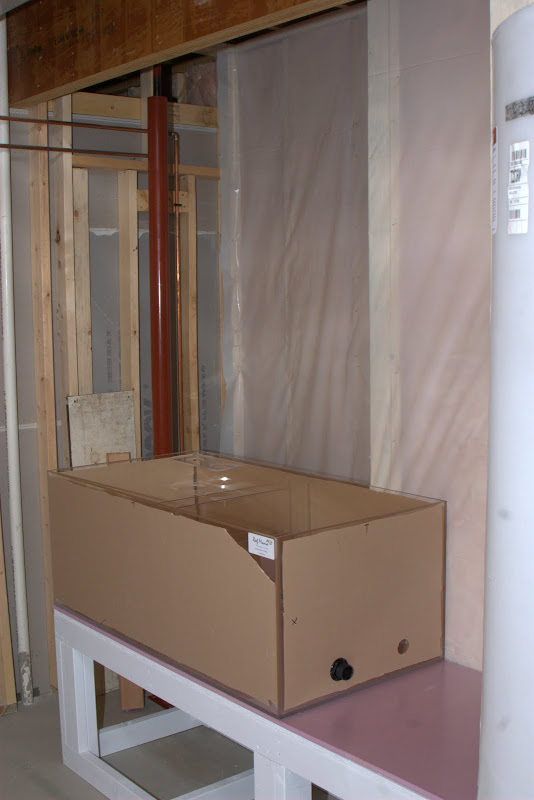
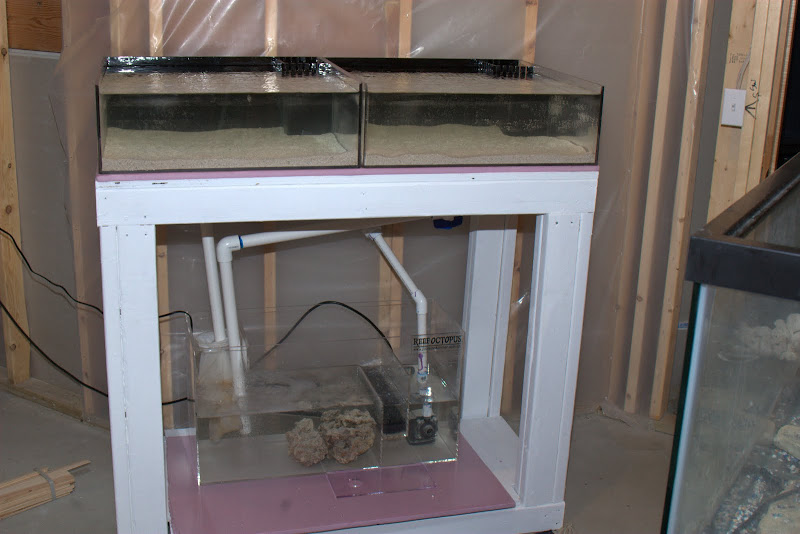
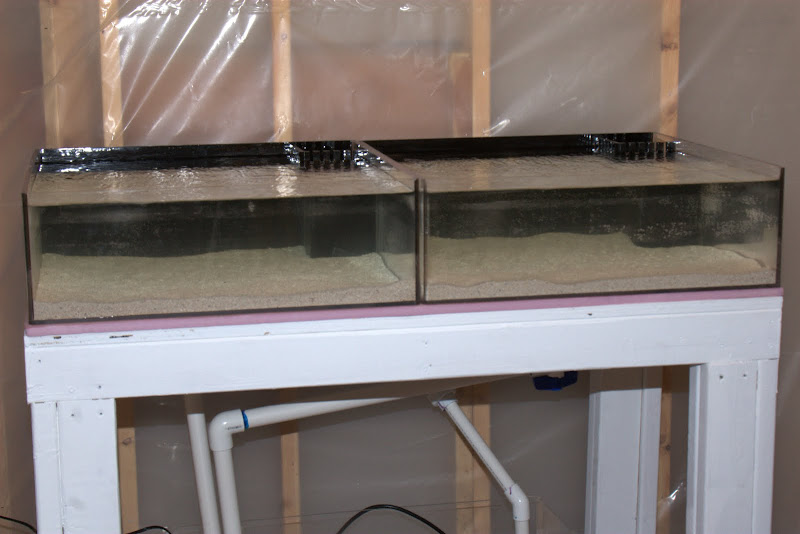
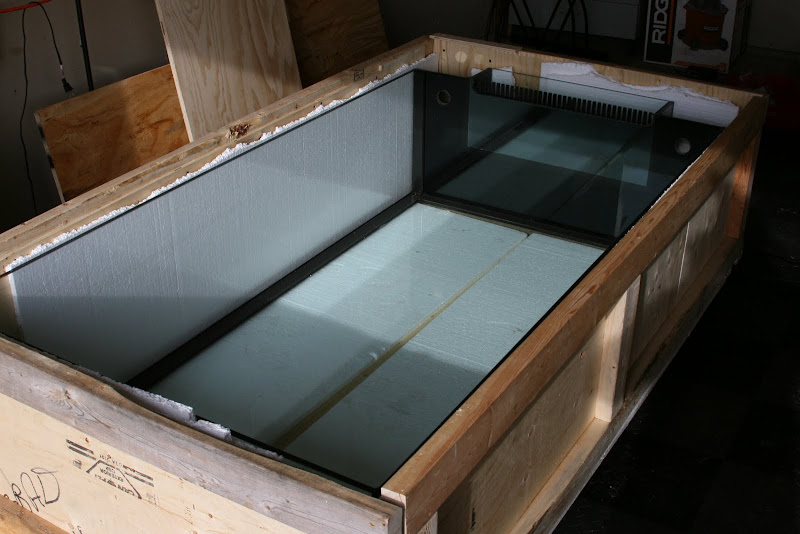
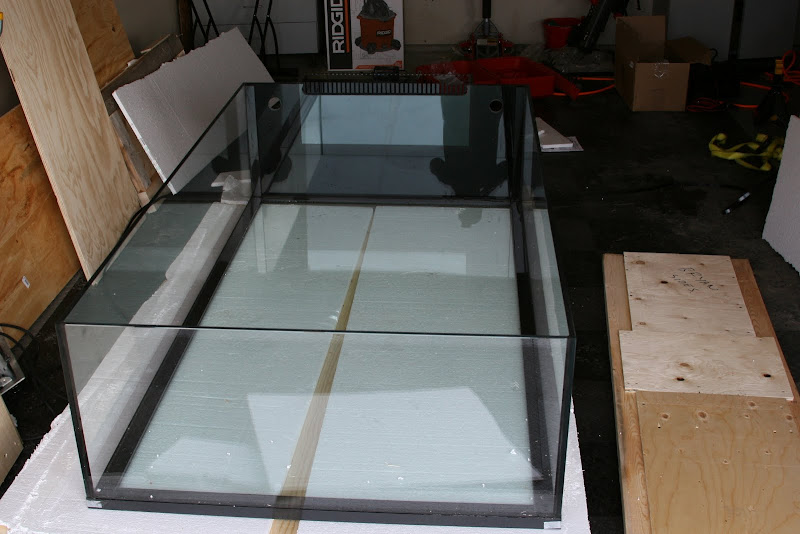
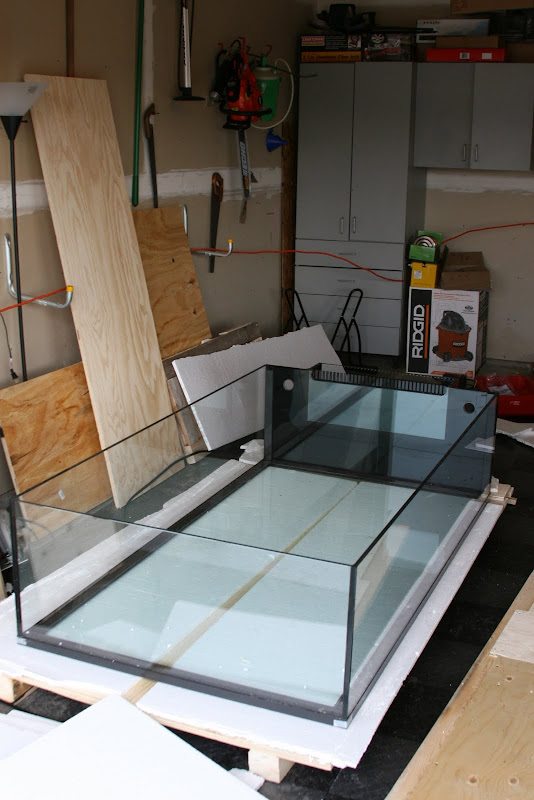
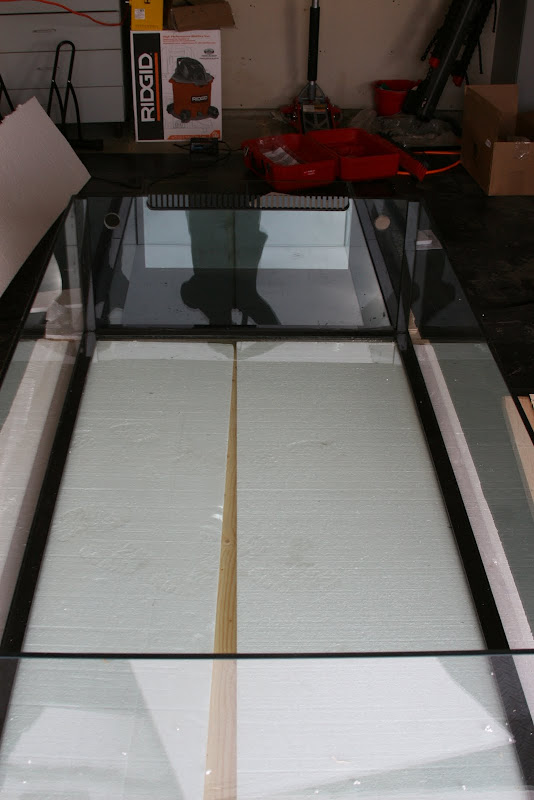
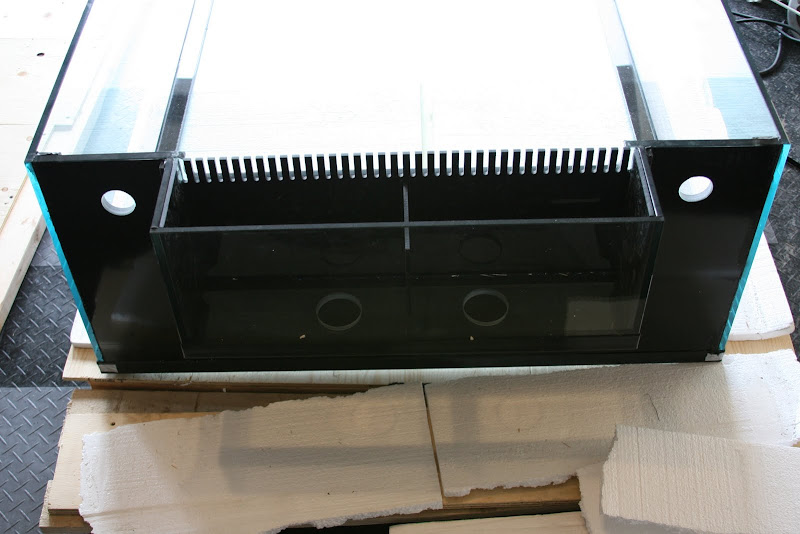
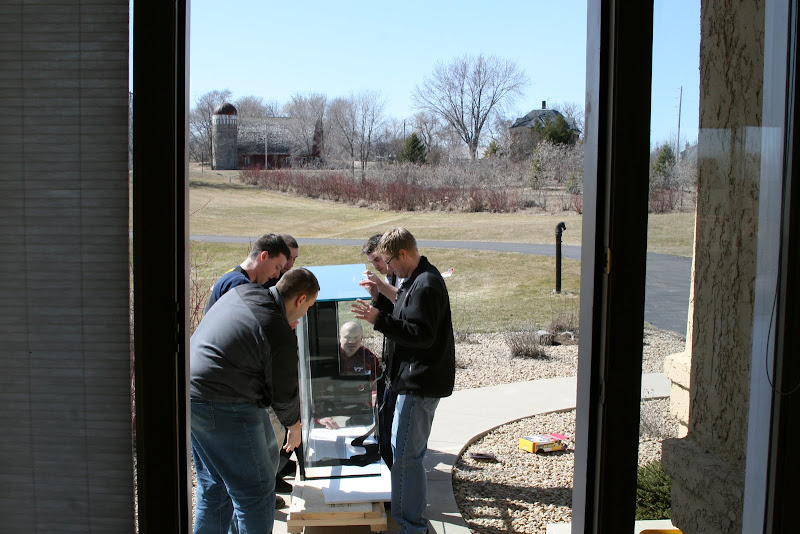
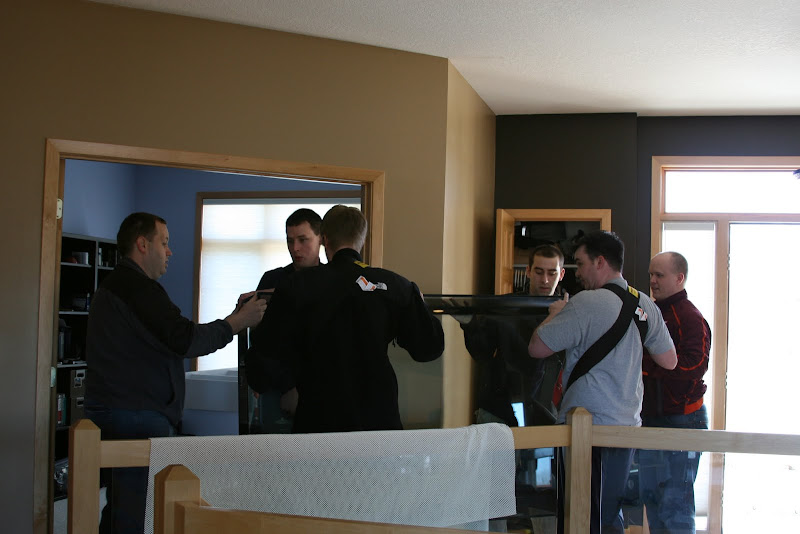
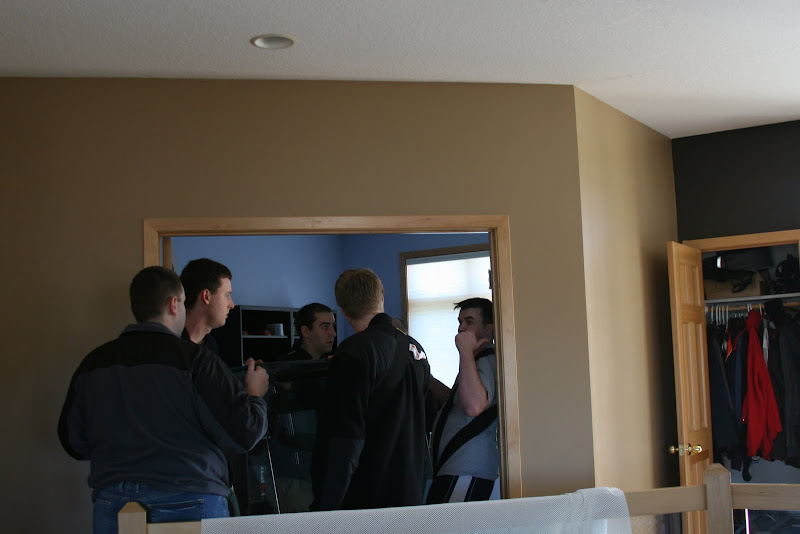
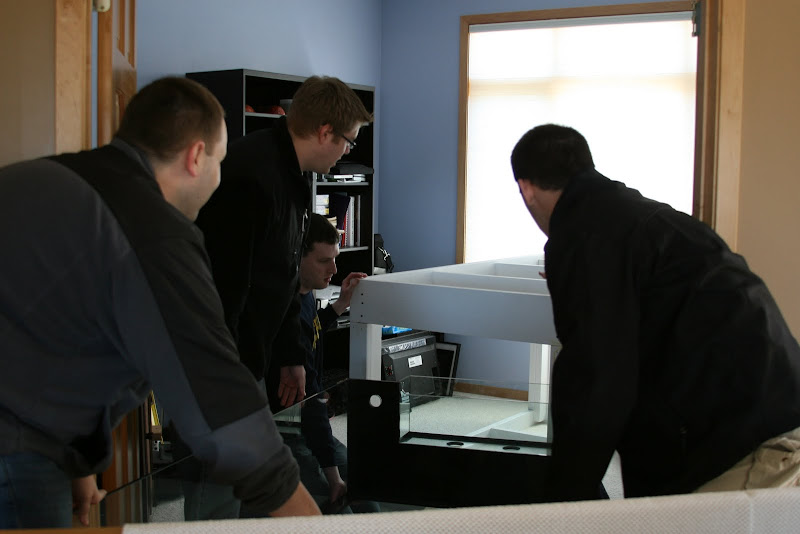
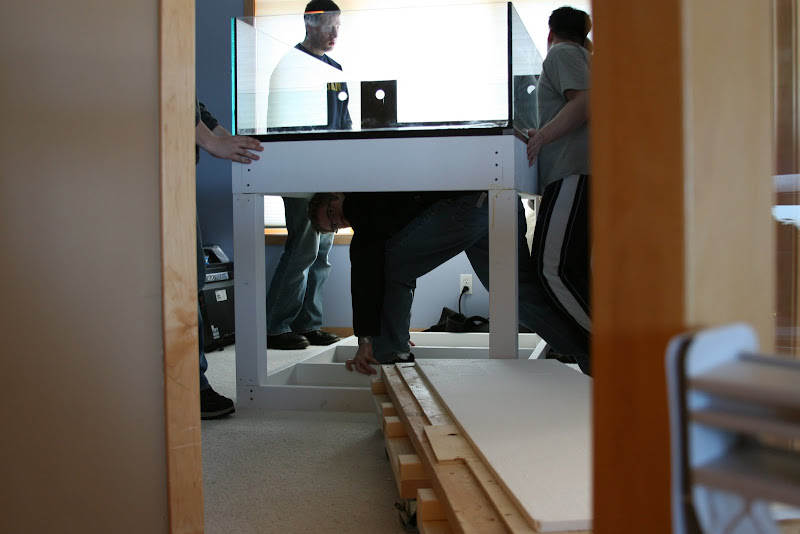
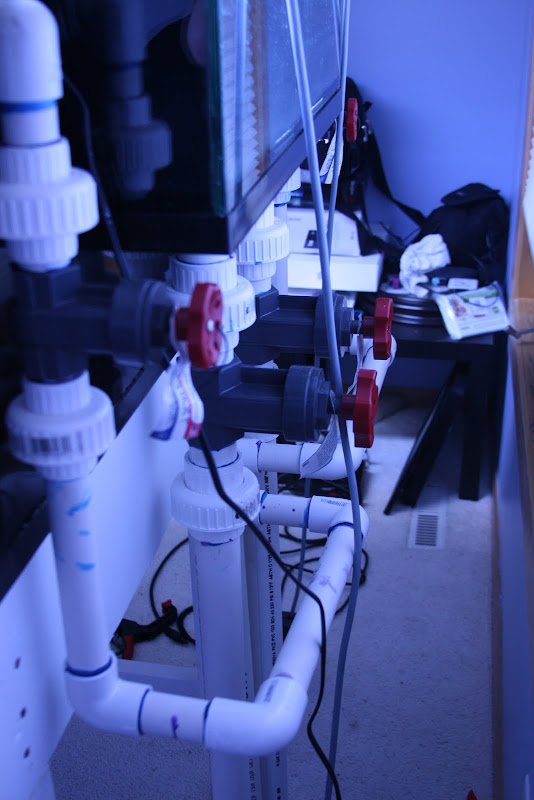
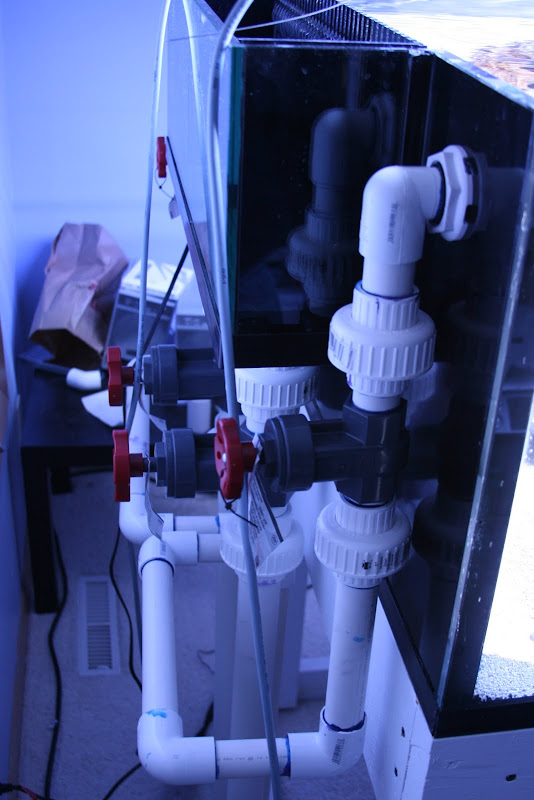
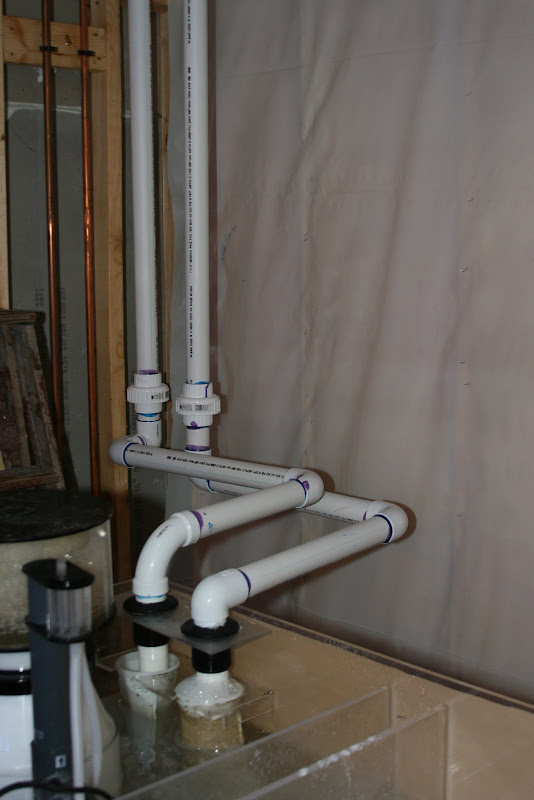
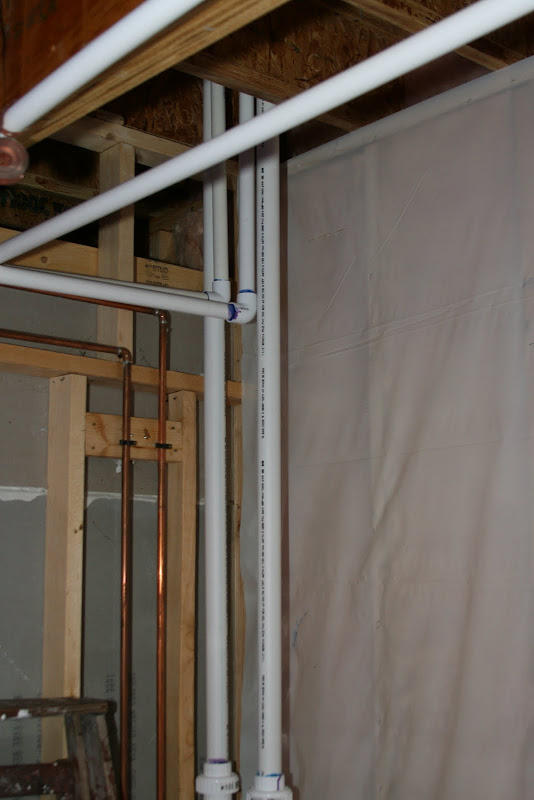
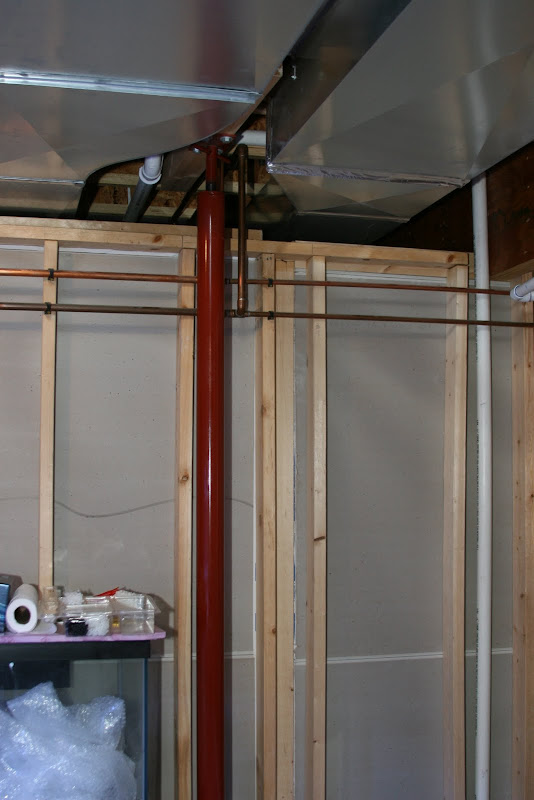
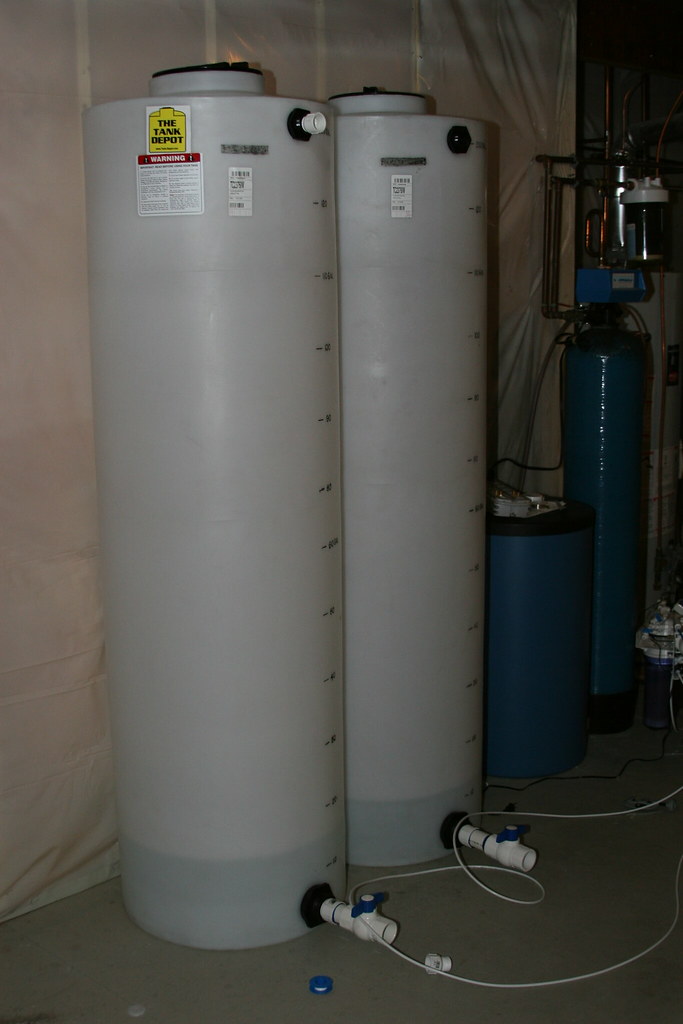
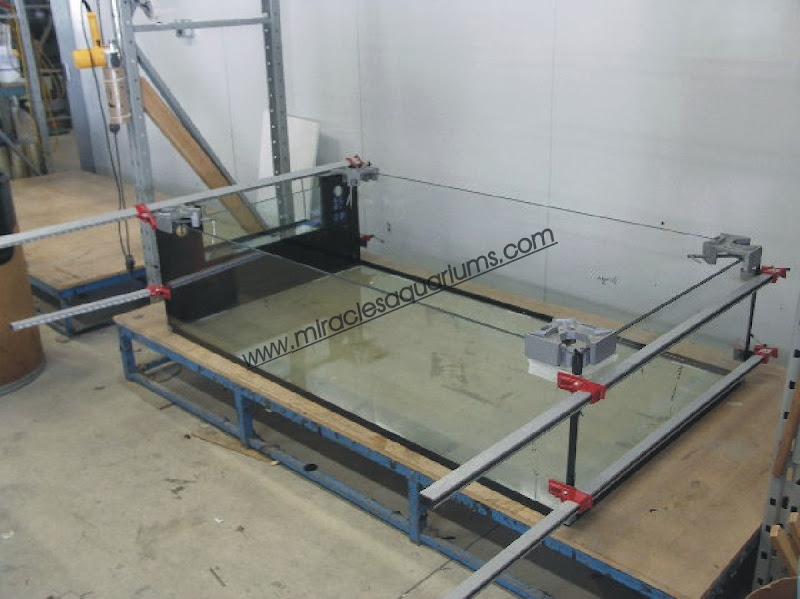
I decided on a 72"x40"x18" glass rimless tank with external overflow. I shopped around for quotes and Miracles known for great quality came in with the lowest price (much cheaper than Glass Cages actually). The tank will have two 1.5" drains and two 1" returns. The sump and plumbing will all be in the basement.

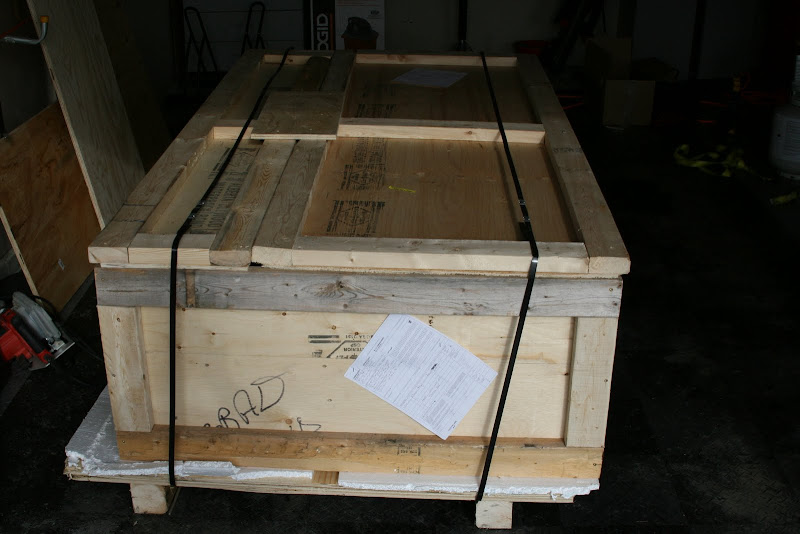
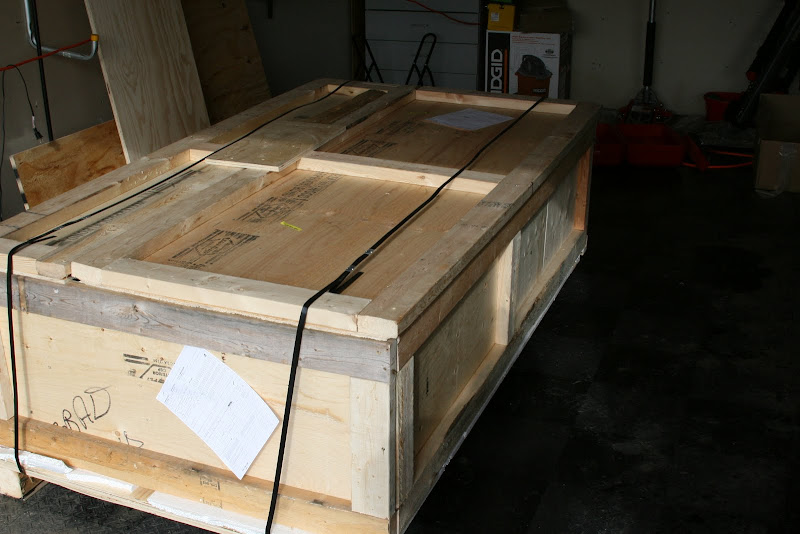
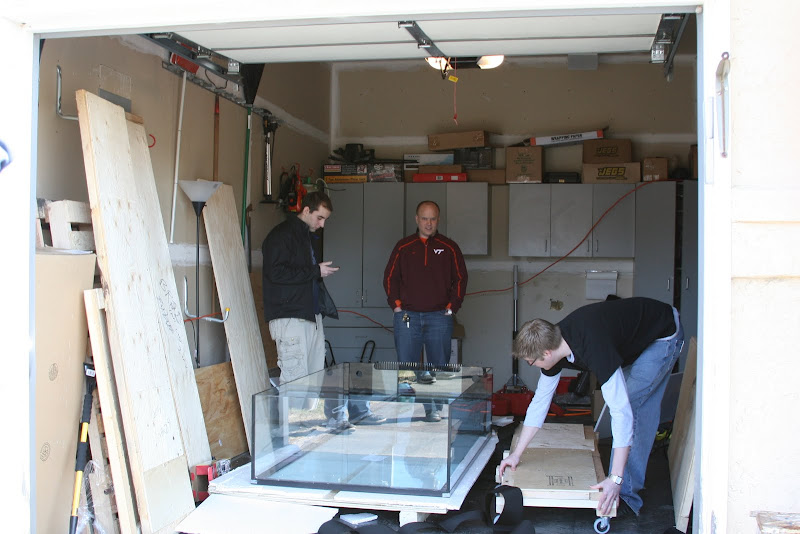
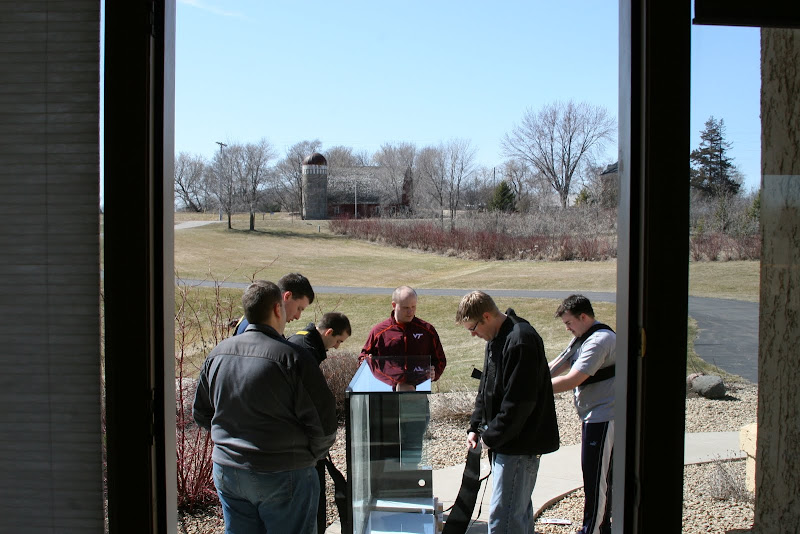
I officially ordered the tank in January and received it in March.

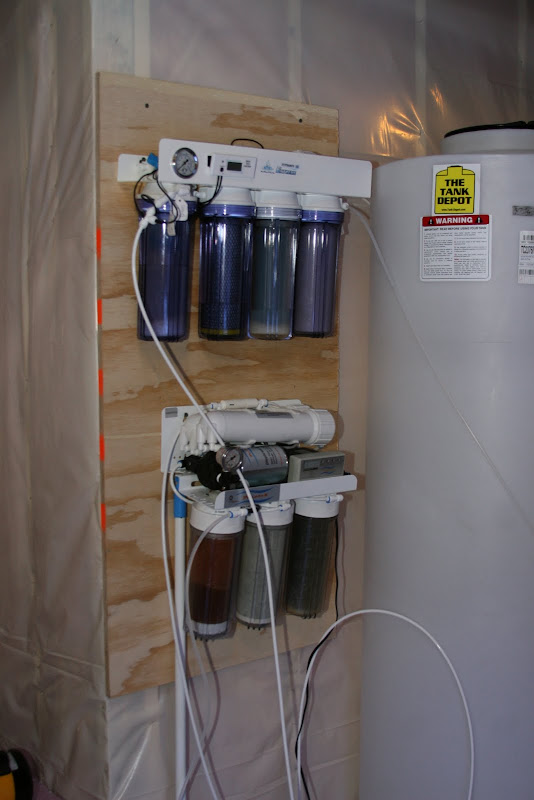
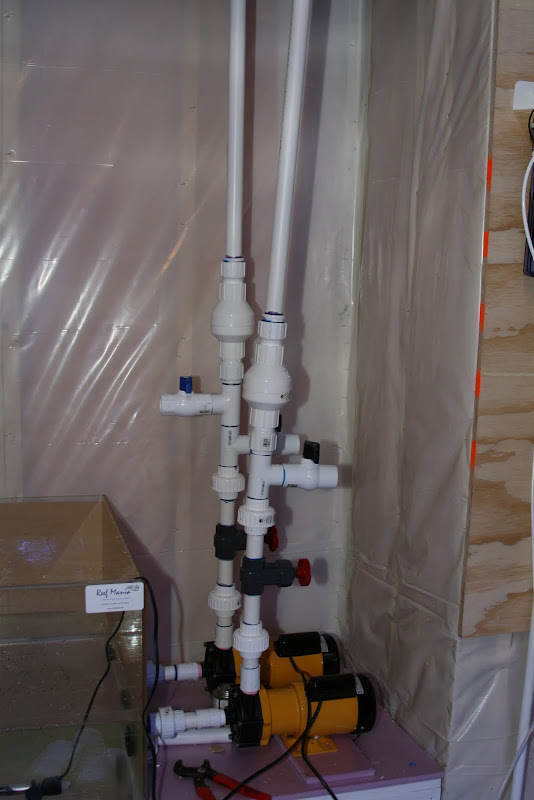
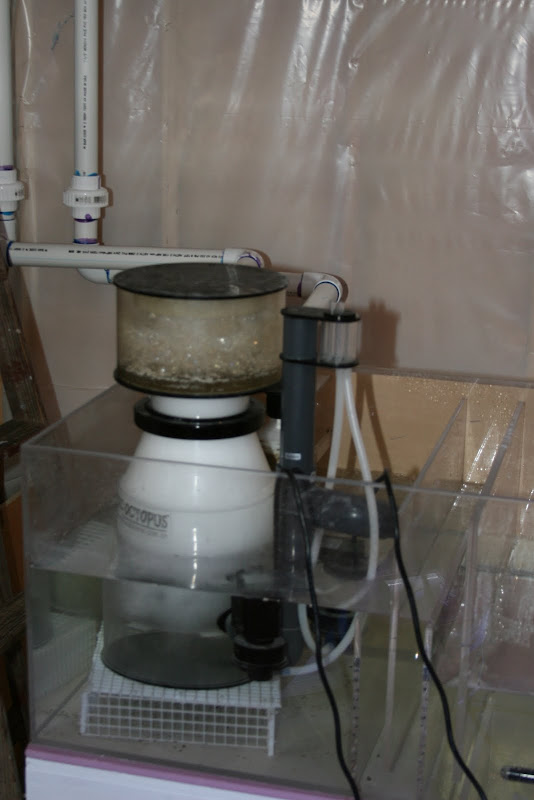
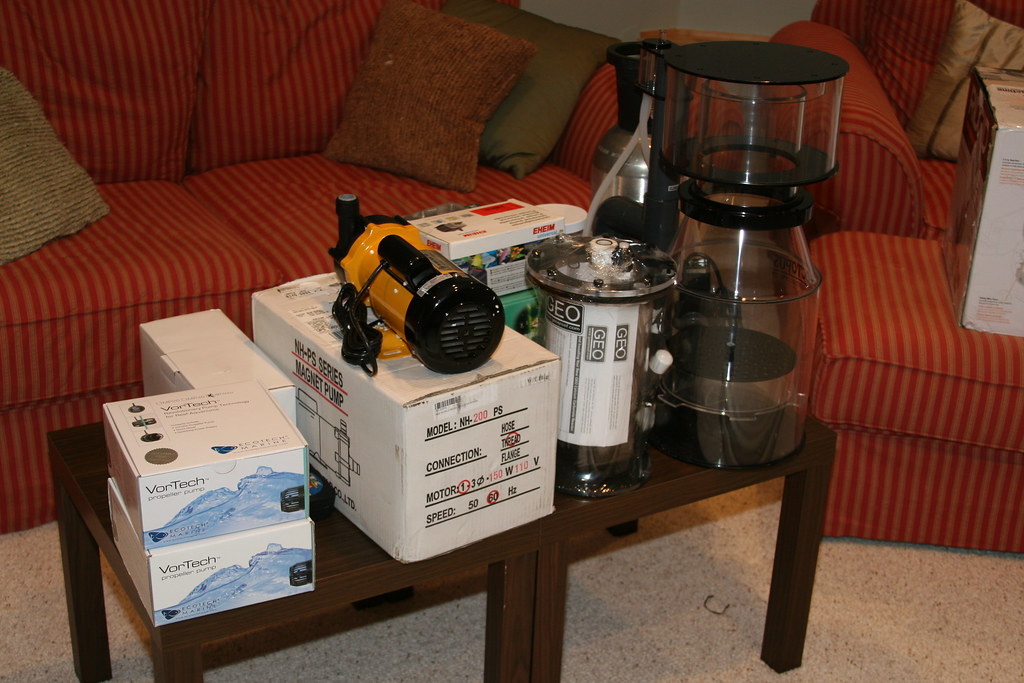
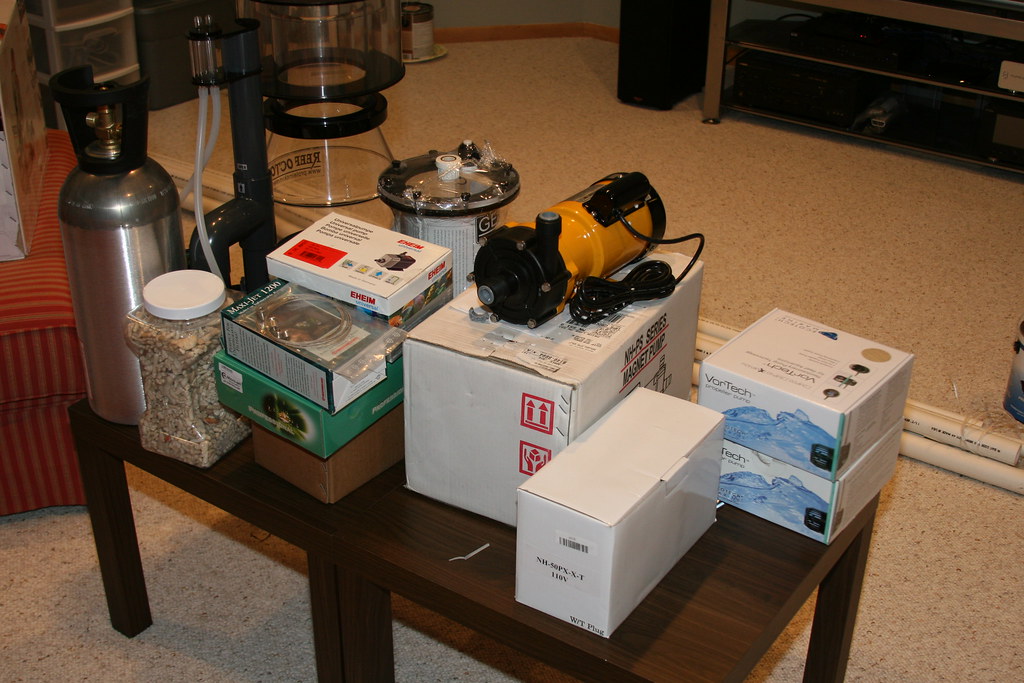
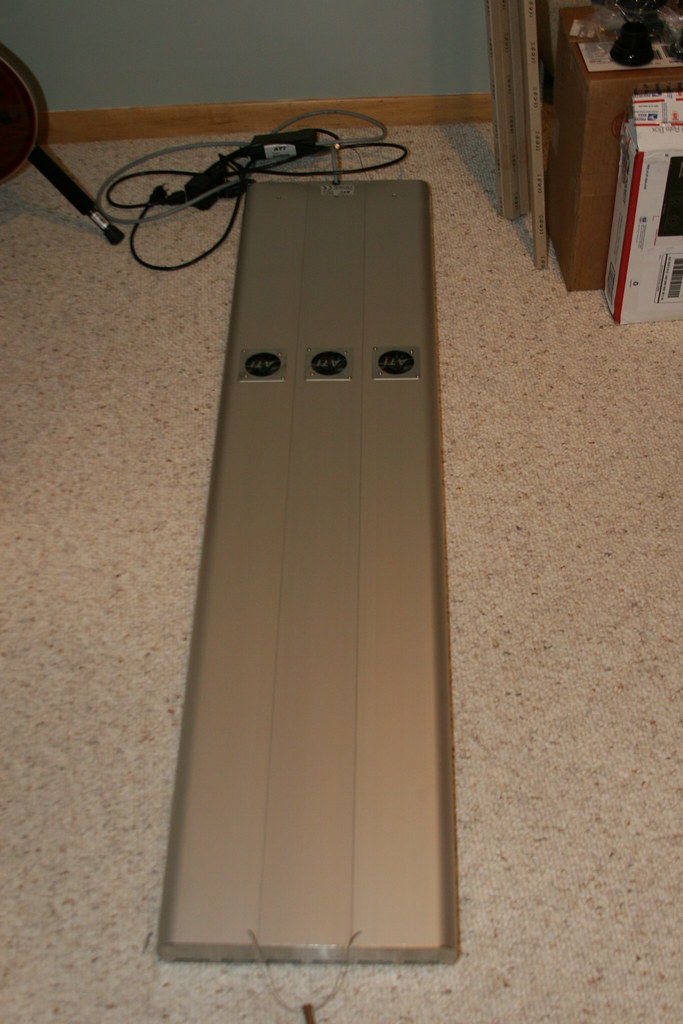
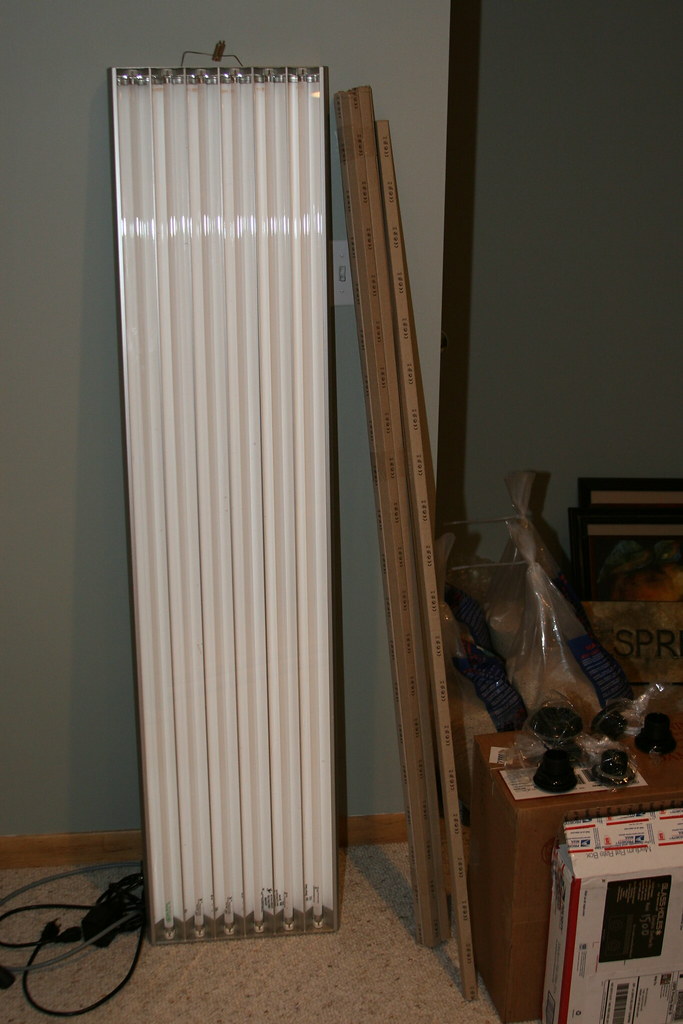
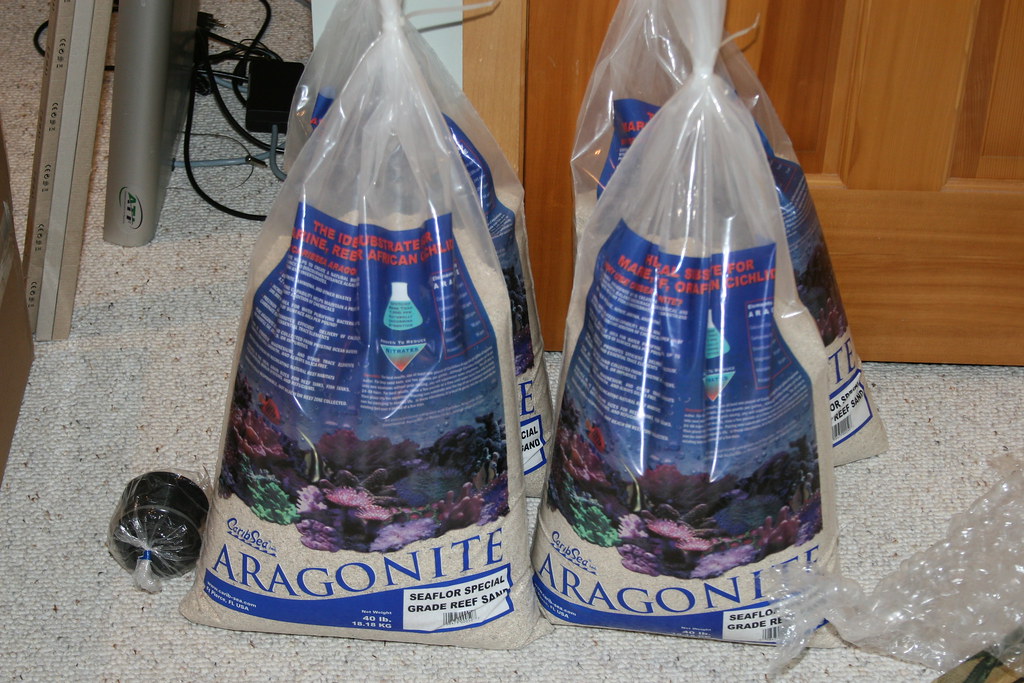
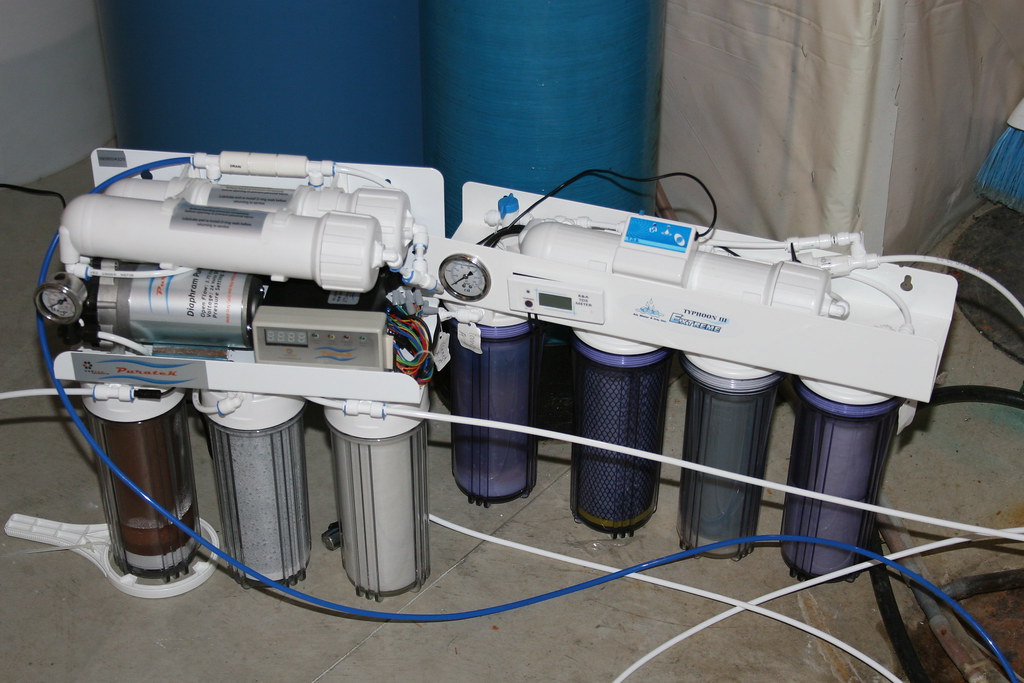
I've bought a bunch of stuff based on advice from others and my own reading. it probably won't be perfect as this is my first large reef but I'm sure you guys will help me through it.

I'll post in separate posts some of things I've purchased once I get some pictures.

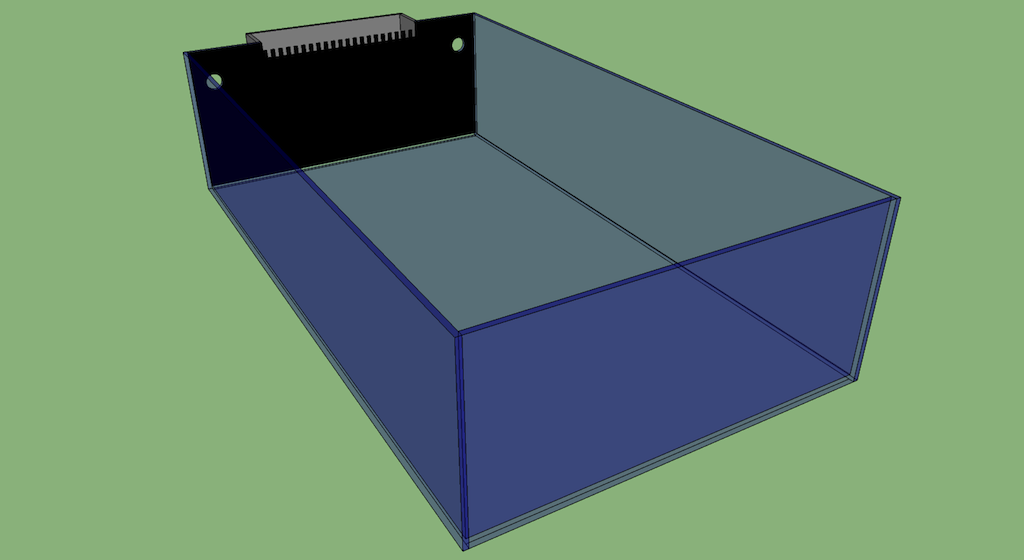
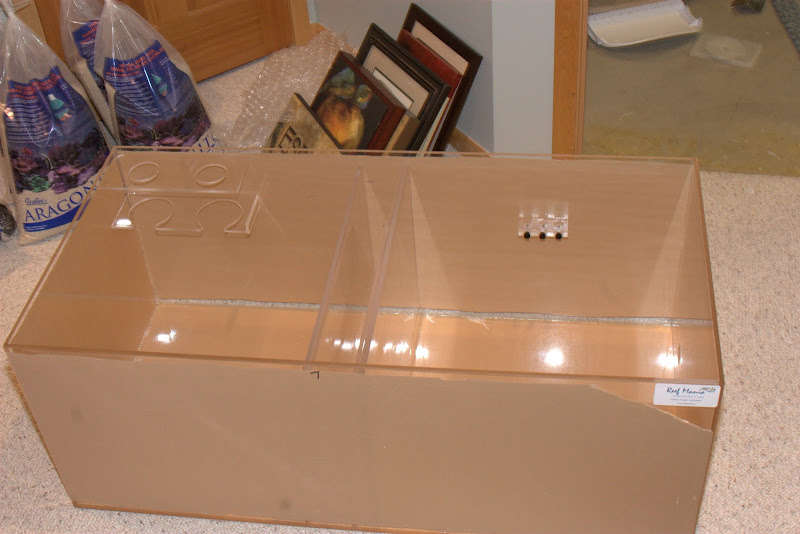
Here was my mockup I sent out while getting quotes.

4297288886_7ded9cd655_o.png
 
I got a really good deal on new Octopus Extreme 250 with purple pinwheels. I won't have a lot of bioload for awhile so it should hold me over for a bit.

Bob @ Reef Mania is building my sump. 48 x 24 x 18 it's going to have filter sock holders, skimmer area and return area. I just couldnt get the volume of water that will overflow to workout with an internal fuge. This will give me plenty of overflow room with pump outage.

I plan on running an external fuge from an old 90 gallon (Actually I think it's an 80 now) I have.

Lighting to start will be two 60" ATI Powermodules with:
ATI Aquablue
Blue Plus
KZ Fiji Purple
Blue Plus
Blue Plus
GE 6500K Daylight
Blue Plus
KZ Fiji Purple
Blue Plus
GE 6500K Daylight
ATI Blue Plus
ATI Aquablue

I'm going to attempt to keep a little mixture of corals in different "sections". Fish will be minimal.
 
I'll just call these teaser pictures since I just took them real fast for TCMAS one night.

lots of stuff:
4355617420_6f447c8945_b.jpg


from the other side:
4354872533_980c08941d_b.jpg


1 of 2 (the other is coming from Germany)
4354874847_4065a1619f_b.jpg


4354874169_0d255349af_b.jpg


gotta have some sand
4354873443_8cbf950678_b.jpg


2 130 gallon tanks
4355621304_c633ea2243_b.jpg


WATER!!
4355622774_f97209c269_b.jpg


corals like salt
4354876317_5cd5c3c2b3_b.jpg


plumbing
4355616578_840e07b14b_b.jpg
 
Tank Specs:
All edges machine polished
5/8" bottom
1/2" glass sides and ends
Starphire 2 long and 1 short
5/8" tempered end with 1 notch and 2 holes
External overflow with 2 holes and a removable black acrylic insert
 
I ordered an Apogee Par Meter so I can help find the right placement of my lights without burning corals and learning where I can place my low light suckers. I know I have a lot of light but I wanted to make sure I had coverage all 40". The lights will probably have to hang 12"-16" above the water.

I also ordered a reactor to put carbon in. I've been running carbon in my smaller tanks for the past few years and I have no complaints against it. I (whatever that's worth, not much) believe it can help combat some of the chemical warfare and pulling out any other toxins. I'm no expert but here is a good read I found awhile back:
http://joejaworski.wordpress.com/200...k-need-carbon/
 
I have a smaller Pan World pump I'm going to use to create flow in and out of the storage tank. I shouldn't need to run it too much. Probably a couple timers on a controller to kick it on a few times per day.

Here is the new stuff:

Reactor to run Carbon in and pump
IMG_4024.JPG


The carbon (phosphate free)
IMG_4026.JPG


My second light fixture finally came in
IMG_4027.JPG


for a different tank but wth mp10
IMG_4025.JPG
 
I was able to build the stand for my new frag setup and coated it with a couple of coats of Kilz. I still need to cut some plywood to hold the sump.

My frag setup is two separate tanks that go to the same sump. I can then control the light and flow on each tank separately. I'll also be running carbon there for any sorts of chemical warfare.

Tomorrow I want to finish the stand and probably get the tanks plumbed up.

I'm picking up my main sump tomorrow from bob@reefmania

The packages I got this week were a Reefkeeper lite that will run my water station, 100 pounds of dry rock (still need more), and a pump for frag setup.

IMG_4040.JPG

IMG_4043.JPG
 
Picked up my main sump from bob@reefmania. 48 x 24 x 18 3/8" material. Great looking sump.

I was able to get the bottom ply for the frag tank cut and put the first coat of Kilz on. Had to also run to HD to get some pink stuff and some other plumbing supplies. Ran out of time to really do anything else as the gf and I are going to see a movie. I'll probably get a little more work done later tonight, we'll see.


IMG_4047.jpg

IMG_4049.jpg

IMG_4050.jpg

IMG_4051.JPG
 
I built the sump stand and coated it with Kilz. I made it longer for the pumps and anything else.

I was able to get the frag setup going and starting a cycle. The skimmer will be going in the next couple of days. I have all the basic plumbing done. It was actually my first pvc plumbing job. How fun that was. I learned fast that the primer and glue are an easy mess if you let it be :)

You'll notice in the pictures with the sump a red steel post. I'll be supporting the joists with two of these. Even though the main beam for the house will run under the tank I felt it would be a good idea for some additional support. I'll have 4"x4" cut 40" to span across the joists.

I started the build of the main tank stand. The top is 2"x8" with two 2"x4" braces every 24". I'll have to build the top, bottom and supports and assemble it in the room it's going in because of the width and size otherwise I won't get it up from the basement.

Since this portion of my basement is not finished I also started putting up some vapor barrier to protect the wood, drywall and some plumbing.

Main Tank Stand
IMG_4058.JPG


Sump and its new stand
IMG_4062.jpg


Another angle
IMG_4063.jpg


Support beam
IMG_4075.jpg


Frag Setup
IMG_4064.jpg


IMG_4066.jpg


Vapor Barrier
IMG_4070.jpg


This is the tank that is going to turn into my refuge. I need to drill it. It once housed a purple moon crab named pinchy. He died after about 6 years of owning him.
IMG_4071.jpg
 
Posted this on my way to SXSW on TCMAS.

I'm actually using the in-flight wifi to type this.

There won't be any progress for the next week as I don't come back until Wednesday.

Progress made was getting the top and bottom for the main tank made and I cut all the legs. I need to assemble all the legs and then do some painting. I ran out of screws so I couldn't finish it.

I was also able to get the Metal Halides over my frag setup roughly hung. I need to figure out how to get them nice and straight with the big honking cord. I threw some of the dry rock in a tub with some powerheads and some live rock to pre-cure/cycle the rock a little.

I made another order from BRS and got a DA Reefkeeper Lite L3 that will run the frag setup, some float switches, 150 live rock (bringing my total to 250 pounds), black egg crate, gate valves and probably something else I'm forgetting off the top of my head.

My PAR meter finally arrived. Apogee had received some bad components so shipping was delayed. What a cool little gadget

Well I think that's it minus the coral stocking I've been doing. I have about 25 frags that are also arriving when I get back. Hopefully the frag setup cycles soon so I can slowly put some corals in and take back my other tank from frag hotel.

My tank will also be arriving I'm hoping next Friday. I'm hoping to wrangle up some friends to weasel the sucker in the house. That ought to be fun. I think I'll post a request for help on here as well and offer some free beverages and free dinner on me somewhere yummy.
 
Ok the tank is moved and in the house. It ended up being way easier than all the worrying about it. I ended up getting two sets of shoulder moving straps. Four of us did the bulk of the lifting while two others helped keep her straight and guided us. To get it up to the house I screwed the side of the crate to my carts I made and we wheeled it up pretty easy. Once inside we set it back down on the cart and then flipped it back on it's bottom. One lift up and some aligning and all done.

If you want to see the entire album, you can go to the link below. Sorry that some of the pictures are not the greatest as the GF was taking the pics with my DSLR and I did not turn on the flash for her.

Picasa Web Albums - 10726650846271751... - 2010-03-20


The stand in its place
IMG_4108.JPG


Figuring out how to get it on the little cart we made for it
IMG_4109.JPG


Strapping up with the shoulder straps
IMG_4112.JPG


LIFT
IMG_4115.JPG


Through the door
IMG_4119.JPG


Towards the aquarium room
IMG_4121.JPG


Hey let's get the cart and set it down and then flip it
IMG_4125.JPG


On three load this sucker on the stand
IMG_4128.JPG


Thanks Ben for climbing underneath and pushing up slightly while we align it
IMG_4135.JPG
 
Wow I like the dimensions on this... gives a lot of room for open sandbeds which are my favorite. If you would.. pm me what miracle quoted you on this. Interested in the same style roughly.
 
I was able to get the base plumbing done. I still need to secure it up a bit more. In the future the only thing I'd do a bit different is add a few more unions and better check valves. I originally was not even going to use the CV's and I tried to design the sump large enough for overflow.

Made water for a little over a day because the water tanks stand is not made yet so it's not plumbed. Cleaned the 5 bags of sand a little bit and poured it in. The salt went in and then the skimmer.

I hung the lights from the ceiling. Not too bad except one is slightly crooked. Probably not enough to bug most people but it bugs me a little. I wanted to put some 2"x4" in the attic and screw them up but it was going to be impossible where they were going. I got stabbed in the back a few times by nails scoping the situation out in the attic. I had to use some toggle bolts instead. Not my ideal way but I'm not sure what else to do.

The rock went in next. I had some in a tub for a few weeks so it had already started an algae bloom. I had to go get a clean-up crew today.

Pictures you say...ok

Tank Shot
IMG_4152.JPG


IMG_4153.JPG


Overflow and return plumbing
IMG_4154.JPG


IMG_4155.JPG


RO/DI
IMG_4158.JPG


Pumps from the sump
IMG_4159.JPG


Skimmer
IMG_4160.JPG


Drain
IMG_4161.JPG


IMG_4162.JPG


Joist Support
IMG_4163.JPG
 
Back
Top