bhuddafunk
New member
This thread is a mirror of the thread on the TampaBay Reef Club Forums:
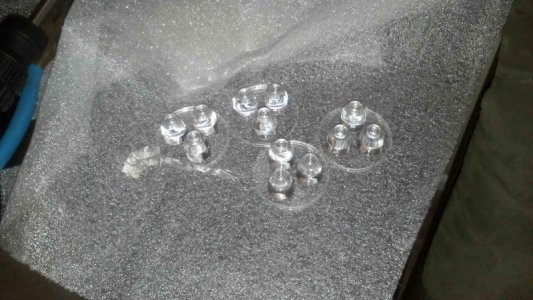
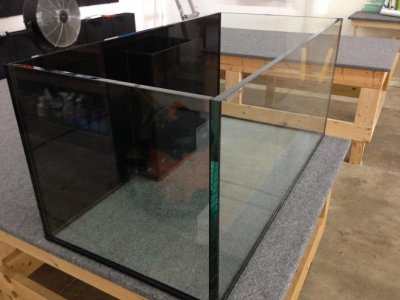
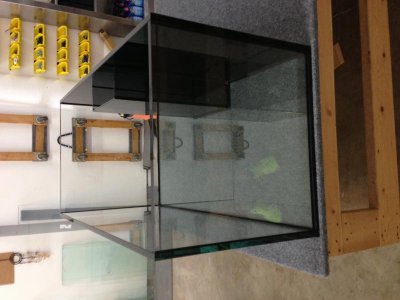
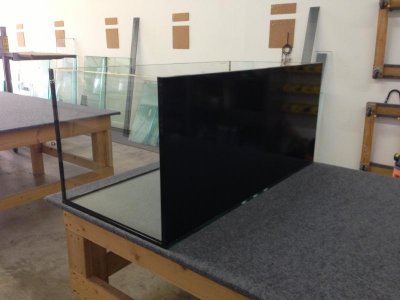
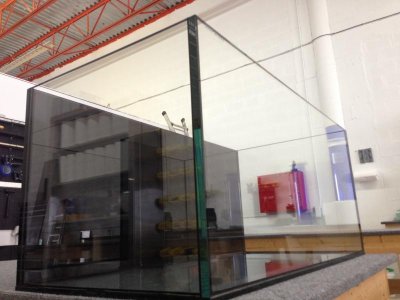
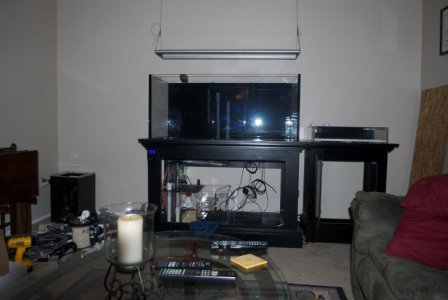
Well, I've been talking about tank upgrade so I think it's time to start sharing. I knew that I wanted Rimless and I knew that I wanted wider and shorter. It's really hard to look for rimless tanks and not run into the name ReefSavvy. I put out a few posts and everyone I talked to with not exceptions said the same thing, "œThey are not cheap but they are great tanks and Felix at ReefSavvy is a perfectionist when it comes to tank building". I was pretty much sold after getting off the phone and discussing with Felix what I wanted. Ordered a tank the following week, 110g Rimless with ¾ inch low-iron glass on three sides, ½ inch on bottom, dimensions are 48x24x22. I chose to get the ReefSavvy Hybrid Overflow centered in the back, which will be drilled to support three 1-inch bulkheads. You will have to wait but it's nothing too insane about 3 months or so currently. I'm due to pick up my tank in September. Okay so I have the tank and now I need a stand. I was told that they would send some pictures of the tank construction so I will post when I receive.
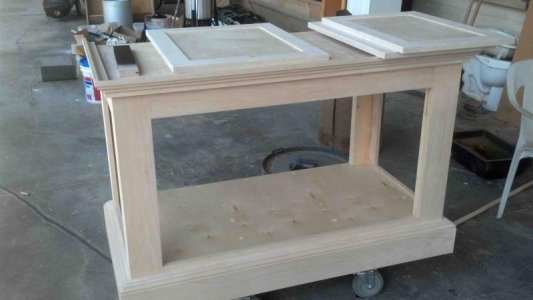
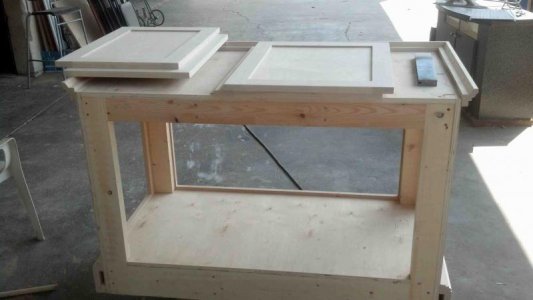
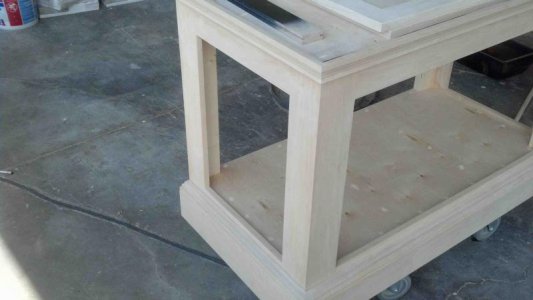
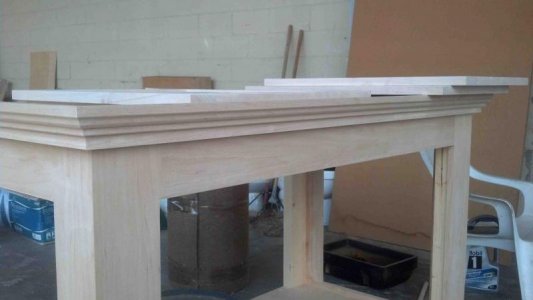
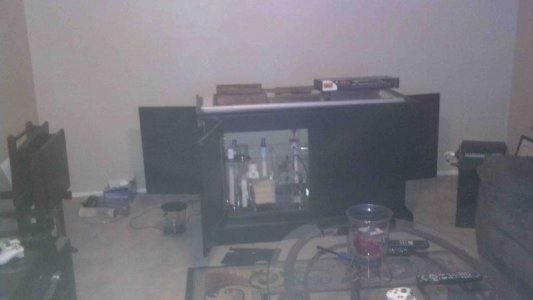
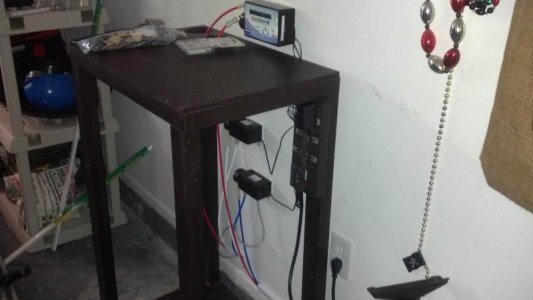
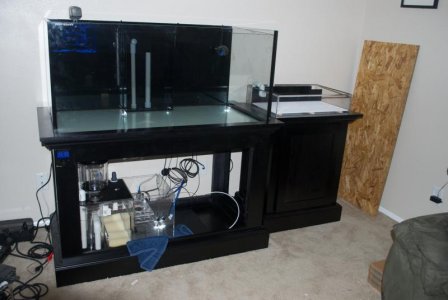
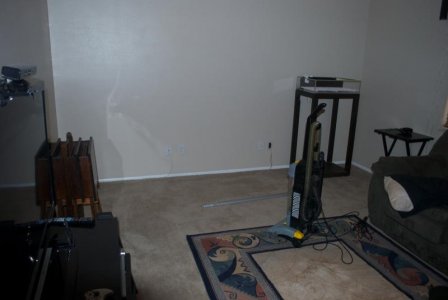
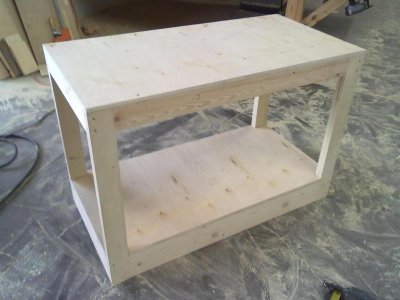
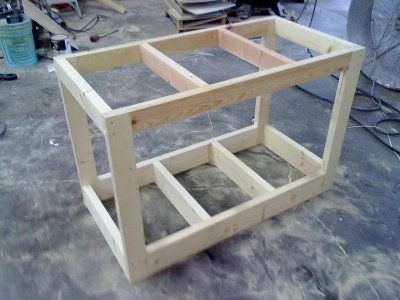
I'm having the stand built through a local resource on Reef Central, a cabinetmaker. I thought it would be easier to work with someone locally that I would be able to easily collaborate with. The Stand will be finished Maple with two smaller cabinets on either side. One side will hold the laptop I use to maintain my Digital Aquatics controllers and on the other I putting a frag tank. This way my display and frag tank will share the same water making in easier when I frag from the display. I will again post pictures as I get them. I expect to have the stand in the living room by the end of August.
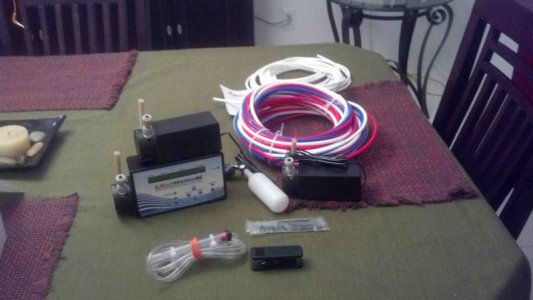
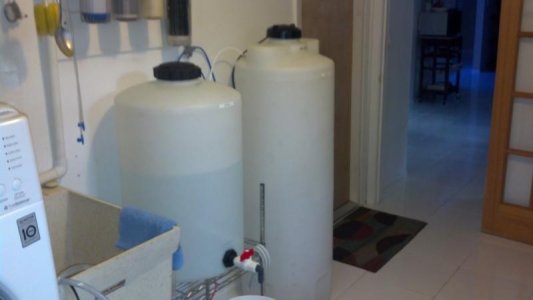
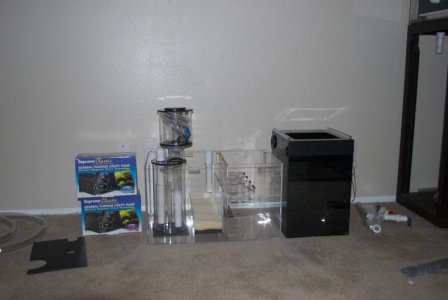
Tank, Check. Stand, Check. Now I need sumps, pumps and other stuff. Every time I start a new tank two of the main themes for me is consolidation and automation. Hence I felt like I wanted a all in one. I went with Jeff over a LifeReef.com. The dude has been building stuff for 28 years and people are still apparently buying. That's pretty much a testament to me that it works. In chating with him I decided to go ahead and get a CLF1 with liferefugium built on. I'm not planning on adding the additional media cartridges as I'm just going to continue to run my Phosban in the TLF reactor or move to my BRS heavy duty media reactor that I have. I should be receiving all the lifereef gear at the end of August around the same time the stand is built. As far as lighting and flow is concerned I will be moving my 3x AI SOL Blue LEDs to the new tank as well as the two Tunze 6055's that are currently being used on my 65. I will be adding a third Tunze 6055 into the new tank for a total of three. The DA Controller will control all lighting and flow on the new system allowing me to torture my fish with storm mode (Just Kidding).
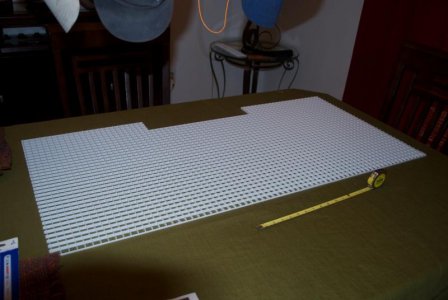
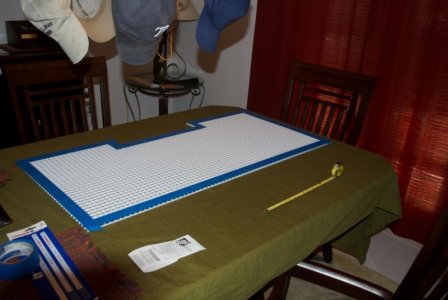
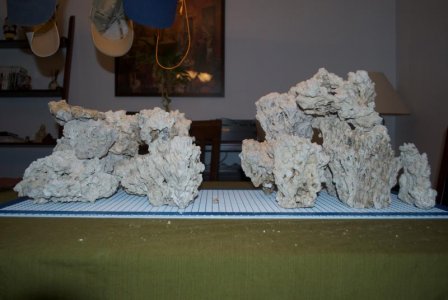
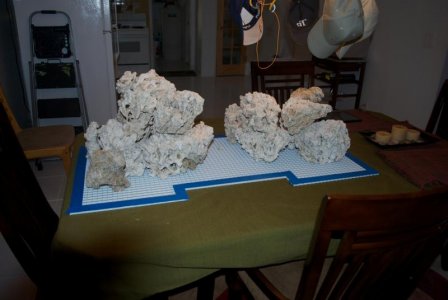
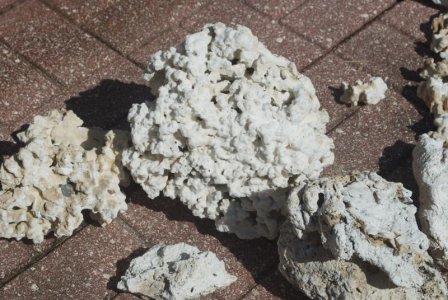
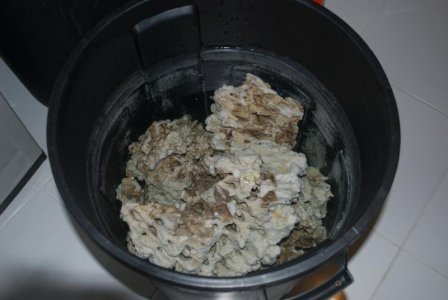
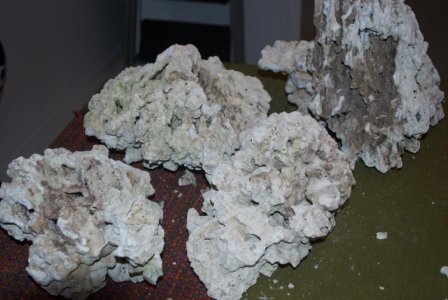
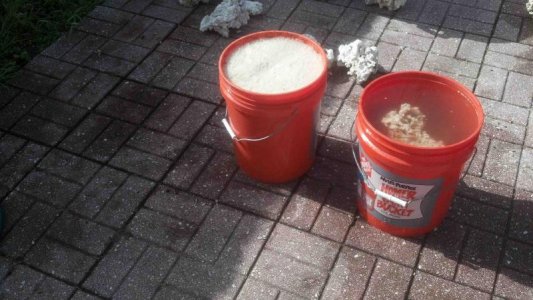
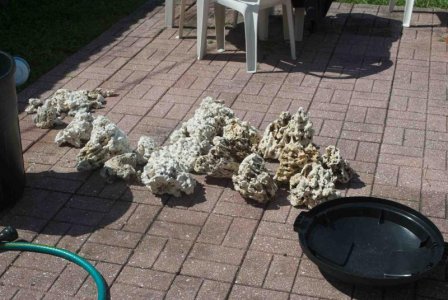
I just purchased about 70lbs of Pukani Dry rock from BRS and have started giving it all a bleach bath then acid wash before using. Attached are some pictures of the rock when I received it, in the bleaching tub and drying out in the back yard. I will certainly post more pictures as thing progress and please don't hesitate to make comments or suggestions that may improve my current design.
Well, I've been talking about tank upgrade so I think it's time to start sharing. I knew that I wanted Rimless and I knew that I wanted wider and shorter. It's really hard to look for rimless tanks and not run into the name ReefSavvy. I put out a few posts and everyone I talked to with not exceptions said the same thing, "œThey are not cheap but they are great tanks and Felix at ReefSavvy is a perfectionist when it comes to tank building". I was pretty much sold after getting off the phone and discussing with Felix what I wanted. Ordered a tank the following week, 110g Rimless with ¾ inch low-iron glass on three sides, ½ inch on bottom, dimensions are 48x24x22. I chose to get the ReefSavvy Hybrid Overflow centered in the back, which will be drilled to support three 1-inch bulkheads. You will have to wait but it's nothing too insane about 3 months or so currently. I'm due to pick up my tank in September. Okay so I have the tank and now I need a stand. I was told that they would send some pictures of the tank construction so I will post when I receive.
I'm having the stand built through a local resource on Reef Central, a cabinetmaker. I thought it would be easier to work with someone locally that I would be able to easily collaborate with. The Stand will be finished Maple with two smaller cabinets on either side. One side will hold the laptop I use to maintain my Digital Aquatics controllers and on the other I putting a frag tank. This way my display and frag tank will share the same water making in easier when I frag from the display. I will again post pictures as I get them. I expect to have the stand in the living room by the end of August.
Tank, Check. Stand, Check. Now I need sumps, pumps and other stuff. Every time I start a new tank two of the main themes for me is consolidation and automation. Hence I felt like I wanted a all in one. I went with Jeff over a LifeReef.com. The dude has been building stuff for 28 years and people are still apparently buying. That's pretty much a testament to me that it works. In chating with him I decided to go ahead and get a CLF1 with liferefugium built on. I'm not planning on adding the additional media cartridges as I'm just going to continue to run my Phosban in the TLF reactor or move to my BRS heavy duty media reactor that I have. I should be receiving all the lifereef gear at the end of August around the same time the stand is built. As far as lighting and flow is concerned I will be moving my 3x AI SOL Blue LEDs to the new tank as well as the two Tunze 6055's that are currently being used on my 65. I will be adding a third Tunze 6055 into the new tank for a total of three. The DA Controller will control all lighting and flow on the new system allowing me to torture my fish with storm mode (Just Kidding).
I just purchased about 70lbs of Pukani Dry rock from BRS and have started giving it all a bleach bath then acid wash before using. Attached are some pictures of the rock when I received it, in the bleaching tub and drying out in the back yard. I will certainly post more pictures as thing progress and please don't hesitate to make comments or suggestions that may improve my current design.


") )
)