Blayz 50g Cad Artisan =)

Blayz77

New member
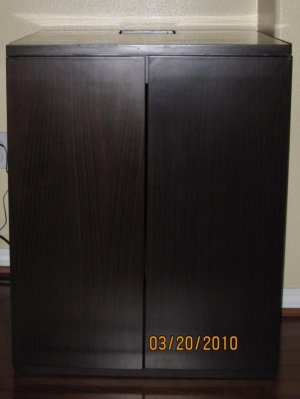
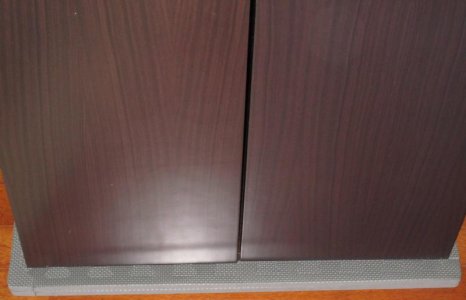
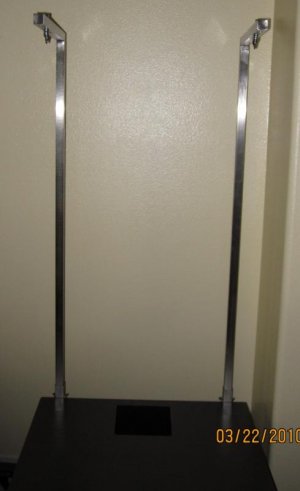
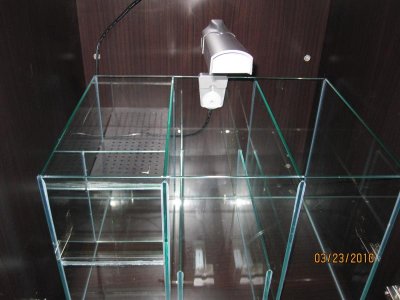
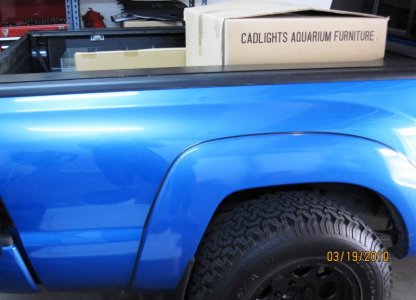
Well after some debating on what kinda tank i wanted to upgrade too, ive decided on the cadlights 50g artisan. I picked it up earlier today so now ive got some building to do =).

Im not in a real rush to set this one up. i want to take my time with this one. Not entirely sure on what i want to keep in it as far as live stock. I might go with a pair of grade a picassos, other then that not sure. As far as corals i dont really have to many to begin with but it will be a mix reef style.

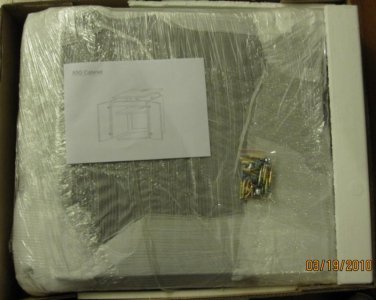
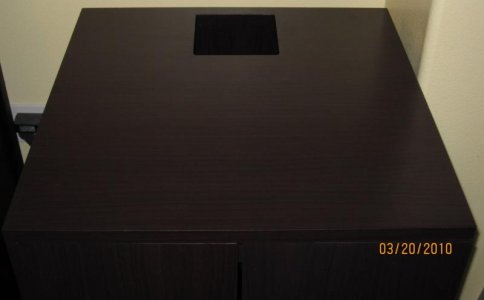
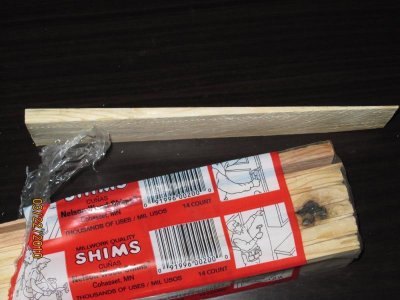
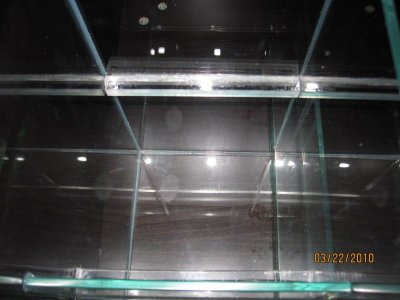
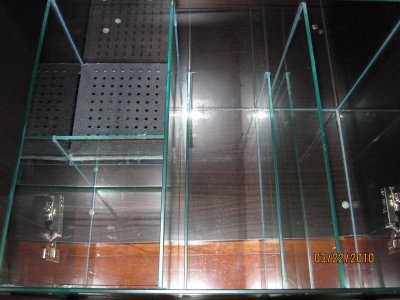
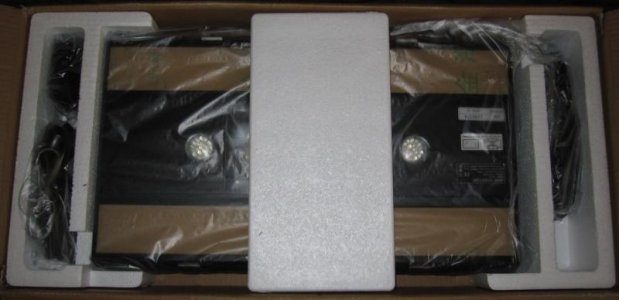
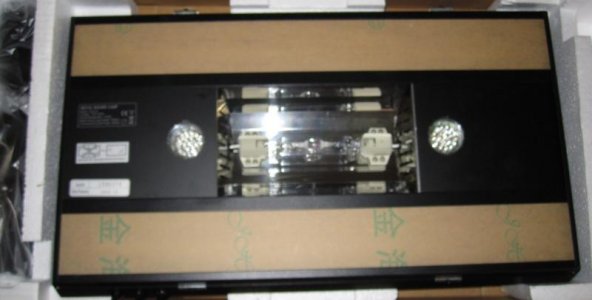
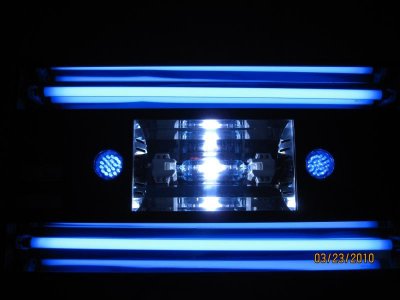
Never made a build thread before, never been one to take a lot of pictures on the projects i do, so this will be my first attempt =). so here goes the first couple pictures =)

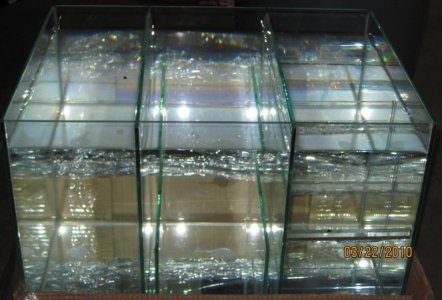
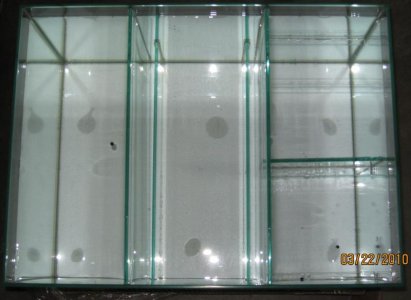
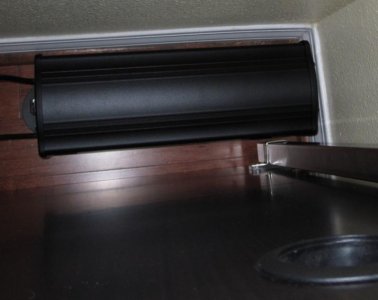
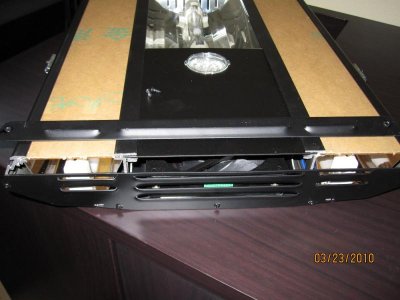
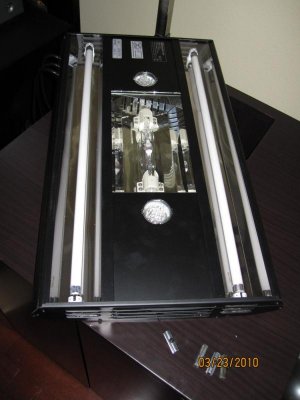
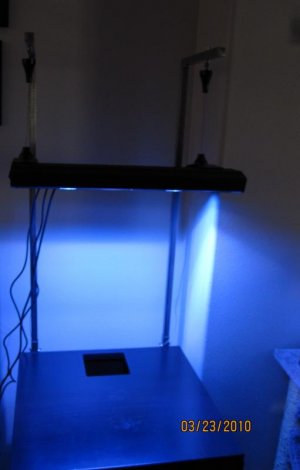
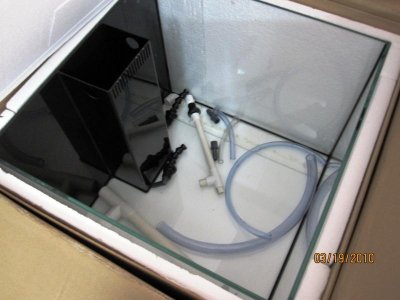
the first hiccup i had was right after taking these photos i received a phone call saying i had left the skimmer i bought and the ballast for the light at the store. Ugh lol had to go all the way back to pick them up.
 

Attachments

  • IMG_0234.jpg
    IMG_0234.jpg
    50.8 KB · Views: 14
  • IMG_0235.jpg
    IMG_0235.jpg
    48.8 KB · Views: 11
hehe =) thx ill have some pictures of the stand coming up either before i go to bed or when i wake up. its all put together now, just got to put doors on.
 
I remember talkin to some guy about them at aoa maybe it was you buying all the plumbing the day I was there
 
i talked to a couple people about it but i didnt buy any plumbing.

looks like i need to contact clay about the stand either im doing something way off with the hinges or something is wrong with the doors heh got some serious over lapping going on. as far as i can tell there is only one way to put the hinges in so ill have to send some pics off to clay and see.
 
you can adjust the hinges a little also... seems minor but when done on both doors it seems to do a lot.
 
ok so stand is finished now that i got the correct hinges. i went by aoa today to have a look at the tank they had setup and the hinges they used were different then the ones i had. which is why the doors wouldnt fit right. they didnt have any of the ones i needed so i just gave them back the ones i had since i couldnt use them.

other then the hinge ordeal, the other hicup was that one of the side panels was missing the holes for the front crossbar that goes along the top. so i took measurements and got my drill out, zipped a couple holes real quick and whala.

here are some pics.

1. the hinges i was given, notice how its got like almos a 45 degree angle to it.
this made the doors come further towards the center on both sides so the doors overlapped like 1.5-2 inches.

2. is a pic of the hinge i needed, since aoa didnt have any left of the ones i needed i went down the street to home depot to check it out and found them. since i wanted to finish the stand i went ahead and bought em. youll notice how these do not have the angle the other does this one is more straight. which allows the doors to sit flush with the outside edge of the side panels like they are suppose to.

3. is stand box opened
4. the holes i drilled for the crossbar
5. stand with top crossbar
 

Attachments

  • IMG_0246.JPG
    IMG_0246.JPG
    23.5 KB · Views: 11
  • IMG_0256.JPG
    IMG_0256.JPG
    50.4 KB · Views: 11
  • IMG_0236.jpg
    IMG_0236.jpg
    56.9 KB · Views: 15
  • IMG_0238.jpg
    IMG_0238.jpg
    42.3 KB · Views: 12
  • IMG_0240.jpg
    IMG_0240.jpg
    48.7 KB · Views: 10
more pics

1. front shot
2. top shot
3. pic of the shelf thats suppose to go inside. i havent put it in yet i might not use it. ill wait to see what kinda room the sump and skimmer take up before i decide. but mayby someone can explain to me why the hole is in the center and not towards the back like the top of the stand?
 

Attachments

  • IMG_0255.jpg
    IMG_0255.jpg
    34.2 KB · Views: 15
  • IMG_0257.jpg
    IMG_0257.jpg
    19.5 KB · Views: 15
  • IMG_0261.jpg
    IMG_0261.jpg
    35.6 KB · Views: 11
im pretty sure i got the stand where i am going to put the tank. if i do decide to leave it there i will have to put something under it since i guess the floor is a little uneven under the bottom left corner so it has a slight wobble to it. any suggestions on what i can use? i was thinking of mayby laying a big square of some kinda neoprean type material, like what wetsuits are made out of.

the idea being that if people use foam and stuff to stabalize uneven tanks and to distribute pressure it should work for the stand to yeah?

also i was going to be ordering some rocks soon. was thinking of going with something like macro rock, or the brs stuff. anything particular you guys like to use when it comes to using dead rocks.

for sand i was thinking about carib sea either sugar size sand, fiji pink or bimini pink. what kinda of sand do you guys like. any other brands out there with some nifty stuff i dont know about?
 
ok small update. the floor was a little uneven where i wanted to put the stand so i went over to lowes and picked up some adjustable legs, shims, and found some rubber interlocking mats.

this way i had a few options on how i wanted to do this. i decided on using the shims/rubber mats. the adjustable legs i got i was unsure about since u had to drill holes for the plastic nut to fit into under the stand for the metal legs to screw into. i am ok with drilling holes and everything its just the plastic nuts i was unsure about. it would have sucked to take the time to do all that work only to have those plastic nuts fail under the weight and tank start leaning to one side or worse.

so i put the stand in place and stuck some shims under it marked the shims and cut to size, then laid out the rubber mats, the package came with 4 i used 2 and put the edging around em. then slid the shims under the mats where they needed to be.

the stand is now level and doesnt wobble. i also put the light stand poles on while i was at it. and while i was doing all this my sump was in the garage full of water for leak testing. so far no puddles and the cardboard its sitting on appears to be dry still.

here are some pics
 

Attachments

  • IMG_0274.jpg
    IMG_0274.jpg
    74.4 KB · Views: 11
  • IMG_0275.jpg
    IMG_0275.jpg
    31.9 KB · Views: 15
  • IMG_0276.jpg
    IMG_0276.jpg
    59.5 KB · Views: 19
  • IMG_0280.jpg
    IMG_0280.jpg
    61.5 KB · Views: 14
  • IMG_0281.jpg
    IMG_0281.jpg
    47.2 KB · Views: 17
ok so i decided to get rid of the rubber mats. not sure how it will compress when the tank is full so decided to just use the shims. here are some pics of the sump going in the stand.

you may or may bot notice that im putting it in backwards, this is because i flip flopped the overflow and skimmer area. this is because i chose to go with a different skimmer. since the overflow area was bigger it will be my new skimmer area.

since i decided to change areas for the overflow area, some acrylic tabs to hold the black plastic piece with holes, and then cut the black piece to fit the smaller section. (aoa added the tabs and cut the plastic piece for me before i left with the sump) after is cured for a couple days i used a razor to clean up the excess silicone.

also a pic of the ballast
 

Attachments

  • IMG_0288.jpg
    IMG_0288.jpg
    47.6 KB · Views: 11
  • IMG_0285.jpg
    IMG_0285.jpg
    61.3 KB · Views: 9
  • IMG_0289.jpg
    IMG_0289.jpg
    38.9 KB · Views: 11
welp put the lights on here is a few pics. im going to have to go pick up some wire clip things to clean up the wires but also to hold the wires on the light fixture up a little becasue it weighs down the fixture a little bit and makes it tilt down in the back.

took a little piece of the side panel off to get the paper off the acrylic and also sild the silver metal clips out while i was at it.
 

Attachments

  • IMG_0291.jpg
    IMG_0291.jpg
    34.2 KB · Views: 12
  • IMG_0292.jpg
    IMG_0292.jpg
    31 KB · Views: 12
  • IMG_0293.jpg
    IMG_0293.jpg
    50.6 KB · Views: 15
  • IMG_0295.jpg
    IMG_0295.jpg
    48.4 KB · Views: 12
  • IMG_0296.jpg
    IMG_0296.jpg
    42.1 KB · Views: 10
more pics

gonna switch out the bulb with a pheonix 14k. also pic of the fuge light
 

Attachments

  • IMG_0297.jpg
    IMG_0297.jpg
    36.9 KB · Views: 11
  • IMG_0298.jpg
    IMG_0298.jpg
    32.7 KB · Views: 11
  • IMG_0303.jpg
    IMG_0303.jpg
    24.2 KB · Views: 13
  • IMG_0304.jpg
    IMG_0304.jpg
    51.6 KB · Views: 15
Is that the new 16G glass sump that come with the Artisan now? Did you buy the refugium kit or just sump only? Does all the plumbings come with the tank or the plumbing come with the refugium kit?
 
yes its a 16 gallon glass sump, and the plumbing was in with the tank, it came with the bulk heads, the durso drain and return piping for the overflow area, and some clear tubing to run from the bulk heads to the sump. pretty much everythign you need to get started so to speak.

with mine there are a few things im changing which i will take pics of. basically going to have hard plumbing on the bottom going to the sump pvc style, and in the overflow area on the return piping they have the soft tubing attached to some pvc, i am going to have barbed fittings for a more secure fit.

but i bought the full package that came with the sump kit which was sump, cooling fan, fuge light, return pump skimmer, etc.

Is that the new 16G glass sump that come with the Artisan now? Did you buy the refugium kit or just sump only? Does all the plumbings come with the tank or the plumbing come with the refugium kit?
 
Back
Top