Brewman's 40 breeder diy build

brewman1987

New member
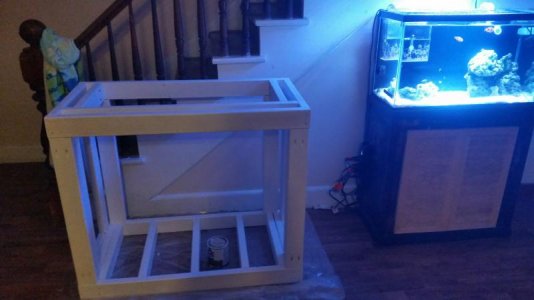
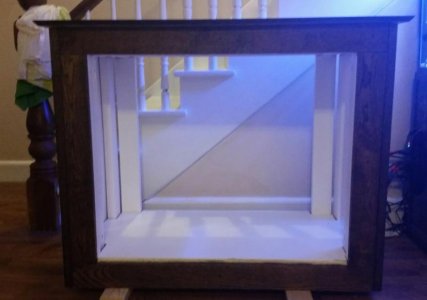
Hi everyone so I currently own a 29 gallon DT with a 10 gallon sump for about 3 years. It was my first reef tank and I have learned a lot along the way. After building the stand and sump to setup. I realized how little space I have in my current stand and tanks and feel kinda capped as far as what I can do with the current system.

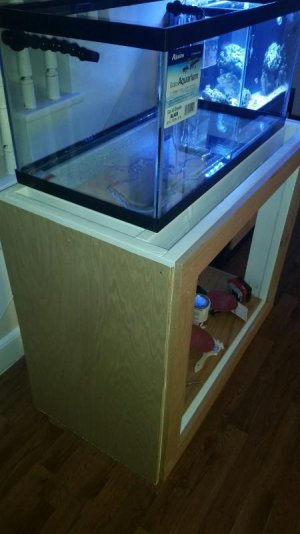
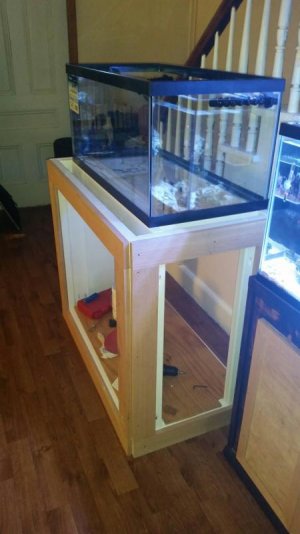
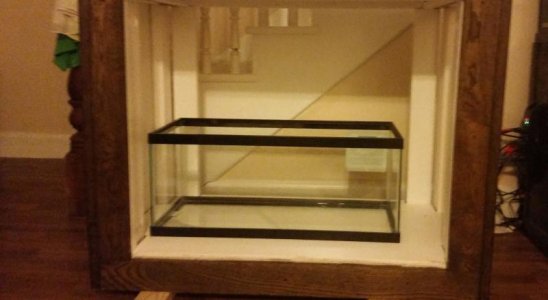
So I took advantage of the Petco $ a gallon sale and convinced my wife to let me go a little bigger in the current house we live in. I picked up a aqueon 40 breeder and a 20 long for a sump.

A few things I wanted to do with this build that I learned from my 29.
  • have plenty of room in stand
  • drill the tank
  • incorporate a ato system
  • have a refugium

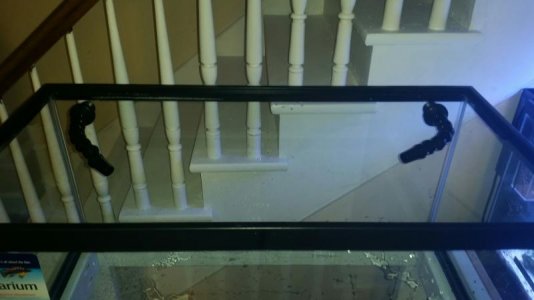
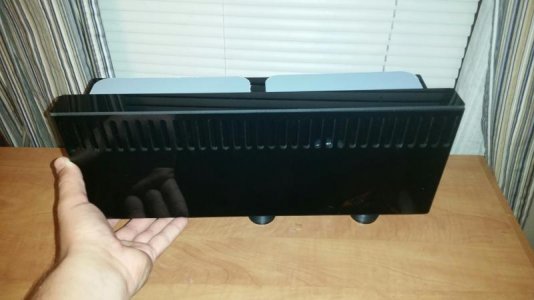
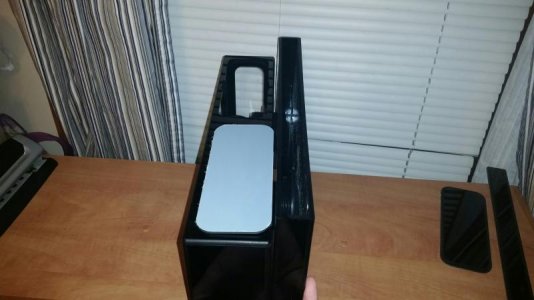
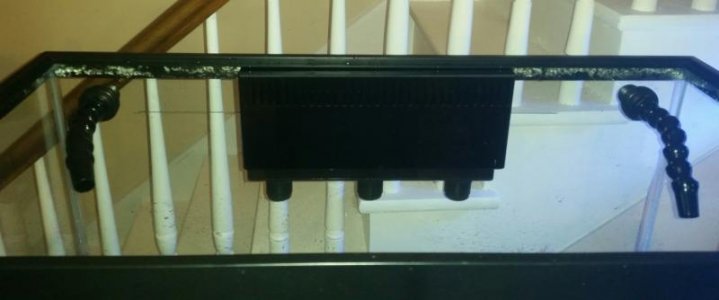
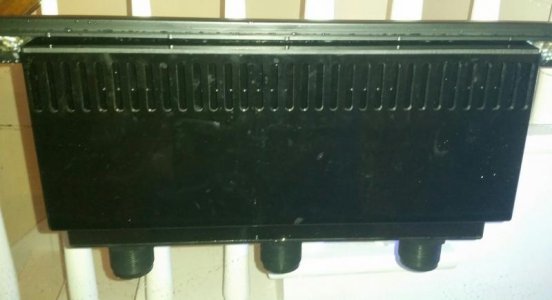
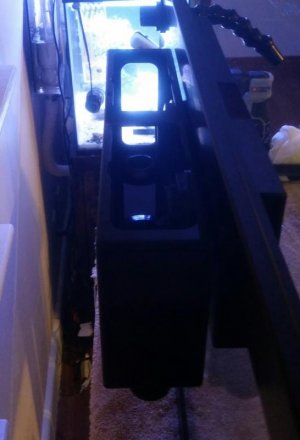
I ordered a elite overflow for the tank, overkill yes but will plan to use down the road.

So stay tuned for updates along the way......

Brewman
 
Here is he frame for my stand, I built it bigger than the tank to allow for extra room on the surface and underneath. It currently has 2 coats of kilz on it and will get some paint when I get home from work. It will be skinned with hardwood plywood and have 3 cabinet doors. 2 front doors and 1 on the right side to access electrical switches.

You can also see the current tank and stand , with the awful mess of wires on the outside. It has bothered me since day 1.

Dimension of the stand fr the 40 are, 42"Lx22"Wx36"H
 

Attachments

  • image.jpg
    image.jpg
    36.8 KB · Views: 10
Looks good so far. It's always nice to gain experience with one tank and know what you want for the next. Wires suck, but I bet you do a good job hiding them this time if they bug you so much.
 
Order some items from glass holes, 2 loc line return kits and the hole saws to go with kit. Hopefully have the items in the end of the week
 
I did some more work on the stand today. I painted the frame white and skinned the outside with some oak. I need to cut a top, fill the screw holes, make doors and then finish sand and stain it. However I did get my glass holes return kit and drilled the back of the tank.

It was my first time drilling, other than being nervous and a few small jagged edges on the holes it was fairly easy. I ended up just laying a garden hose on top and letting it run.
 

Attachments

  • image.jpg
    image.jpg
    41.5 KB · Views: 11
Got the stand all built and stained minus the cabinet doors. Let the wife pick out the stain and it's called "Jacobean". I will put a coat of poly on it to protect the finish from the occasional water spill. I received my smart ato unit today and should have the ghost overflow
 

Attachments

  • image.jpg
    image.jpg
    33.4 KB · Views: 9
Received my elite aquatics overflow today. Build quality looks excellent and overall fit and finish is top notch. Received lids for the box so it will all be closed in when operational. Will be drilling the holes this coming weekend and mounting it. Stay tuned!!!
 
Thought I would post some early morning shots of the overflow system. I really do like this style overflow and am glad I went with it, going from a over the rim style to this will be great. Another huge positive is that I will no longer have any snails go into the overflow siphon tube and block flow.
 

Attachments

  • image.jpg
    image.jpg
    37.9 KB · Views: 11
Lastly a view of the 20 long sitting in the cabinet. Plan is to measure the space to the right and see if I can get a pre made ato reservoir or if I need to have a custom built one.
 

Attachments

  • image.jpg
    image.jpg
    35.7 KB · Views: 10
Looking good!

My 40 breeder with 40B sump

e4d159c316734c8a2cd785a97879c58d.jpg


Got some live rock in the sump today! Will be putting live sand in the DT tomorrow.

47d498456a1d1b40273b7c3b945b9ddc.jpg
 
Looks good, I'm hoping to get my sump all baffled this weekend and start on plumbing the display. I took a vacation week from work next week and hope to get it mostly finished. Just waiting around on some orders to be delivered
 
So I just set up my smart ato on my 29gallon reef to test out. Took about 5 minutes to install and works great, quiet and very small. I will leave this on my 29 until I get the 40 all built
 
Well after a unexpected big flake/chip from drilling the overflow hole I bought another 40 breeder today and drilled the holes. This time the only difference was I started the holes on the inside and then switch to the back. It made a very clean hole with minimal chatter marks. Got the elite aquatics overflow attached and man it looks great. A very sleek low profile look, next is to pain the back of the tank after the rain stops.
 

Attachments

  • image.jpg
    image.jpg
    25.7 KB · Views: 11
Back
Top