Devilphish
New member
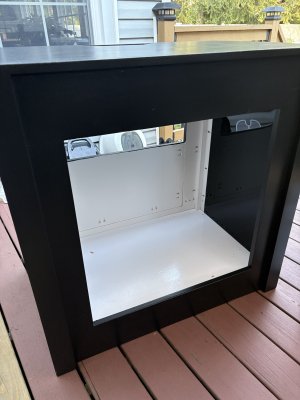
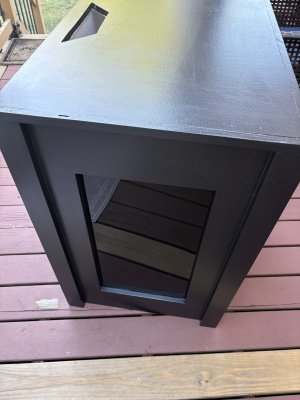
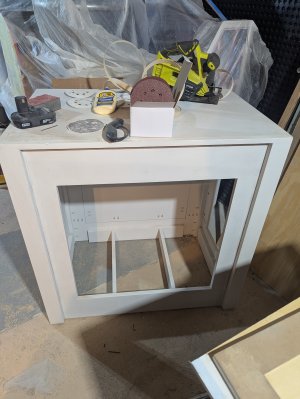
So, I've finished a new stand for my tank.
Welp, I guess I got a little sanding or saw happy. Looks like I made the stand top depth short by almost 1/4". Not sure how it happened, been measuring the whole time, but here we are. Not sure how I'm going to handle this, but time to come up with some ideas. I really don't want to just slap another sheet of 1/2" on top, but trying to take off the current top will just lead to more problems.
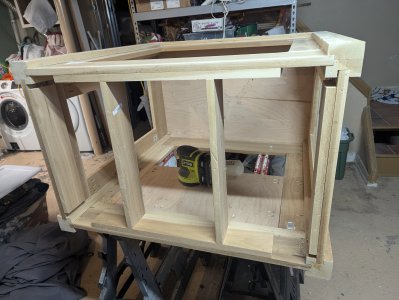
So the question I have that hopefully one of you can answer is if I tack on a strip on the back of the stand to cover the overhang, how tall, top of stand down back does it need to be and is there any certain screws/nails/fasteners I should use. Again, it is "only" 1/4" of overhang but the front and back glass panels do not sit on top of the bottom of the tank.


Welp, I guess I got a little sanding or saw happy. Looks like I made the stand top depth short by almost 1/4". Not sure how it happened, been measuring the whole time, but here we are. Not sure how I'm going to handle this, but time to come up with some ideas. I really don't want to just slap another sheet of 1/2" on top, but trying to take off the current top will just lead to more problems.
So the question I have that hopefully one of you can answer is if I tack on a strip on the back of the stand to cover the overhang, how tall, top of stand down back does it need to be and is there any certain screws/nails/fasteners I should use. Again, it is "only" 1/4" of overhang but the front and back glass panels do not sit on top of the bottom of the tank.