Stylo328
New member
Good morning all. Thanks in advance for reading this incredibly long first post! I'd like to use this thread to document our upgrade from a 187-gallon SPS dominated reef to a 405-gallon Reef Savvy tank. My current tank has a build thread on this site in the Large Tank section, but I have not been faithful with updates over the past few years.
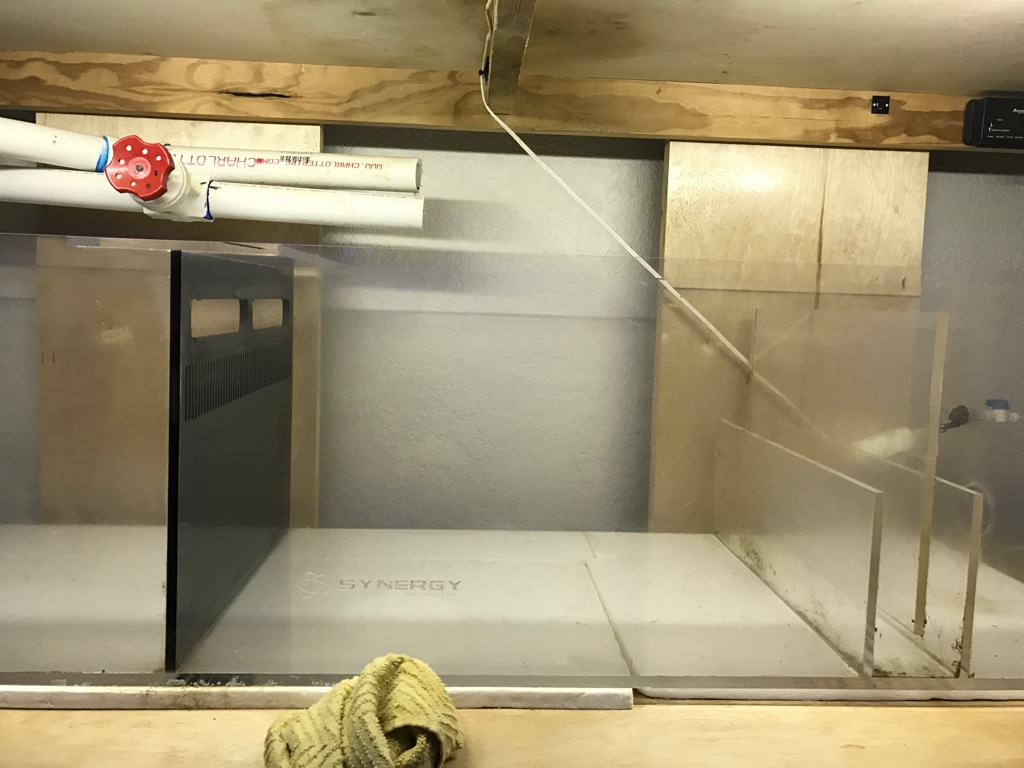
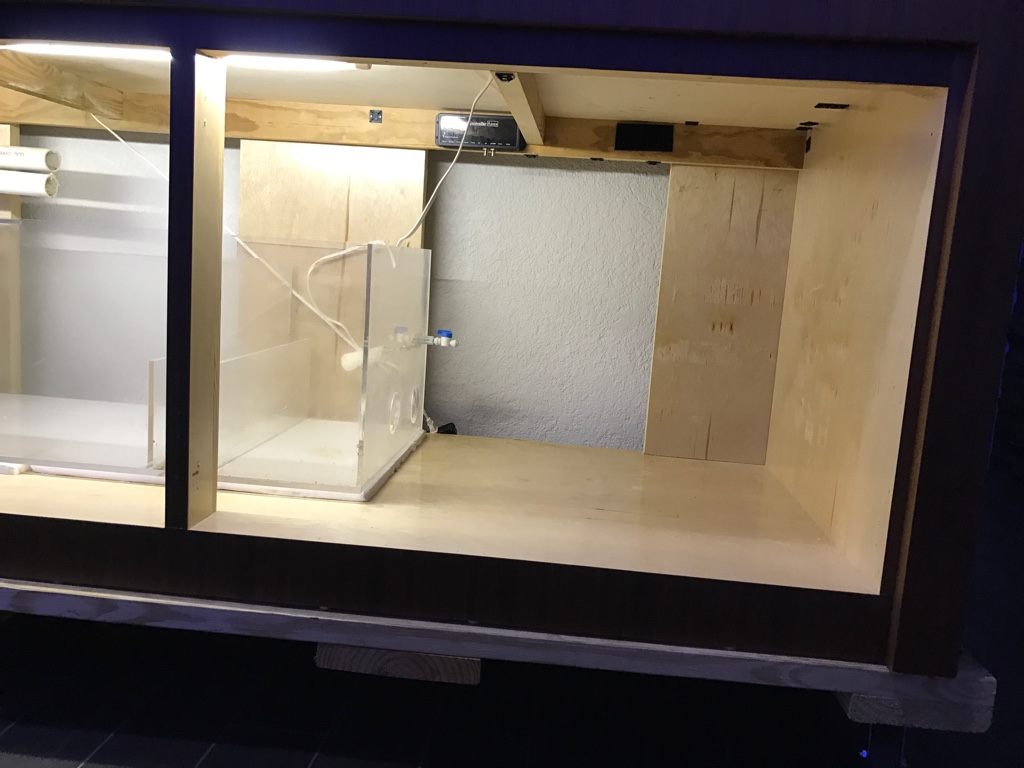
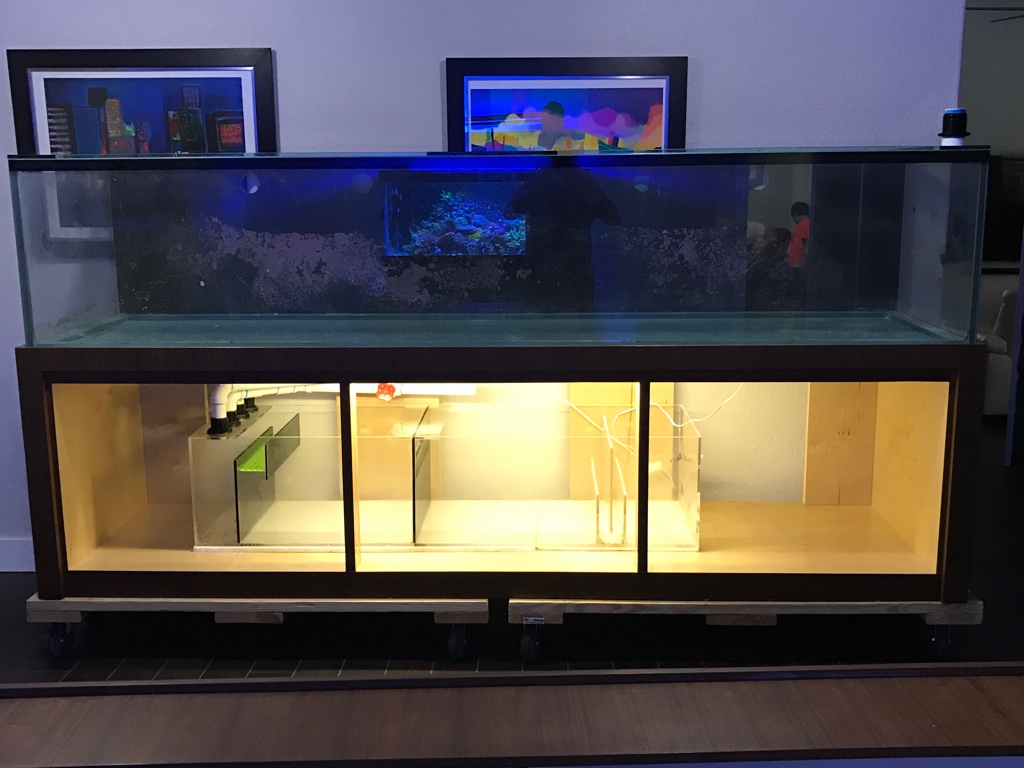
The current tank is 60"x30"x24" in 3/4" starfire glass and was a custom build, believed to be built by Oceanic. I purchased the tank used several years ago. I built the stand for the tank fairly tall at 41.25". The setup is bare bottom and consists of a Vectra L1 return pump, two MP60s, an ATB Small skimmer, ATI 8-bulb 48" fixture with a Reefbrite XHO blue strip, Avast marine K2 Kalk stirrer and a Bubble Magus doser. This tank has had its ups and downs, but has been relatively stable recently, with good color and growth.
To support the tank an R/O unit is installed in the garage and plumbed to the tank's location through the attic and walls. We also have a 300-gallon tank in the garage plumbed to a Blueline pump, which also runs through the attic and walls to the tank's location, used for bi-weekly water changes. There is also a drain that runs under the foundation of the house, out to the yard, that facilitates the draining of the tank.
Last year we did some renovation of our home with the plan to upgrade to a large peninsula tank. Several design choices were made to that end. Recently though an opportunity arose to purchase a local reef that included a Reef Savvy tank with the dimensions we wanted. The only downside is the traditional orientation versus our planned peninsula. After taping out both options, the wife and I agreed that this setup might work out even better. We quickly moved to purchase and the tank is now sitting empty in our living room.
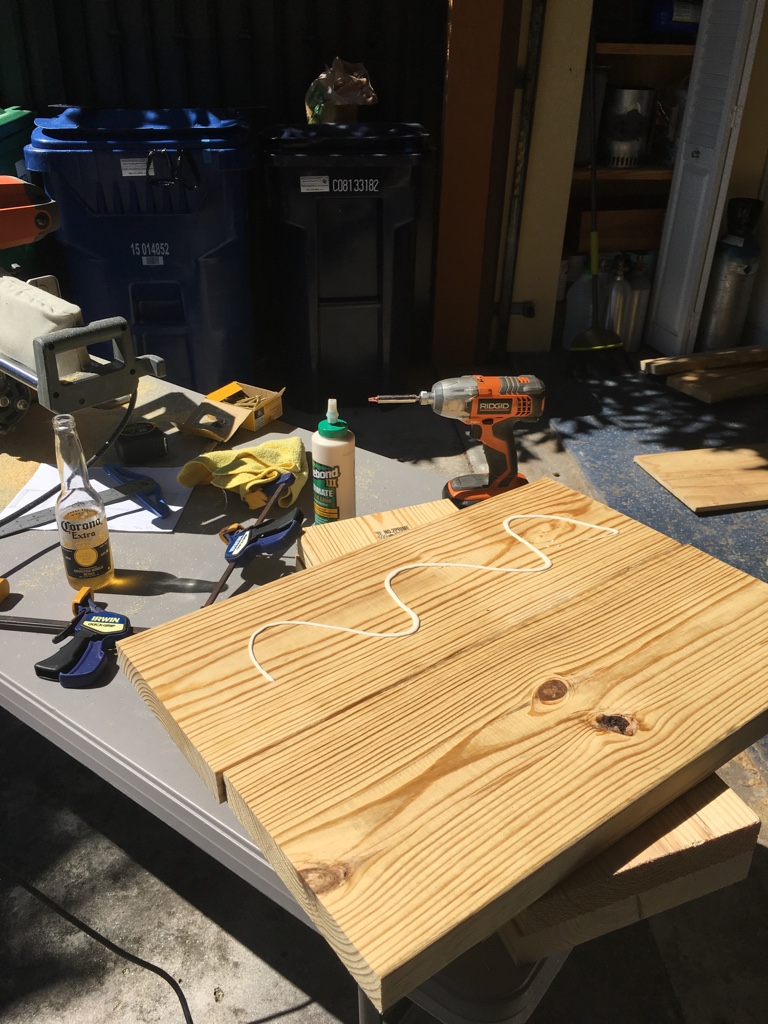
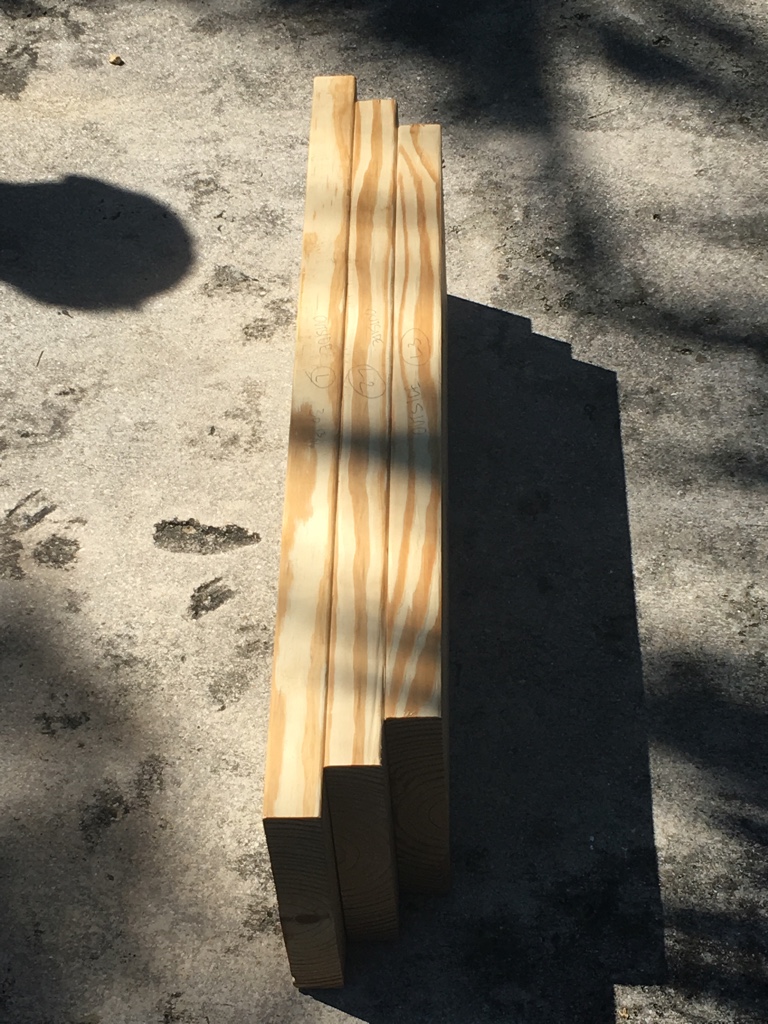
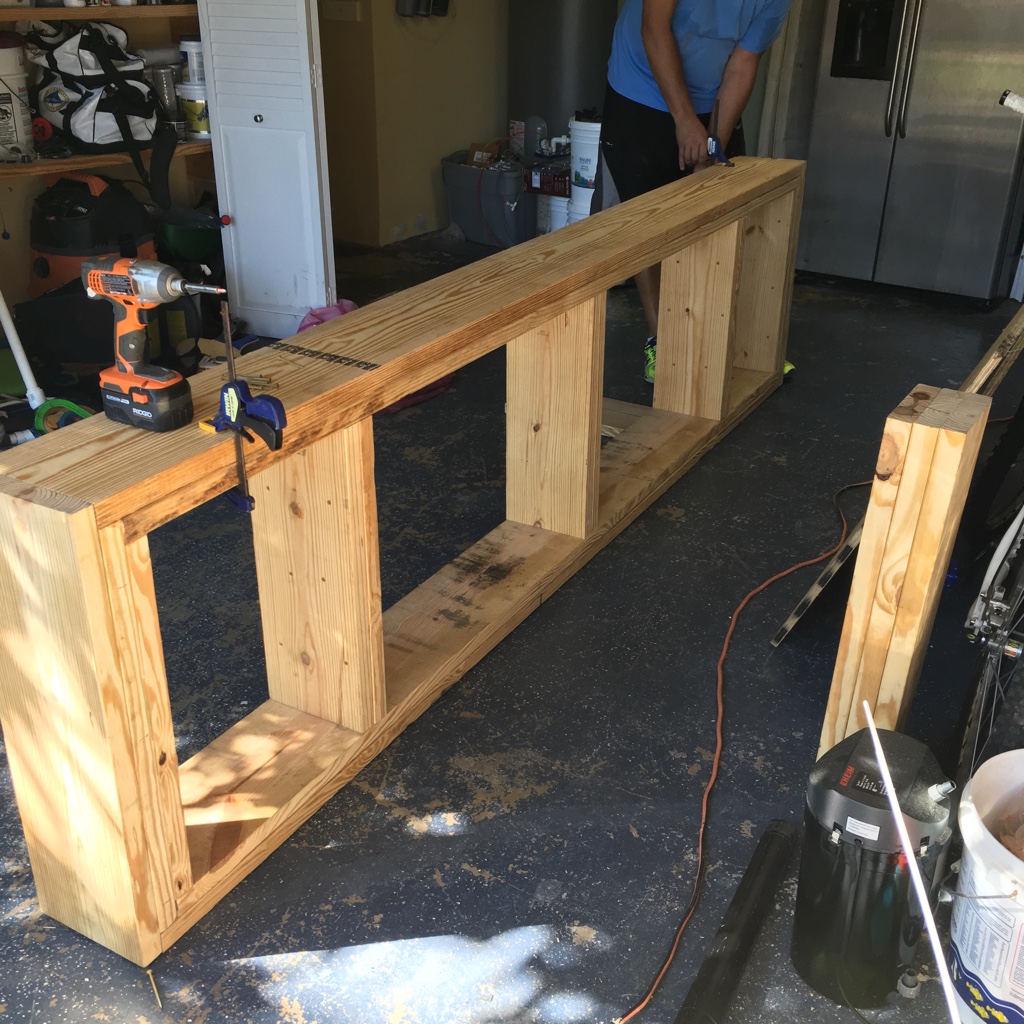
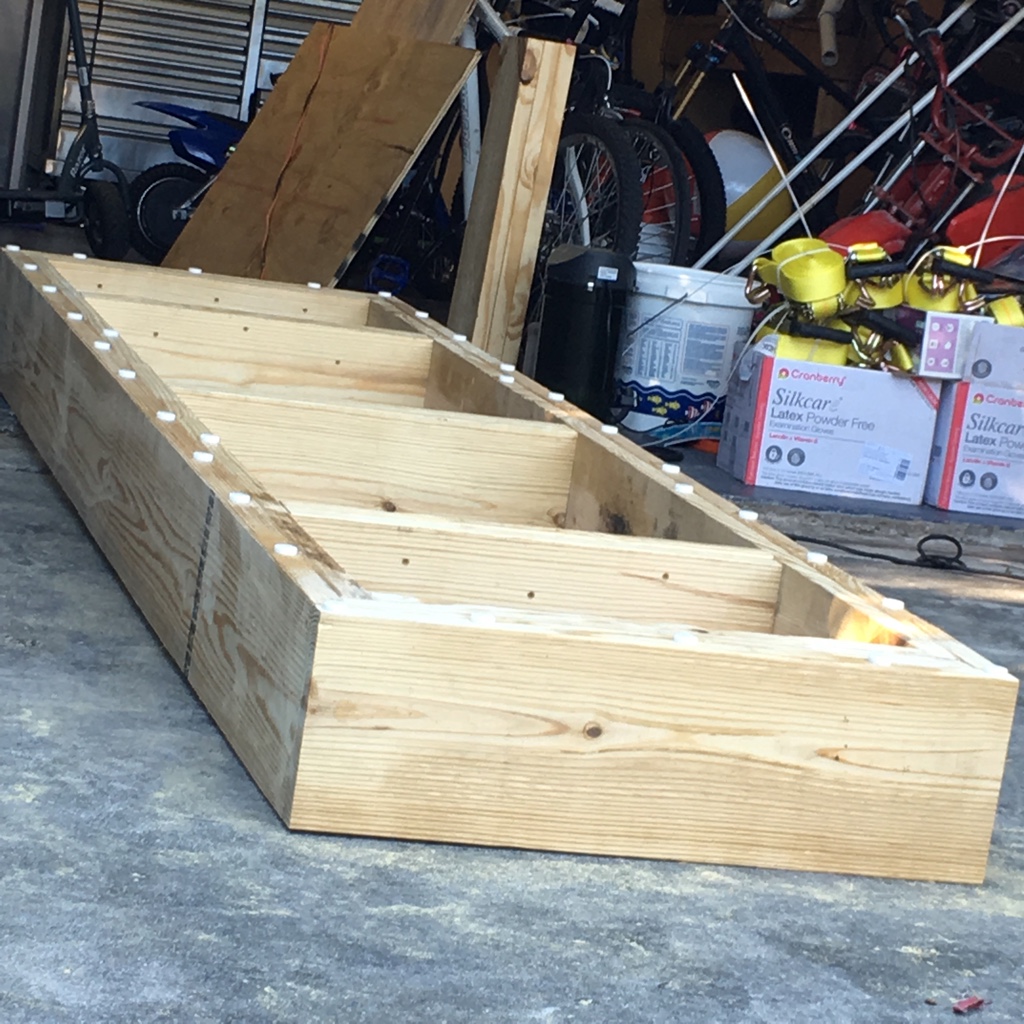
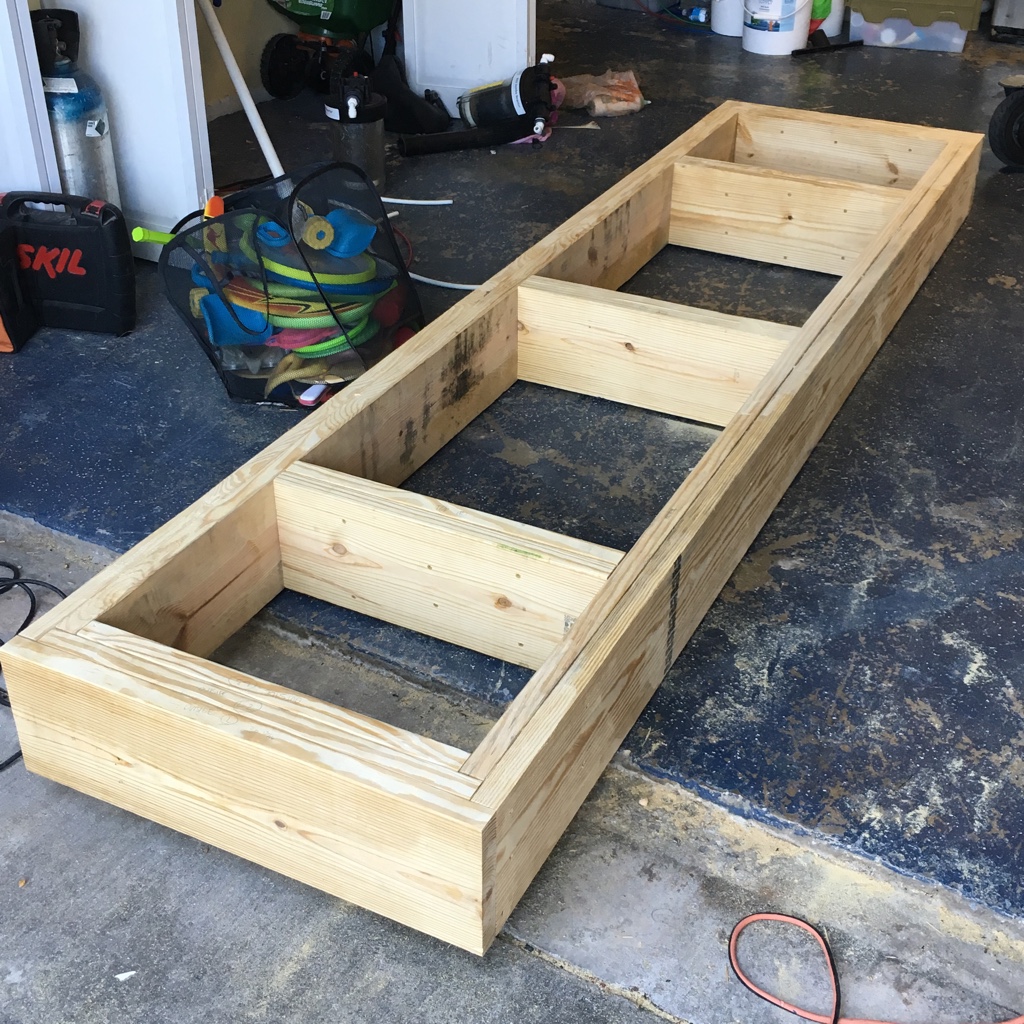
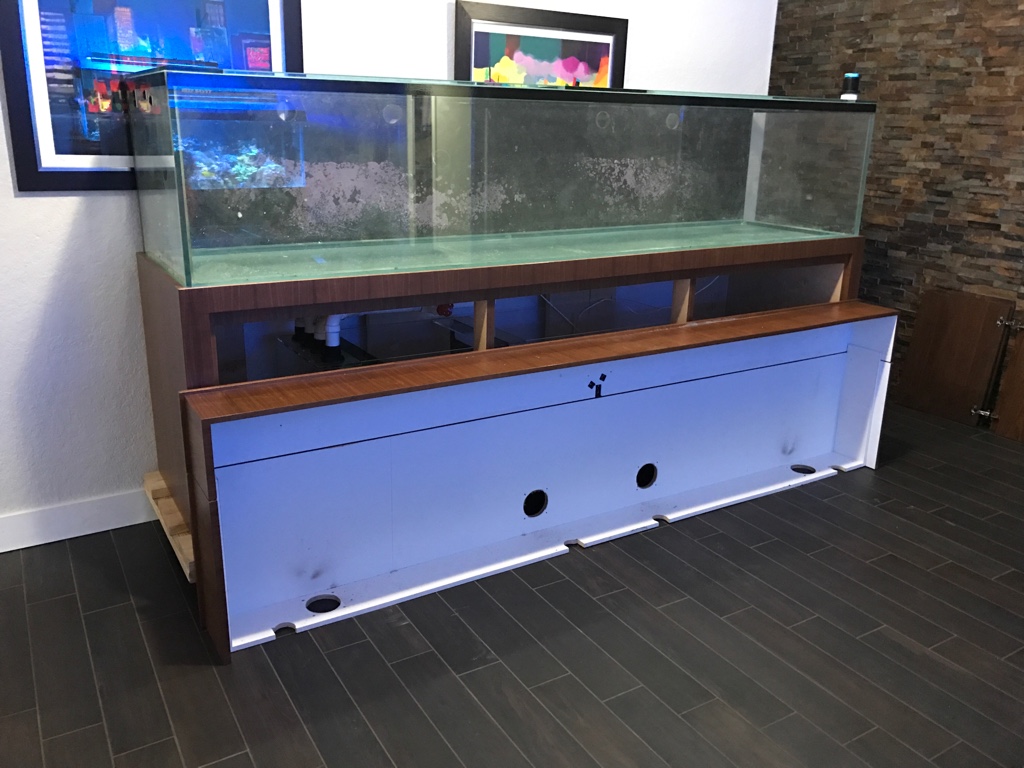
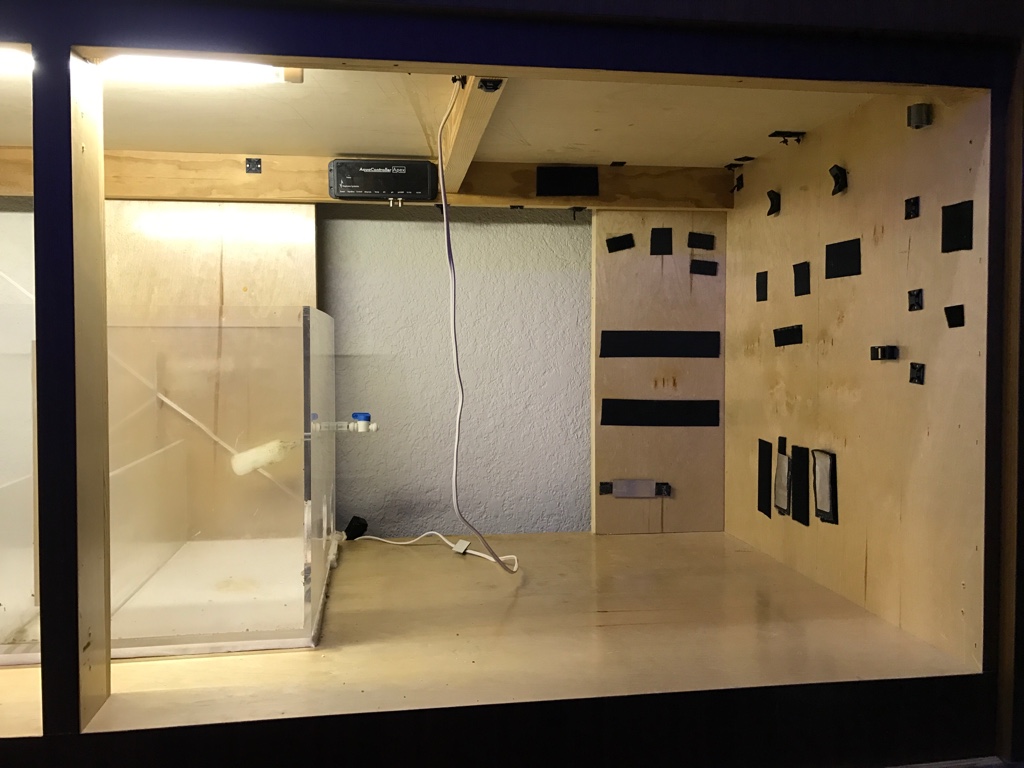
The new tank measures 120"x30"x28" with a pair of ghost overflows. It is constructed of 3/4" low iron glass. The tank is in exceptional condition with no scratches, and in true Reef savvy form, amazing silicone work. The current stand is being modified to a height of 43.5" and is being re-finished in white acrylic laminate to match our kitchen cabinets. The canopy will be refinished in the same manner.
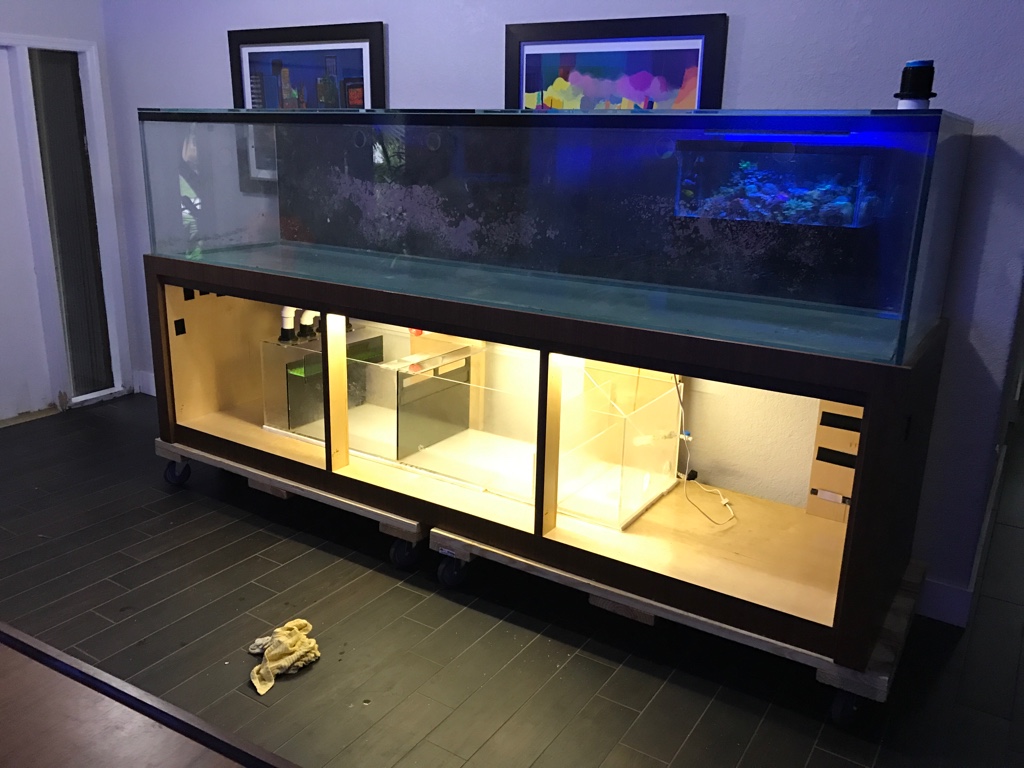
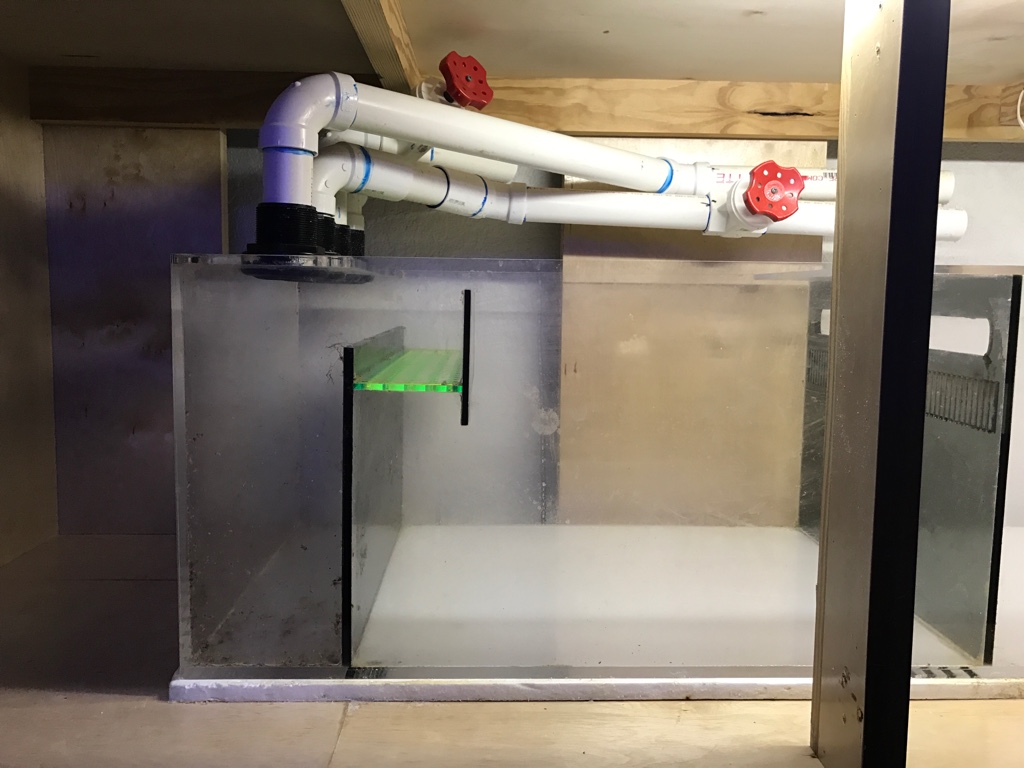
We have already acquired all of the equipment which will be used for this build, either as part of the tank package or through subsequent purchases. The tank will be plumbed with two Vectra L1 pumps, to four returns. Each end will have an MP60qd along with an MP40qd, with an MP40qd on the back wall in the center. The skimmer is a Vertex Alpha 250 and supplementation will come via an MTC pro-cal calcium reactor connected to a Carbon Doser electronic Co2 regulator.
The entire system will be controlled via a classic apex along with an Ecotech Reef link. Lighting will consist of a pair of Giesemann 2x48" t5 retro fixtures, followed by a 60" and a 48" ATI 8-bulb t5 fixture, each with a corresponding Reefbrite xho blue strip. There should be plenty of light with the 20 t5 bulbs, totaling a whopping 1056" of t5 lighting and 108" of Reefbrite XHO strip.
I look forward to sharing in this journey with you.
AJ
Sent from my iPhone using Tapatalk
The current tank is 60"x30"x24" in 3/4" starfire glass and was a custom build, believed to be built by Oceanic. I purchased the tank used several years ago. I built the stand for the tank fairly tall at 41.25". The setup is bare bottom and consists of a Vectra L1 return pump, two MP60s, an ATB Small skimmer, ATI 8-bulb 48" fixture with a Reefbrite XHO blue strip, Avast marine K2 Kalk stirrer and a Bubble Magus doser. This tank has had its ups and downs, but has been relatively stable recently, with good color and growth.
To support the tank an R/O unit is installed in the garage and plumbed to the tank's location through the attic and walls. We also have a 300-gallon tank in the garage plumbed to a Blueline pump, which also runs through the attic and walls to the tank's location, used for bi-weekly water changes. There is also a drain that runs under the foundation of the house, out to the yard, that facilitates the draining of the tank.
Last year we did some renovation of our home with the plan to upgrade to a large peninsula tank. Several design choices were made to that end. Recently though an opportunity arose to purchase a local reef that included a Reef Savvy tank with the dimensions we wanted. The only downside is the traditional orientation versus our planned peninsula. After taping out both options, the wife and I agreed that this setup might work out even better. We quickly moved to purchase and the tank is now sitting empty in our living room.
The new tank measures 120"x30"x28" with a pair of ghost overflows. It is constructed of 3/4" low iron glass. The tank is in exceptional condition with no scratches, and in true Reef savvy form, amazing silicone work. The current stand is being modified to a height of 43.5" and is being re-finished in white acrylic laminate to match our kitchen cabinets. The canopy will be refinished in the same manner.
We have already acquired all of the equipment which will be used for this build, either as part of the tank package or through subsequent purchases. The tank will be plumbed with two Vectra L1 pumps, to four returns. Each end will have an MP60qd along with an MP40qd, with an MP40qd on the back wall in the center. The skimmer is a Vertex Alpha 250 and supplementation will come via an MTC pro-cal calcium reactor connected to a Carbon Doser electronic Co2 regulator.
The entire system will be controlled via a classic apex along with an Ecotech Reef link. Lighting will consist of a pair of Giesemann 2x48" t5 retro fixtures, followed by a 60" and a 48" ATI 8-bulb t5 fixture, each with a corresponding Reefbrite xho blue strip. There should be plenty of light with the 20 t5 bulbs, totaling a whopping 1056" of t5 lighting and 108" of Reefbrite XHO strip.
I look forward to sharing in this journey with you.
AJ
Sent from my iPhone using Tapatalk