You are using an out of date browser. It may not display this or other websites correctly.
You should upgrade or use an alternative browser.
You should upgrade or use an alternative browser.
Duke's 375 gallon reef tank build
- Thread starter dukecj
- Start date
dukecj
New member
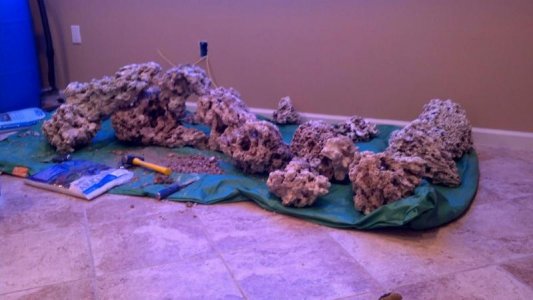
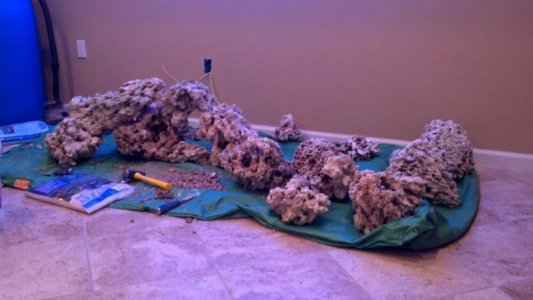
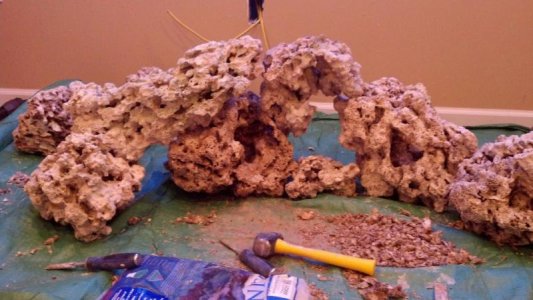
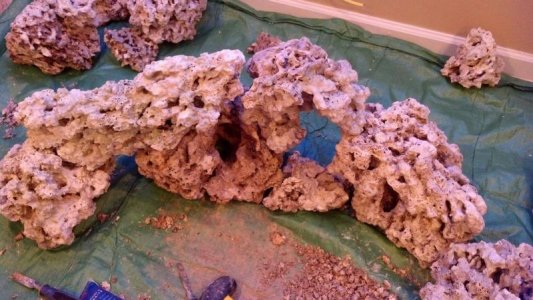
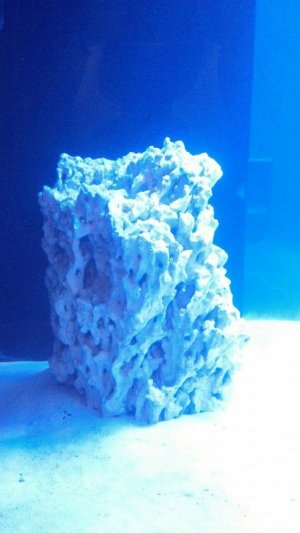
The next step was to shape the rock. I carved a few caves. Actually I got cave happy. I also used my hacksaw to make even bases so I could stand some rocks up.
Attachments
dukecj
New member
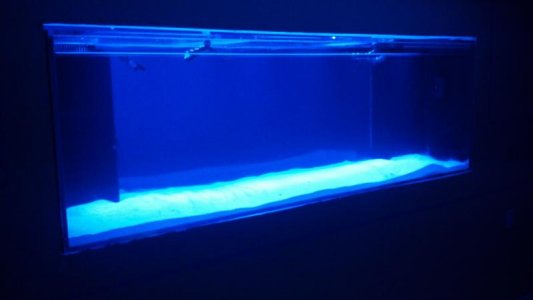
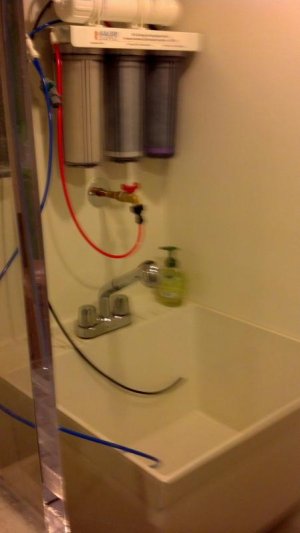
I filled the tank and added the sand a few weeks earlier. I started the tank cycling process while I figured the rock/ phosphate issue out. It took five days to fill the tank and sump with the 75 gallon a day RO/DI system. I put 300 Lbs of live sand in the display tank. I mixed the salt in the tank and let the MP60s did the mixing before the sand was added.
Attachments
dukecj
New member
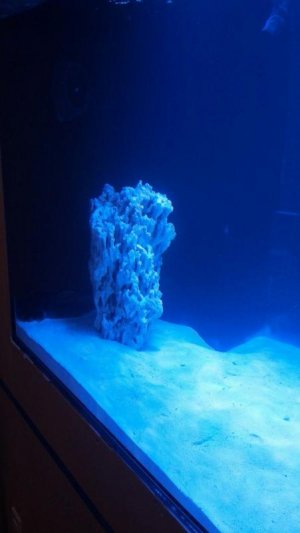
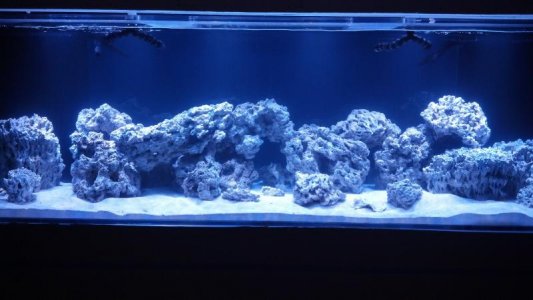
I decided to put the rock into the tank. I bought a PhosBan 550 to handle any phosphate issues. The challenge was to first get the rock into the tank because of the limited clearance. I had to remove the lighting and the rail in order for the rocks to make it into the tank.
I used the pictures as a reference, and my wife directed me from the other side of the tank as to where to place the rock. The Tank is 30" deep which presented another challenge because I could not reach pass 8" from the bottom of the tank.
Here is a picture of the first rock that made it into the tank.
Attachments


dukecj
New member
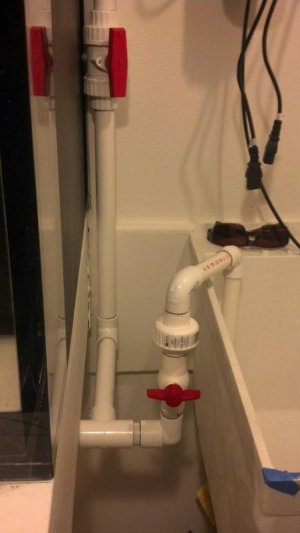
The tank water can be removed by turning this valve which drains into the utility sink located next to the tank. It is hooked to the return pump, and it works because I had to use it when I snapped a bulkhead on my sump. It drained around 60 gallons in less than two minutes. This helped me to avoid a disaster. The RO/DI also drains into the sink.
Attachments
leveldrummer
New member
great build, Im so jealous of the fish room, even just having the sink! man I wish I had a utility sink that close to my tank.
dukecj
New member
you can recycle the failed water from your RO system into your hot water heater to save money, just a thought....
I have been trying to come up with ways to conserve water and energy. How would I go about doing that? That sounds like a good ideal. I never thought of that.
dukecj
New member
great build, Im so jealous of the fish room, even just having the sink! man I wish I had a utility sink that close to my tank.
Thanks!
I used a Zoeller laundry sump pump to handle drainage for the sink. It drains up into my waste pipes. The supply lines run right above the fish tank so making that connection was easy. The setup is really convenient. I wanted it to be as functional as possible. I bought the sink and drain on Amazon.

dukecj
New member
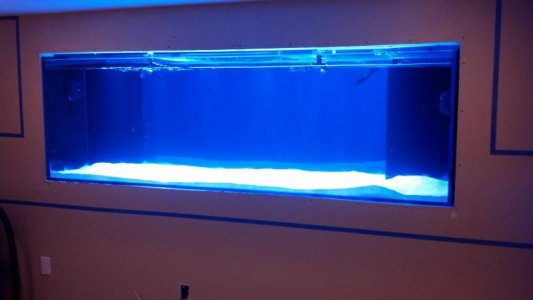
The tank has finished cycling and I added some fish from my 55 gallon tank. I just purchased the wood to start building my wet bar, and I will start the build tonight. The blue painters tape was used to determine the tank and future cabinet placement. The wife is happy and that is all that matters.


TravelerBob
New member
The tank looks great! I am in Belleville, right between Belleville and Freeburg and am thinking of doing something very similar to yours in my basement. Would love to see your tank and learn more about your setup, etc. Thanks! Bob
dukecj
New member
It's been a while since I have posted. I have been letting my tank mature a little before adding any livestock besides what I transferred from my 55 gallon. I have been spending this time working on my wet bar. I am building all of the cabinetry myself, which will keep me occupied and will prevent me from moving too fast with the tank. Here are some pictures of some of the progress I have made so far"¦..


This is the frame for the bar the sink will go in the cabinet against thw wall.


This is the frame for the bar the sink will go in the cabinet against thw wall.


Similar threads
- Replies
- 8
- Views
- 292
- Replies
- 4
- Views
- 235