Hello fellow reefers!
This is my first post on the site and I am a reef/saltwater newbie. I have been a frequent visitor to the forums and have gained alot of knowledge along the way. I thought it was time I posted something so it might help someone else out.
I am a fresh water convert. We moved into our new house a few years back. I had to tear down my 125 gallon for the move and decided I would set up saltwater when we got to the new place...well life got in the way. The tank has been sitting empty in our living room for quite some time and my wife was, subtly, asking about what I was going to do with it. I always wanted a wall tank so I went for it.
The tank will be going into a wall that is between my home office and the living room. The office is not huge, but has enogh room to house the tank, stand, and sump with all the goodies.
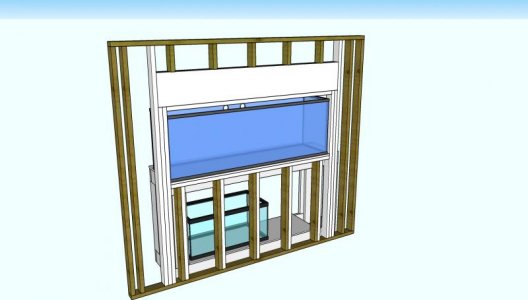
Here is the sketchup model of the office side of the tank.

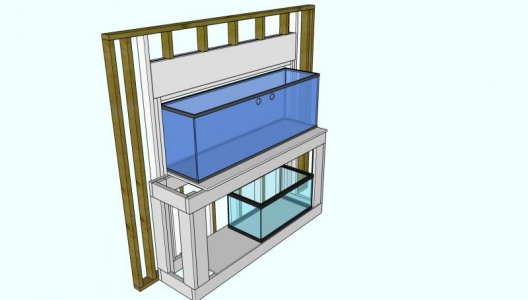
Here is the living room side.

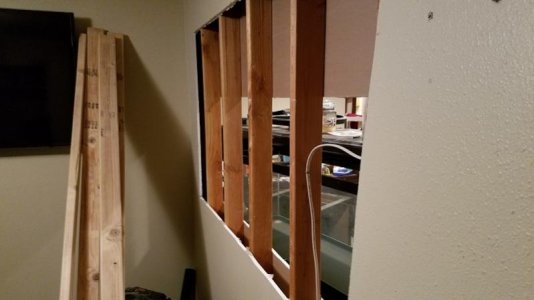
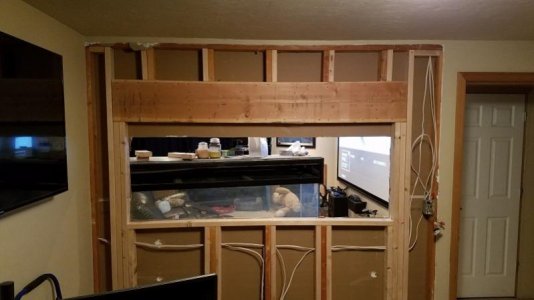
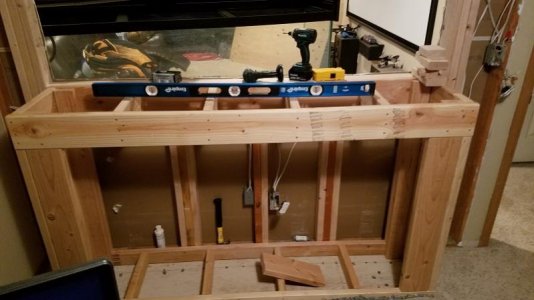
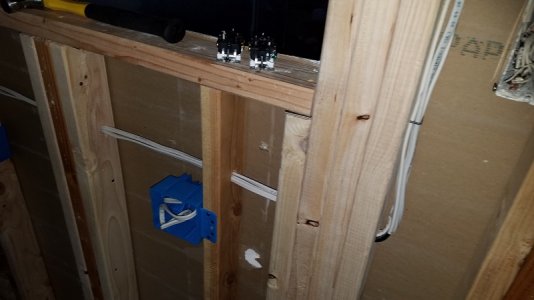
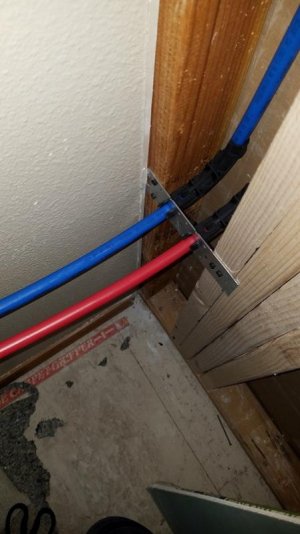
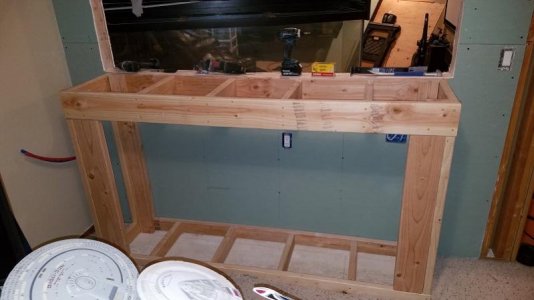
I will post some more photos on the progress in a bit. This has been a project over the last month. I have it about half way there. :thumbsup:
This is my first post on the site and I am a reef/saltwater newbie. I have been a frequent visitor to the forums and have gained alot of knowledge along the way. I thought it was time I posted something so it might help someone else out.
I am a fresh water convert. We moved into our new house a few years back. I had to tear down my 125 gallon for the move and decided I would set up saltwater when we got to the new place...well life got in the way.
The tank has been sitting empty in our living room for quite some time and my wife was, subtly, asking about what I was going to do with it. I always wanted a wall tank so I went for it.The tank will be going into a wall that is between my home office and the living room. The office is not huge, but has enogh room to house the tank, stand, and sump with all the goodies.
Here is the sketchup model of the office side of the tank.
Here is the living room side.
I will post some more photos on the progress in a bit. This has been a project over the last month. I have it about half way there. :thumbsup: