Reefers4U
Active member
I made the bottom of my stand into a water catch, to capture small leaks before they get to the floor. There are a lot of products that may be less expensive but I used flex seal because Phill Swift is awesome and you can get it at Home Depot.
This is has been a life-saver for over a decade for me. Also as former marine artillery anything that involves a cannon has my complete support. :lmao:
Updates. Looks like the display won't get water until 2020.:thumbdown
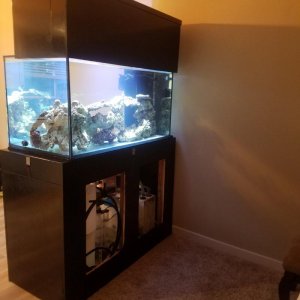
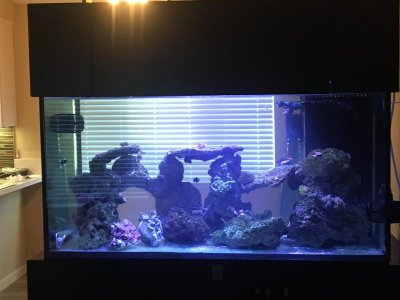
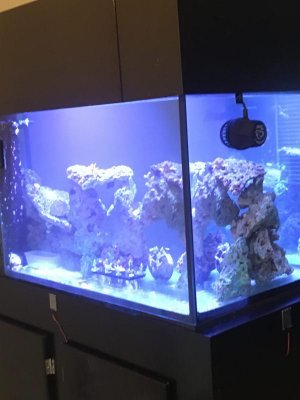
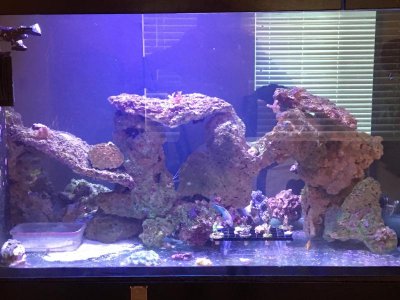
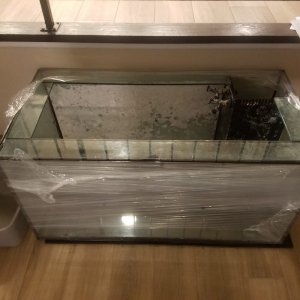
1) The tank is back from the repair shop. Shout out to Advanced Aqua Tanks and Global Aquatics for handling everything like a pro.
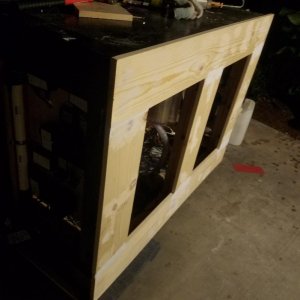
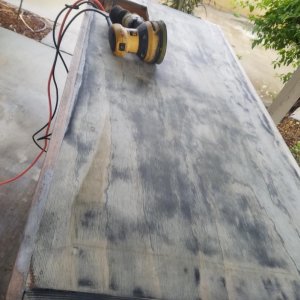
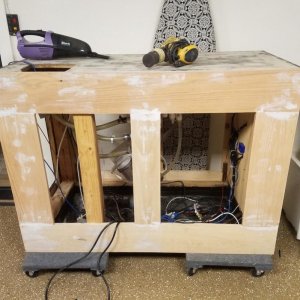
2) The refinishing of the stand is almost complete. Close to re-varnishing the outside almost done with sanding and caulk. Over all we put a face on what used to be the backside and the decided to reface the front. After 4 moves and 10 years it needed some TLC.
3) The Apex was not fried in the accident and appears to be working. After the varnish is complete I will install the leak sensor array and the stand will be ready for the sump.
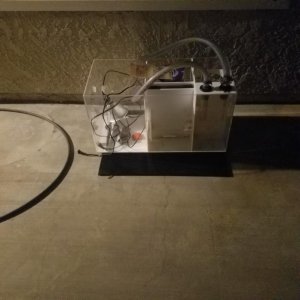
4) Sump is clean and ready for the stand.
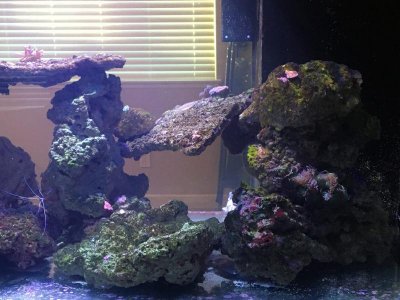
5) Rock is cycled in a trashcan and reading 0 NH3
Thanks for following my 'self-inflicted gun shot wound' of a project. :wavehand:
")