After reading and watching many videos I decided to build my own DYI hang on glass/acrylic algae scrubber. Total cost: $180
Supplies:
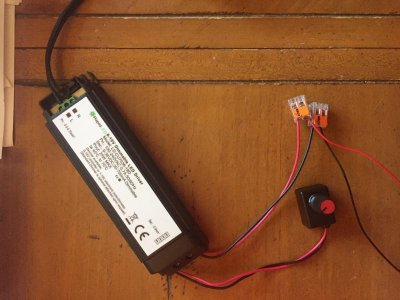
Dimmable Nano Driver w/ Potentiometer
6 - Small Aluminum LED Heat Sinks
6 - 4.5” Solderless LED Connectors
1 – Driver Jumper
1 – Solderless LED Plug
6 – Cree XP-EHE Photo Red LEDS’s (660nm)
2 – Thermal Adhesive Tubes
2 – Wago Wire Connectors
Above from Rapid LED $105 w/ shipping
4 – Neodymium Nickel Plated Bar Magnets 2”x1/4”x1/4” Magnetized Thru Thickness
4 - Neodymium Nickel Plated Bar Magnets 1”x1/4”x1/4” Magnetized Thru Thickness
Magnets cost $40 w/ shipping
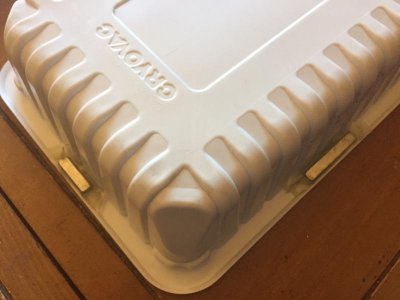
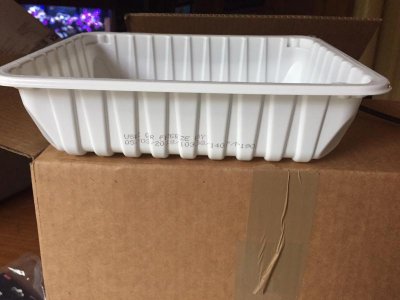
2 – Containers 8”x10”x2” purchased at local grocery store with ground turkey in them
Above containers cost $16 but we made chili & turkey burgers with the ground turkey – $0 cost
1 – Roll of Foil Tape $8 Home Depot
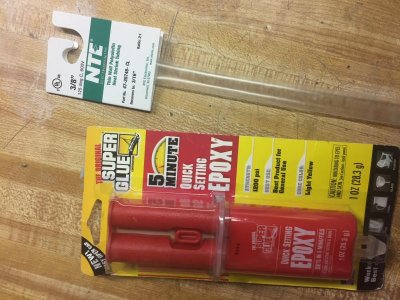
1 – Quick Setting Epoxy $4 Home Depot
1 – 3/8” Heat Shrink Tubing - $5 Local Electronics Store
2 – Cans of Spray Paint (clear and black) I already had from other projects
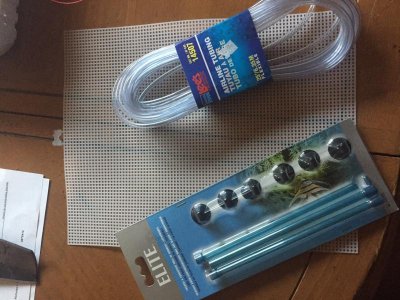
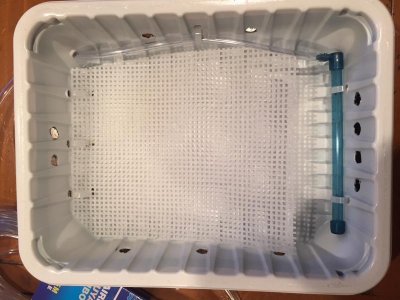
1 – Plastic Canvas - $2 JoAnn Fabrics
1 – Bundle Air Line Tubing - $7 LFS
1 – Hagen Marina Elite Bubble Pipe - $9 LFS
6 – Nylon Cable Ties I already had
1 – Air Pump & Check Valve I already own
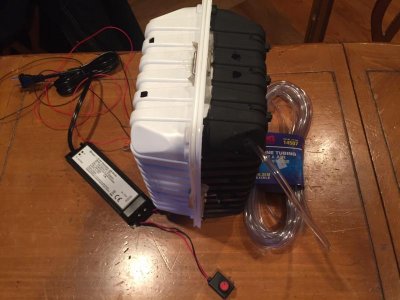
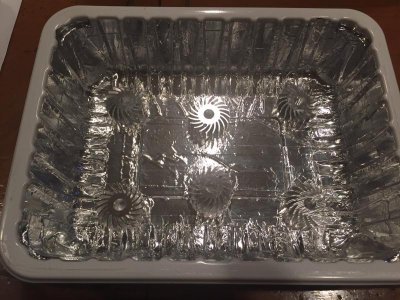
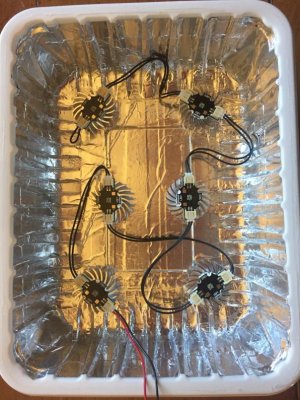
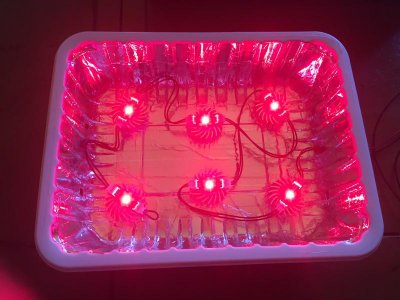
First, I assembled the lighted side. I applied foil tape to the inside of one container, cut a couple of holes into the top and bottom of the container to allow venting plus for the power cord, thermal glued the heat sinks in place, thermal glued the LED’s to the heat sinks, and then connected the LED’s & driver using the solderless connectors.
Supplies:
Dimmable Nano Driver w/ Potentiometer
6 - Small Aluminum LED Heat Sinks
6 - 4.5” Solderless LED Connectors
1 – Driver Jumper
1 – Solderless LED Plug
6 – Cree XP-EHE Photo Red LEDS’s (660nm)
2 – Thermal Adhesive Tubes
2 – Wago Wire Connectors
Above from Rapid LED $105 w/ shipping
4 – Neodymium Nickel Plated Bar Magnets 2”x1/4”x1/4” Magnetized Thru Thickness
4 - Neodymium Nickel Plated Bar Magnets 1”x1/4”x1/4” Magnetized Thru Thickness
Magnets cost $40 w/ shipping
2 – Containers 8”x10”x2” purchased at local grocery store with ground turkey in them
Above containers cost $16 but we made chili & turkey burgers with the ground turkey – $0 cost
1 – Roll of Foil Tape $8 Home Depot
1 – Quick Setting Epoxy $4 Home Depot
1 – 3/8” Heat Shrink Tubing - $5 Local Electronics Store
2 – Cans of Spray Paint (clear and black) I already had from other projects
1 – Plastic Canvas - $2 JoAnn Fabrics
1 – Bundle Air Line Tubing - $7 LFS
1 – Hagen Marina Elite Bubble Pipe - $9 LFS
6 – Nylon Cable Ties I already had
1 – Air Pump & Check Valve I already own
First, I assembled the lighted side. I applied foil tape to the inside of one container, cut a couple of holes into the top and bottom of the container to allow venting plus for the power cord, thermal glued the heat sinks in place, thermal glued the LED’s to the heat sinks, and then connected the LED’s & driver using the solderless connectors.
Attachments
Last edited: