Photo journal of my MCA 120

Metal Stand

Metal Stand

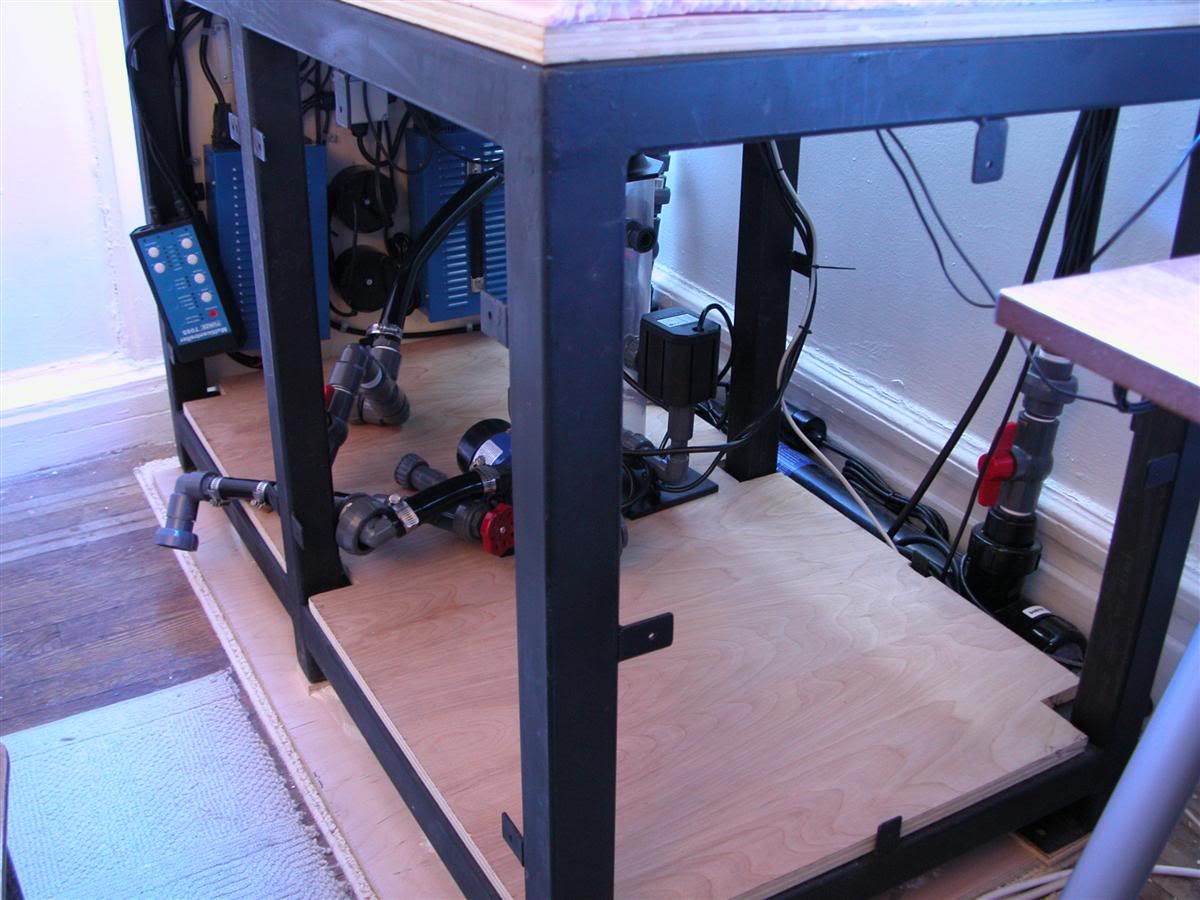
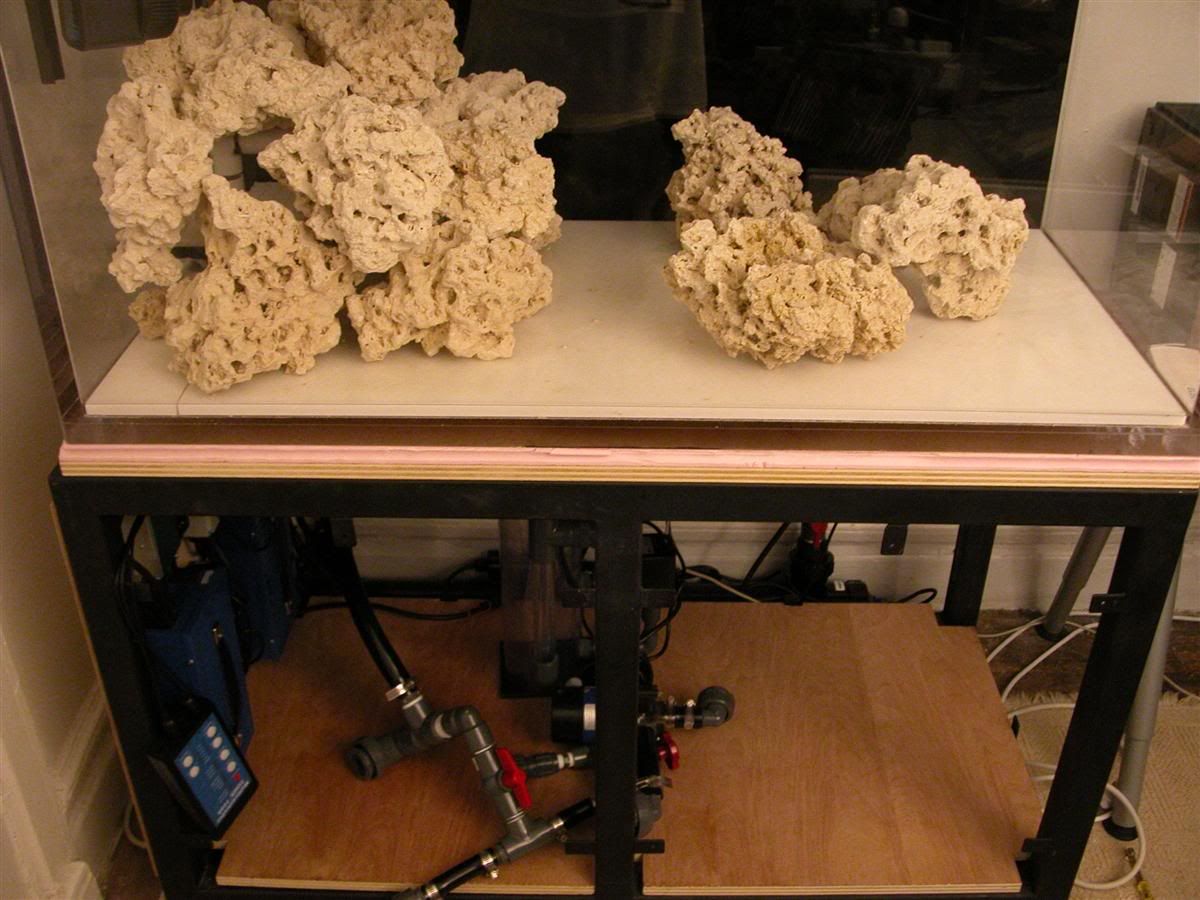
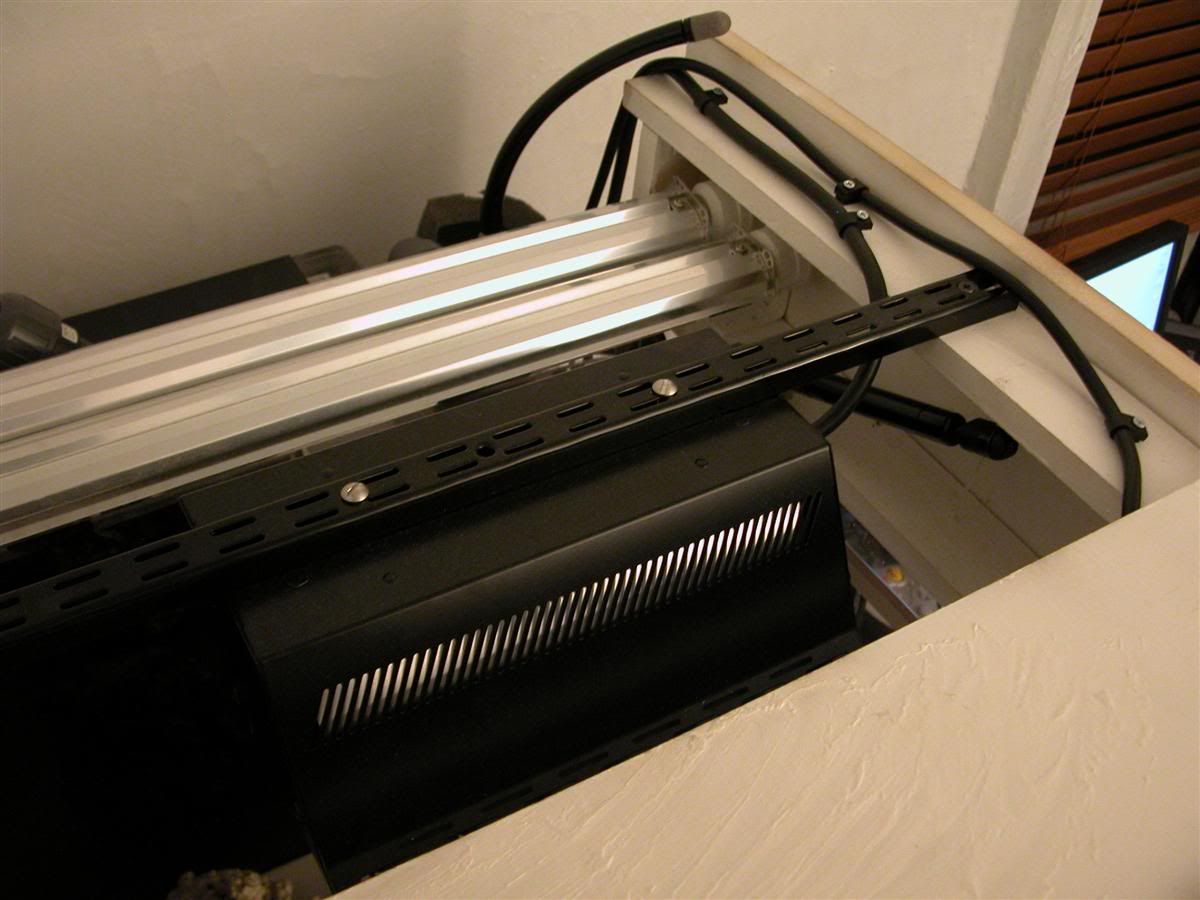
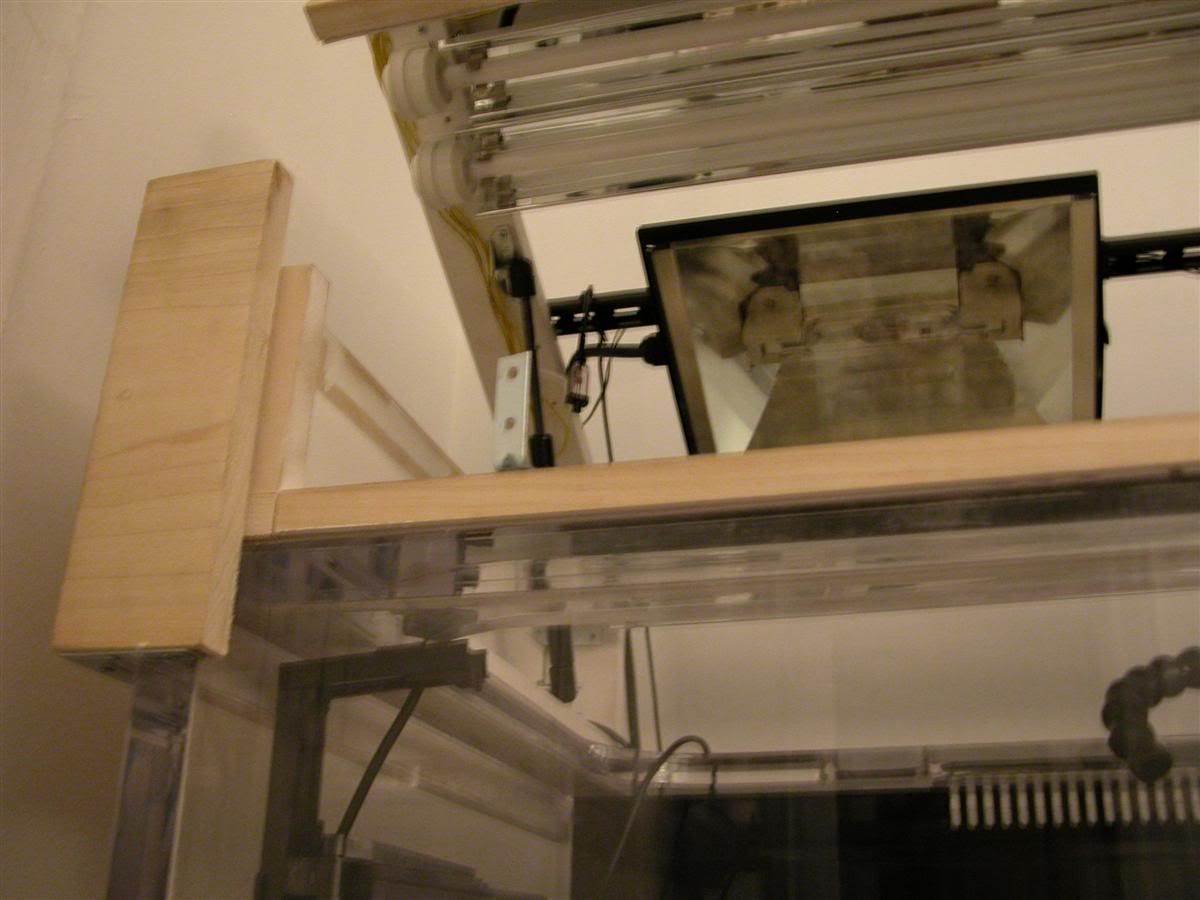
I haven't shown any pictures of the stand yet, so here goes. I went with a metal stand that I had welded and painted. I didn't use powdercoat but I had it primed and I feel really secure about it. The thing is really strong and I don't think I needed the center legs because I went with 2"*2" tubing. You can see that I had them weld little tabs to it so I can attach a wood skin. I'm not going to do the skin soon because I want to have the tank running for a bit and I won't have to time until break to do the woodworking. I originally decided to hang my lights off the stand (which I did) but decided to attach them to the canopy I built. But you can see the housing for the arms (which went higher than the tank) that I attached the closetmaid stuff. It came out exactly how I designed on page 1. But in the end I didn't like the look and it was more convenient to put the lights on the canopy.

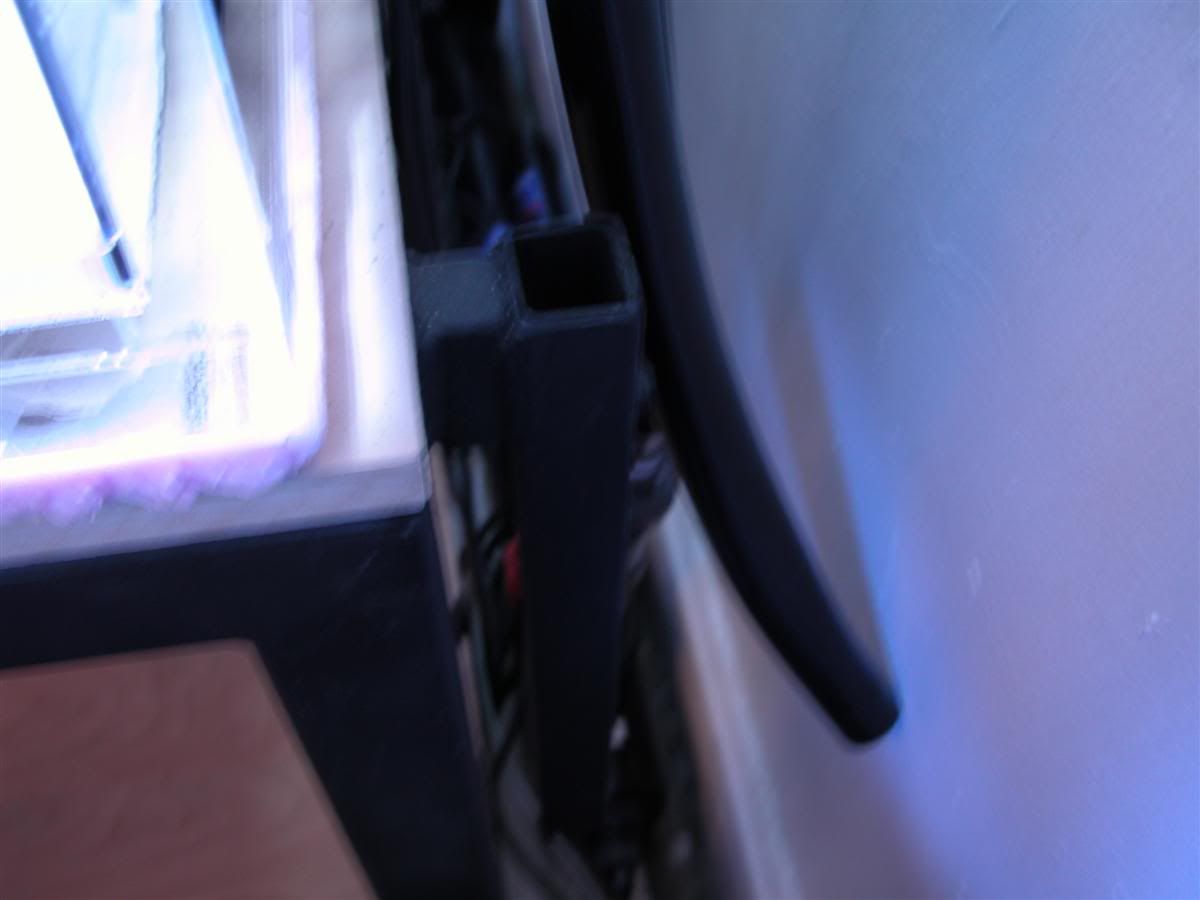
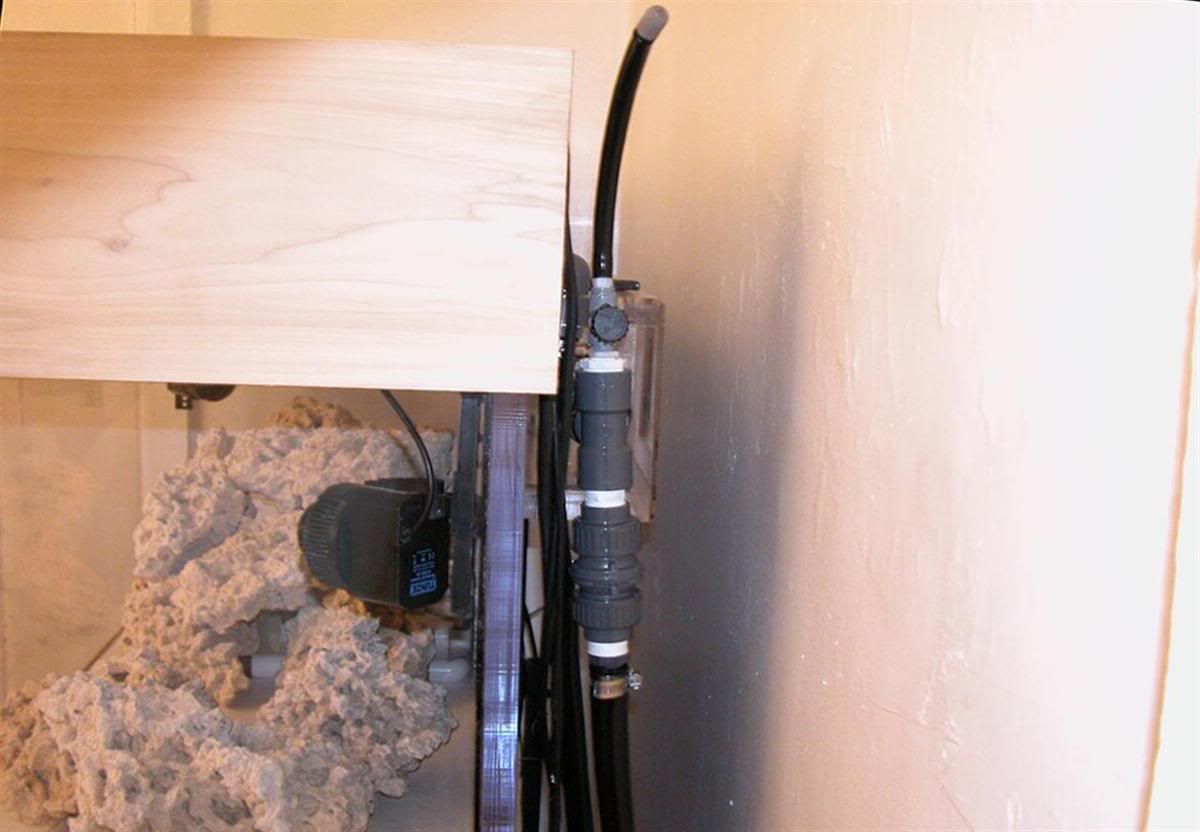
The picture didn't come out very clear because the stand is close to the wall but you can see the arm housing I had welded on.
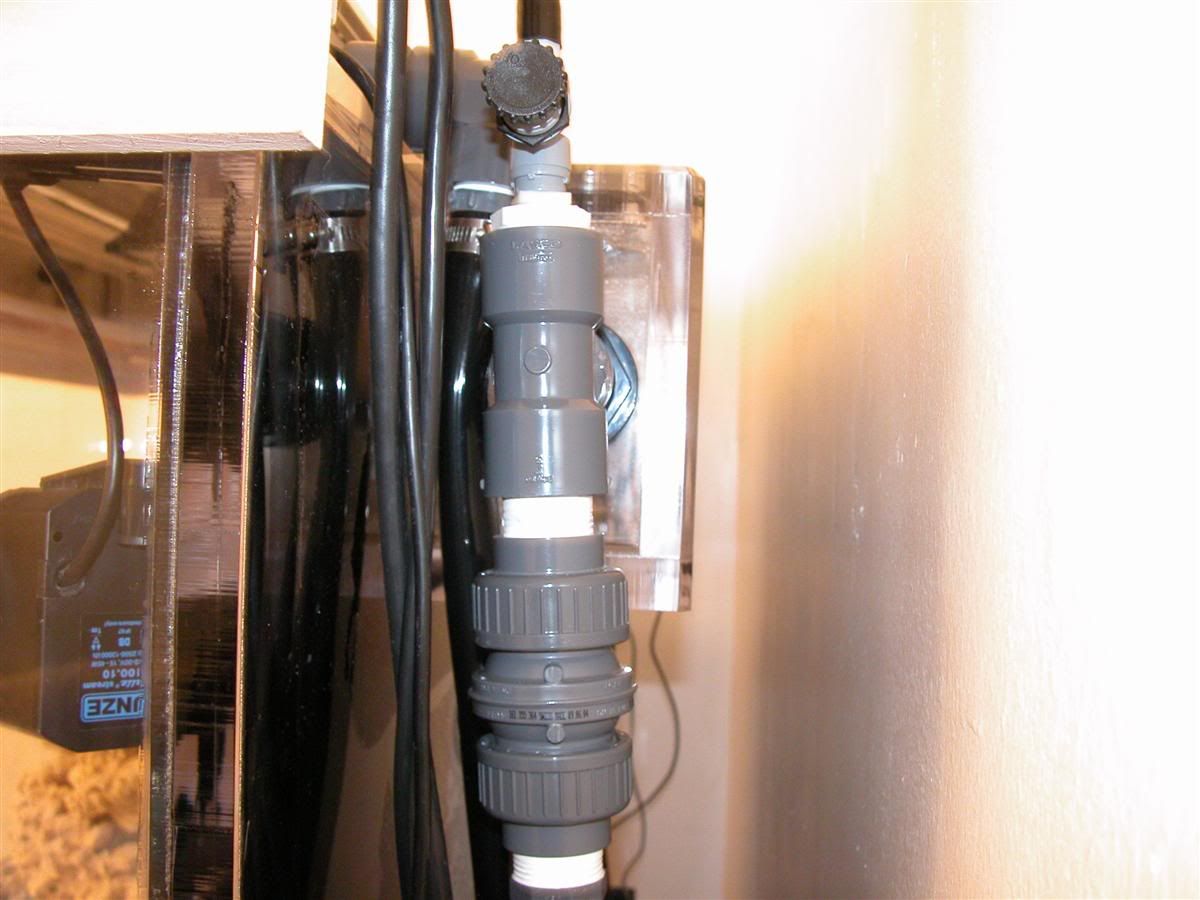
 
Canopy

Canopy

Next we have the canopy I built. This was my second attempt at a canopy and I learned a lot from the experience. One regret I have is that I used a spray can to prime it, I would have rather painted it with a brush. I used poplar for the outside which I'm planning on sanding. I got some very nice looking pieces that I was very pleased with. A little primer got on the front right corner but I will be sanding the poplar before I stain it anyway. Overall, I am happy with how it turned out.
Front and Top

Right Side

Left Side
 
External Overflow

External Overflow

Here is a shot of the external overflow from underneath. It's a little dark because I forgot to remove the overflow lid. I would take another picture with the lid off but I put all the equipment in the stand and don't feel like removing it. The overflow is concerning me because it seems (you might not be able to see it) like stuff gets trapped in there by floating to the bottom and not going out of the side drain. I hadn't planned on vacuuming in there but I might have to in order to avoid the breaking down of junk.
 
Equipment List

Equipment List

Moving on to equipment. And the list is,
  • 2 Tunze 6100's on Multicontroller
  • Velocity T4 Pump
  • Deltec AP600 Skimmer
  • 2 250W Reef Optix III DE pendants
  • 2 250W SLS Blue Wave VII ballasts
  • 2 250W phoenix 14k DE bulbs
  • Phosban Reactor for Carbon
  • Aqualogic Delta Star DS-4 (1/3hp) chiller w/controller
  • 40W SmartUV Emperor Aquatics Sterilizer
I think I have decided to go barebottom (even though I have a 40lb bag of sand sitting on the floor next to the tank) so I got a vortex Diatom Filter for siphoning dirt used from km133688. I have to pay him tonight because he sent it to me to try out without paying first, which was really nice.
UV

Chiller and controller, T4, Ballasts, and tunze multicontroller.
 
Sump

Sump

The sump took me a while to do because I had to wait for the diamond drill bits to come from China and then I busted two tanks drilling holes. I had to do 4 holes of different sizes and third times a charm.

Water comes in on the right side and flows thru 1" piping. The three tees are used for probes which are held in place by liquid-tight cord grip fittings . The water exits the piping into the sump which will probably have a filter sock. Water then flows right thru a sponge block (not in picture) which is held in place by egg crate. The water then exits the bottom right to the t4. The t4 is plumbed so that all of its flow goes thru the chiller (which needs a 600-1200gph rate) but then gets split returning to the tank, going into the skimmer, and going back into the sump (directly and thru carbon).
 
Plumbing and Wiring

Plumbing and Wiring

I'm very happy with my wiring and plumbing. The wiring took a long time, there are soo many wires. When I first started it just looked like a mess. It still looks cluttered in the pic but it's a lot better than before.


And this is the underside of the tank. I was nervous drilling in the bottom of the plywood under the tank but I got over it.


For the plumbing, I tried to keep it as simple as possible.

The water enters the sump from the overflow here and you can see behind that where the water exits the uv going up to the tank.


Here you can see where it exits and re-enters the sump


And here is an overall shot showing the chiller and line going to uv.

 
Aquascape

Aquascape

And here are some pictures of what I hope will be the final aquascape. I took a little patience but I think it was worth it. You can see that I made a sort of island on the left and a sharp cliff on the mound on the right.


I really like how this will look with corals. Here are a few more shots.


So this is where I am at. I've tested the system out with tap water a few times but I will do it one more time to make sure everything is tight. Then I will be putting in the rodi water and salt later this week. There are only a few small things left I have to order (socks, sponges, etc.) before the system will be 100%.

I do not want coralline algae in the tank if it's at all possible to keep it out, only time will tell I guess. Seeding will be done with a piece of shrimp.

I've also been wondering about the chiller. Considering I have a 1/3hp (which is large for my system) I'm surprised it takes 10-20mins to drop a degree. Should it be faster? Anyone see a problem with some of the chilled water being recirculated in the sump?

I'm not sure when I will be putting corals in the tank but it probably won't be for a few months until I feel confident with my water parameters. I do have several fish I am interested in that might go in first.

And thanks for all of those people who stayed interested in the thread even though I wasn't updating it for a bit.

Paul
 
melev said:
Did you paint them?
LOL, nah melev, they come that way now ;). Tunze switched from brown to black this summer and I waited several months just for the black ones.
 
sellout007 said:
Instead of vacuuming it, you could isert a tiny PH to blast across the bottom of the OF.
I was thinking about this but I really don't want to have to put a powerhead in there. Its hard to get my hand in already and trying to position the powerhead will be tough. I'm going to vacuuming it with my regular siphoning schedule (whatever that will be) for maintenance and hopefully thing won't get caught in there.
 
i like the new rock work a lot better. the tank looks really nice, you did a great job on every aspect of it.

i am not too familiar, but that does sound like a long time for a temperature drop. about how many times a day does it kick on? is it short cycling (meaning not enough water is getting to the chiller)?
 
kozom02 - Thanks, I think your island suggestion was good. I talked with aqualogic and they think its fine. The air blowing out of the chiller is really hot and thats a good measure of its performance. And with the 1" acrylic, once I get it down to 78 it should be a problem to keep it there.

spalmer114 - Thanks, I'm looking forward to getting a few fish and corals. I'm looking forward to seeing corals hanging out on the ledge and having that sudden drop in the middle and then picking it up with corals on the island.
 
Drain Pipe

Drain Pipe

I've been noticing more people getting external overflows and several people mentioned my overflow so I thought I should talk a little more about it. Here are a few pics of the way I have my drain pipe setup.

From the side, you can see a tee, union valve, air valve (part # 7781K25 from www.mcmaster.com), hose and air muffler (part #4427K52 on www.mcmaster.com).


And this is from the top where you can see the tee connecting to the overflow bulkhead.


External overflows are great for freeing up space in the tank but noise from the drain pipe can be more noticeable because it isn't surround by tank water to absorb the sound from the inside of the pipe. The mixing of the water and air is very turbulent and bounces off the walls of the pvc, which is hard and acts like a resonator. To help this I wrap sound dampening foam (part #5692T134 on www.mcmaster.com) around the pvc fittings (tee and union valve) with rubber bands, which is why you couldn't see them in the pictures before. Then I used hose to go to the sump because it's softer and will absorb sounds better.

The other noise, which is probably more common, is air rushing into the drain. Depending on how fast the water flow is down the drain the air sucking noise can be louder. If you have a larger pipe you will need a larger amount of water going thru (flow) it for a certain amount of air, space not taken up by water has to be taken up by air. If you have a smaller pipe you have a smaller amount of water for the same amount of air. So in case I lower the flow going to the sump (thus creating more air sucking noise) I put a hose and air muffler on the air inlet.

I also put a tee on the end of the outlet in the sump to vent the air. Along with having a place for the probes, the long pipe allows for the air to rise to the top of the pipe to make the venting easier and quieter. If you don't have a vent and have the drain submerged you might get back pressure and air burps every so often. You can stop this by varying how far the piping goes into the sump which will adjust the back pressure.
 
Hi Kimoyo,

I just found this thread and it's excellent. You tank and setup are well thought out and I think you did a really nice job. I can't wait for more updates.

kimoyo said:
If there is one piece of advice I could give any new beginner out there it would be to read this site for half a year before you buy one product. I wasted so much money starting out and itââ"šÂ¬Ã¢"žÂ¢s my biggest regret.

That is really good advice, but really hard for beginners to follow. :) I think when you are new in the hobby you want to get the tank up as soon as possible and people rush everything. I know I did. I wish I would have taken this advice in the beginning as well.

kimoyo said:

I do not want coralline algae in the tank if it's at all possible to keep it out, only time will tell I guess.

I think this will be very hard to do, but it mainly depends on if the corals you get have any traces of coralline on the rocks they are attatched to. It will be interesting to follow this thread and see if you can achieve this. I think it would look nice if you just seeded the tank with a different shade of coralline like orange or something you rarely see besides pink and purple.

I also was wondering about the thickness of your acrylic which does make the tank look good. Does it magnify the object inside to a noticeable extent?
 
good lord Paul!, you are totally awesome. This thread is highly inspiring. A pleasure to read the history in it all too.

You are right about the 1" acrylic, looks real macho... grunt grunt grunt. I shall keep following along, wow, what aread.

good luck and maybe talk to you soon, Kevin.
 
Pacific Reefs - Thanks for the compliments. This is a quote from Waterkeeper when I asked him about keeping coralline out of the tank several weeks ago.
WaterKeeper said:
Keeping the tank coralline free will be a real trick as it will hitchhike on things like snails. Even the introduction of fish may promote its growth as it can be in their gut. This is less likely however than the import by inverts....
It will be interesting to see if you can indeed keep the tank coralline free. Keep us posted on your progress.
So corals wouldn't be the only things I would have to worry about bringing it in. The main reason why I don't want it in the tank is because its acrylic. But now that I actually got micro-mesh (scratch removal kit) and tried it I'm not as worried. The 8000 micro-mesh should remove it easily and shine up the acrylic at the same time.

I had also found a place that sells red and orange coralline in a bottle but I can't find the link for it anymore. Any ideas where to get the more exotic coralline colors? Also, I'm not sure how much the color of it has to do with the lights being used.
 
Back
Top