Shallow Reef Build

Looking good! Especially love the light mount. Looks pretty thick but do you think it'll sag over time. Especially with the constant weight and the heat from the light?
 
^ I'm not too worried about it. Its 3/4" thick acrylic and the light is not mounted at a stress/weak point like a joint or the over-flow cutout. (It is at the point were it creates the most leverage however, but far enough out that any heat soak would dissipate before the joint or mid section.

On a test piece of 3/4" I wanted to see if I could bend it 90 degrees. First I tried a line bender (my buddy just got one) and that didn't go so well, so we added heat via a torch. It was a wash...

We did however bend a 1/2" piece... It sure bent after some time, but it looked like absolute garbage. :sad2:

It has to be hot. I mean really hot; where it would burn you.

I added this light/tank to my director and set it up to match my local sun up and down with the ramp just to see if I had any cooling issues and assure the spacer thickness provided sufficient space for airflow across the sink.

The underside of the mount barely gets warm and that's at 4pm after the fixtures been on for 8 hours. The top side is cool as a cucumber. ;)

Ill be picking up the tank for the sump today as well as materials to build the tank riser.

Need to cut a decent sized hole in the countertop for the plumbing. (Ill go as small as possible) Just say its for computer monitor cables or something if I sell the house. :D
 
If it does start to sag over the months/years Ill figure something out. First thing that comes to mind; the AI hanging kit. lol!
 
Been a while... Had to put it on hold for the past few months due to life getting in the way... Lol!

I did however pick up a Reef Keeper Elite for it and will mount the controller to the light mount. (In the middle between the overflow and light on the back wall for easy viewing)

Just have to drill a hole for the bus cable and attach with Velcro for easy removal for settings/adjustments.

I'm going to remove the screw mounting tabs/wings for a cleaner look.

Mocked it up tonight and it looked really clean.

Post pics in the next few days.

Happy holidays guys and gals!
 
Last edited:
Here is where I intend to mount the controller.

Like I said it will be mounted with Velcro for easy removal and I will provide enough slack in the bus line I can pull it out and use as a handheld... That's the thought anyhow.
 

Attachments

  • RKE controller mount location.jpg
    RKE controller mount location.jpg
    56.1 KB · Views: 4
Reef Keeper Elite Controller mounted. Red was the color that contrasted the best.
 

Attachments

  • image.jpg
    image.jpg
    44.7 KB · Views: 5
Last edited:
^^^ Haha! Trust me... I hear ya. $ is really tight right now. Its been a rough few months.

My wiener dog had a slipped disc in his neck... Not cheap.

I'm in the process of consolidating tanks. 6 is getting to be too much. I have nothing larger than a 60.

We had a bad ice storm last month, lost power for 5 days and my generators ignition coil went out 6 hours in...

I couldn't get a replacement coil or even a generator for that matter as they where all sold out everywhere...

I was filling bags of hot water and floating them in the tanks and constantly stirring... It wasn't enough and I lost A LOT.

By the time I borrowed a generator it was too late. :facepalm:

It was too much and made me realize I need to consolidate 3 tanks into one bigger one.

72x24x14 is in the near future with tax $. Same foot print as a 180, just shallow @ 105 gallons.

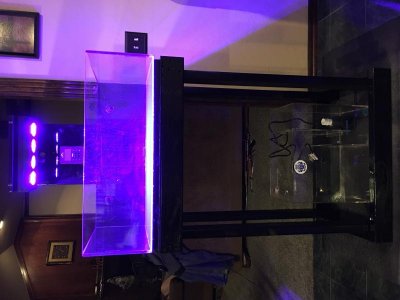
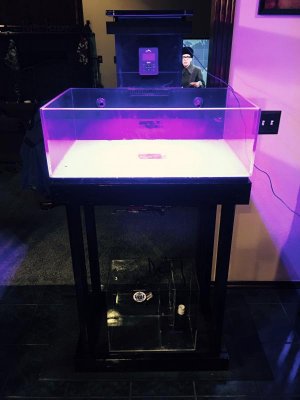
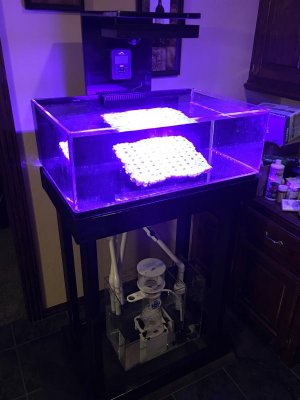
The 30x20x10 is not dead I assure you. ;)

Sorry for the sob story. lol!
 
Well, back at it. My 6' tank is cluttered with frags in the sand bed and it's starting to look like crap...

So, it's now off the back burner and I spent the day making a stand that's 40" tall given the tank is only 10".

A 40" tall stand for a tank that's 30x20x10". Easy even numbers lol!
 
Here's the stand in work. It's a double top so the light mount can slip in. The top, top is 1/2" recessed to give that float look.
 

Attachments

  • IMG_1678.jpg
    IMG_1678.jpg
    58.9 KB · Views: 4
Painted black. Wrapping the top and bottom tomorrow with trim so it hides the screws.

Leaving the body open for now.
 

Attachments

  • IMG_1679.jpg
    IMG_1679.jpg
    73.6 KB · Views: 4
Last edited:
And mocked up... I'll plumb tomorrow as well.

Having my buddy build me a 5x10x16" ATO resevoir. Should be like 3.5 gallons.
 

Attachments

  • IMG_1681.jpg
    IMG_1681.jpg
    46.4 KB · Views: 4
  • IMG_1687.jpg
    IMG_1687.jpg
    43 KB · Views: 4
Filled and running with no leaks.

That overflow setup, even though it's 1/2" bulkheads, flows some water!
 

Attachments

  • IMG_1703.jpg
    IMG_1703.jpg
    47 KB · Views: 6
Back
Top