Bongo Shrimp
P. ceratophthalma
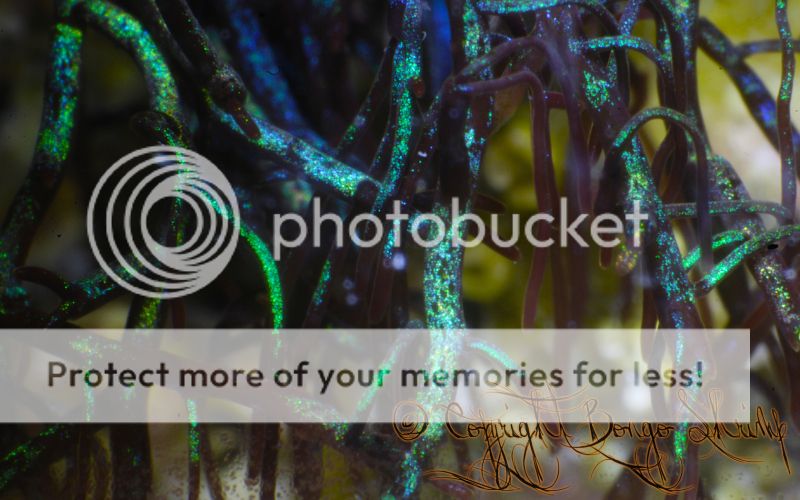
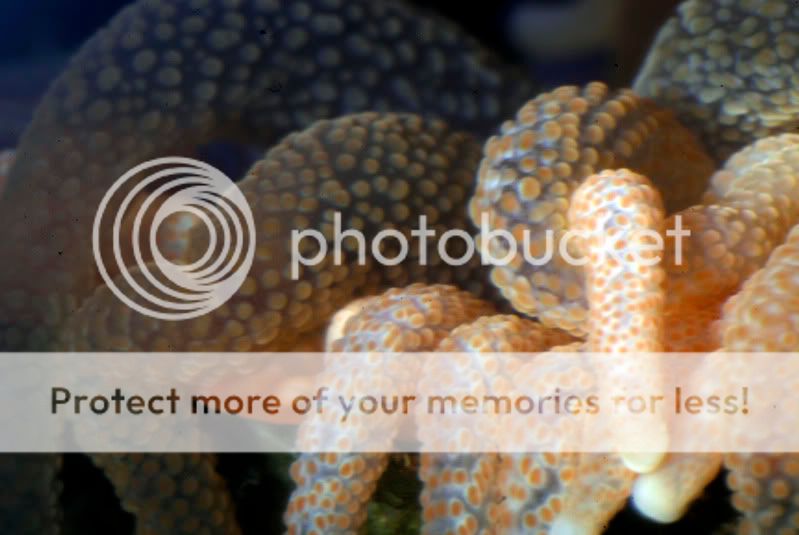
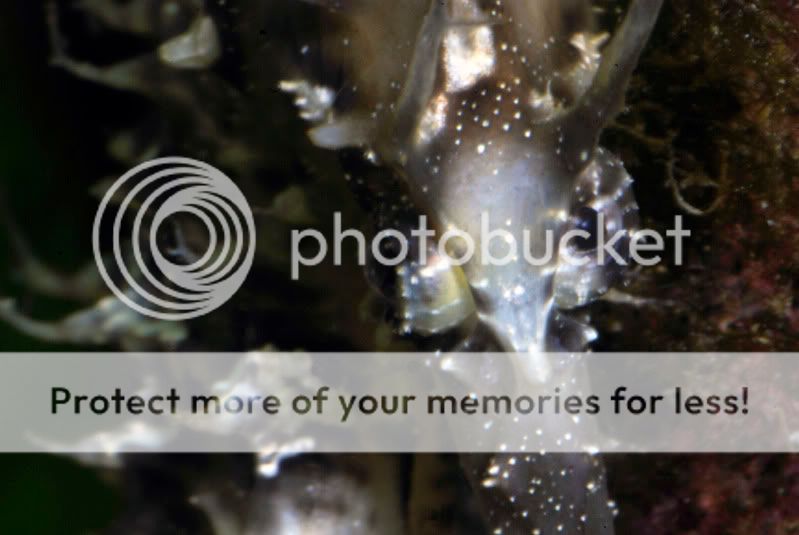
So recently I started trying to take some macro photos of my reef and I figured I'd show you all my little trick to take these pics without a macro lens. I use a Nikon D80, a standard 30mm lens and parts I already had on hand to build this adapter. However, the most important parts can be purchased for less than $15 (other than the camera and the lens or course).
What you need:
I don't have a second camera body cap to demonstrate the exact steps but I think you'll understand. Feel free to ask if you don't.
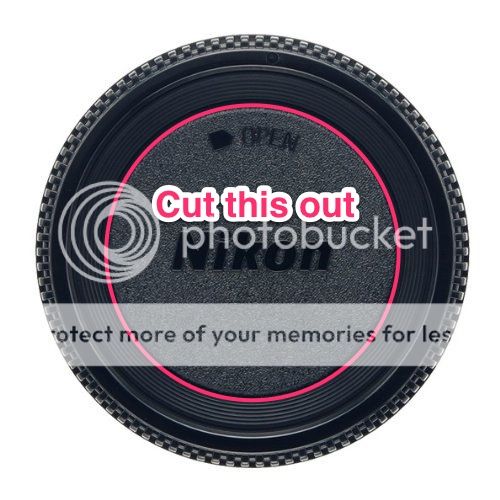
First, take the camera body cap and cut out the inner plastic. Make sure you don't cut out the part that locks into the camera, only cut out the inner most part. You can use a small drill bit to make a hole to get you started, then a serrated knife or small saw works best on the plastic. You could also try heating up a knife with a lighter so that it melts through the plastic to get you started.
Camera Body Cap:
http://ecx.images-amazon.com/images/I/51aN3U2LrlL.jpg
What to cut:
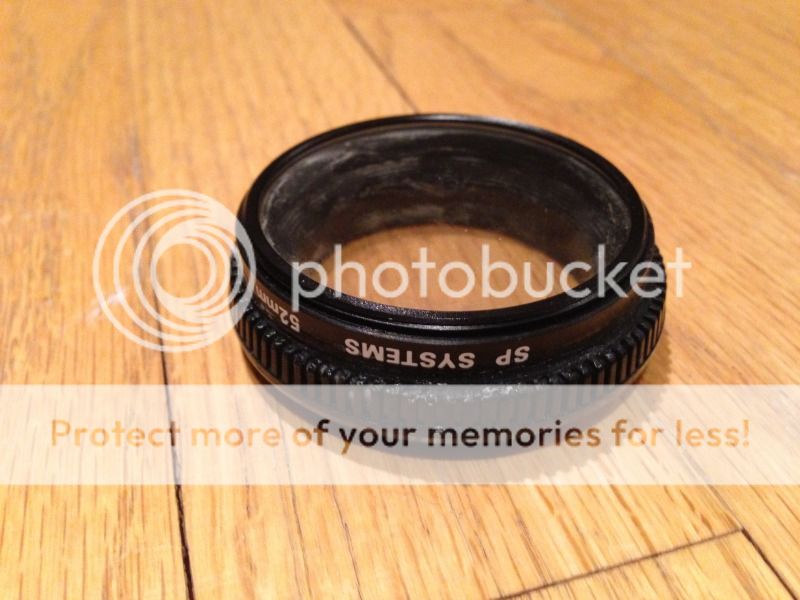
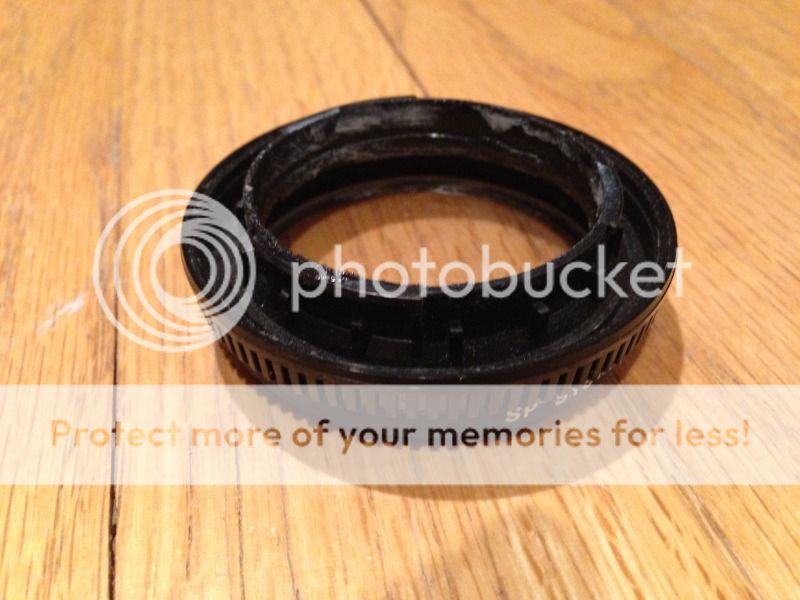
Next, identify the male and female sides of the lens protector and super glue the female side down, onto the top of the camera body cap. Try not to touch the lens protector with superglue on your hands or you may not be able to get the smudges off.
Lens Protector (female side is facing upwards in this picture):

And you're done. Yes, really.
This is the finished product:


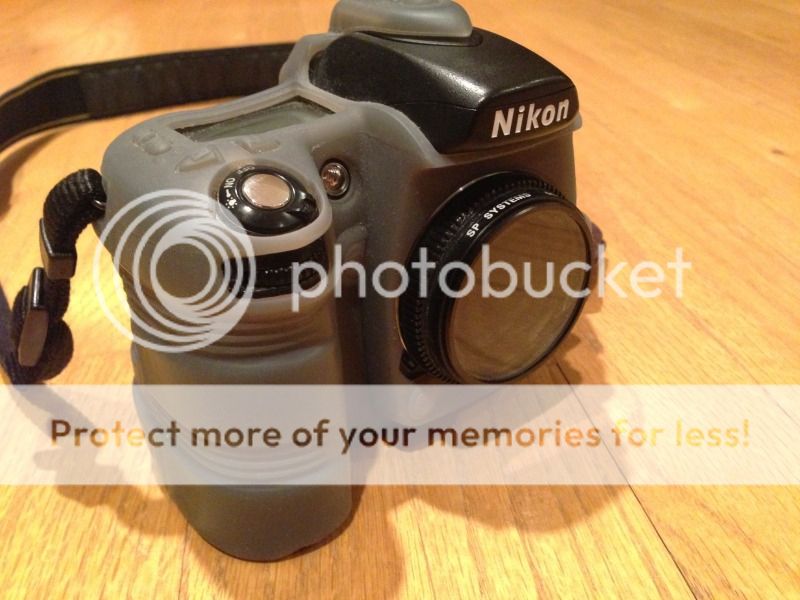
Now screw the camera body cap into the camera body:
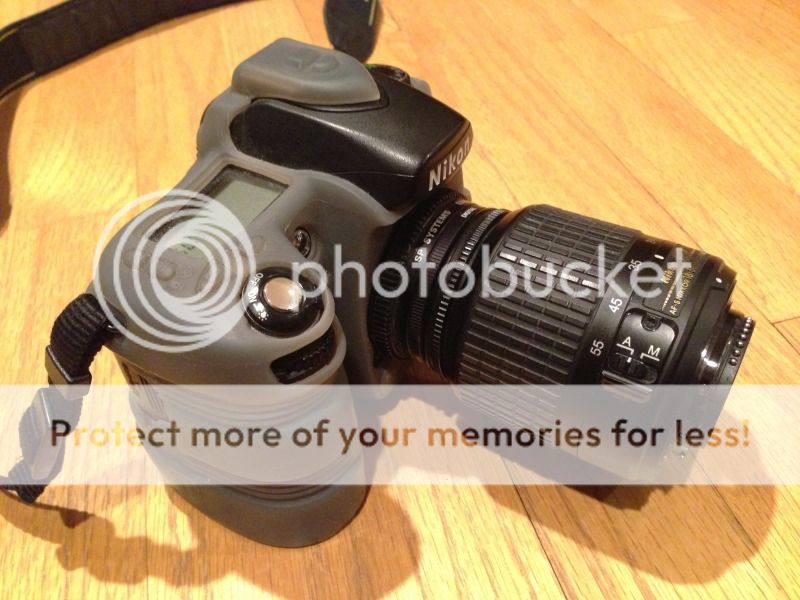
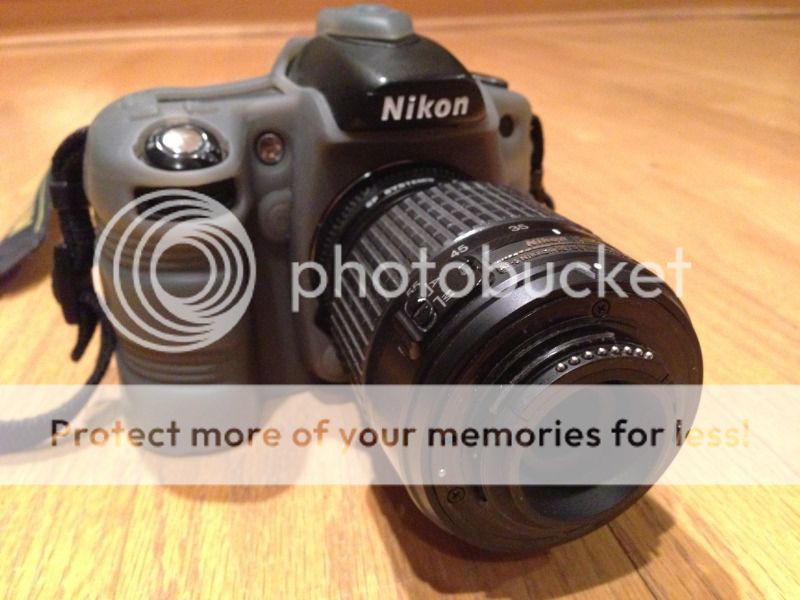
Then screw the lens onto the adapter:

A few shooting tips:
Because the lens was not meant to be mounted this way, very little light is let into the lens. Even when looking through the viewfinder, it will be extremely dark. To see what I am aiming at, I hold a small bright LED flashlight with one hand and point it at my target while looking through the viewfinder. It's a juggling act but you will get used to it.
I also use a tripod and take a long exposure shot. I usually play with the settings until I get it right. You cannot use "auto" mode to take pictures using this method. I also use the timer setting to take the pics because when you are zoomed in so close, the tiniest movement will cause blur.
The timer setting will allow you to focus everything, hit the shutter button, and then let go of the camera completely while it takes the pic so that it sits perfectly still while the shutter is open. You'll also want to turn off all flow and for the most part limit yourself to stationary objects because of blur.
This method of taking macro photos is a little unconventional and takes getting used to. However, once you get used to it and practice practice practice, you'll find the results very rewarding.
Hope you all like this little how-to.
What you need:
- A DSLR Camera
- A Lens
- A Camera Body Cap (should have come with your camera but can be purchased here, make sure you get the one that fits your camera)
- A Lens Protector (can be purchased here, and again, make sure it fits your lens)
- A Drill and/or small saw or knife (can be done without a drill, just helps start cutting, see below)
- Superglue
- Suggested: Tripod
I don't have a second camera body cap to demonstrate the exact steps but I think you'll understand. Feel free to ask if you don't.
First, take the camera body cap and cut out the inner plastic. Make sure you don't cut out the part that locks into the camera, only cut out the inner most part. You can use a small drill bit to make a hole to get you started, then a serrated knife or small saw works best on the plastic. You could also try heating up a knife with a lighter so that it melts through the plastic to get you started.
Camera Body Cap:
http://ecx.images-amazon.com/images/I/51aN3U2LrlL.jpg
What to cut:

Next, identify the male and female sides of the lens protector and super glue the female side down, onto the top of the camera body cap. Try not to touch the lens protector with superglue on your hands or you may not be able to get the smudges off.
Lens Protector (female side is facing upwards in this picture):

And you're done. Yes, really.
This is the finished product:


Now screw the camera body cap into the camera body:

Then screw the lens onto the adapter:


A few shooting tips:
Because the lens was not meant to be mounted this way, very little light is let into the lens. Even when looking through the viewfinder, it will be extremely dark. To see what I am aiming at, I hold a small bright LED flashlight with one hand and point it at my target while looking through the viewfinder. It's a juggling act but you will get used to it.
I also use a tripod and take a long exposure shot. I usually play with the settings until I get it right. You cannot use "auto" mode to take pictures using this method. I also use the timer setting to take the pics because when you are zoomed in so close, the tiniest movement will cause blur.
The timer setting will allow you to focus everything, hit the shutter button, and then let go of the camera completely while it takes the pic so that it sits perfectly still while the shutter is open. You'll also want to turn off all flow and for the most part limit yourself to stationary objects because of blur.
This method of taking macro photos is a little unconventional and takes getting used to. However, once you get used to it and practice practice practice, you'll find the results very rewarding.
Hope you all like this little how-to.


