You are using an out of date browser. It may not display this or other websites correctly.
You should upgrade or use an alternative browser.
You should upgrade or use an alternative browser.
2400 liter build in Stockholm
- Thread starter Stockholm
- Start date
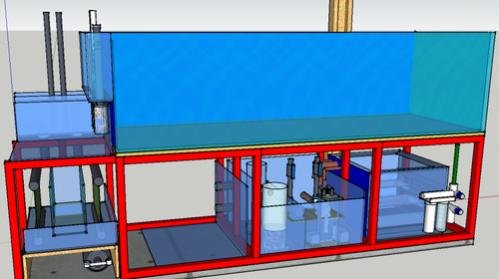
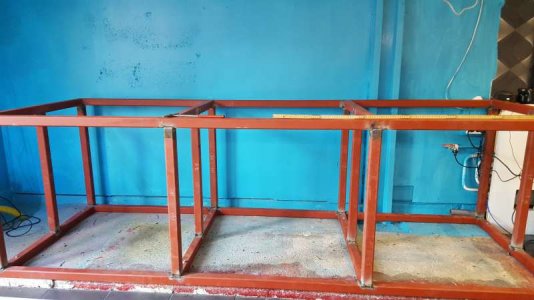
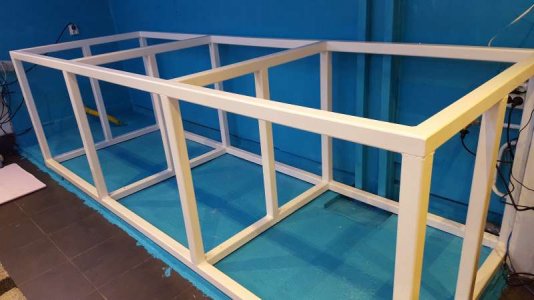
It all started with the planning, I used SketchUp to plann the project, a lot changed while building ") but luckily most mistakes where sorted out before as I used a Danish site, and the experience of the people there to avoid to many disastors. So a thank to all at saltvandsforum.dk you know who you all are.
but luckily most mistakes where sorted out before as I used a Danish site, and the experience of the people there to avoid to many disastors. So a thank to all at saltvandsforum.dk you know who you all are.
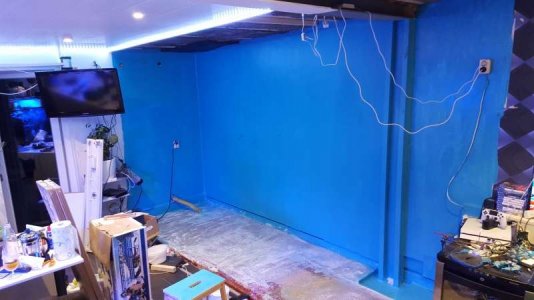
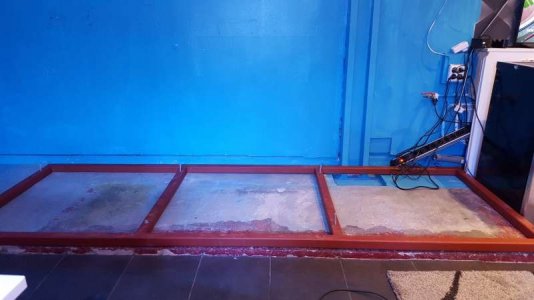
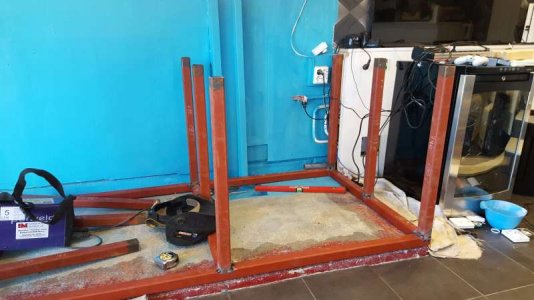
First things first, preparing... The tank sits in my home-office, old garage so in case of water leak the water will run in the drain, good idea as I have had 2 incidents already :debi:
but luckily most mistakes where sorted out before as I used a Danish site, and the experience of the people there to avoid to many disastors. So a thank to all at saltvandsforum.dk you know who you all are. First things first, preparing... The tank sits in my home-office, old garage so in case of water leak the water will run in the drain, good idea as I have had 2 incidents already :debi:
Attachments
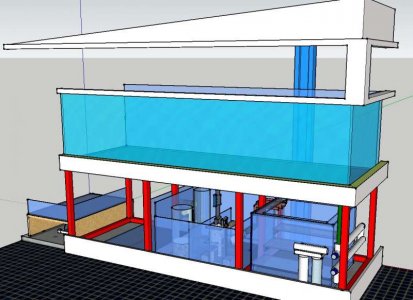
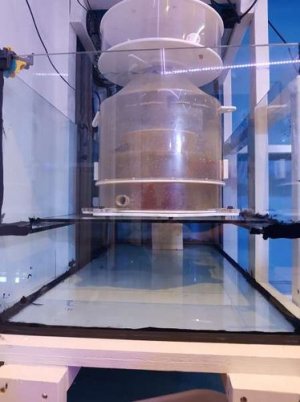
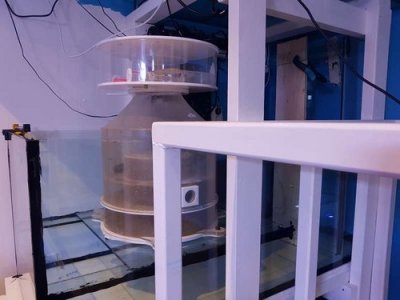
The system main cirkulation should be closed-loops, let's just say I had many ideas how to get this working, and the one illustrated here didn't win, (thanks god).

The idea is simple, 6 Vectra L1 in a tank glued on the DT, some piping and your done...
After the CL I planned a drop into a wet-dry filter, this I can still build but a friend did a simular filter and where constantly fighting with to low values as the filter simple where to efficient so he took it away. I can still build it if I see the need for more filtration.

Same sump I have my skimmer.

The idea is simple I thing, the water comes down and need to flow next to the buttom, before it can get into the skimmer, the idea is that most detrium should stay here making it easier to remove but the outlet from the skimmer gives a lot of turbulence so it don't work 100% as planned.
The idea is simple, 6 Vectra L1 in a tank glued on the DT, some piping and your done...
After the CL I planned a drop into a wet-dry filter, this I can still build but a friend did a simular filter and where constantly fighting with to low values as the filter simple where to efficient so he took it away. I can still build it if I see the need for more filtration.
Same sump I have my skimmer.
The idea is simple I thing, the water comes down and need to flow next to the buttom, before it can get into the skimmer, the idea is that most detrium should stay here making it easier to remove but the outlet from the skimmer gives a lot of turbulence so it don't work 100% as planned.
Nuno Mendes
New member
Looks like it is very well planned.My time to share my young reef in Stockholm.
I have had saltwater since 2009 and this reef have been in the planning for 2 years, and building more than one year.
Could you describe the compartments of the drains, those on the left side?
Enviado do meu Aquaris E5 FHD através de Tapatalk

After the skimmer sump I have my macro algee-sump, including 2 scrubbers, simple enough right...

Guess this picture is easyer to understand.
And finally;

Not to happy for thease scrubbers to be hounest, need to change the lightning.
I spend extra time sound-isolating everything, a thing I can recomend.

After the algee sump I have the tech-sump and return chamber. At the moment I have a skimmer andmy CA reacktor placed there and 2 buckets of sand (DSB).

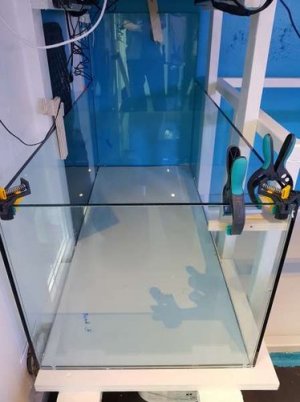
No large build without a caranteen aquarium, and even we have soper good water in Sweden a little cleaning will not kill you
")


100 KG stone more came home from foretagsakvarium, good stuff but I struggled HARD to get a nice look.

Then I got some "help"

And scaped a super light structure where fisches would have a good place to rest.

Finishing details..

Massive project, and my fingers where litural bleeding after this, scraping StoneFix from a plastic cup gets painfull after you do it 100 times...
It took me a week, some good wine (as life is to short to drink bad wine), and all episodes of Californication
Then I got some "help"
And scaped a super light structure where fisches would have a good place to rest.
Finishing details..
Massive project, and my fingers where litural bleeding after this, scraping StoneFix from a plastic cup gets painfull after you do it 100 times...
It took me a week, some good wine (as life is to short to drink bad wine), and all episodes of Californication


Way to early as always I desided to throw in my fisk and corals from my 480 that had a sad life while I where preparing for this.
It where then I started to realyse the size of the aquarium.
The sumps had beed running for 4-5 months so I hoped to avoid any nasty things in my startup...
Similar threads
- Replies
- 20
- Views
- 503
- Replies
- 14
- Views
- 379