300g tank build

cellingson

Active member
Hi guys.

Greetings from Alaska!

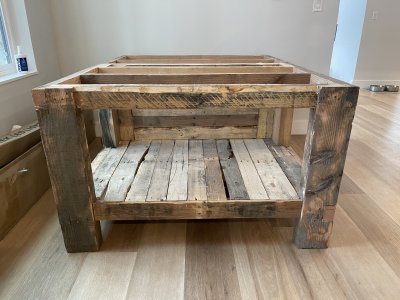
Starting a 300g tank. Should be fun and thought I would share my journey with anyone who wants to tag along. Also looking to gain from all your experience. So please share if you have suggestions.

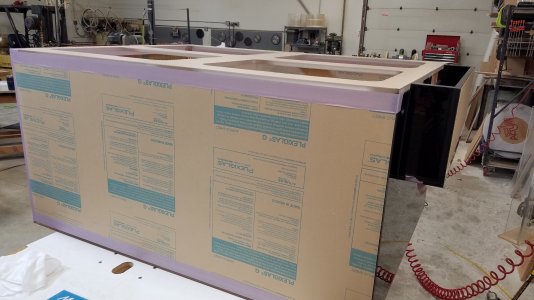
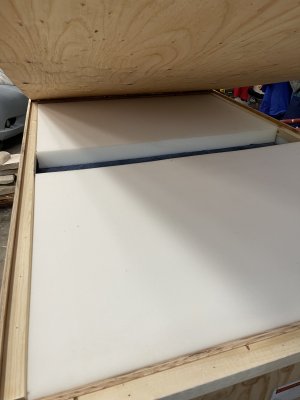
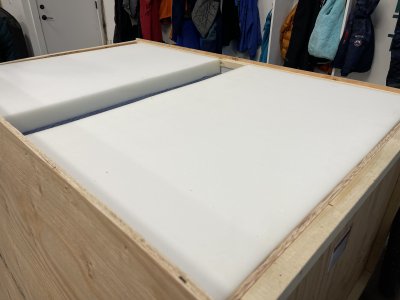
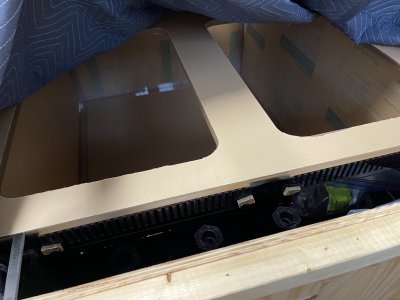
Tank is custom made from Envision Acrylics in Oregon. This will be my second purchase from James. The guy is top notch! His work and attention to detail is without comparison.

The tank will be purely acropora Peninsula tank. 60 x 45 x 30. I may be shooting my self later for getting a deep tank.
 
Last edited:
The tank was finished about 2 months ago. It took a bit to figure the logistics for bringing it up here to Alaska. James couldn't use any of his regular transportation services. I was able to secure it through Alaska Airlines. Which actually are a great and very affordable shipping option!

Attached are photos James took before he shipped it.
 

Attachments

  • photo412048.jpg
    photo412048.jpg
    442.5 KB · Views: 63
  • photo412049.jpg
    photo412049.jpg
    477.6 KB · Views: 56
In the meantime I got busy working on my stand.

The stand is made of 4" x 6 " for legs with custom 3" x 4" for the horizontal pieces. I knew the tank would be heavy so decided to do a tong and groove type of construction so the weight would be distributed better.

The wood I used had been weathered, most of it was left over from a build I had done earlier over the summer.
wAAACH5BAEKAAAALAAAAAABAAEAAAICRAEAOw==
​​​​​​ filedata/fetch?filedataid=412052
wAAACH5BAEKAAAALAAAAAABAAEAAAICRAEAOw==
​ ​​​ filedata/fetch?filedataid=412051
wAAACH5BAEKAAAALAAAAAABAAEAAAICRAEAOw==
​​
 
Attempt 1: I decided to wrap my stand with maple 1/2' ply and then added trim around the edges. It looked okay. Thought a nice ocean color paint would do the trick.

The thing look hideous. Hated looking at it. Didn't even get a picture of it.

Decided to rip off every thing and started over.

I live in Alaska and was hoping for something that looked rustic but not sloppy. Searched home depot and lowes for wood but really couldn't find anything I really wanted to use...and wood prices are discouraging.

I did have a ton of old weathered pallets that I thought I would give a try. I cut the wood and pulled out the rusty nails.
 

Attachments

  • photo412058.jpg
    photo412058.jpg
    4 MB · Views: 46
I really liked how it started to look and continued to wrap the opposing side. I will leave the back open

Here is the front of the stand. I elected to leave 1/2 of the stand open to keep if from looking so boxy and improve the flow of the room it would be in.

IMG_9442.jpg
 
I applied a back wall to finish it.

IMG_9449.jpg
Here it is in my living room. You can see some remnants of the prior stand leaning in the corner against a wood pillar.


I added
IMG_9451.jpg
wAAACH5BAEKAAAALAAAAAABAAEAAAICRAEAOw==
​​​
wAAACH5BAEKAAAALAAAAAABAAEAAAICRAEAOw==
​​​​ 3/4" marine grade plywood to the top. I used a vinegar/steel wool mixture to weather it.
 

Attachments

  • IMG_9445.jpg
    IMG_9445.jpg
    3.2 MB · Views: 36
And then I discovered this issue, uggh


Suggestions?

Is it your stand or you think the tank? The white squishy styrofoam ( not the dense pink or blue stuff) is likely a requirement here. I find that with a thick bead of silicone under the styrofoam when you place it can fix most gaps, but you'll need more friends and pizza.
 
Back
Top