Hi Guys,
It's been years since I have been a member of ReefCentral. I have learnt so much throughout the years about reefing through this forum. I guess it's about time to give a little back by sharing with you my new set up of a 400 US gallon Mix Reef with SPS predominant.
A brief history about myself...
I came from the state of Penang in Peninsula Malaysia. For those who do not know where Malaysia is, it's in the North of Singapore and the South of Thailand. The state of Penang lies in the North of Peninsula Malaysia. I grew up fascinated and attracted to the ocean. I can remember wanting to take up scuba diving as early as 10 years old. I did take up Scuba Diving and in fact, I am a Scuba diver instructor ( not by profession, but by interest ), not at that age though. I'm now 32 and practising Plastic Surgery.
My first venture into salt water reef was when I was 21. After graduating Med school and not needing to rely on pocket money, I bought myself a 2ftx1ftx1ft aquarium. I had little idea about reefing then... Absolutely no idea about the nitrogen cycle....no idea what cycling a tank is! I still remember being convinced by the LFS about how easy it was to keep a reef tank. It then started with the 2ft tank, a hang on filter, a fan, some salt, a 2ft PL fluorescent light fixture, 2 damsels and a clown fish!
Little did I know that there was more to that!!!
To cut the story short, I found reef central.....n' I ended up spending a fortune trying to prevent any life stock death. The only thing that I kept in that setup about a month later was the 2ft aquarium. I was then equip with an Eheim canister filter, a 1/4HP chiller, 2 FR's fed by the canister filter, a 150W MH Pendant, 2 hang on filters acting as refugiums and a Deltec hang on filter. Well, I must say that what I gain more was the knowledge. As we all reefers advanced and mature, so did I.... from a 2 footer to a 3 footer to a 4 footer and now, a 7 footer!!
Here goes a little on my next project :
Tank Maker : Gold Cup ( one of the more renowned reef tank makers in this region )
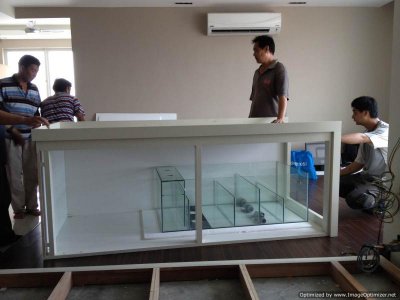
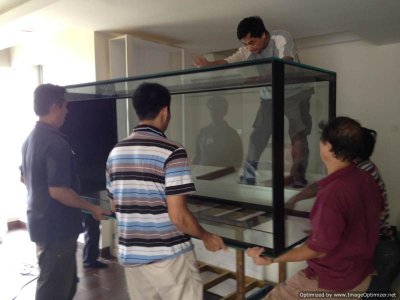
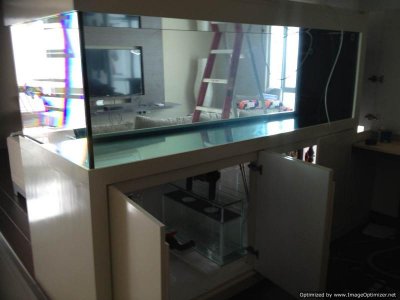
Aquarium glass : 3 x Starphire glass (viewing planes)
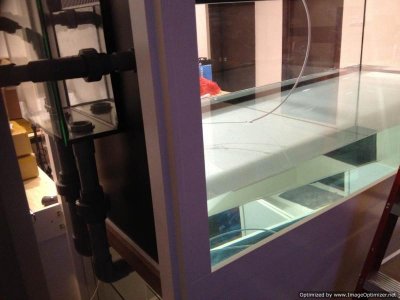
Aquarium size : 84" x 36" x 32" - 12mm thickness ~ 420 US Gallons
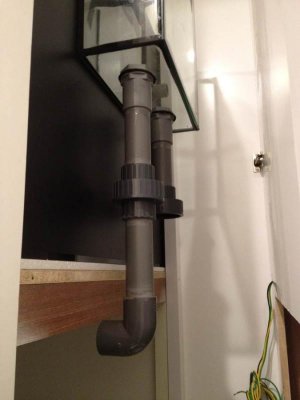
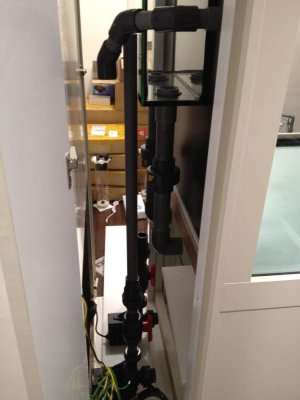
Sump : 40" x 24" x 22" - 8mm thickness with 5 compartments ~ 91 US Gallons
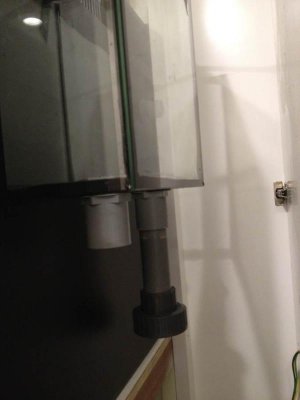
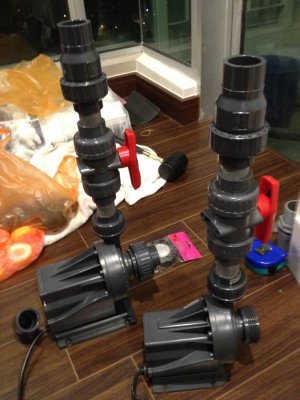
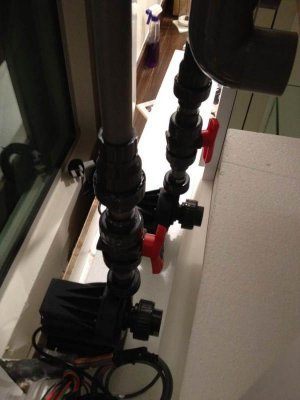
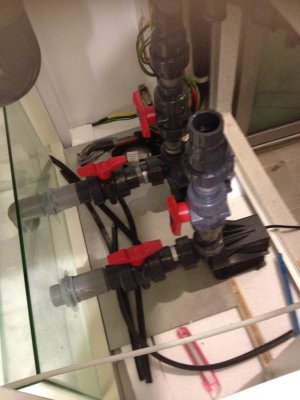
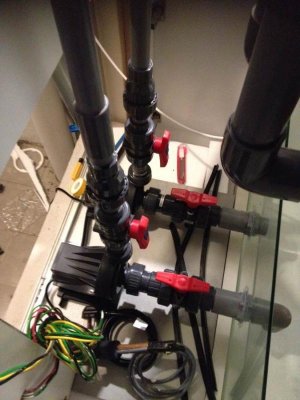
Return : Reef Octopus HY-10000 , Reef Octopus HY-7000 (total ratings of 17,000L/Hr ~ 10-12,000L/Hr with head lost)
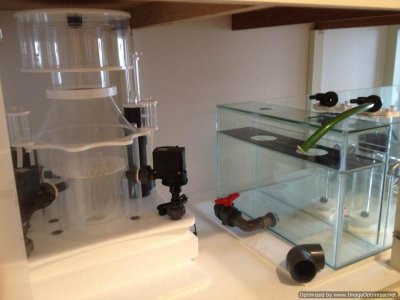
Skimmer : Skimz SM302 with Reef Octopus HY-5000 feeder pump with supplies 3 other FR's
Lightings : 5 x Orphek Atlantiks
Wavemaker : 2 x MP60WES , 2 x Tunze 6105
Fluidized reactor : Skimz FM100 x 3
Ca Reactor : Recycling my old Skimz Sidea Ca Reactor
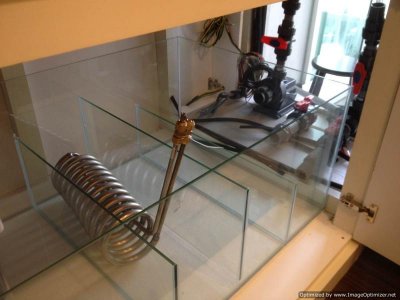
Chiller : 1.5HP York Compressor with Drop in Titanium coil
Aquacontroller : Neptune Apex , 2 x ph probe, 2 x temperature probe, 2 x salinity/Conductivity probe, 1 x ORP probe, 2 x tunze control cables
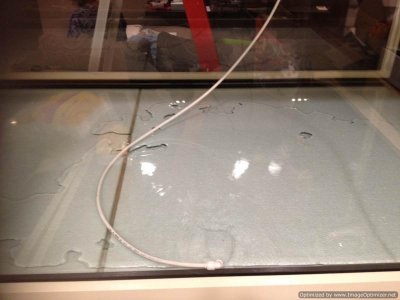
ATO : Tunze Osmolator 3155
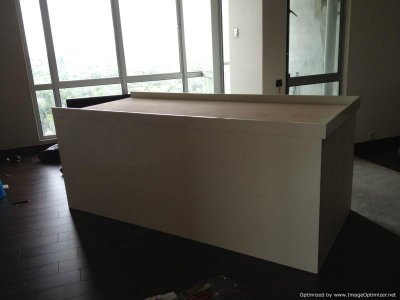
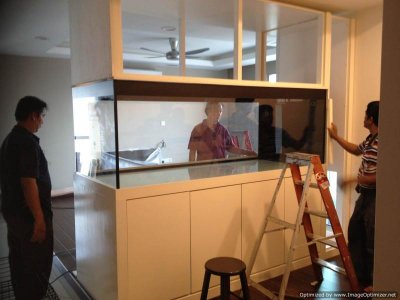
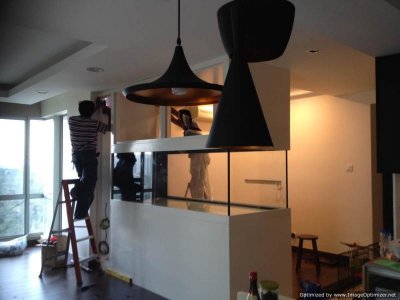
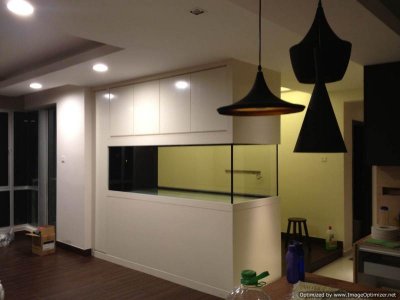
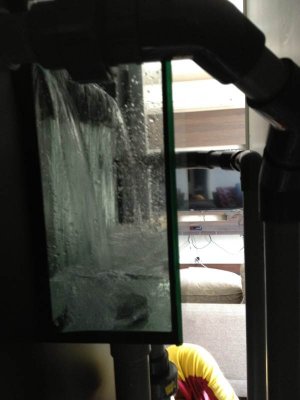
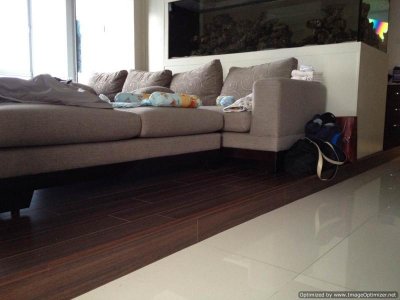
Acting as a divider between the main hall and the study room, the reef tank can be view from 3 sides.
It's been years since I have been a member of ReefCentral. I have learnt so much throughout the years about reefing through this forum. I guess it's about time to give a little back by sharing with you my new set up of a 400 US gallon Mix Reef with SPS predominant.
A brief history about myself...
I came from the state of Penang in Peninsula Malaysia. For those who do not know where Malaysia is, it's in the North of Singapore and the South of Thailand. The state of Penang lies in the North of Peninsula Malaysia. I grew up fascinated and attracted to the ocean. I can remember wanting to take up scuba diving as early as 10 years old. I did take up Scuba Diving and in fact, I am a Scuba diver instructor ( not by profession, but by interest ), not at that age though. I'm now 32 and practising Plastic Surgery.
My first venture into salt water reef was when I was 21. After graduating Med school and not needing to rely on pocket money, I bought myself a 2ftx1ftx1ft aquarium. I had little idea about reefing then... Absolutely no idea about the nitrogen cycle....no idea what cycling a tank is! I still remember being convinced by the LFS about how easy it was to keep a reef tank. It then started with the 2ft tank, a hang on filter, a fan, some salt, a 2ft PL fluorescent light fixture, 2 damsels and a clown fish!
Little did I know that there was more to that!!!
To cut the story short, I found reef central.....n' I ended up spending a fortune trying to prevent any life stock death. The only thing that I kept in that setup about a month later was the 2ft aquarium. I was then equip with an Eheim canister filter, a 1/4HP chiller, 2 FR's fed by the canister filter, a 150W MH Pendant, 2 hang on filters acting as refugiums and a Deltec hang on filter. Well, I must say that what I gain more was the knowledge. As we all reefers advanced and mature, so did I.... from a 2 footer to a 3 footer to a 4 footer and now, a 7 footer!!
Here goes a little on my next project :
Tank Maker : Gold Cup ( one of the more renowned reef tank makers in this region )
Aquarium glass : 3 x Starphire glass (viewing planes)
Aquarium size : 84" x 36" x 32" - 12mm thickness ~ 420 US Gallons
Sump : 40" x 24" x 22" - 8mm thickness with 5 compartments ~ 91 US Gallons
Return : Reef Octopus HY-10000 , Reef Octopus HY-7000 (total ratings of 17,000L/Hr ~ 10-12,000L/Hr with head lost)
Skimmer : Skimz SM302 with Reef Octopus HY-5000 feeder pump with supplies 3 other FR's
Lightings : 5 x Orphek Atlantiks
Wavemaker : 2 x MP60WES , 2 x Tunze 6105
Fluidized reactor : Skimz FM100 x 3
Ca Reactor : Recycling my old Skimz Sidea Ca Reactor
Chiller : 1.5HP York Compressor with Drop in Titanium coil
Aquacontroller : Neptune Apex , 2 x ph probe, 2 x temperature probe, 2 x salinity/Conductivity probe, 1 x ORP probe, 2 x tunze control cables
ATO : Tunze Osmolator 3155
Acting as a divider between the main hall and the study room, the reef tank can be view from 3 sides.


")