I started off with a 29 gallon reef tank about 15 years ago, eventually moved up to a 55, then a 135 about 6 years ago.
I've always wanted to upgrade the 135, but we really didn't have the room at our last house. So when my wife and I finally realized that we had outgrown our house (we also have two boys ages 11 and 9) we decided it was time to start looking for a bigger home. With our decision made, this was my chance to slowly stock up on equipment and shop around for a new setup.. and I wasn't gonna waste any time at all.
I began with trying to find a builder for a new acrylic tank and sump. So after spending days digging thru the archives on this site and a couple others I finally decided on a local builder.. Clear Fabrications in Seattle.
It's a one man operation and I was impressed with the quality of work, prices were reasonable, his shop was only 45 minutes away, and the place was highly recommended by people in this area. It was an easy choice..
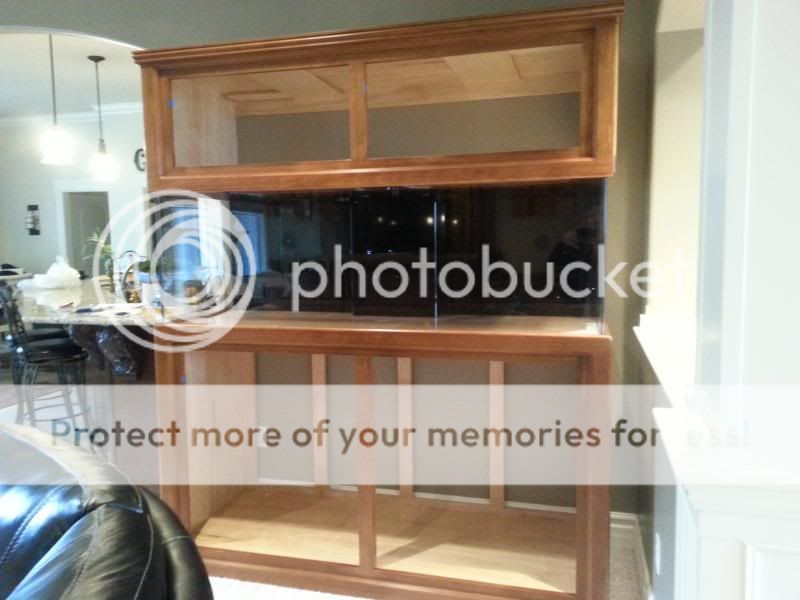
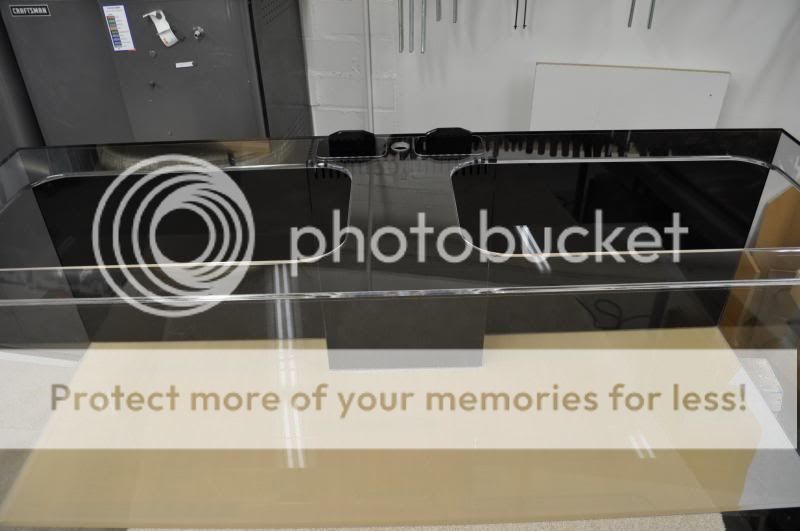
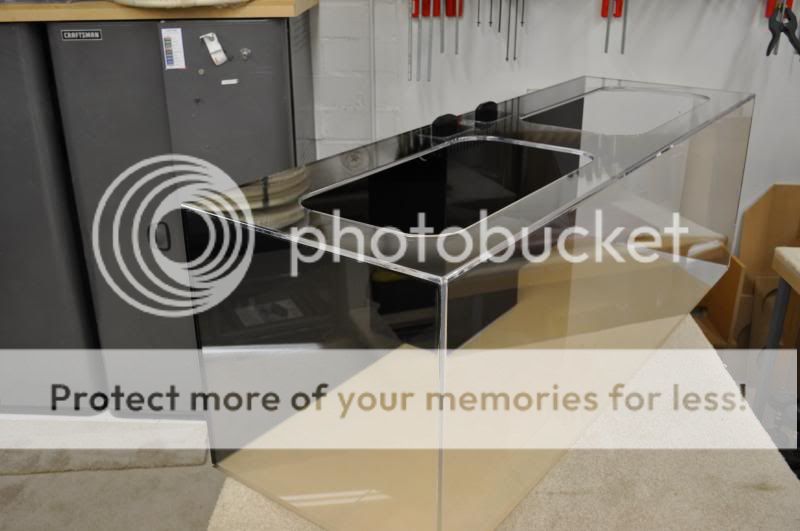
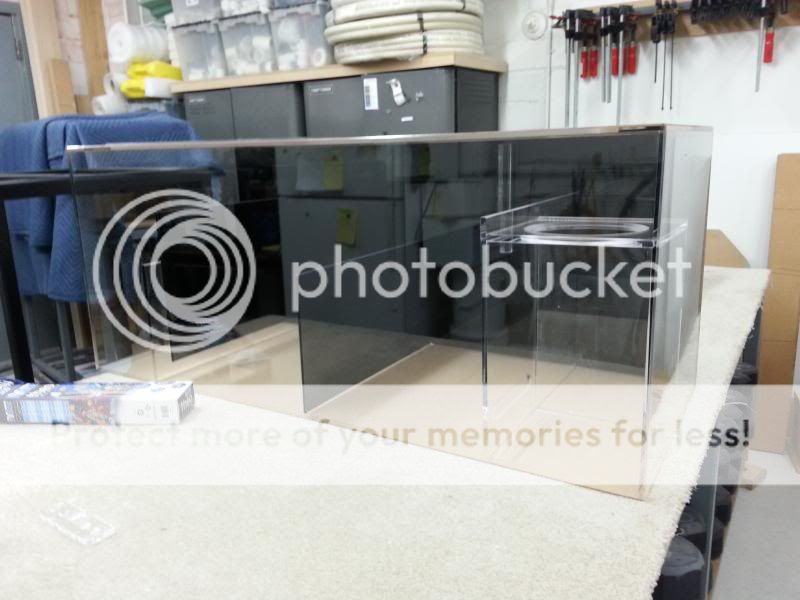
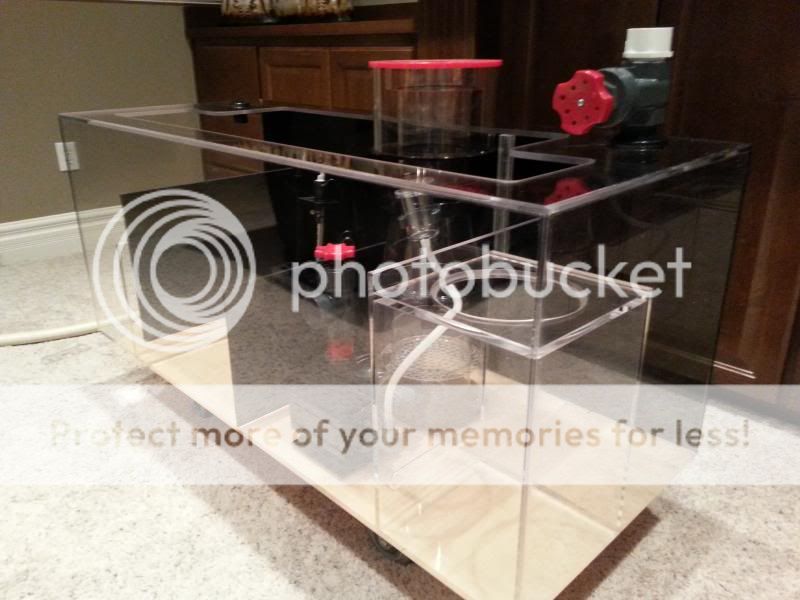
Here's the tank and sump the day I picked them up from Jason.. tank is 72x24x24 and sump is 48x20x20

After getting them home and finding a safe place to store them, that's where they would sit until we moved. Tucked away with boxes of fish tank stuff that grew a little every couple weeks as I added to it.. patiently waiting for the day I had everything I needed.
Fast forward a little and it's time to pack up and move, and also break down the 135. The combination of the two at the same time WAS NOT fun. We wanted to keep the kids in the same school district, so lucky for me the new house was only a 10 minute drive away.. this was a huge help")
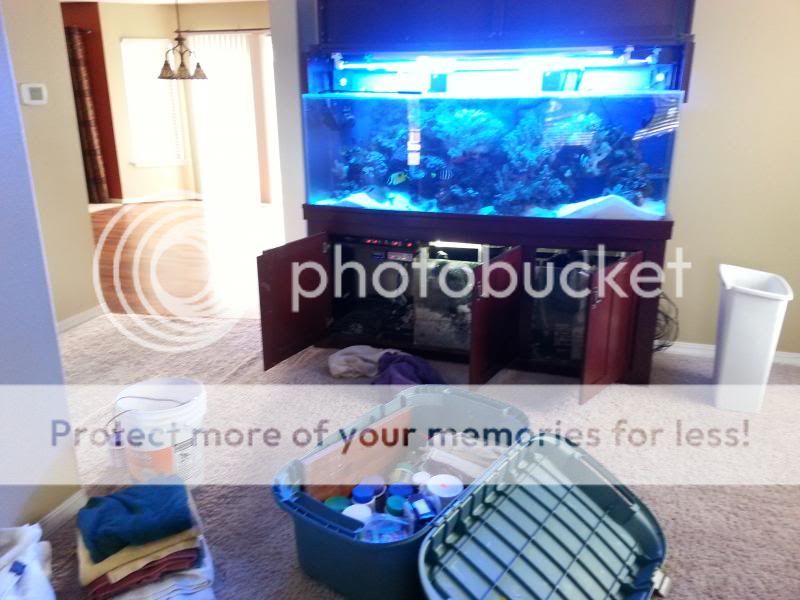
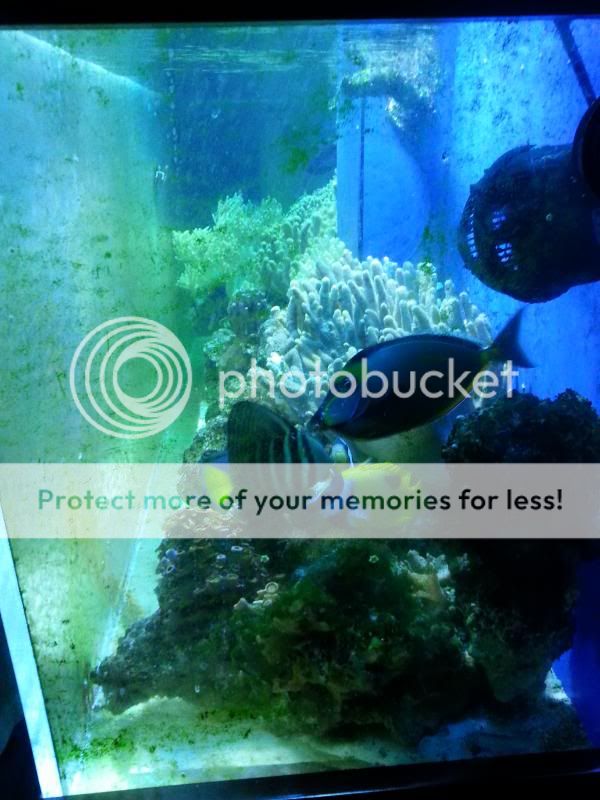
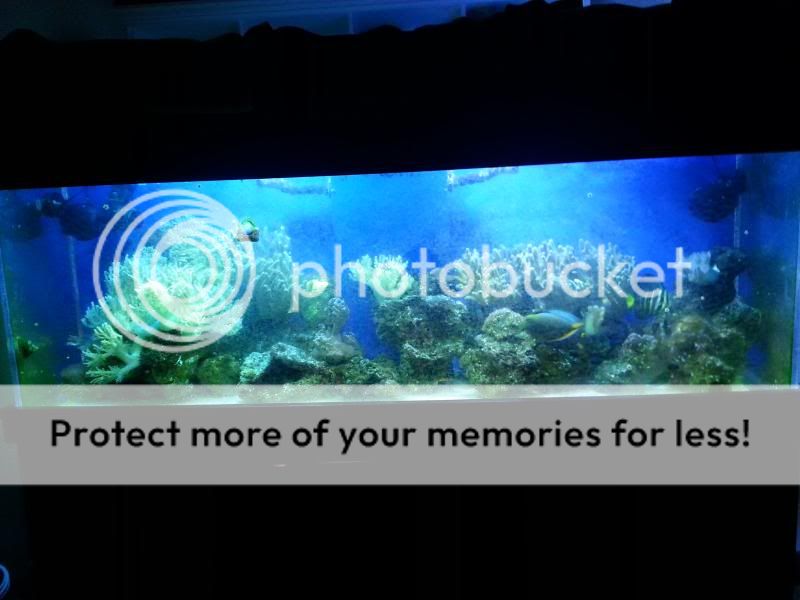
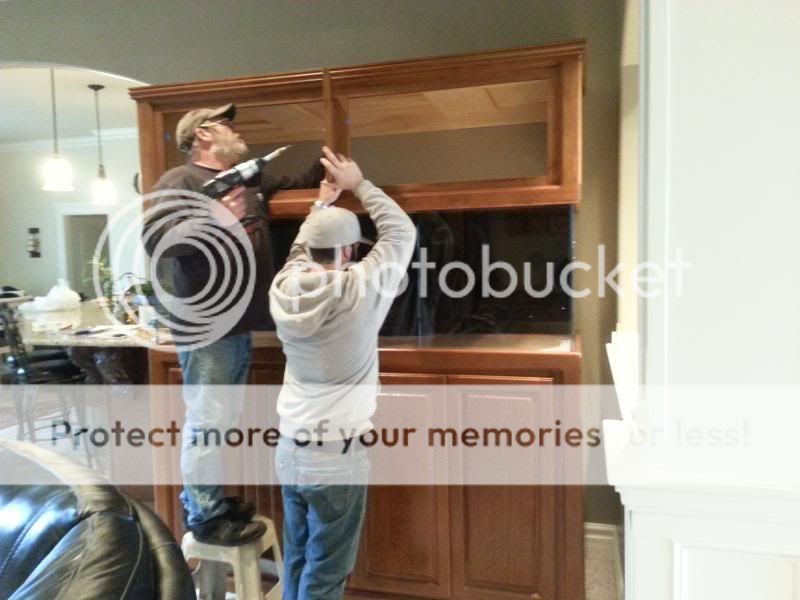
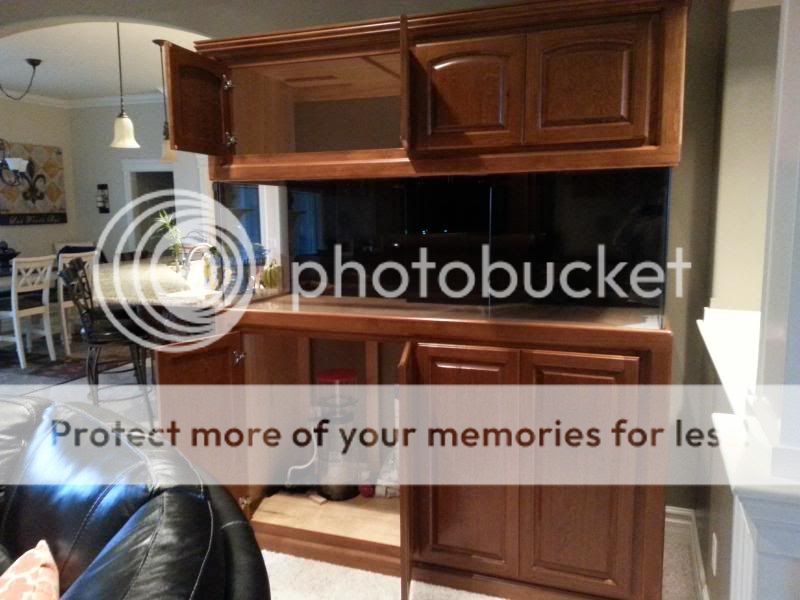
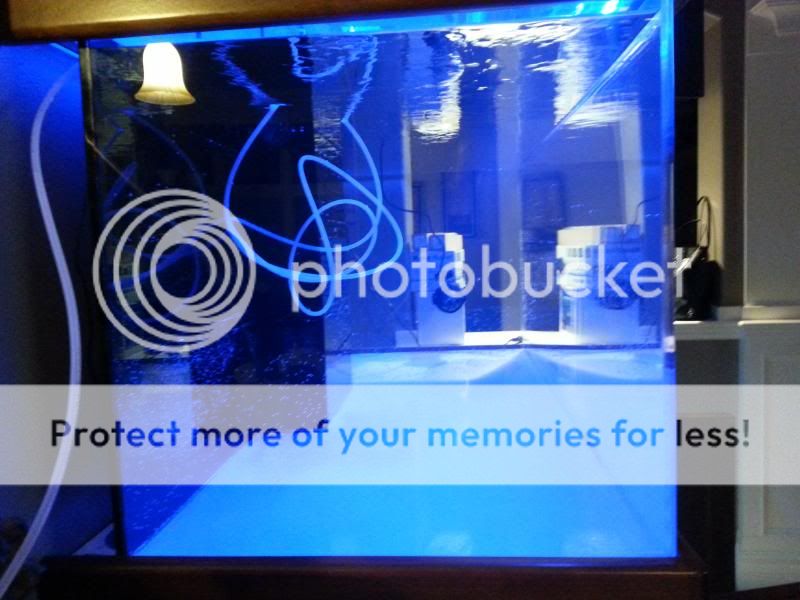
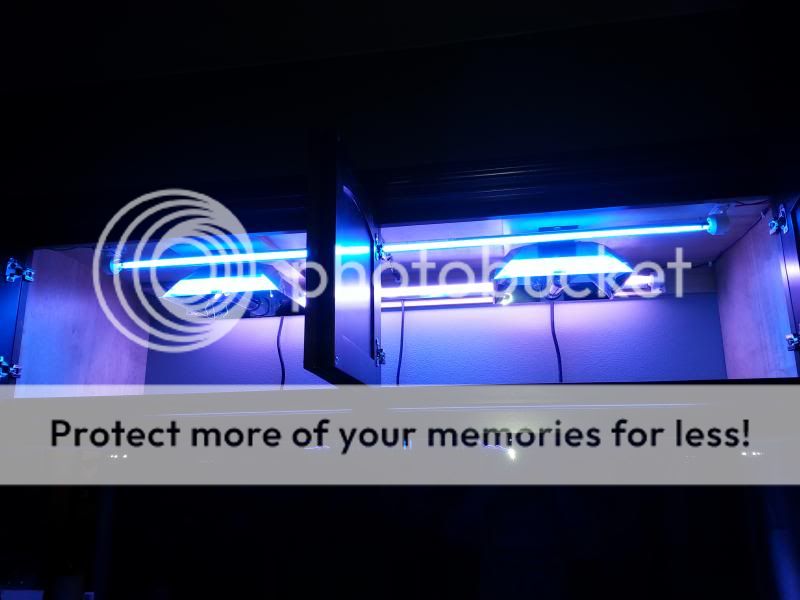
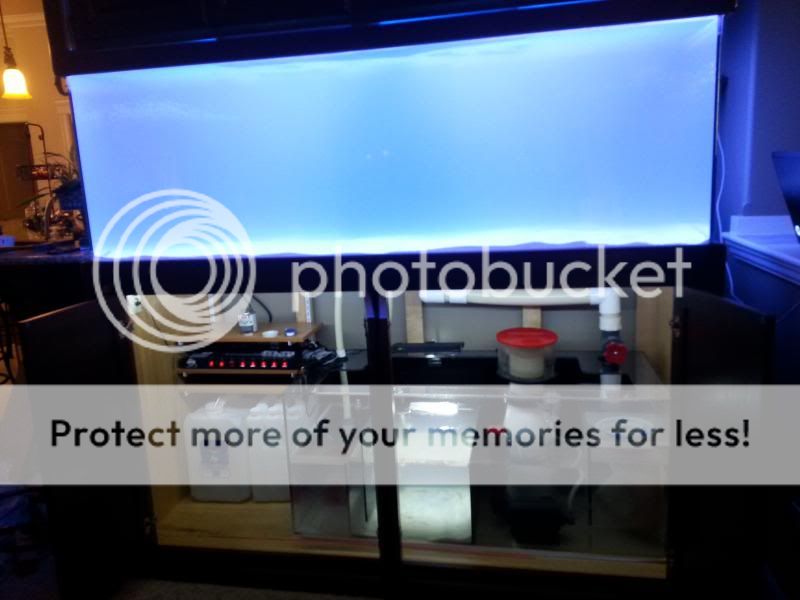
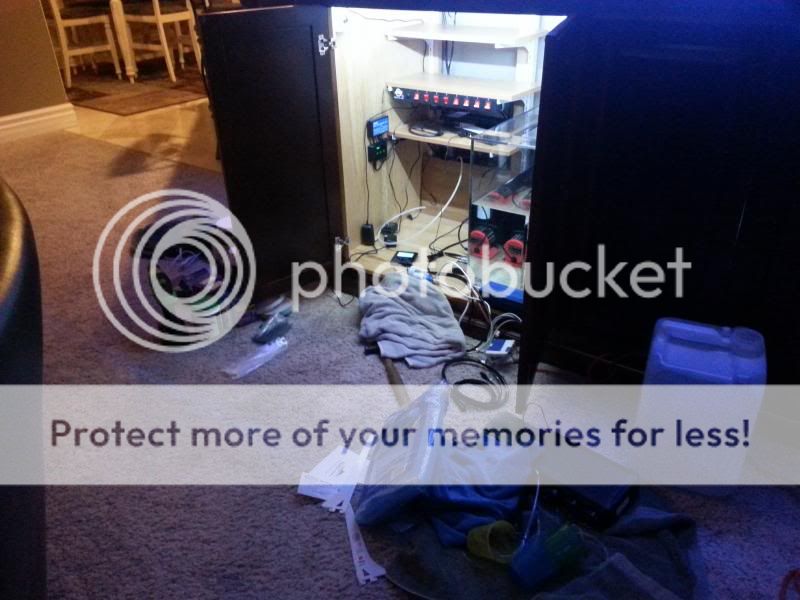
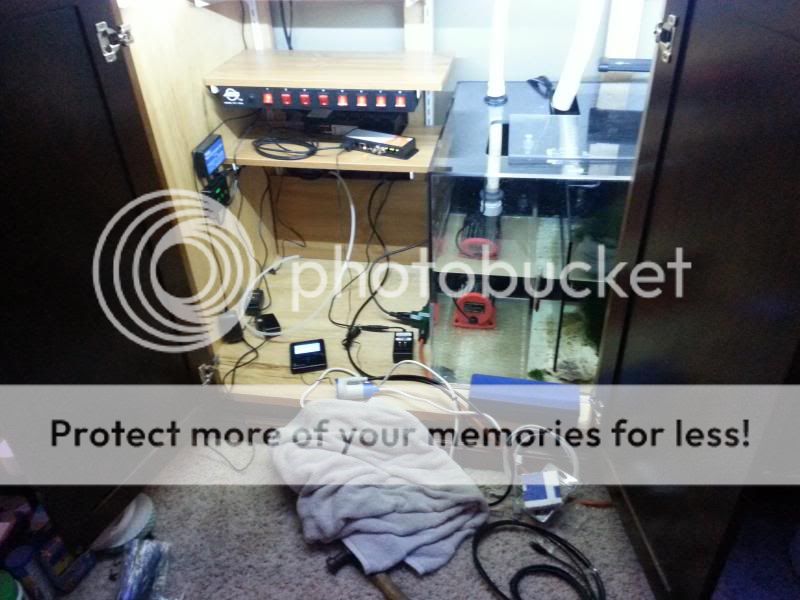
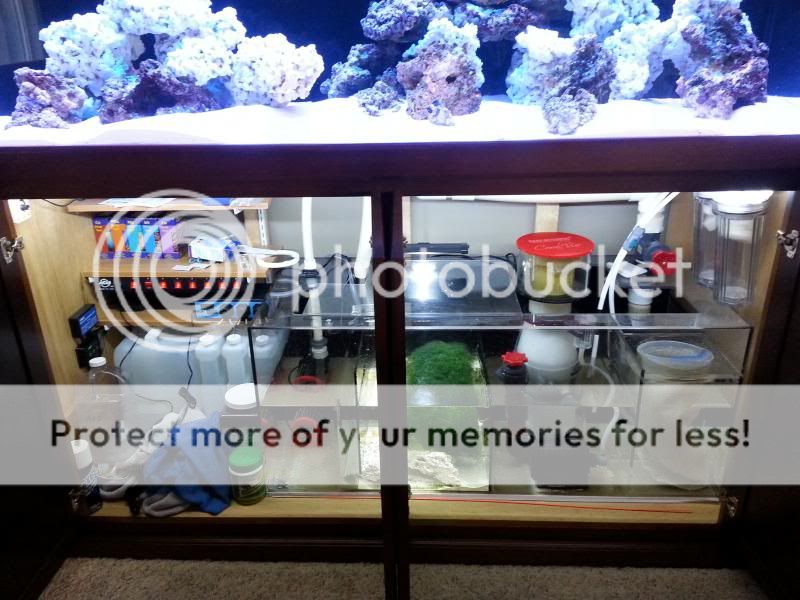
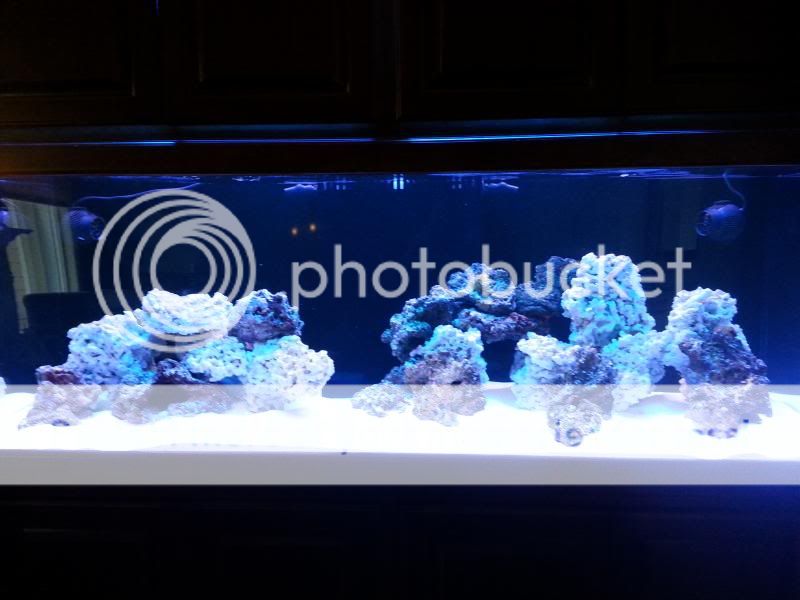
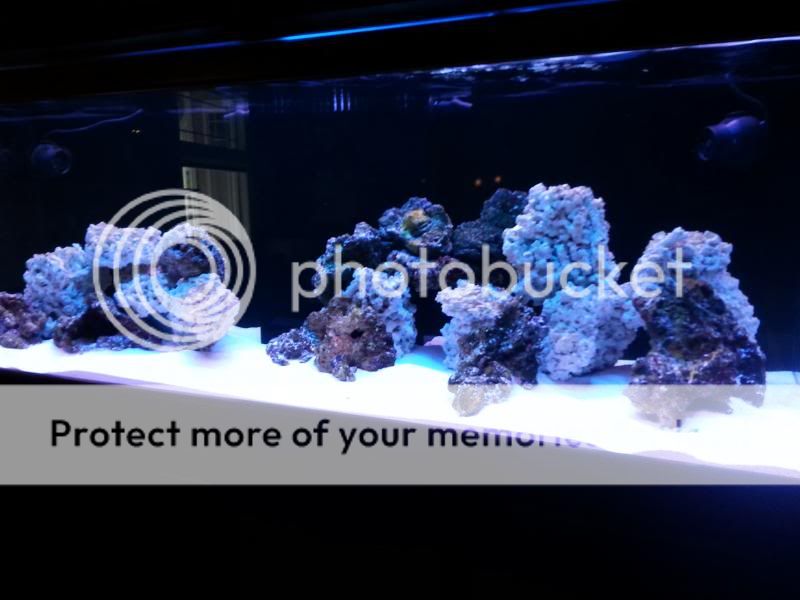
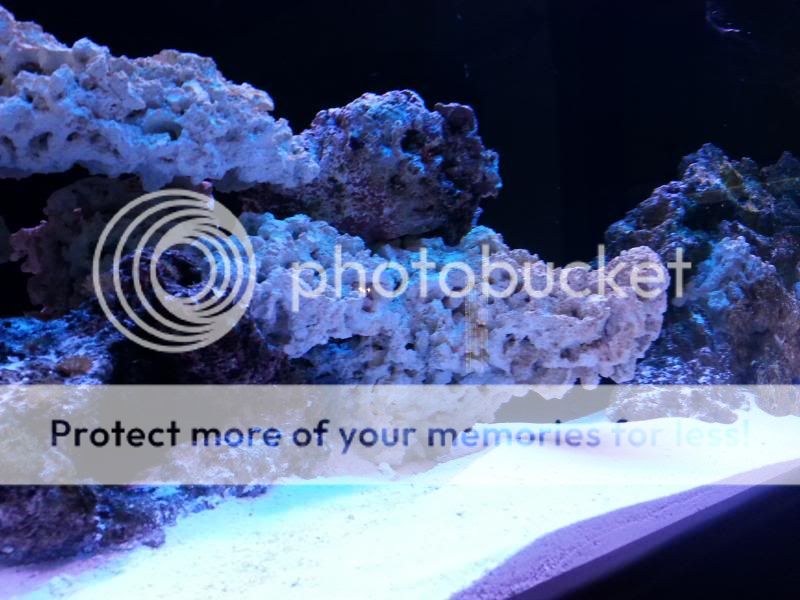
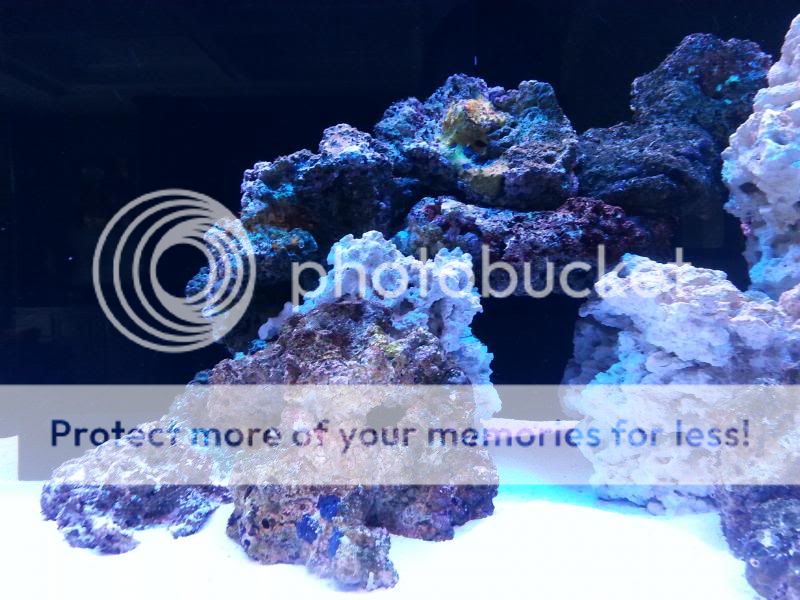
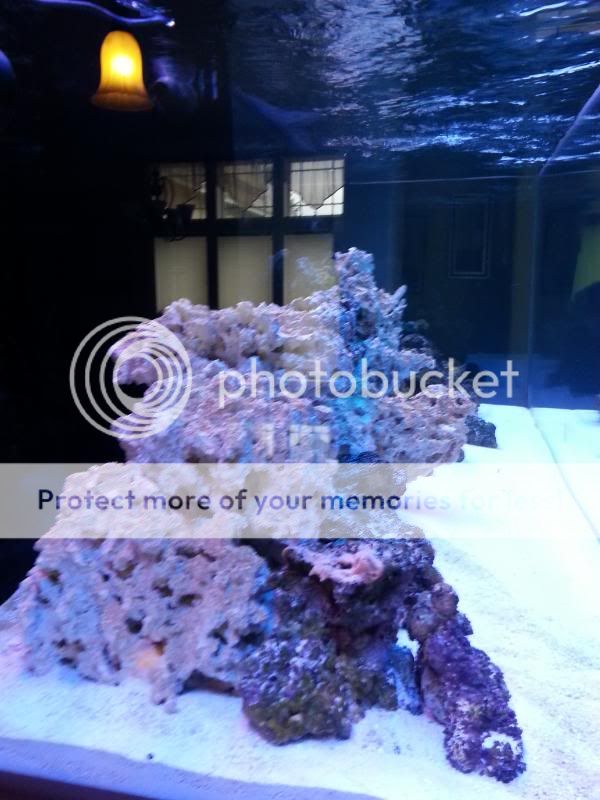
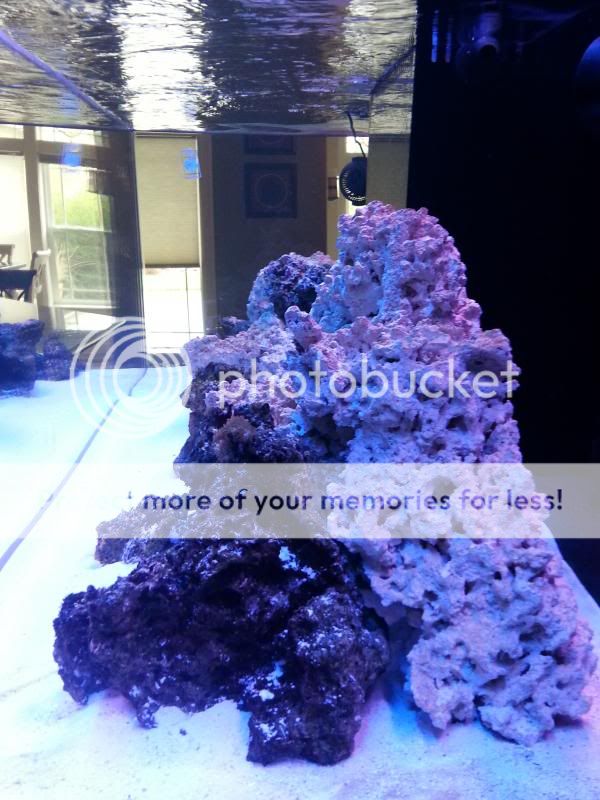
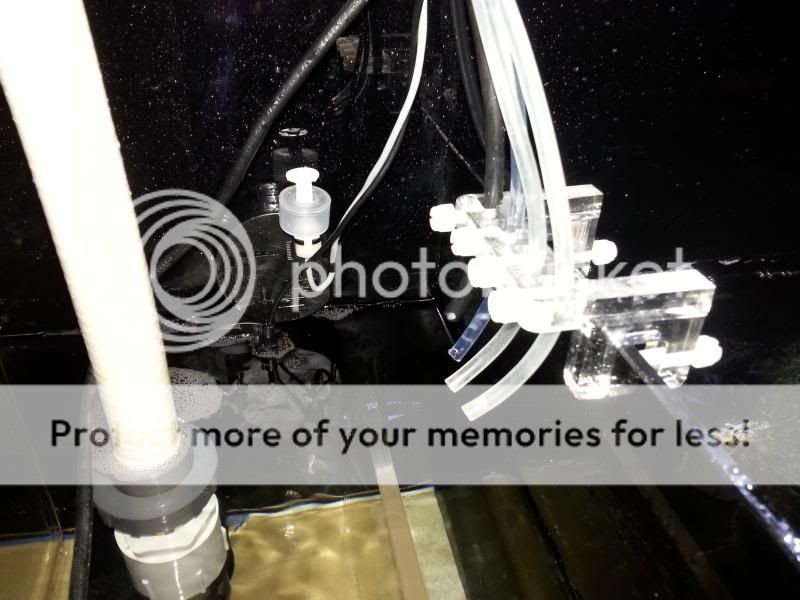
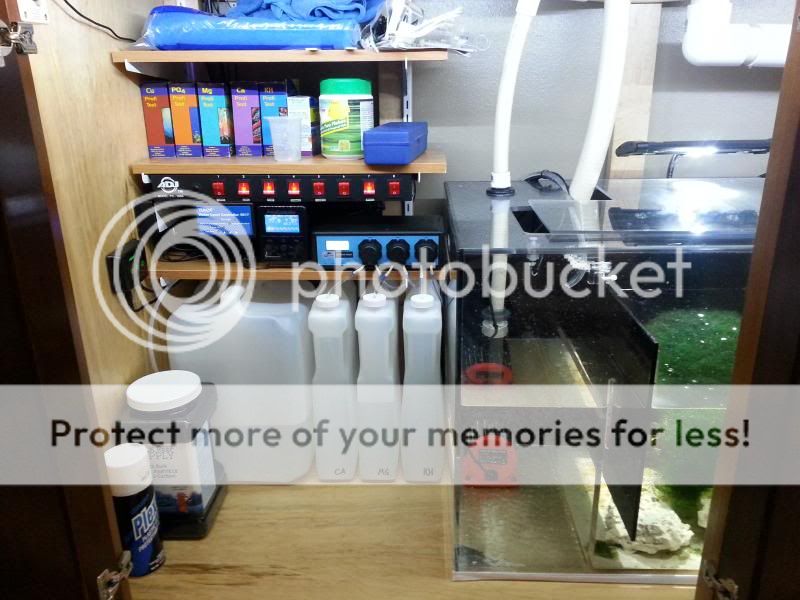
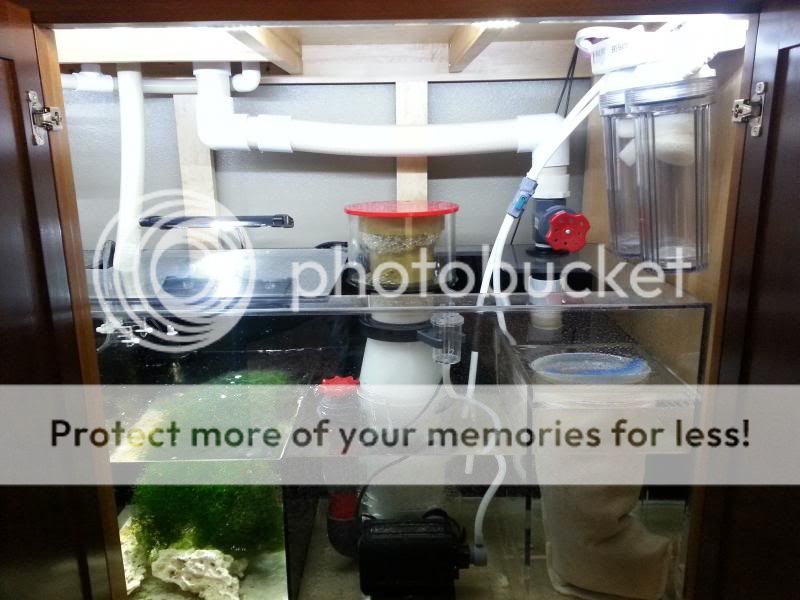
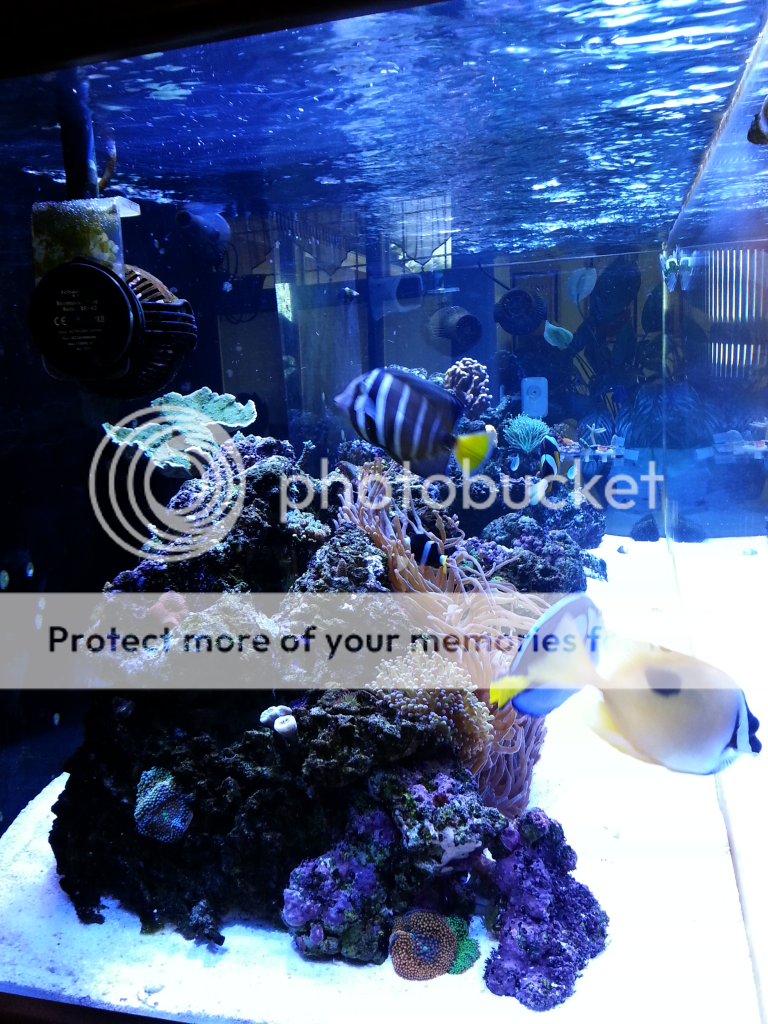
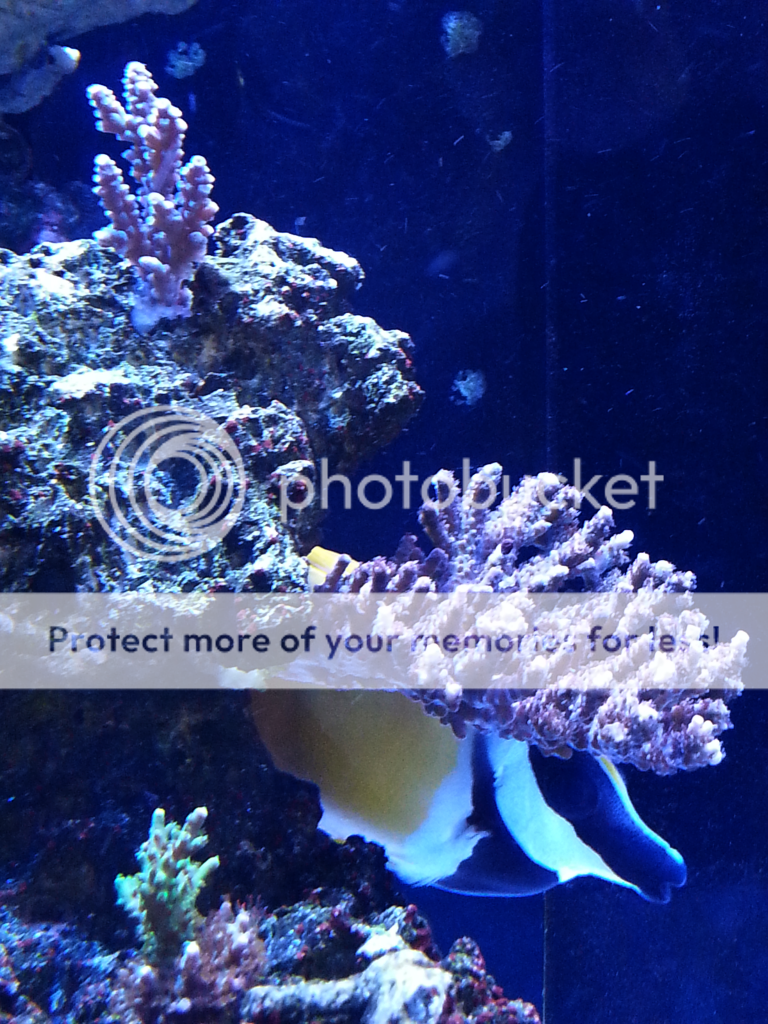
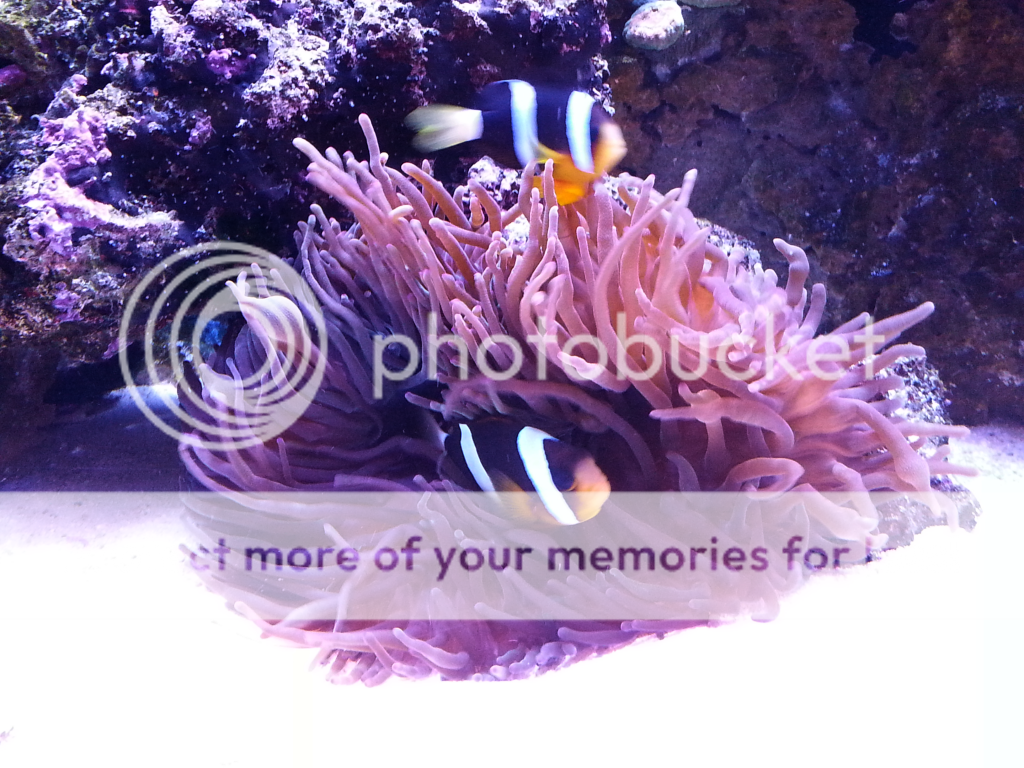
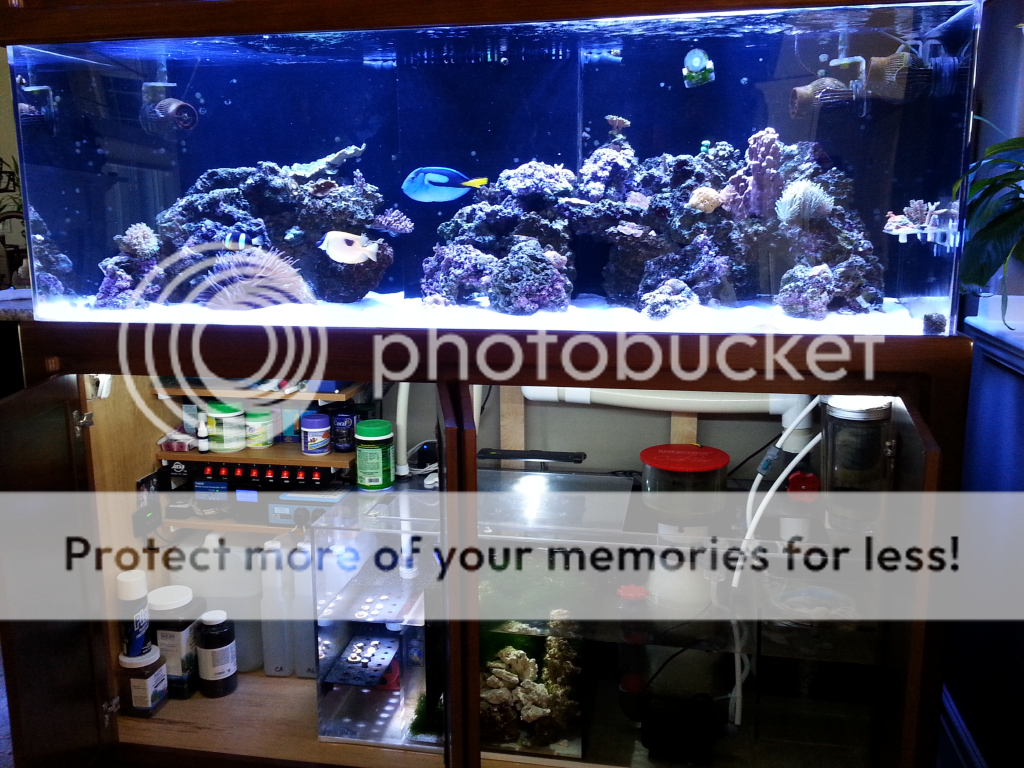
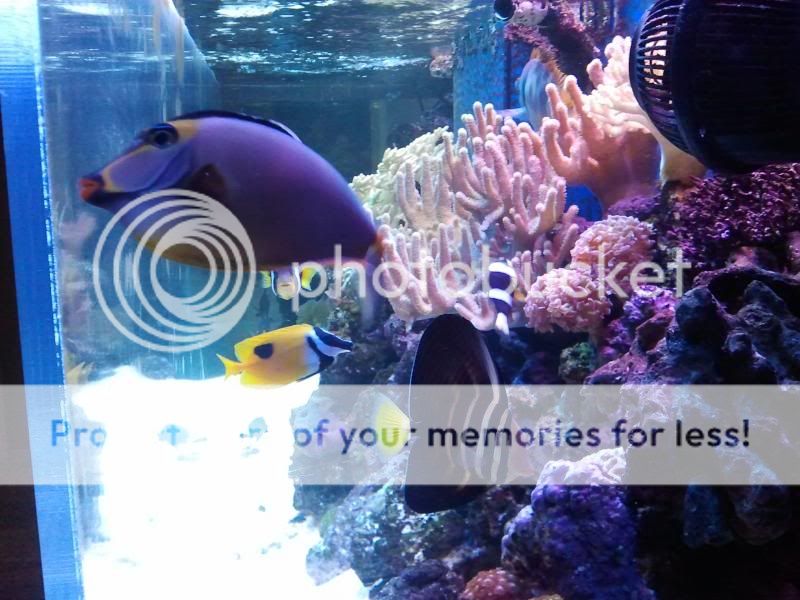
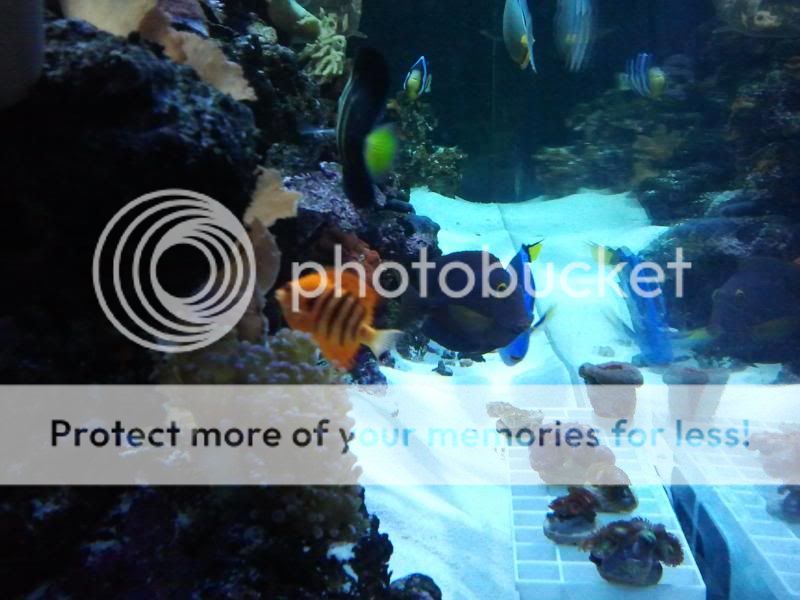
Here are some pics of the 135 before tearing it down..

Edit: just found out we're limited to 10 pics per post.. so I'll have to add the rest as replies
I've always wanted to upgrade the 135, but we really didn't have the room at our last house. So when my wife and I finally realized that we had outgrown our house (we also have two boys ages 11 and 9) we decided it was time to start looking for a bigger home. With our decision made, this was my chance to slowly stock up on equipment and shop around for a new setup.. and I wasn't gonna waste any time at all.
I began with trying to find a builder for a new acrylic tank and sump. So after spending days digging thru the archives on this site and a couple others I finally decided on a local builder.. Clear Fabrications in Seattle.
It's a one man operation and I was impressed with the quality of work, prices were reasonable, his shop was only 45 minutes away, and the place was highly recommended by people in this area. It was an easy choice..
Here's the tank and sump the day I picked them up from Jason.. tank is 72x24x24 and sump is 48x20x20
After getting them home and finding a safe place to store them, that's where they would sit until we moved. Tucked away with boxes of fish tank stuff that grew a little every couple weeks as I added to it.. patiently waiting for the day I had everything I needed.
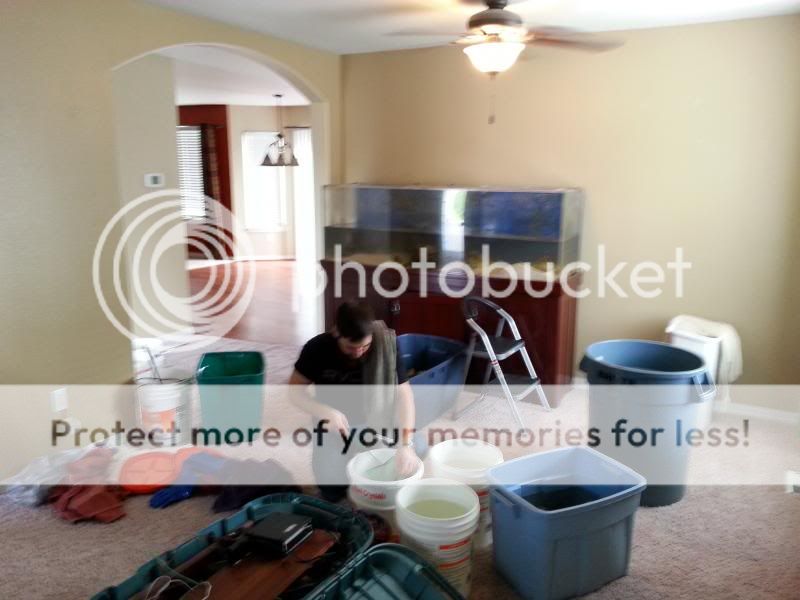
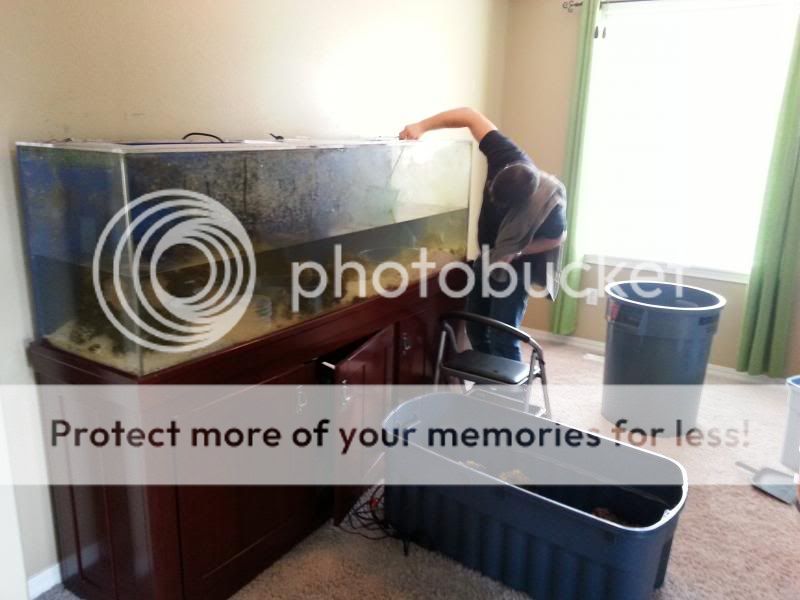
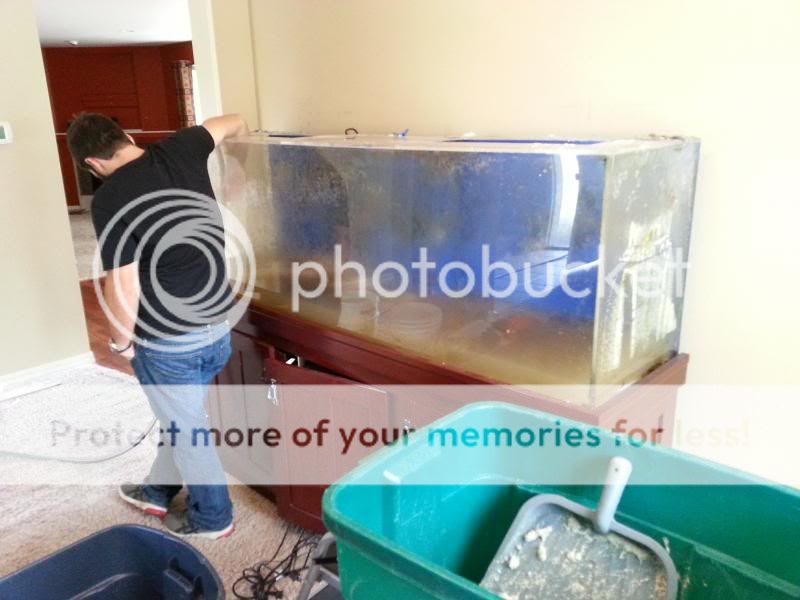
Fast forward a little and it's time to pack up and move, and also break down the 135. The combination of the two at the same time WAS NOT fun. We wanted to keep the kids in the same school district, so lucky for me the new house was only a 10 minute drive away.. this was a huge help
Here are some pics of the 135 before tearing it down..
Edit: just found out we're limited to 10 pics per post.. so I'll have to add the rest as replies
Last edited: