Have been reefing for a few years now and have spent alot of time admiring the many many nice tanks here on RC. There has been so many large tanks in this forum that has led me to the broke status that I am in today. I started with a 46 bowfront back in 2005 and have been thru a 60 gal., a 120 gal., a 125 gal. and now my addiction has taking quite a turn for the better or worse, depending on how you look at it or who you ask(My Wife).
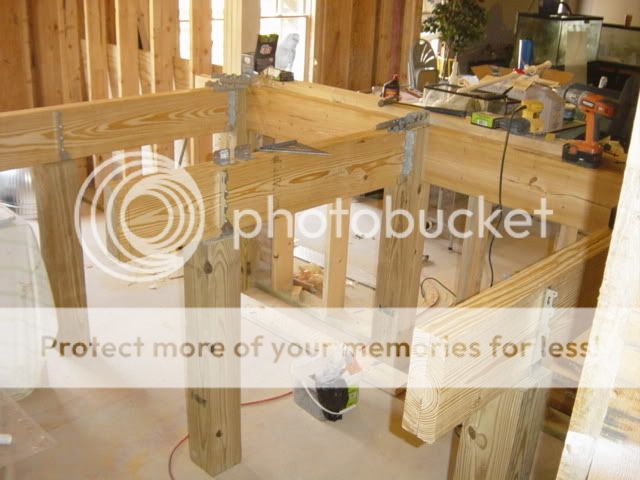
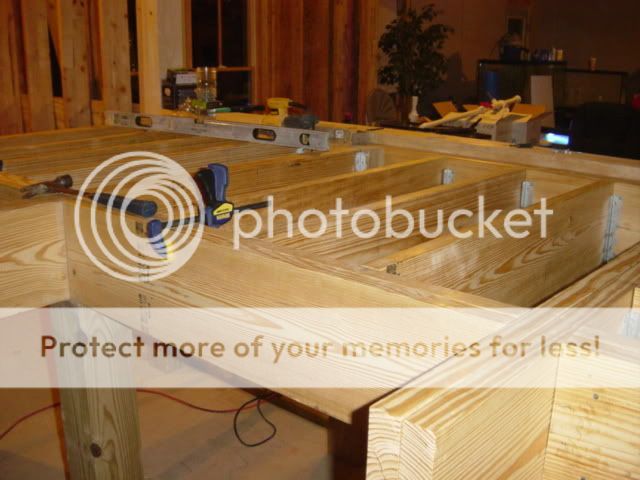
I have spent the past two years working on this project and have just recently got the tank running and in a somewhat presentable condition. So I would like to share with you guys the result of much sweat and tears....
Tanks that make up the roughly 900 gallon system...
1. Display tank - 600 gallons 96" x 48" x 30".
2. Sump - 240 gallons 72" x 36" x 24"
3. Frag tank - 80 gallons 32"x32"x18"
Equip....
1. DIY Dart NW skimmer which utilizes an Alita 40 air pump and Gold Dart Pump.
2. Aqua UV 120 watt
3. BRS Dual media Reactor for Carbon and GFO.
Water Flow....
1. Gold Dart return pump.
2. 2 --Tunze waveboxes built into external waveboxes. Uses 6091 controller.
3. 4- Tunze 6101's on 7095 controller.
4. Frag tank is fed from return pump and gravuty drains into display. Has a Tunze 6125 for additional flow.
Lighting....
1. Main Display--- 2 - 8 lamp Tek lights.
2. Frag Tank---- 24" Aquamedic 250watt w/ 2- T5 actinics.
Water Storage.......
1. Fresh water 2 -30 gallon reservoirs.
2. Saltwater 160 gallon reservoir


")


