Unicorntang11
New member
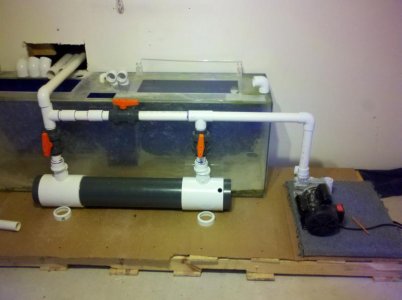
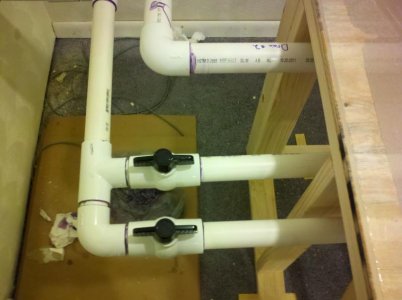
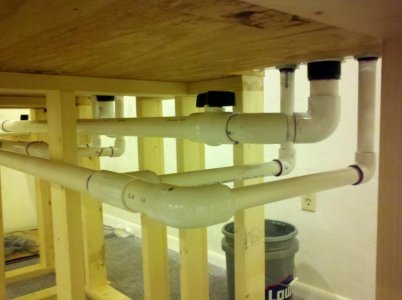
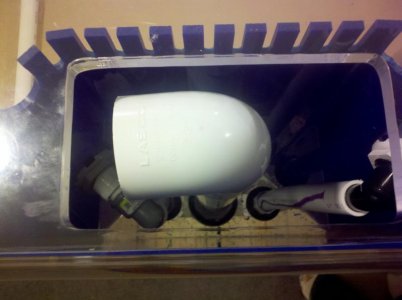
620 gallons total=360 Gallon Aquarium w/125 gallon sump & 125 gallon pre-formed pond.
Hey guys,
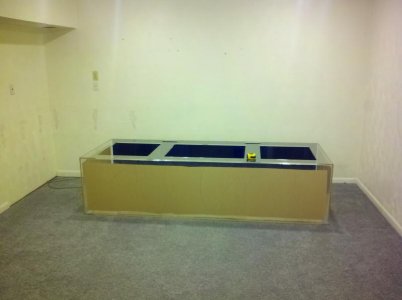
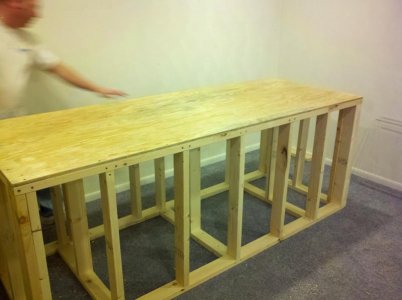
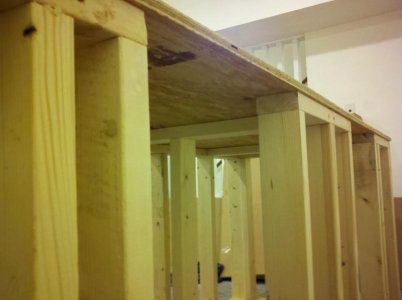
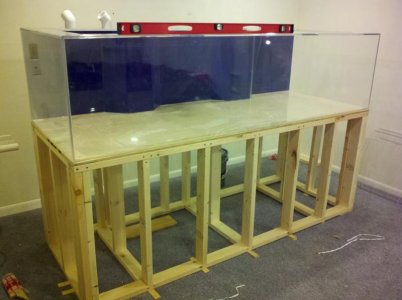
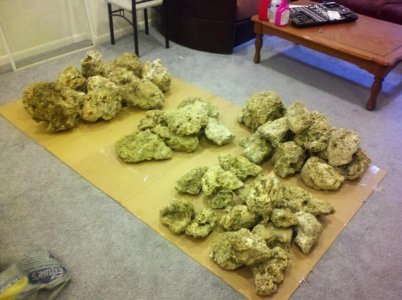
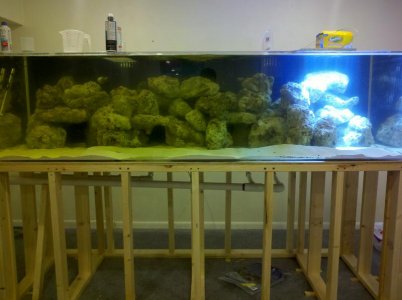
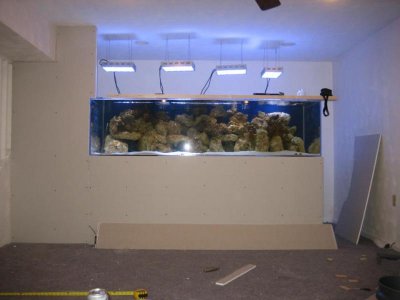
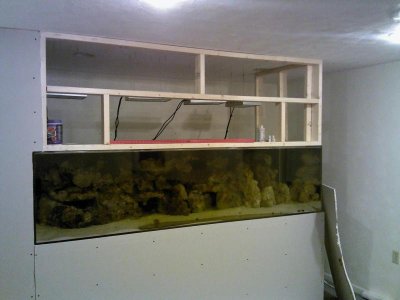
I will be doing an in wall build with my new tank. We just purchased a new home and have moved in. I am upgrading from my 125 gallon tank now to a 360 gallon tank. The dimensions will be 8ft long, 2ft tall, and 3ft wide. The old tank will become the new sump. When we moved I broke down the old tank and did not want to set it up. I purchased a pre-formed 135 gallon pond to hold the fish until the new tank comes in a few weeks (Nov 10th ish)
Attached are some pictures of the fish in their temp. home.


Hey guys,
I will be doing an in wall build with my new tank. We just purchased a new home and have moved in. I am upgrading from my 125 gallon tank now to a 360 gallon tank. The dimensions will be 8ft long, 2ft tall, and 3ft wide. The old tank will become the new sump. When we moved I broke down the old tank and did not want to set it up. I purchased a pre-formed 135 gallon pond to hold the fish until the new tank comes in a few weeks (Nov 10th ish)
Attached are some pictures of the fish in their temp. home.