kttran_2005
New member
Hi All,
After changing between big and small tanks then in and out the hobby, I am coming back with this new peninsula rimless tank (48"x18"16"). One of the reasons I choose this tank size especially the high 16" is a lighting cost (more depth, more light, more cost). I am going to build one thing at a time as following orders; the stand, sump, LEDs lights, and others while waiting for the tank arrived. This is a tank from glasscages and they will have it delivered the end of April. So, here we go.
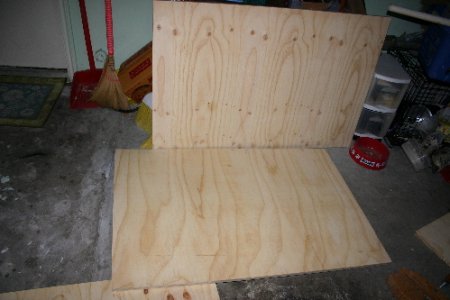
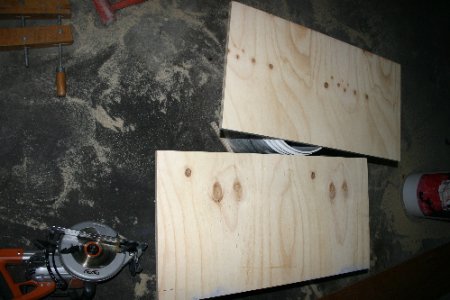
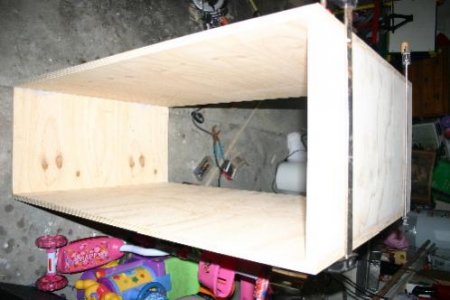
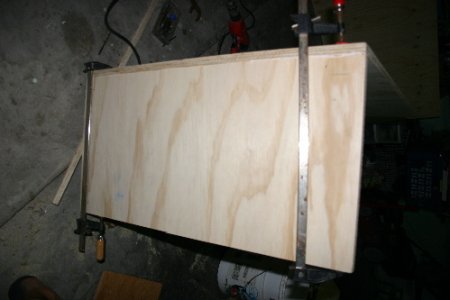
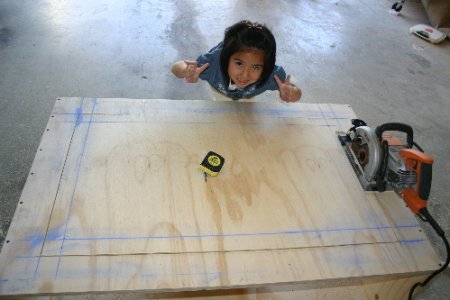
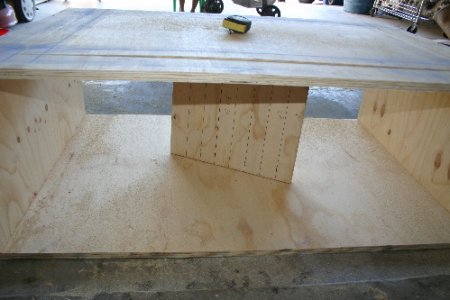
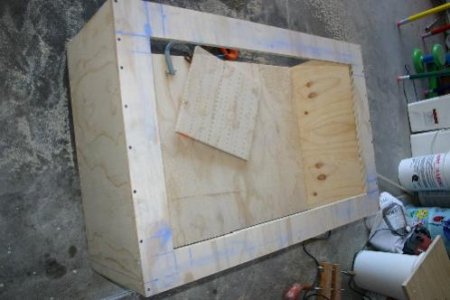
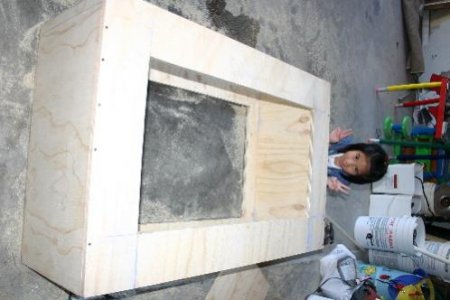
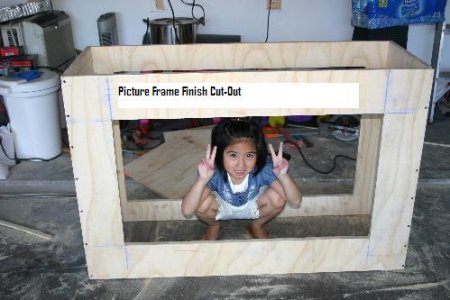
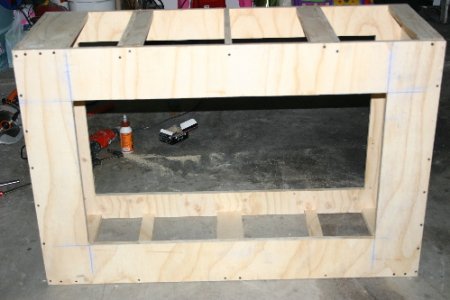
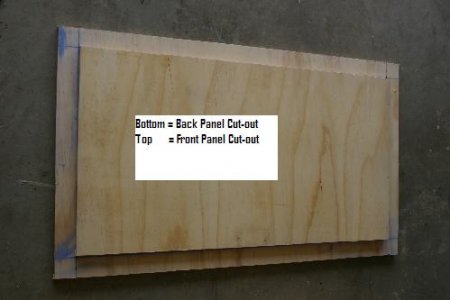
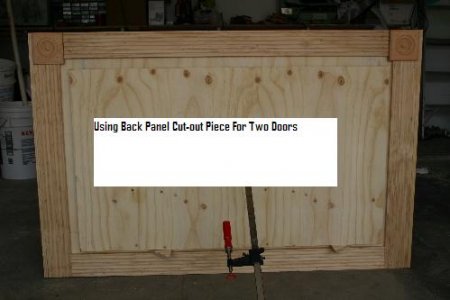
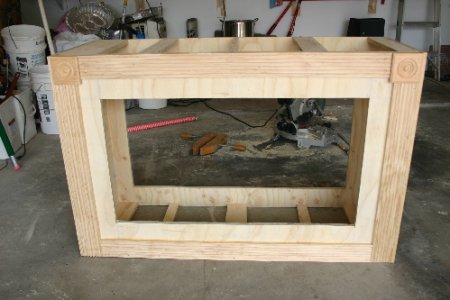
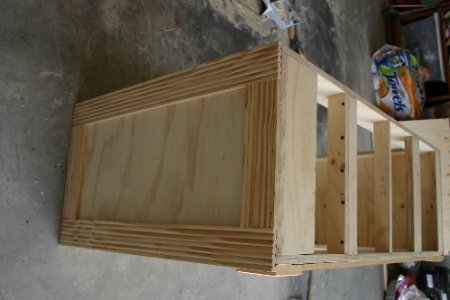
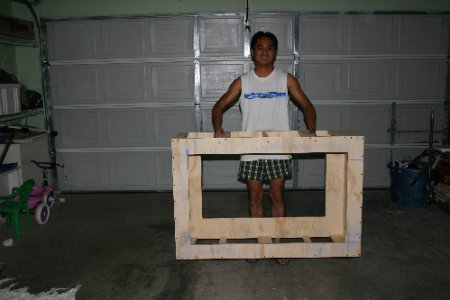
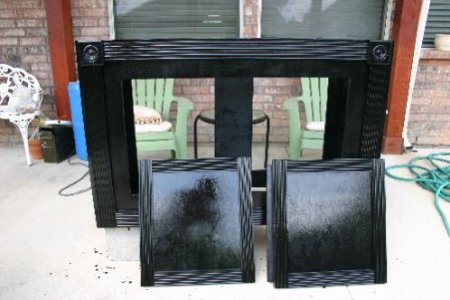
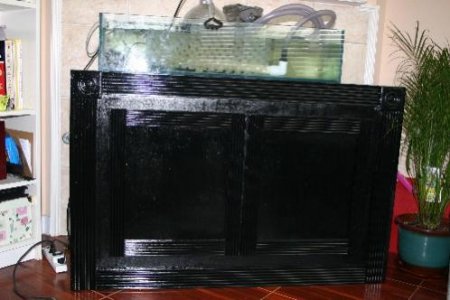
1) Stand build: the goal is light and strong without using 2x4 conventional way. The dimension of the stand will be 48x18x32. This dimension will fit 65,75,and 90 gal footprint tanks. All I need is a 4'x8' good plywood and some moldings. I got the home depot people cut the 4'x8' plywood into 3 equal pieces of 48"x32" sections. This way, I can fit all pieces into my compact car. Two of 48"x32" pieces will be used as the front and back panels. The other 48"x32" piece will be used as the side panels (16"x32"). With the front, back, and molding attached on, it will be very close to 18" width. To take care of some pressure concerns, I am going to cut rectangular panels out of the front and back panels. Since I need two doors for the stand, I will cut a smaller rectangular piece from the front and larger rectangular piece from the back. The cut out piece from the back will be used for two doors. the cut out piece from the front will be used for support bars. Everything will be glued and screwed together into a final product.
After changing between big and small tanks then in and out the hobby, I am coming back with this new peninsula rimless tank (48"x18"16"). One of the reasons I choose this tank size especially the high 16" is a lighting cost (more depth, more light, more cost). I am going to build one thing at a time as following orders; the stand, sump, LEDs lights, and others while waiting for the tank arrived. This is a tank from glasscages and they will have it delivered the end of April. So, here we go.
1) Stand build: the goal is light and strong without using 2x4 conventional way. The dimension of the stand will be 48x18x32. This dimension will fit 65,75,and 90 gal footprint tanks. All I need is a 4'x8' good plywood and some moldings. I got the home depot people cut the 4'x8' plywood into 3 equal pieces of 48"x32" sections. This way, I can fit all pieces into my compact car. Two of 48"x32" pieces will be used as the front and back panels. The other 48"x32" piece will be used as the side panels (16"x32"). With the front, back, and molding attached on, it will be very close to 18" width. To take care of some pressure concerns, I am going to cut rectangular panels out of the front and back panels. Since I need two doors for the stand, I will cut a smaller rectangular piece from the front and larger rectangular piece from the back. The cut out piece from the back will be used for two doors. the cut out piece from the front will be used for support bars. Everything will be glued and screwed together into a final product.