75 Gallon Octo Tank

eonflux123

New member
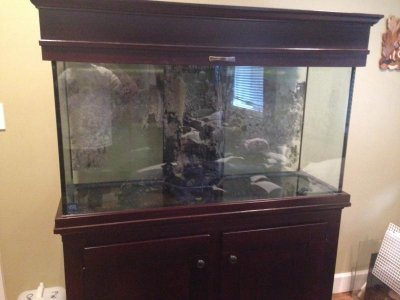
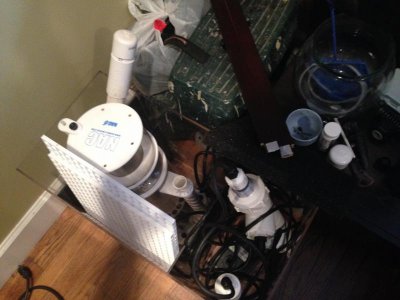
When life gives you lemons, make lemonade, or in my case, when your 2 yr old reef tank gets overrun by hair algae, time to start anew. After searching around and looking for inspiration on RC I could not chose what I wanted to build. Then I came across an octopus at my LFS and I fell in love! This cure little thing was at attention to anything happening by its cube and I made up my mind OCTOPUS TANK HERE I COME!!!! The first step was deconstructing my old tank and downgrading as it were my equipment (a 2x250 MH is crazy). After that, cleaning all the gunk and crap out of my cabinet, I have to "œreset" my Live Rock. In the coming weeks I hope to guide you along my trek towards a better future!
 

Attachments

  • IMG_0555.jpg
    IMG_0555.jpg
    48.8 KB · Views: 9
  • IMG_0556.jpg
    IMG_0556.jpg
    51 KB · Views: 8
UPDATE:

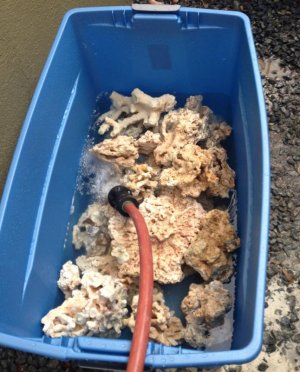
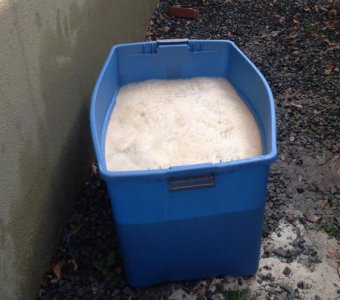
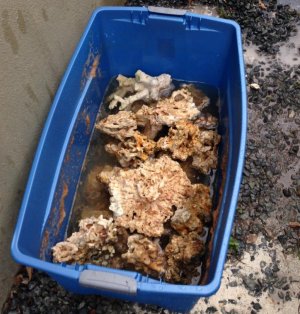
Just got finished cooking the live rock and a lot of really gross detritus came off and am so happy it obliterated the hair algae as I was expecting! And as a good reminder, if you ever use the acid bath technique like I did, USE BAKING SODA! I could not believe how reactive the acid was after the bath.
 

Attachments

  • IMG_0541.jpg
    IMG_0541.jpg
    86.6 KB · Views: 8
  • IMG_0542.jpg
    IMG_0542.jpg
    74.8 KB · Views: 8
  • IMG_0544.jpg
    IMG_0544.jpg
    105.4 KB · Views: 10
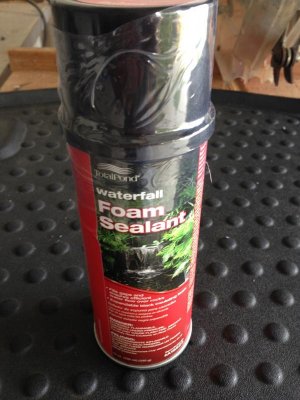
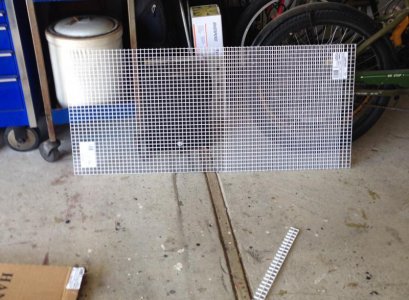
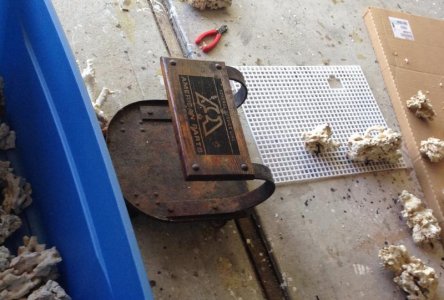
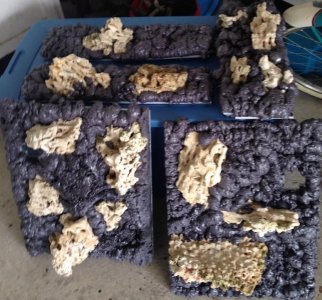
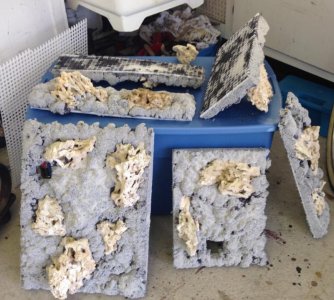
Ok the rock has dried and clean, tank has been cleaned, time to plan/build the aquascape! I decided to do a rock wall and so far the pieces have been put together and now it is time to let everything cure! Here's the process of building the pieces and the material I used.
 

Attachments

  • IMG_0564.jpg
    IMG_0564.jpg
    64.8 KB · Views: 7
  • IMG_0557.jpg
    IMG_0557.jpg
    91 KB · Views: 8
  • IMG_0558.jpg
    IMG_0558.jpg
    71.7 KB · Views: 16
And finally it is finished and drying! Im going to give it a weeks for the resin to fully dry then its off silicone and final placement! The hard part is almost over!
 

Attachments

  • IMG_0563.jpg
    IMG_0563.jpg
    104.3 KB · Views: 7
  • IMG_0569.jpg
    IMG_0569.jpg
    98 KB · Views: 9
UPDATE: Finally able to start siliconing in the pieces in the tank and it appears that epoxy is quite stiff when dry 😜. So with that I will not have it all done till Monday-Tuesday. Pic to follow.
sehy2yda.jpg
ady2u4a9.jpg
 
Side Note: I was able to sell off my .reef lighting fixture for a TEK Elite 4x54! Shout out to fishdoc11 for the great communication and overall kindness!
ytahemat.jpg
 
Awsome, looking forward to seeing this running with the occy in it:) Iv like occys their so awsome.
Followiis one for sure :thumbup:
 
Well sad news, I broke one of the panels that attaches to the overflow😢. So looks like it will be a week till it's finished. At least now I can tent my house (stupid California termites!)
 
MID-WEEK UPDATE:
So a lot has passed in the past week! I have decided that the Eshopps reef ready sump has to go due to my realization that it will not fit my needs. I am having my LFS make me a glass sump. In addition, this past weekend I had the Marine Expo by my house so I was able to pick up a new return for my system for cheap! I will be posting photos either tonight or tomorrow with progress , in addition to more information!
 
50% Done!!!

50% Done!!!

Well after some fines and swearing, the tank is back in its cabinet! Everything looks great, but now the annoying part of plumbing comes into affect.
IMG_0639_zpsa8dcc7c5.jpg

Also, I have attached the concept of how my new sump is going to look. Some constructive criticism on it would be very helpful. It will be all glass with a PVC water trap for the drain into the refugium. The gate on the left will be going to a UV sterilizer (forgot to label).
 
Last edited:
Back
Top