Hi,
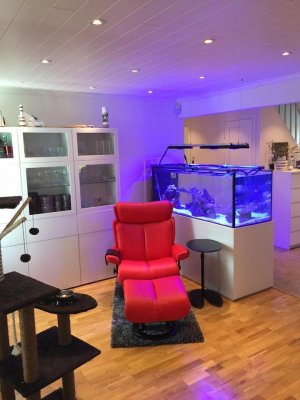
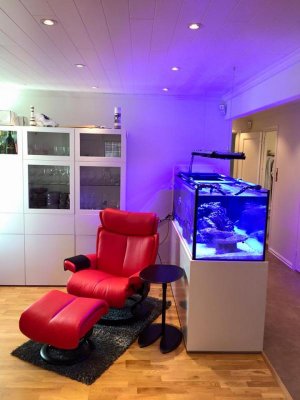
This tread will be off our Woha hawaii mixed reef tank.
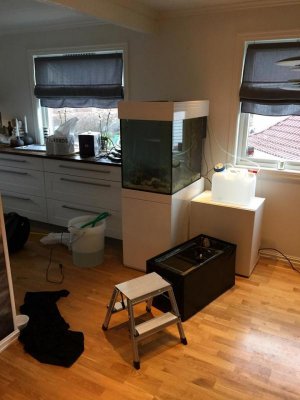
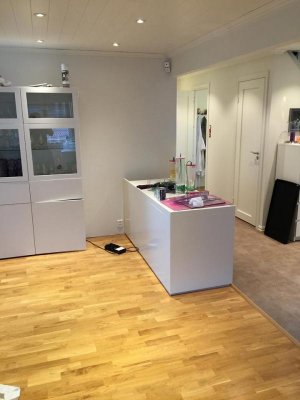
The tank was started in March 2016,
The tank will have a neptune apex computer and i`m trying to automate everything on the tank since I work offshore and I am away for 2-3 weeks at a time..
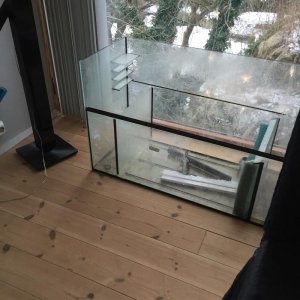
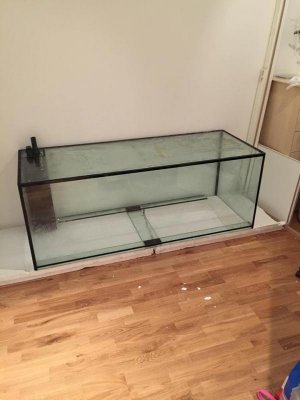
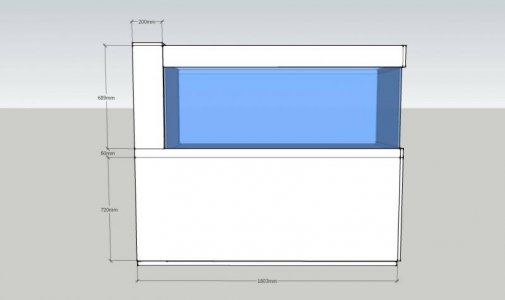
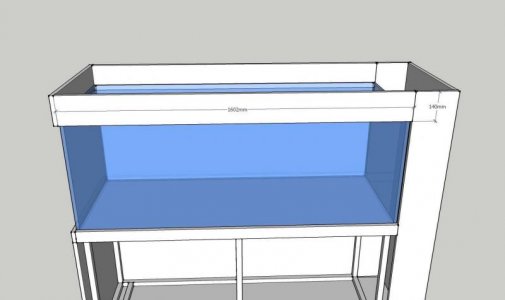
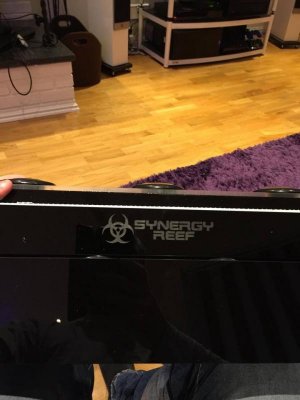
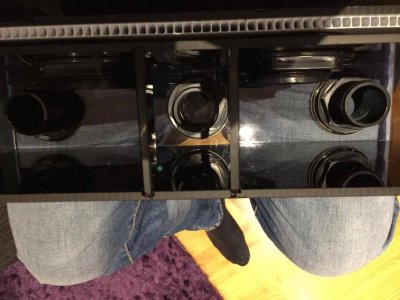
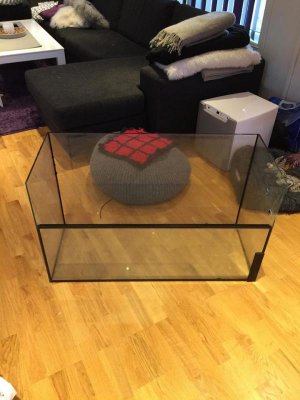
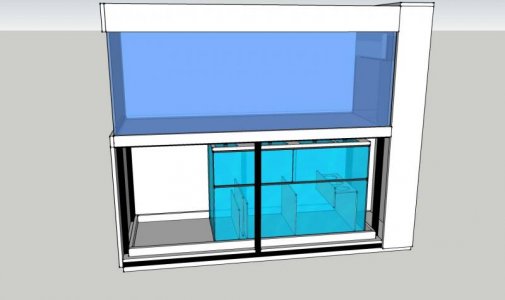
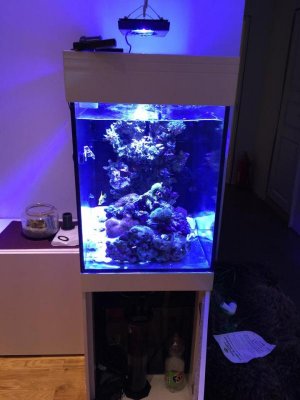
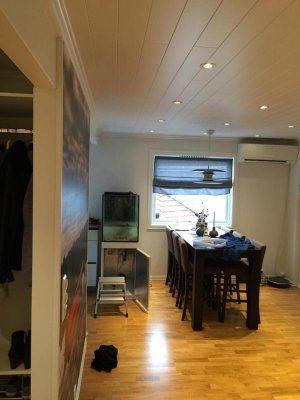
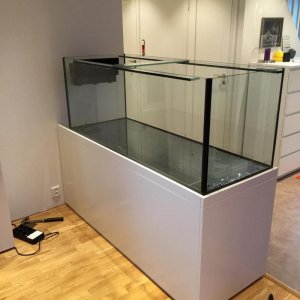
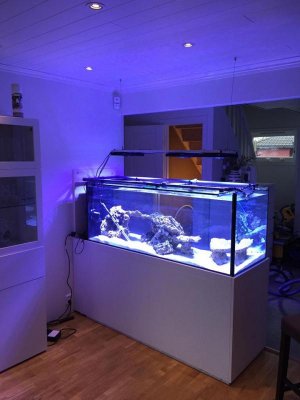
Aquarium
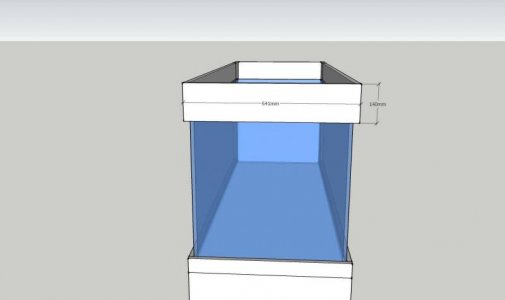
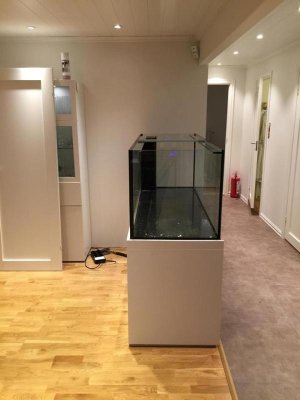
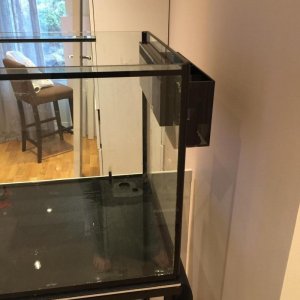
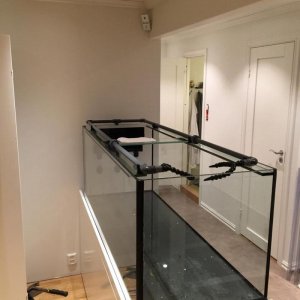
576 liters Woha hawaii glass aquarium with synergy reef overflow
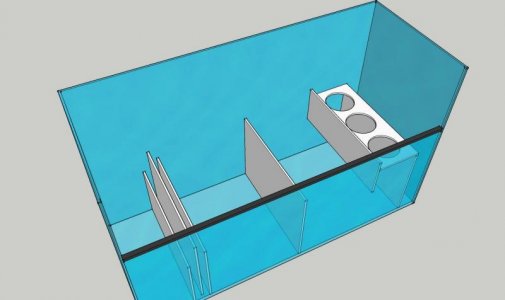
Sump 230L
Circulation
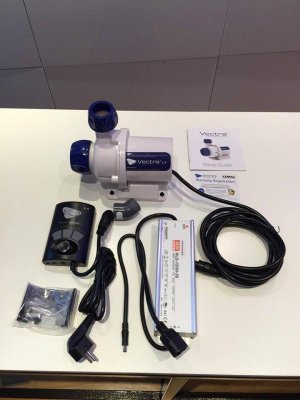
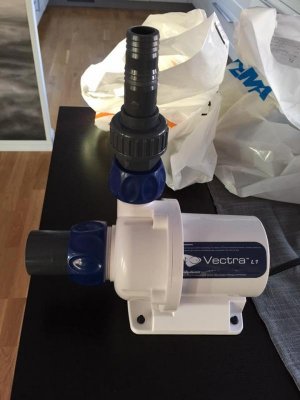
1x Ecotech Vectra L1
2x Ecotech VorTech MP40QD
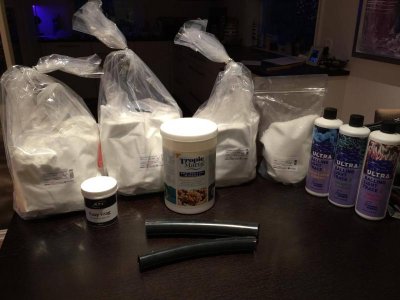
Filtration
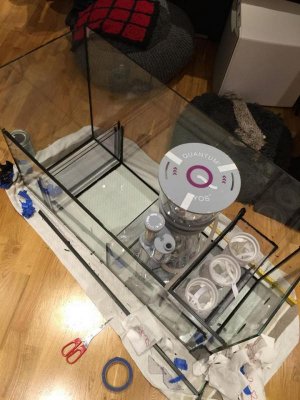
Nyos Quantum 220
LS: 55kg
Deltec FR 509 - Using Rowaphos and seachem matrix carbon
3x 10cm Filtersock 200 micron
Deltec 20W UV
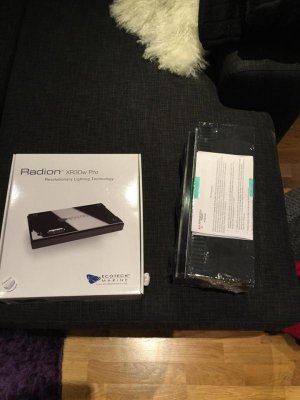
Lighting
4x Ecotech Radion XR30w PRO G3
Other equipment
Smart ATO
Grotech NG III - balling+
Computer
1 x Neptune Apex base unit lab grade
3 x Apex Power bar
1 x ALD Advanced leak detection
2 x ALD-P2 leak prob
1 x WXM ecotech modul
1 x AFS Automatic feeder
2 x I/O break out box
1 x PM2 salinity modul
1 x PMK par modul
Fish
Comming...
Cleaning crew
4 x Nassarius distortus - Super Tongan Nassarius Snail
15 x Trochus sp - Banded Trochus Snail
2 x Turbo sp -Zebra Turbo Snai
1 x Astropecten polycanthus - Sand Sifting Sea Star
Corals
comming...
This tread will be off our Woha hawaii mixed reef tank.
The tank was started in March 2016,
The tank will have a neptune apex computer and i`m trying to automate everything on the tank since I work offshore and I am away for 2-3 weeks at a time..
Aquarium
576 liters Woha hawaii glass aquarium with synergy reef overflow
Sump 230L
Circulation
1x Ecotech Vectra L1
2x Ecotech VorTech MP40QD
Filtration
Nyos Quantum 220
LS: 55kg
Deltec FR 509 - Using Rowaphos and seachem matrix carbon
3x 10cm Filtersock 200 micron
Deltec 20W UV
Lighting
4x Ecotech Radion XR30w PRO G3
Other equipment
Smart ATO
Grotech NG III - balling+
Computer
1 x Neptune Apex base unit lab grade
3 x Apex Power bar
1 x ALD Advanced leak detection
2 x ALD-P2 leak prob
1 x WXM ecotech modul
1 x AFS Automatic feeder
2 x I/O break out box
1 x PM2 salinity modul
1 x PMK par modul
Fish
Comming...
Cleaning crew
4 x Nassarius distortus - Super Tongan Nassarius Snail
15 x Trochus sp - Banded Trochus Snail
2 x Turbo sp -Zebra Turbo Snai
1 x Astropecten polycanthus - Sand Sifting Sea Star
Corals
comming...


")
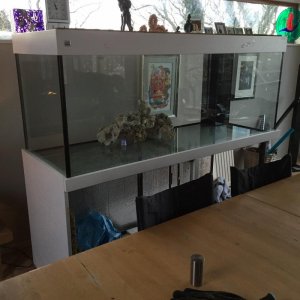
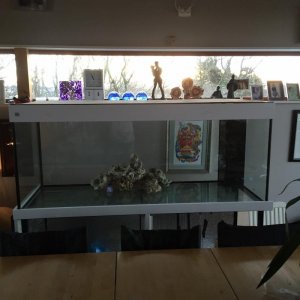
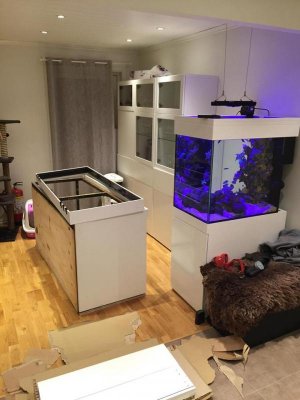
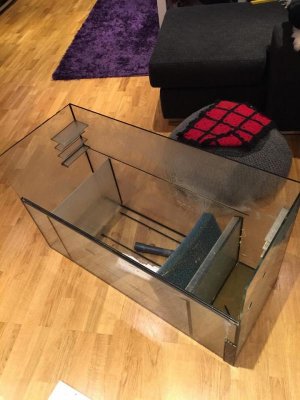
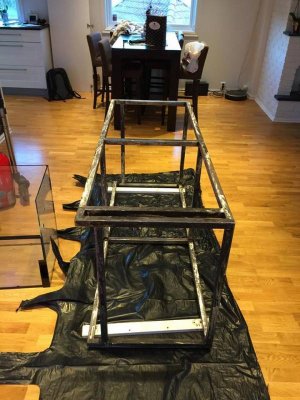
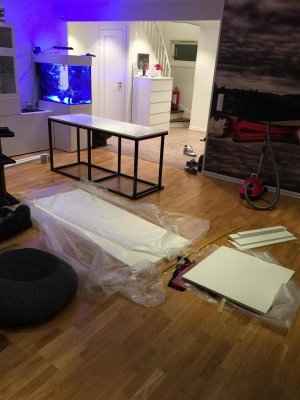
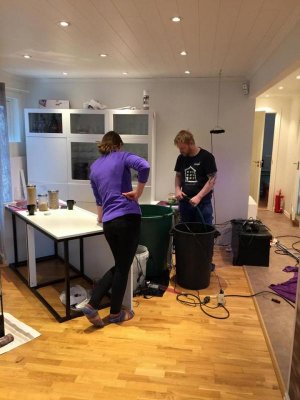
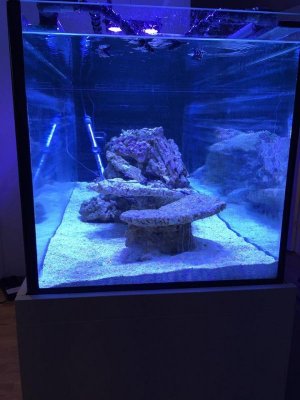
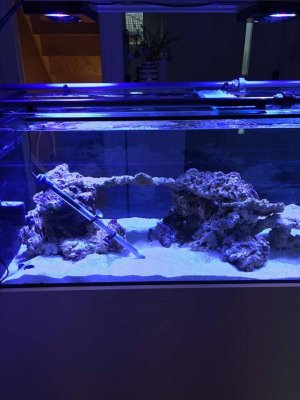
 And after a few days the aqua scaping started :fun2:
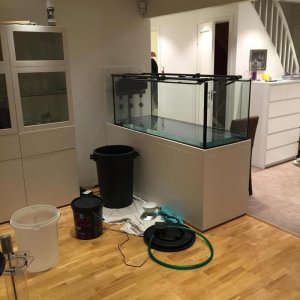
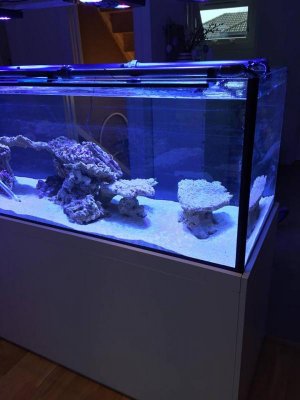
") there will be a few weeks until next update now since I'm offshore
there will be a few weeks until next update now since I'm offshore