CadLights 70G build

navychief

"Shellback"
Premium Member
Hey reefers,

I wanted to pay forward to those reading this forum that intend to purchase and build their first aquarium setup or those planning to upgrade. I've used this forum to get all kinds of ideas by looking at the pictures alone. Reef Central rocks for that reason alone.

I broke down my 60G Solana after I decided moving to my basement (and off the wood floor entry) would be the best solution. I've had my sump in the basement ever since the Solana was set up, so the move wasn't too bad.

Let me start by saying that the people at Cadlights are awesome. I can say that they were quick to respond to all my questions and ready to help correct anything I found as a shortcoming; that I will get to later.

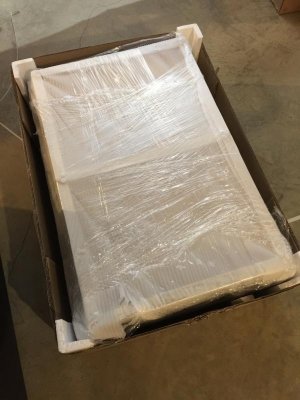
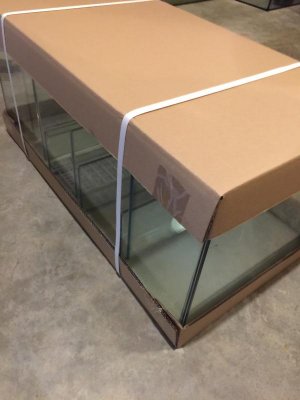
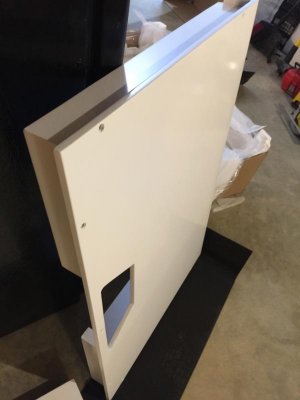
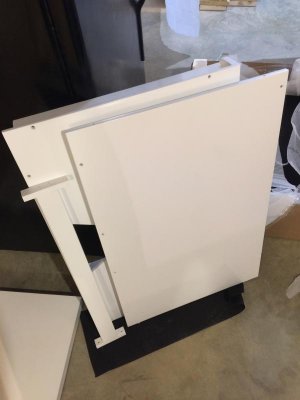
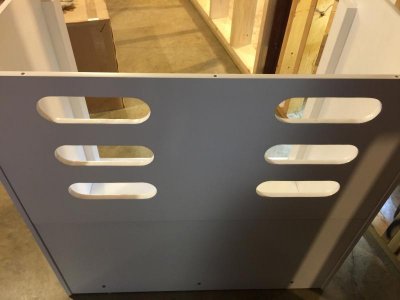
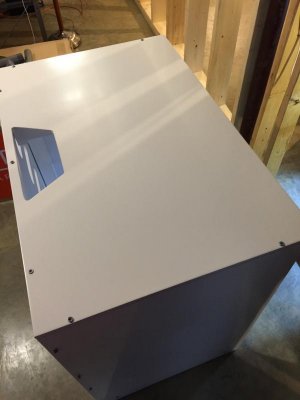
So here we go. This is the CadLights 70G with Skimmer and sump. Purchased through Marine Depot...

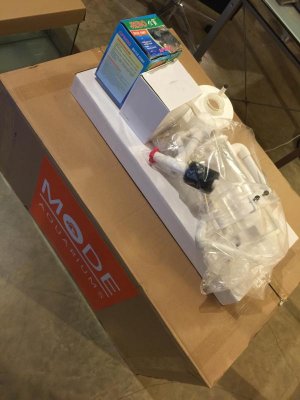
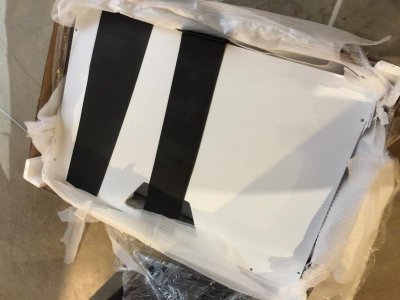
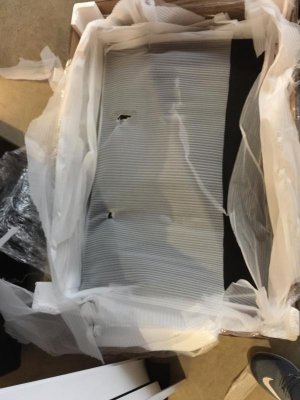
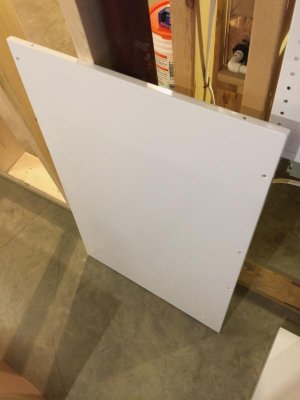
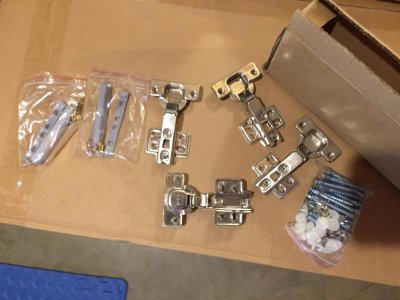
The tank was well protected. The stand, sump, sump light, skimmer, and glass top were all drop shipped in a single box.

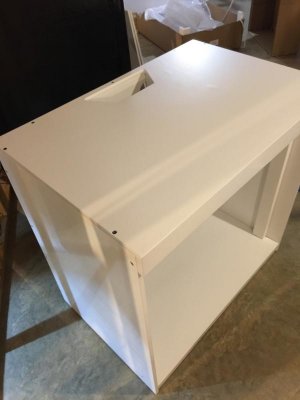
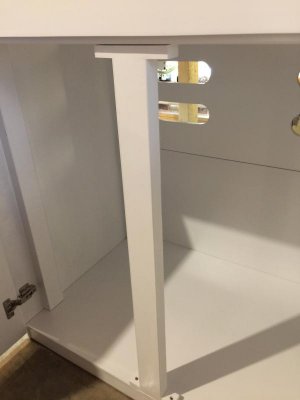
Tomorrow I will show the stand being built. It did not come with instructions (not really needed) but CadLights emailed the instructions as soon as I asked!
 

Attachments

  • IMG_3594.jpg
    IMG_3594.jpg
    56.1 KB · Views: 7
  • IMG_3595.jpg
    IMG_3595.jpg
    39.1 KB · Views: 7
  • IMG_3596.jpg
    IMG_3596.jpg
    50.5 KB · Views: 6
The cabinet

The cabinet

The cabinet was packed really well with plenty of padding in between sections to prevent damage/scratching. The cabinet is painted 'piano key white'. I believe it is an acrylic paint since it is has a nice shine and smooth surface...

Continued tomorrow.
 

Attachments

  • IMG_3599.jpg
    IMG_3599.jpg
    43.5 KB · Views: 7
  • IMG_3600.jpg
    IMG_3600.jpg
    31.7 KB · Views: 7
  • IMG_3601.jpg
    IMG_3601.jpg
    32.8 KB · Views: 9
  • IMG_3602.jpg
    IMG_3602.jpg
    52.8 KB · Views: 5
  • IMG_3603.jpg
    IMG_3603.jpg
    36 KB · Views: 8
stand cont...

stand cont...

So here is the stand being put together. All of the parts fit very nicely and with no overlaps or blemishes. The only item that had to be drilled was the center support arm. I do not believe the I-beam provides any support, but more for the doors to close against.

The screws have nice vinyl caps that insert into the Philips head. These get added (not shown) after being tightened down.

More to come later...
 

Attachments

  • IMG_3616.jpg
    IMG_3616.jpg
    35 KB · Views: 5
  • IMG_3604.jpg
    IMG_3604.jpg
    51.7 KB · Views: 8
  • IMG_3619.jpg
    IMG_3619.jpg
    31.9 KB · Views: 7
  • IMG_3626.jpg
    IMG_3626.jpg
    24.1 KB · Views: 7
  • IMG_3618.jpg
    IMG_3618.jpg
    32.2 KB · Views: 9
CAD warranty

CAD warranty

Totally digging that stand !!!


Sent from my iPhone using Tapatalk

So after seeing those pictures, I contacted CAD for their warranty. Not sure why I didn't ask in the first place. But none-the-less they told me two years and as long as I purchased the tank with their stand. It does make sense to me since they cannot possibly be held laible for a tank stand that isn't carefully designed in consideration of their many tank footprints.

One thing I did notice in the pictures was the use of clear silicon. I will say that all of the better quality tanks seem to use the black silicon/RTV...IMO
 
So after seeing those pictures, I contacted CAD for their warranty. Not sure why I didn't ask in the first place. But none-the-less they told me two years and as long as I purchased the tank with their stand. It does make sense to me since they cannot possibly be held laible for a tank stand that isn't carefully designed in consideration of their many tank footprints.


One thing I did notice in the pictures was the use of clear silicon. I will say that all of the better quality tanks seem to use the black silicon/RTV...IMO


That was another thing I noticed too you see big chucks of that silicone still attached to the glass !! Most all rimless tanks use RTV for strength and silicone for waterproofing !!
Well good to hear they have your back tho !! Good looking build bro !!!


Sent from my iPhone using Tapatalk
 
I have the same tank but with a black stand, for me having to cut the black mat that goes under the tank was a pain to get right, also the hose that attaches to my return pump never has a good fit so the water flow rate from the sump to the display has been reduced dramatically

Later I'll post a picture of it today, it is still quite a young tank but if you have any questions about the terrible instructions or anything I'd be happy to help
 
I orded same tank last month wish I can say the same about customer service.. shipped first tank with r&l they had a problem with them r&l said tank not moving so shipped another ups fright had to call off work for the delivery. Glass canopy is just glass no clips was told I would receive touch up paint for the doors never received any and have not answering emails or returning calls been emailing them past 2 weeks every day not 1 response
 
Mine came fine so luckily I haven't had to deal with customer service, I replaced the lid with a brs screen lid since te glass one was not going to do
1953b0073f80741e5568c9e005fdd1c7.jpg
 
That looks like a horrible case of dinoflagellets you got there

Sent from my SAMSUNG-SM-N920A using Tapatalk


It's not, it was a mix of hair algae and some other type of algae that is much less common, the other algae spread like wildfire in the beginning but originally it was green and it is seriously starting to die back, I didn't cure the rock so some algae was to be expected
 
looks more like cyano on algae in the pics. must always cure rock if its not already in purchase. good luck. hope it clears up.
 
Back
Top