DIY Tank (Dialup beware), Step by Step

Acrylics

Active member
Well after making a promise to do this some time ago, and another just recently here goes. Please do bear with me :)
A step by step DIY tank that anyone with a router table can easily do, those of who who don't can get your parts machined to size from the local plastic shop. I've tried to make it as simple as possible using products found at the local hardware store as much as possible.

This is just a simple frag tank measuring 28 x 28 x 17" high.
We are using 1/2" cell cast acrylic with a 3" perimeter flange.
Since this is not a display tank, we are not polishing it but chamfering it all around to ease the edges.
I chose 1/2" for this 'cuz I like overbuilt things and it's *probably* the thickest that most DIYers are gonna use.
Just about everything here (except the acrylic) is available at the local hardware store or at tapplastics.com
The original cut sizes were:
2 pieces 28.25" x 16.125" for the front & back
2 pieces 27.125" x 16.125" for the ends
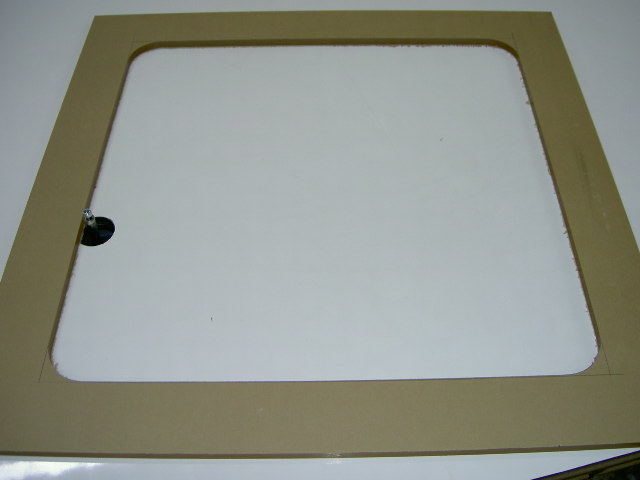
2 pieces 28.25" x 28.25" for the top and bottom

32445Pict0030.jpg

Just a stack of material.

cont'd...
 
32445Pict0041.jpg


Routing off 1/16" from one of the sides.
That's a 1.5" diameter cutter spinning at 21,000RPM so please be careful

cont'd...
 
32445Pict0045.jpg


The *basic* gluing setup. Nothing fancy here.

The foam jigs are just 4" wide strips of 3/4" MDF with 3/16" camper shell foam stuck to 'em.
The gluing jigs are 3/4" particle board glued at a right angle with the corner eased so solvent won't get to 'em.


32445Pict0049.jpg


Glue one side, then the other. Clamping the material to the jigs helps insure the pieces won't wander off when gluing.

cont'd...
 
32445Pict0053.jpg


After the first two sides are glued, flip the whole thing over onto the back.
The weights help flatten out the bottom piece in case of warpage and help keep the vertical piece in place.

cont'd...
 
32445Pict0050.jpg


Now we can make the top. Since I have a template, I'm going to use that for making the top cutout, but you can use strips of MDF or acrylic to flush cut to.
you just won't get the large diameter radius without making a template of some sort.

32445Pict0051.jpg


The completed top cutout, just needs to be beveled so the aquarist won't cut his/her arms while working in the tank (not shown)

cont'd...
 
32445Pict0059.jpg


Now we can glue to the top, do check around and make sure it sits flat prior to gluing. If it doesn't sit flat, you've got a squareness probhlem which could lead to stress on the glue joints and potential future failure.

32445Pict0061.jpg


To wire up the spacer wires, we are using normal twist ties from garbage bags with the paper stripped off. They measure about .014" and are perfect for this thickness. The are inserted at 6" intervals and total soak time will be about 30 seconds. Just long enough for me to glue around the ~10' glue joint.
Once this has cured a few hours, flip it over onto the bottom and repeat the same procedure.

cont'd...
 
32445Pict0062.jpg


Now we have the basic structure complete, just a quick flush cut and bevel and the tank itself will be done.

32445Pict0067.jpg


The completed tank. This one will get holes in it but that's another program :)

I tried to make this look and be as simple as possible as it reaaly is if you're handy with tools.
There are no special tools required with the following exceptions:
Double faced tape (I used Intertape #591A) Available at tapplastics.com
Solvent and applicator bottle. Available at Tapplastics.com

Everything else can be found at Home Depot, Lowes, and the like. the only router bit you'll *need* is the 1/2" flush trim bit. I prefer larger cutters for the cutting speed and chip clearance but that's simply my preference, don't feel that you have to do the same.

I'm sure I missed a few things so if I did, lemme know, else - have at it :)

HTH,
James
 
So the spacer wires are inserted in between the two pieces of acrylic, then glue is applied and they are removed after 30 seconds? Does this need to be done to each joint or just the top? Thanks.
 
To each joint is helpful, it allows the material to soak in the solvent for a small amount of time insuring the solvent actually gets "into" the acrylic.
For small joints, 30 seconds isn't necessary IME, 15 is fine. But when working alone as I was this weekend, 30 seconds it was.

James
 
Thanks for the info. I finally have a spot to try my hands on acrylic. Im pretty good when it comes to using my hands so im rather confident that I can build a decent sump. The outer dimensions will be 40"l x 14"w x 16"h. Do you think 1\4" acrylic will be ok for this. Thanks again.

Slone
 
James,

Great work like always and thanks for the info. What I would love to do if I ever get over to your neck of the woods is to video tape the assembly and create a nice little mpeg for people to watch.

Kim
 
Slone,
IMHO, I think 3/8" would be better though many mfrs still make 55gal tanks from 1/4" (48 x 13 x 20H) so it is doable.

Kim,
Anytime amigo.

James
 
thank for this step to step project. what would be the best way to make sure the ends joint prefectly to the front sides?
 
Looks awesome James!
Almost looks like the tank you built for me... :D
I missed ya last month on your trip down... you gonna make any trips this way anytime in the future? You're more than welcome to stop by and check out your handiwork in action. :)

Thanks for the tutorial... I'm looking to build some growout tanks and this will definitely come in handy.

How difficult would it be to polish the cut edges? Does that add another level of complexity to the project?

Thanks again.

David.
 
RP marine,

When you put the clamps on, put wires in between the pieces to allow a space for solvent to get in. When the solvent is in and has soaked for 15 seconds or so, gently pull them out.

As far as getting "perfect" joints, well it kinda becomes a "feel" thing that you get with lotsa practice. I wish I could tell you of a surefire way of doing it every time as I'd be quite the wealthy person, but alas, I can't and I'm not :)

Mr David, how are you? Yeah I wanted to swing by but my delivery truck took $hit and spent most of my time going from one mechanic to another - ugh :(

The best way to polish edges is to Micro-Mesh them but this is tedious and not commercially viable on most small tanks. But if you sand out with 220 to cut machine marks out, then 320 and so on to about 1200, then start the Micro-Mesh and go through that series - you'll have about the best you can get. I'll post a pic of this tomorrow. To do this to most tanks could easily double or triple the total cost just in labor hours. Similar to high end paint jobs in auto body, the finish work is long hours.

James
 
www.micro-surface.com
go to Top Kit Picks and it's kit #NC-78-1 $32.50
It's far superior to the Rainbow kit (which isn't bad BTW) and a heck of a bargain IMO.
Unfortunately not many plastics sjops know about it, which is a shame as this is a very good kit.

James
 
Thanks for the guide. I've been planning on making my own refugium and the pics help me visualize.

For the edges, I've been getting good at flame-polishing after sanding down to 1200 grit. Looks good enough for non-show stuff. Takes a bit of practice though ;)
 
Back
Top