You are using an out of date browser. It may not display this or other websites correctly.
You should upgrade or use an alternative browser.
You should upgrade or use an alternative browser.
In again sps reef tank build log.
- Thread starter DesertReefT4r
- Start date
DesertReefT4r
New member
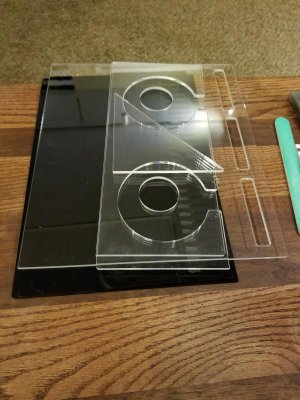
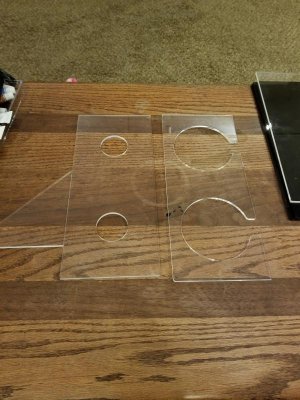
Modular Marine on Ebay. A little pricy imo but it saved me from having to make them and the finish on my baffle kit it nice, well made. Pics soon.
MyHouseIsAZoo
New member
Modular Marine on Ebay. A little pricy imo but it saved me from having to make them and the finish on my baffle kit it nice, well made. Pics soon.
Their kits are the ones I've been looking at. So I will likely be copying when we start our sump build.
DesertReefT4r
New member
Well hopefully yours will fit a little better than mine. I will need to do some sanding to get mine to fit i to the sump. Kind of disappointing for the price point.
MyHouseIsAZoo
New member
Well hopefully yours will fit a little better than mine. I will need to do some sanding to get mine to fit i to the sump. Kind of disappointing for the price point.
That is disappointing! That is what I have hubby for...he's good at McGuivering things. I'm more of a lets give up, get ****ed and just buy the full kit kind of girl. We have had more fights over projects than we have anything else :lol:
DesertReefT4r
New member
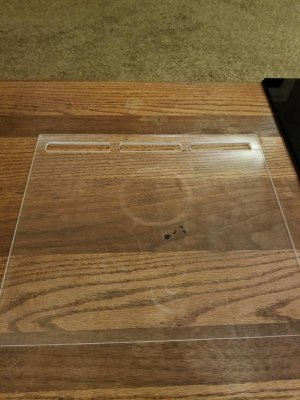
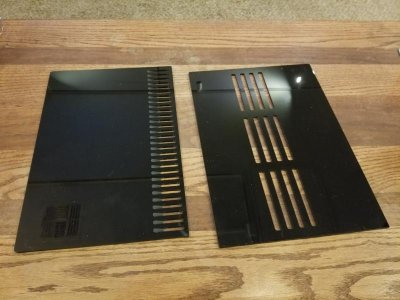
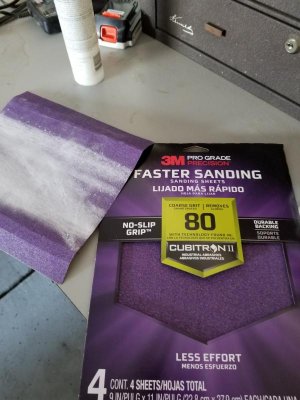
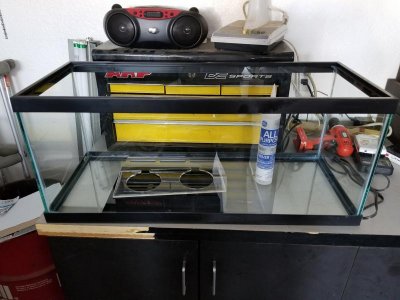
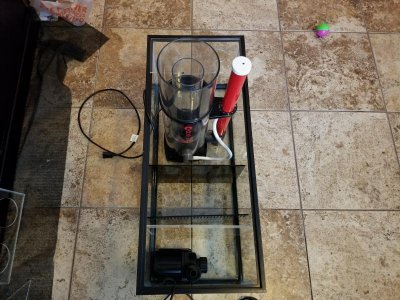
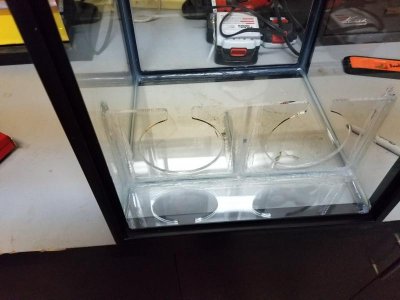
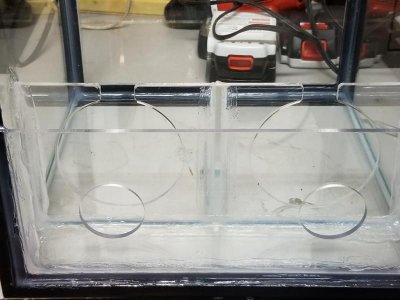
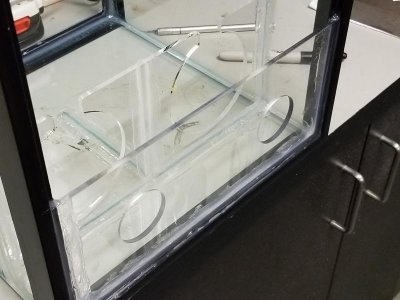
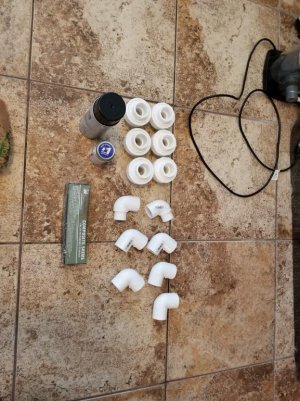
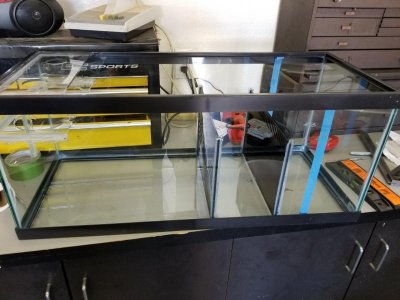
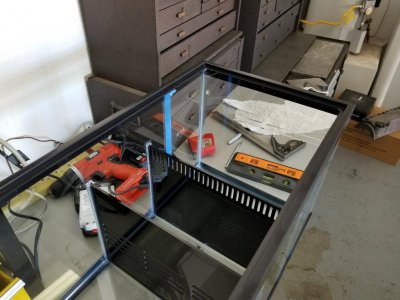
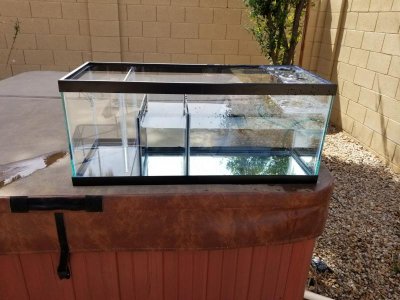
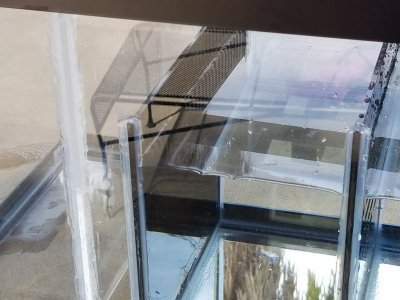
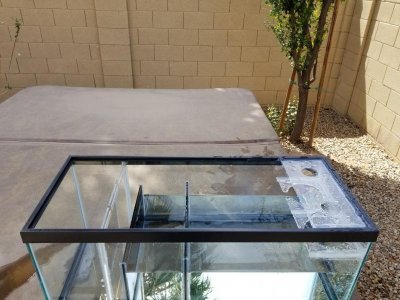
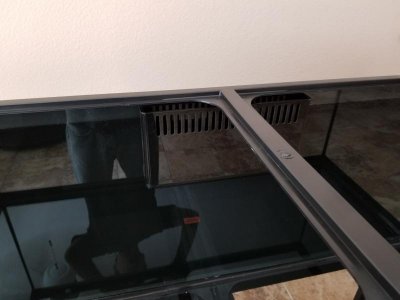
Ok here is a bit more of a real update on my build. Made it to Homedopt today and picked up some supplies. More plumbing parts but I know I will need more. 10ft of 1" sch40 pvp pipe, parts for the bean animal drain, GE 1 silicone and 80 grit sand paper for the sump baffles, black spray paint to paint the tank. Got to work on the sump today. Sanded down the baffles to fit in the tank, the 80 grit worked really well. Got the baffles all layed out for final placement. I was very happy with the way the mock up turned out. I was worried i would not have enough room for either a decent sized fuge or the filter sock holder. I figured to make room for the skimmer I would have to either loose the sock holder or have a very small fuge or no fuge at all@. I ended up with a decent sized fuge not huge but it will work and had room for the filter sock holder. Anyways i got the sock holder and drain plate installed on the sump once thats dried overnight I will get to work on the baffles ans plan to drill the tank tomorrow so I can install the overflow and return.
Attachments
Last edited:
DesertReefT4r
New member
DesertReefT4r
New member
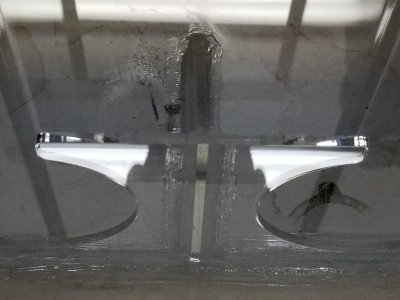
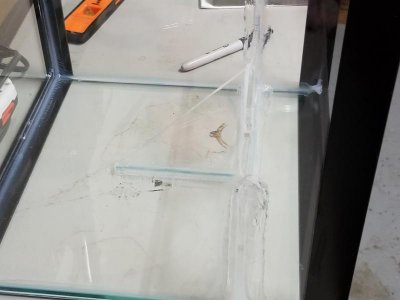
More pics 2
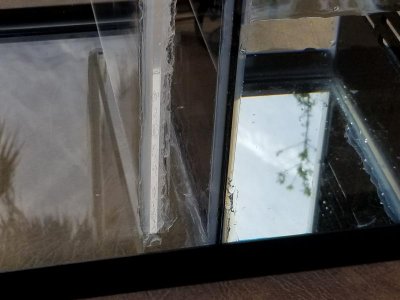
Silicone is not perfec t but it should hold up, will try to do better on my baffles but those will be harder.
Silicone is not perfec t but it should hold up, will try to do better on my baffles but those will be harder.
Attachments
DesertReefT4r
New member
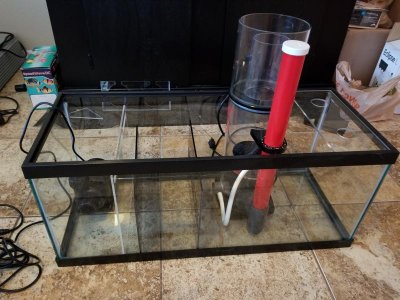
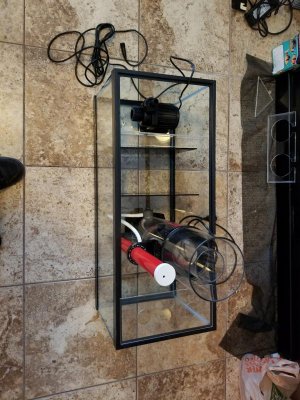
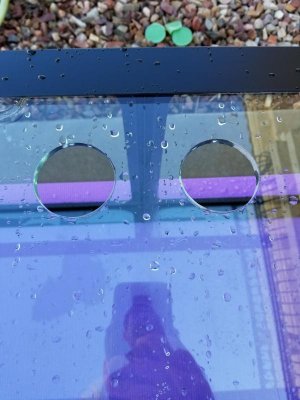
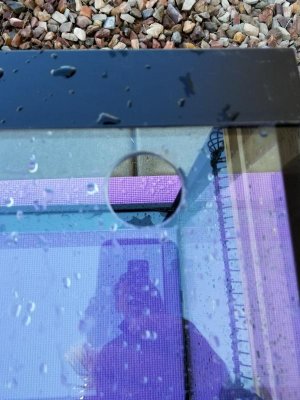
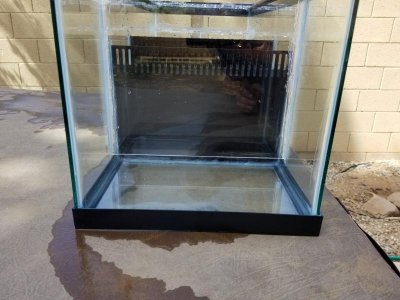
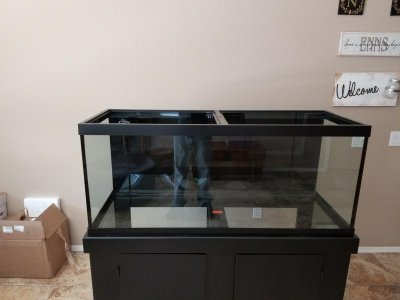
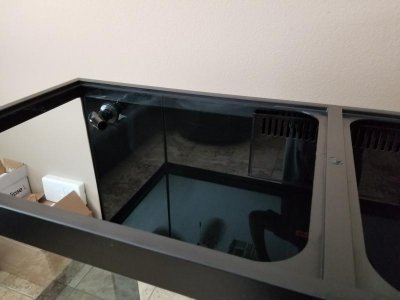
More progress. Sump is finished and silicone is curing. Not very happy with some of my silicone work but it was hard making it look pretty in the tight spaces and its not going to be seen anyways. As long as it holds up I will be happy. Next time I will be buying a nice pre built sump. Also got the loctions for the overflow and return finalized and got the tank drilled. Since I had done this a few times already it went smooth and ended up with 3 holes in the back of a brand new tank :spin1:. I would have gone ahead and painted the back of the tank today as well but with water under the trim from drilling i decided it was best to wait until all the water was dry.
Attachments
DesertReefT4r
New member
SawCJack00
Professional Mind Reader
Looking good! Nice progress.
DesertReefT4r
New member
Looking good! Nice progress.
Nice! Its coming along..
Thanks guys:wavehand:
MyHouseIsAZoo
New member
Great progress! I am most nervous about the drilling!!
DesertReefT4r
New member
Great progress! I am most nervous about the drilling!!
Dont be. I have done it a bunch and its simple. Just be sure its not tempered glass. Go slow with the drill speed, have a good flow of water over the cutting area, let the drill do the work and don't press down as you cut. Tape the back side of the glass at the cut to keep the glass chunk from falling and put a towel under the cutting site as well.
DesertReefT4r
New member
Ordered the gate valve for the bean animal and 3x 1" uni seals from BRS so other than a few more 90° fittings I should be all set to plumb the drain. I will be pai ting the back of the tank and leak testing the baffles on the sump tomorrow now that the silicone has had 7 days to cure and I have a day off work. Plumbing drain next weekend is the plan.
Once all thats done I will concentrate on the return plumbing which should be simple. Going to build a small manifold for future reactor(s).
Im am still undecided on converting the wall power outlet from 2 plug grounded to a 4 plug gfci.
Major stuff still to do: Water flow, RODI, water station, light mounting, temp control, get rock and sand.
DesertReefT4r
New member
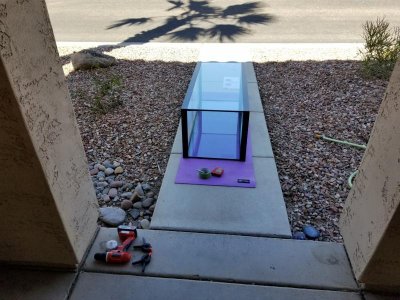
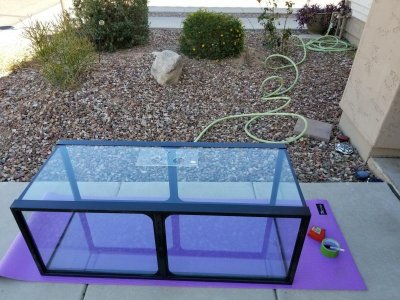
Leak tested the sump. No leaks between baffles. I should have placed the last baffle lower down to make the bubble trap area more effective but it should be fine. My last 2 diy sumps had no bubble traps and no issues with micro bubbles.
Attachments
DesertReefT4r
New member
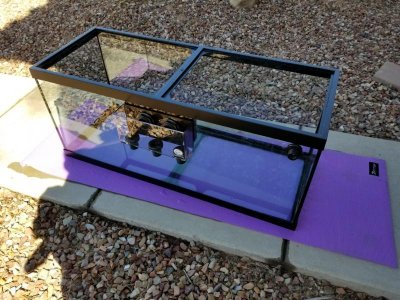
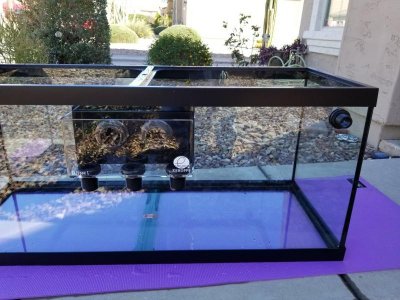
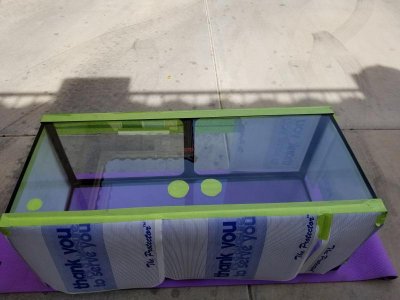
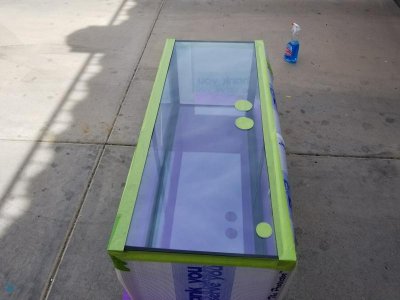
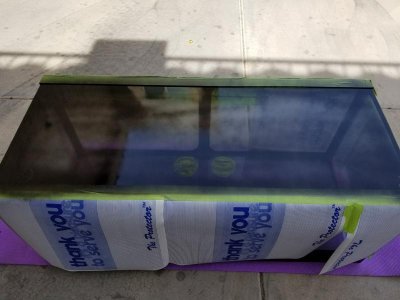
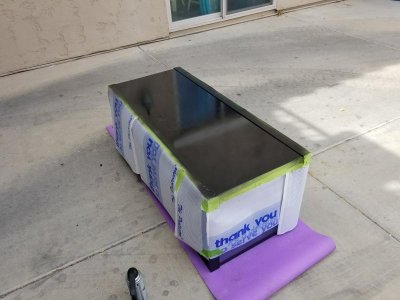
Painting the back of the tank black. Starter with several light coats a few minutes apart. Took a break to let the paint dry for 1 hour befor adding a second coat and to post an update.
Attachments
DesertReefT4r
New member
Similar threads
- Replies
- 20
- Views
- 284
- Replies
- 2
- Views
- 79

