Jims 16" bubble

fullmonti

now is the time
After I bought my 3gal cylinder vase, I saw a 13" bubble vase & couldn't get it out of my head. Did some googling & found a 16" bubble vase, had to get it. It will hold 7gal to the level I want to keep.

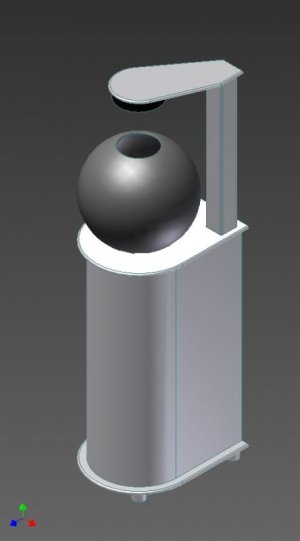
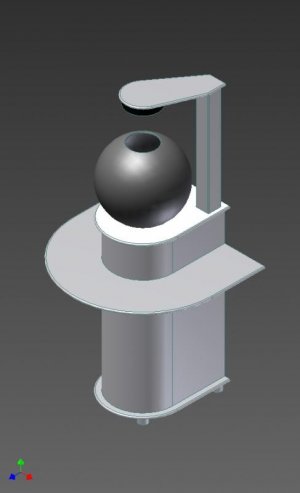
I wanted to have a sump but didn't want to have an overflow showing, or a return as far as that goes. I'll try to draw something tomorrow to explain how I'm going to do that, but wanted to go ahead & post what has been done so far so there wouldn't be a huge post later.

_MG_2413.jpg


This is the vase, getting ready to drill for plumbing.

_MG_2415.jpg


Had to use a guide to keep the bit from skittering on the uneven bottom.

_MG_2416.jpg


Drilled just fine.


Till I can draw something I'll try to explain the pluming. There will be a 1 1/2" T out of the bottom of the vase. A 1/2" return line will go through the T & water will leave the tank through the side of the T in the space around the 1/2" return going through the T. I know clear as mud (sorry) I promise I'll clear it up soon.


_MG_2414.jpg


I found a PVC floor drain that fits inside a 4" PVC pipe. This will be used to let water drain out of the tank. The holes are to big, I will cut them all out a make a new top with smaller holes. The return line will come up into the 4" pipe T off & go out the sides of the pipe. This assembly will eventually be epoxied on the bottom of the tank.

_MG_2420.jpg


Like my 3gal vase I'm camouflaging the equipment by gluing rocks to them.

_MG_2417.jpg


This shows the 4" pipe with 1/2" return T, the drain with new top with smaller holes, & the assembly of rocks I epoxied together to top off the whole thing off.

_MG_2430.jpg


The 4" pipe with 1/2" return T, & all the rocks & sand glued on.

_MG_2432.jpg


The new top with rocks & sand glued on.

_MG_2435.jpg


Them together.

_MG_2434.jpg


The whole assembly with the display rock sat on top.

The display rock will not be glued/epoxied in so if I ever need to get to the plumbing under it, I can just lift it out put it in a bucket of tank water & do what ever is needed.
 
_MG_2428.jpg


This is the 1 1/2" T that will come out of the bottom of the tank.

_MG_2421.jpg


This is a 3/4" to 1 1/2" PVC reducer, it goes in the bottom of the T. I drilled part of the inside part of it out a bit so I could glue the 1/2" coupler in for the 1/2" line going up to the tank.

_MG_2423.jpg


Here it is glued together.


_MG_2425.jpg


As I feared when I did the leak test, it leaked. The bottom of the vase is Not flat or even so the rubber washer couldn't seal. I took the bulkhead out, dried every thing & put a beed of silicone on the bottom of the vase & reassembled. It is setting up over night. Will try leak test again tomorrow.

more then

Jim
 
Can't wait to see how this turns out - verrryyyy promising!

this tank and your pico vase are reminiscent of the reef-one tanks (biorb and biube) except that yours have infinately better filtration. They also make a flat rectangular upright tank with rounded corners - the life series tank - maybe inspiration for your next project?;)

Oh yeah, you probably already know this -there are flexible bulkheads for curved surfaces - but hopefully u won't need it...
 
I know I may be chastised, but I plan on a bubble tip nem & my pair of Ocellaris clowns. I know thats a load for that size tank, but I plan on a sump, skimmer & large weekly water changes.

No I didn't know there were flexible bulkheads, unless you mean uniseal. I did know about them, but didn't really want to have to use one.
 
I think you're doin that so you can have a bubble in a bubble!! :p

looking forward to seeing the progress!
 
Couldn't sleep, so I went ahead & did the drawing for plumbing. Not exactly to scale, but hopefully it will do the job.

_MG_2440.jpg


The overflow system is pretty much a normal overflow it's just outside the tank instead of inside. It will be hidden inside a aluminum rectangular tube that doubles as the light support.

I'm really excited about this project, the pics don't nearly do the bubble justice. It is a beautiful little thing. And the fact that you wont really see any plumbing keeps you from being distracted.
 
Can not wait to see it when it is finished. Will the shape of the tank distort the image of things inside.

Yes it definitely will distort the view. Very little in the center & very much on the edges. But thats part of the attraction of the vases I think.
 
Thanks every one.

Thought I'd mention before I finally go to bed, I originally planed on building a square stand just because a round one would be so much harder to build. But I'm looking into finding something the right diameter (around15-16") something like the big paper forms used for concrete, to use as a form to mold several sheets of thin plywood on to make a round stand. If any one has any experience with that kind of thing sing out.

good night all

Jim
 
For the time and effort to make a "round" plywood stand, why not just go acrylic? Could make some cool stand and build the sump into the stand itself? You are obviously more creative and capable than most of us here when it comes to custom builds. Here's a quick model i slapped together when i imagine and end-result of this build based on what you intend to do so far...

attachment.php


Do what you like with it, I hold no ownership to the image, just what popped into my head. Feel free to make it a reality if you want, or constructive criticism to make changes, i saved the part, i can easily tweak it if your nice...
 

Attachments

  • Part1.jpg
    Part1.jpg
    16.4 KB · Views: 25
Couldn't sleep, so I went ahead & did the drawing for plumbing. Not exactly to scale, but hopefully it will do the job.

_MG_2440.jpg


The overflow system is pretty much a normal overflow it's just outside the tank instead of inside. It will be hidden inside a aluminum rectangular tube that doubles as the light support.

I'm really excited about this project, the pics don't nearly do the bubble justice. It is a beautiful little thing. And the fact that you wont really see any plumbing keeps you from being distracted.

Interesting plan to maintain water level in the tank. Have this been done before? In theory it could work but in practice I wonder if there's enough pressure to push water up that high in the "overflow" ? Also once it starts won't it work like a siphon ? Looking forward to seeing how it works.

I did a similar bowl for my daughters goldfish years ago (sumpless). The distortion was weird. As the fish swam in front it looked normal, at the sides it disappeared, and at the back it was magnified about 3X due to the optics of the bowl.:lmao:
 
I am assuming it will work, the water seeking its own level & all. I have not done one before & I'm not aware of it having been done before. I am sure it will not start a siphon because like a normal overflow there is a T where the water turns to go down & it is free to draw air.

I have a little cylinder vase & the distortion is as you describe. I assume the bubble will be the same. I'm OK with that, like I said that's part of the appeal of the vase look. It could be a serious objection to some though.
 
For the time and effort to make a "round" plywood stand, why not just go acrylic? Could make some cool stand and build the sump into the stand itself? You are obviously more creative and capable than most of us here when it comes to custom builds. Here's a quick model i slapped together when i imagine and end-result of this build based on what you intend to do so far...

attachment.php


Do what you like with it, I hold no ownership to the image, just what popped into my head. Feel free to make it a reality if you want, or constructive criticism to make changes, i saved the part, i can easily tweak it if your nice...

That is a very cool illustration. I have a 180 sps tank with my man chair right next to it. This little guy is going to go on the other side of my chair. There is a round end table there now, which I put drinks etc. on & my laptop case under. So the stand will need to be made in a way to do some double duty. If I could do nice illustrations like that I would show what I had in mind, but sorry to say that's not the case. I also thought I might be able to use PVC sewer pipe for the cylinder part of the the stand. Still looking into that.

newlivingroom.jpg


This is an old pic of the living room when it was first set up.
 
Ok, so how about this? A 9" shelf that runs around the vertical stand, at normal coffee table height. What I see is the lower part of the stand and shelf being the base, then the upper portion of the stand being set down onto the lower portion with some internal guides to keep it centered and prevent the upper portion from being slid off the shelf.

attachment.php
 

Attachments

  • Part1-rev_a.jpg
    Part1-rev_a.jpg
    17.8 KB · Views: 25
Man your fast with the computer! Thats a good idea, I had thought of something like that but have a bit of a space problem. What I have in mind is a cylinder with a square base I can slide my laptop case under, next up a space for sump that would have a door to hide the mess, above that & just below the top a open side with a slot for drinks etc., then the top with tank. This part is still very much a work in progress, & kinda depends on what kind of materials I come up with & what the most practical design is considering skills & tools at hand.
 
Back
Top