1Fish
New member
Just wanted to do a quick right up on my latest DIY.
Here are items I used:
www.superbriteleds.com
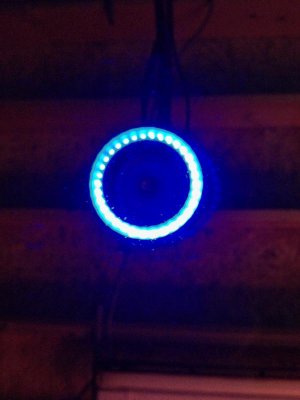
-1 100mm Angel Eye Headlight Accent PN# AE100-B33
-1 12VDC Single Color Dimmer PN# MLD-5A
-1 Angel Eye Plastic Cover PN# AEPC-100
-1 Power Supply PN# CPS-12VDC-6W
-1 Pigtail CPS Power Supply Adapter PN#CPS-PT
Things I had around the house:
-various sizes of shrink tube
-tube of clear silicone
-solder and flux paste
-electrical tape
-24 gauge wire single paired (I had a few old DC power supplies i had cut the ends off of to save on buying wire)
Tools:
-Soldering Gun
-Wire Strippers/Crimper
-Heat Gun
Here are the steps of assembly:
1. Temperary wired all connections. (Sequence from light to power supply. light, dimmer,pigtail, power supply)
2. Plugged into wall to assure all connection were correct before soldering.
3. Cut lengths of shrink tube and slid them onto the wire ends that were soldered.
4. Soldered all connections
5. Slid shrink tube over soldered joint using the heat gun shrank the tube. For additional safety i also used a bigger piece of shrink tube to both shrink tubed and repeated the with heat gun.
6. Retested light.
7. To ensure water resistance i used the plastic cover. Place the LED in the cover and completely cover the back of the LED with silicone sealing the LED to the cover.
8. Let Silicone dry overnight.
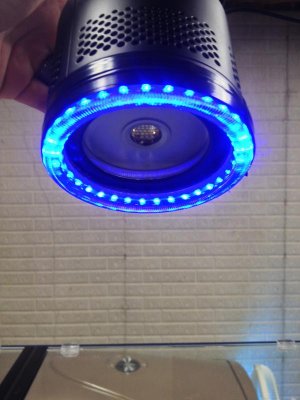
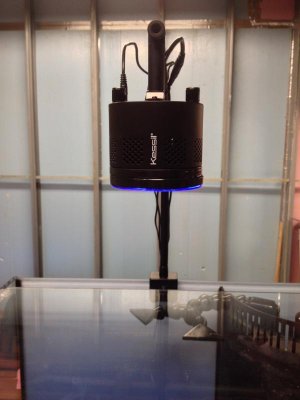
9. Affixed the assembled unit on the face of the Kessil using electrical tape.
Here are items I used:
www.superbriteleds.com
-1 100mm Angel Eye Headlight Accent PN# AE100-B33
-1 12VDC Single Color Dimmer PN# MLD-5A
-1 Angel Eye Plastic Cover PN# AEPC-100
-1 Power Supply PN# CPS-12VDC-6W
-1 Pigtail CPS Power Supply Adapter PN#CPS-PT
Things I had around the house:
-various sizes of shrink tube
-tube of clear silicone
-solder and flux paste
-electrical tape
-24 gauge wire single paired (I had a few old DC power supplies i had cut the ends off of to save on buying wire)
Tools:
-Soldering Gun
-Wire Strippers/Crimper
-Heat Gun
Here are the steps of assembly:
1. Temperary wired all connections. (Sequence from light to power supply. light, dimmer,pigtail, power supply)
2. Plugged into wall to assure all connection were correct before soldering.
3. Cut lengths of shrink tube and slid them onto the wire ends that were soldered.
4. Soldered all connections
5. Slid shrink tube over soldered joint using the heat gun shrank the tube. For additional safety i also used a bigger piece of shrink tube to both shrink tubed and repeated the with heat gun.
6. Retested light.
7. To ensure water resistance i used the plastic cover. Place the LED in the cover and completely cover the back of the LED with silicone sealing the LED to the cover.
8. Let Silicone dry overnight.
9. Affixed the assembled unit on the face of the Kessil using electrical tape.