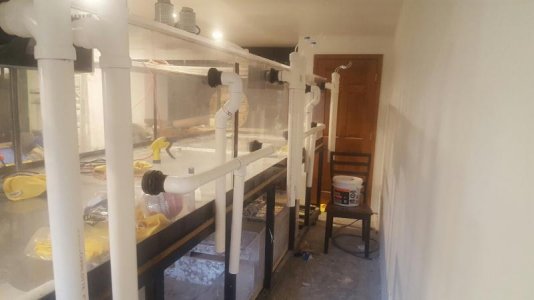
My goodness, this is truly a huge tank. What are your plans for it? How many people can you fit in there? Need more details and more pics! :0)
I can fit the whole family and some in it....the kids like to get in when I am working on it. As far as plans this is what I have so far:
Break down of components I have so far for the build:
-2 110g tubs from Tractor Supply for my mixing station
-BRS 180gpd RODI
-1200lbs of pure aragonite sand
-1000lbs of dry rock and still acquiring
-4 Jebao DCT15000 pumps
-MRC skimmer w/reeflo hammerhead pump
-2 72" 150w ea MH lights that will go on one 6ft section of the tank "planning on having a few clams and some coral on a shelf"
-2 maxspect 150 gyres, one on ea side of the tank
-Current USA orbit LED lighting for the rest of the tank
-8 boxes of instant ocean 200g boxes of salt mix
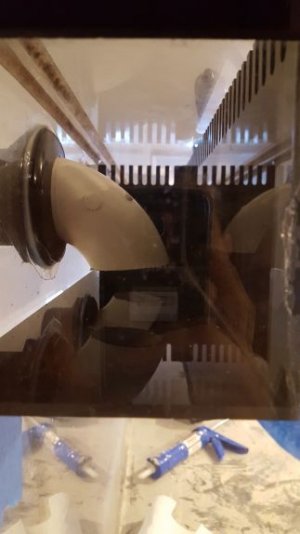
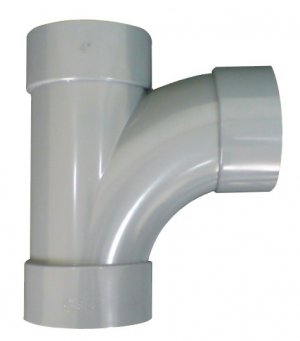
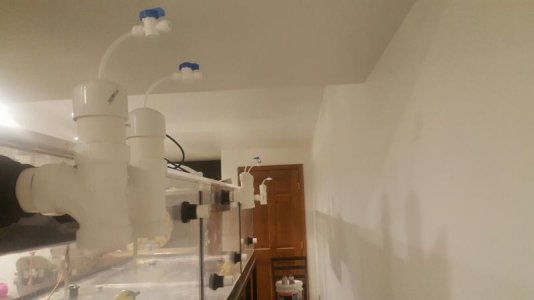
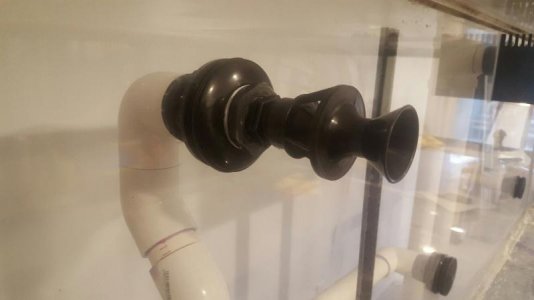
-a **** ton of bulk heads, PVC ranging from 2", 1.5", 1", and 3/4"
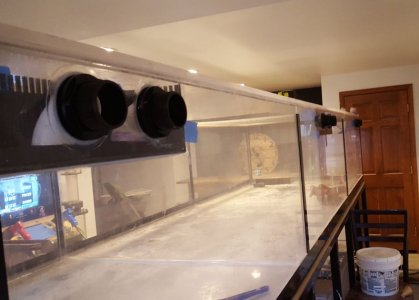
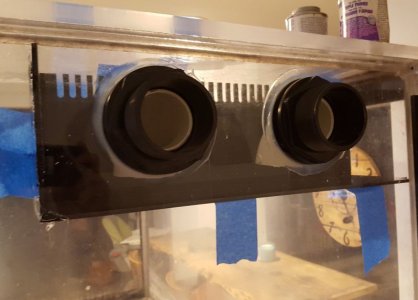
There will be 2 closed loop systems and 2 return sections, one supplying the left side and one supplying the right side. Filtration will mostly be biological with all the rock, but ea drain will run through a 100 micron filter sock. There are 6 drains total, 2 per over flow. And then the MRC skimmer. I will have a dedicated electrical circuit on a UPS in case there is a power outage which knock on wood in three years there hasn't been one.
I have had some people ask what the live stock will be and I am almost sure I know what I want but this list may change as time progresses.
2 black tip reef sharks
4 lionfish 2 red and 2 blacks
2 rays 1 blue dot 1 atlantic
1 panther grouper
1 tessellata eel
2 humu trigs
2 dogface puffers
2 maculosus angels
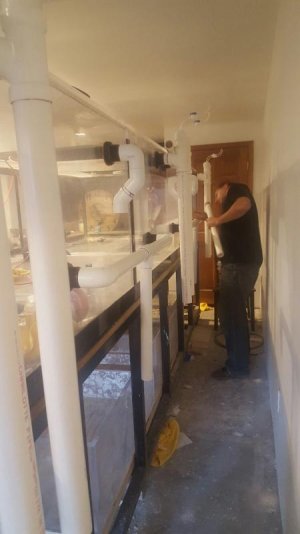
Various forms of COC will be added. Sharks will be the last thing added. I am hoping to have all of the plumbing done this weekend and will post more pics on Monday with everything "hopefully" done. I do still need to do some more fine tune buffing but I did get all the scratches out of the front and sides. I am not worried about the back because at 5ft deep you wont be able to see the fine scratches.