Long Way To Go 260g Mini Ocean

MathiasM.

New member
Good afternoon folks,

today will be a very special day for me.
This thread is supposed to be a documentation of my new 220g Reef.
It certainly is not as huge as many other reefs here on the Large Reefs Forum, but for me it just seems giant:)

The plan:

The display tank will be 5.3 feet long, 2.4 feet deep and 1.12 feet high.
The sump is going to be 3.3 feet long, 1.4 feet deep and 1.4 feet high.
It will house the protein skimmer, a GFO reactor, filter socks and a little fuge.
The sump will be next to the main display on the same height, so that it will be
much easier to clean. Under the sump I'm gonna place a small frag tank in the 40g range.
The sump will be connected with the main tank via an external overflow.
I'm not a fan of drilling glas, because I've seen what can happen with it after a
few years.


I've seen many beautiful tanks here on RC like the ones of Jarhead, Danfeig and Chingchai. Those guys have taken reef keeping to a different level, which I would love to come close to.
The aquarium shall be a part of my current life, which I hopefully can enjoy for some years.
I'd love to create a mixed reef with a broad diversity of marine life in it.
Well I really like SPS with all of the vibrant colors they have, but I also love to
watch my softies and LPS move in the tank. That's really relaxing:) And I tell you I need some relaxation after attending uni and work ;)
So I think I'll have 80% SPS and some nice and special pieces of LPS and softies.
So far I've got a brand new Led Powermodul by ATI which is a 400+w fixture.
It uses Led and T5, which creates a very natural look and growth pattern for the corals. I also got a Vortech MP40w Es and a couple of Tunze pumps, which I would like to switch for 2-3 additional Vortech MP 40s.
The skimmer on my current system is way undersized for the new system, so I have to get one, too.
I also have a GFO reactor made by Reef Analytics, which I'm gonna use.


Well I know so far it is kind of all thrown together. But I hope, together with you guys I will be able to fulfill my dream.

Be warned though, it will be a slow built, because I'm out of house most of the week and just have a couple of weekends to work on it.
Also funding will be a hard thing, but I'll do anything to set this baby up;)
Okay maybe not EVERYTHING^^

But I promise to document each and every part with pictures and videos:)

First thing I'm going today in the next days is to consult an architect to find out whether the weight of the tank will be a problem or not.

I'm gonna post some sketches later.

So what do you thing? Are the measures okay?
Does it make sense to place the sump on the same height?
I have thousands of questions, but that's it so far:)

More this evening!
Lets get started :spin1:

Greetings and best wishes
Mathias
 
Congrats and welcome to the LRT. You mentioned some great guys in the beginning. Cant wait to see this going. Since you are in germany are you going with the ever famous Zeovit?
 
Hi Wayne,

Thanks for the warm welcome!
The people I named are my reeling heroes, but
they are just a part of this amazing community!
I'm following your built, but have to catch up 20 pages:)
The tank of yours is gonna be awesome.

Well Zeo is a impressive system which definitely is capable to create
a perfect atmosphere for SPS. But I won't go that route, I will
try the new Triton method.
I read lots of good things in German communities, which makes me
feel, this system is my way to go.

For all of you who don't know the Triton method,
this system was released by a German company last year.
Basically you send them a probe of your water, they will analyze it and
mix a basic solution for your tank, to bring all water parameters onto their
optimal level.
After that you order 3 different products and dose them exactly after your needs.
So far it sounds Zeo I know.
But while using Triton you DON'T have to do water changes at all!
To make Triton work perfect, you should have a fuge and skimmer to
get rid of phosphates and nitrates.
Every couple of weeks you send them another water probe,
to check your parameters.

Here is their website, there you can find some better explanations
http://www.triton.de/english/triton-method/what-is-the-triton-method/index.html

I hope it is okay to post that? Otherwise let me know, so that I can delete it:)

Best wishes!
Mathias
 
Sounds like a great start! I'd be a little scared of running the sump through a hang on the back overflow box. Silicone is pretty strong stuff, and done correctly shouldn't leak on you.

I like the idea of having the display and sump at the same height (see my build thread) :)

Good luck!
Scott
 
Good morning,

@Wayne: Sorry for that, I'm gonna change it.
Thanks for letting me know about it.

@Scott: Thanks:)
So you're saying instead of
using a hang-on overflow, I should drill
the side of the tank towards the sump to
attach it?
Why you would be scared with a hang on
overflow?

Could someone please explain, how I can
quote you guys in my replies?

Greetings
Mathias

Guten Aben Mathias. There is a quote tab at the bottom right of the post you want to quote. I guess I have the wrong program as I still cant see the pics.
 
Good evening everybody,

just came back from work. You know that situation, you do somebody a favor
and then you get slapped into your face for doing it?
But well can´t change it..

So back to topic.

I thought more about how I want to do my new reef and I´m
pretty sure I want to use dry rock for it.
My current tank runs with life rock, but I had to deal with so many
unwanted things, that I just figured, I´m not really up for handling
all of this again.

So what is your guys/gals opinion on it?
Is life rock always superior to base rock?
Should I maybe consider to use reef ceramics rather then base rock?
Is it worth to go the extra mile combining base rock and life rock?
Does base rock really leach that much phosphates ?

Next thing I thought about is how to built the stand for the tank.
In many of your guys threads I read about using aluminium or wood to built it.
So I checked which option will be the more feasible one for me and decidet
wood will be my way to go.

I´m gonna use 4 Inch thick square timber beams which will be connected with 0.4 Inch thick stainless stell screws.
As foundation a 1.2 Inch thick OSB plate will serve.
There will be two stands, because of the sumpe beeing next to the main
display instead of beeing under it.
The smaller stand for the sump will use the same materials as the main stand.
But I incooperated something I´ve seen in Newbie Aquarists´ thread.
Thanks a lot for that brilliant idea Wayne! :thumbsup:
The small frag tank which will sit under the sump will be placed on a drawer like construction, so that I can pull it out whenever I have to work on it.
I don´t want to use wheels to move the frag tank, but instead Teflon pads. I use them a lot in my other hobby astronomy and they work great on sliding things.

So basically the frag tank will sit on OSB plate in the stand.
Under the OSB and on the ground of the stand will be a strip of Teflon.

Maybe that sound a bit weird, but I will post drawings of it :rollface::rollface::rollface:
https://www.dropbox.com/s/7586iuoc7g6x3sf/Schrank_teflon.skp

Okay enough writing on my side for now, what´s your opinion on the stands? Any suggestions in material to use? Are there maybe some
points which can be improved?

Have a nice evening/ day ;)
Greetings Mathias


Edit: Enclosed Link
 
Last edited:
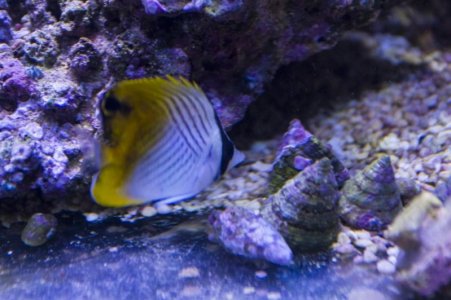
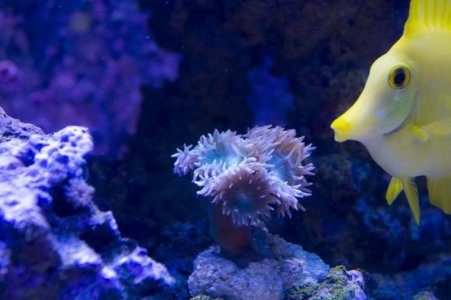
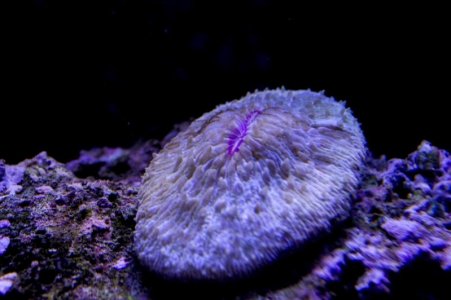
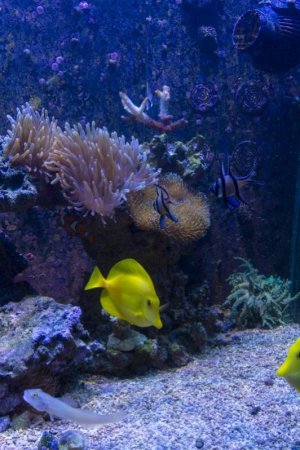
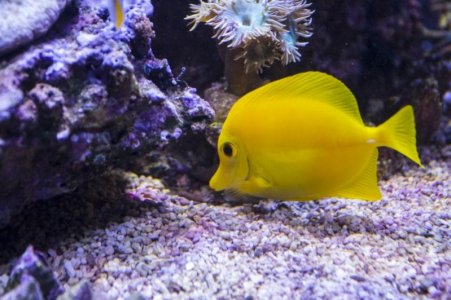
Here are some pics of some lifestock from my current tank.
Hope you like it!


Greetings
Mathias
 

Attachments

  • auriga1.jpg
    auriga1.jpg
    61.4 KB · Views: 5
  • clownsnnem.jpg
    clownsnnem.jpg
    72.3 KB · Views: 5
  • duncan1.jpg
    duncan1.jpg
    47 KB · Views: 6
  • fungia1.jpg
    fungia1.jpg
    49.2 KB · Views: 5
  • coral.jpg
    coral.jpg
    47.7 KB · Views: 5
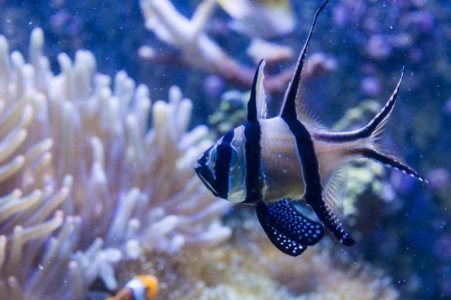
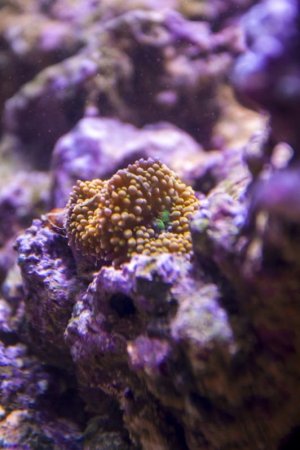
And some more :D


Greetings
Mathias
 

Attachments

  • bangai1.jpg
    bangai1.jpg
    52 KB · Views: 5
  • clown1.jpg
    clown1.jpg
    52.9 KB · Views: 5
  • rightside1.jpg
    rightside1.jpg
    80.7 KB · Views: 4
  • Ricordea1.jpg
    Ricordea1.jpg
    50.2 KB · Views: 6
  • yellowdoc1.jpg
    yellowdoc1.jpg
    68.6 KB · Views: 5
@Scott: Thanks:)
So you're saying instead of
using a hang-on overflow, I should drill
the side of the tank towards the sump to
attach it?
Why you would be scared with a hang on
overflow?

Greetings
Mathias

That's what I would personally do if it was my tank. I have heard of the H.O.B. overflows not being able to perform as well as a true overflow box. But if you have had success with them in the past ignore me :)

As for your other question about live rock, I'd go with as much live rock, not dead base rock, as you can. I think the benefits of the microscopic life you bring to the tank with live rock are invaluable. You can fend off hitchhikers with a quick (10-15 sec) high salinity (~1.030 SG) dip as per Walt Smith's recommendations. If you want to aquascape the rock keep it wet with a soaked towel.

Cheers,
Scott

Well so far I never used an external overflow.
But I like the idea of adding a glass overflow box!
I'm going to talk to my tank manufacturer tomorrow,
to see how this feature can be incooperated.
Thanks for the suggestion!

So if I do it this way, should the overflow box reach from on end
of the tank side to the other? Or could it be shorter?
Opinions?
Thanks for your opinion concerning life rock, Scott!:wave:

Greetings
Mathias
 
An end to end overflow is called a Calfo overflow. The benefit is that it skims from the entire length of the tank, but it's not really necessary. I'd build it on either end or centred on the back, which ever makes more sense with your plumbing. If space isn't an issue most people centre it on the back. These "glass" overflows don't depend on a siphon in the pipe to keep water flowing to the sump. The H.O.B. usually requires a siphon to get water from the display tank to the sump. That siphon can be affected by algae, debris in the pipe, air lock. By building a typical overflow, gravity does the work. The pipe can still get plugged so you need some sort of barrier. Most people make an acrylic set of "teeth" that block fish, etc from getting into the overflow chamber in the first place.

Cheers,
Scott

Thanks for the info Scott!
Just shot a mail to the tank manufacturer,
to see what he thinks.

The overflow will be on the short side of the tank.
Then I'm going to put it in the center. To safe
my fish I will build an acrylic sieve, which will
be placed over the whole overflow.

Best wishes
Mathias
 
Hello everybody,

I got a little update for you.

After talking to my parents about my upcoming project.
They said they'd be fine to give me one room in the
basement to set up my new Aquarium:)

So now I don't have to consider the ceilings stability and
go for the extra liters I wanted.
So I will get my new tank in the following dimensions:)

Main display:

200x80x60cm

Sump:

120x40x40cm

Frag tank:

60x80x40cm

Quarantine tank:

100x60x60cm

Total water volume: 440g

After thinking about Scott's suggestion to plumb the tanks
together with internal overflows ( I hope they are called that way),
I decided to go this rout instead of using external overflow boxes.

Sump and frag tank will be on the same level, the display
tank sits.
The quarantine tank will be placed on the opposite side of the room.
It's not going to be connected with the main tanksystem.

I really love my ATI Led Powermodul and will get a second one
down the road for the display tank.
As for the frag tank I'm gonna purchase a radion led fixture.
Because if seen them a couple of times and really liked there
controllability. Also the frag tank is rather small and so no
T5 bulbs are needed to provide a plane and even area of light.

For water movement I'm going to add some more Vortech
MP40s.

So that's the plan for now.
Since. My birthday has been two days ago and I received my
salary, I now have the financial basement for the first steps:)

Yes I'm a student, but to do this my dream, I'm gonna work
teipllw hours:)

I'm soooo excited and hope you guys will give me a helping
hand and advice:)

Best wishes
Mathias

P.S. I took some pics of the basement room
and will post them as soon, as the upload finishes:)
 
Nachträglich alles Gute zum Geburtstag.

Also congratulations on the new tank dimensions and as we call over here in the U.S., "The Man Cave" for your reef setup. Cant wait for pics to follow.
 
Ok, I just want to clarify that the overflow box itself is still outside the tank. It is a glass box that is siliconed to the outside of the main aquarium. If you have the space do it this way. The only good reason to put an overflow box inside the tank is due to space constraints around the tank.

This is what I mean by an external overflow box. Water flows into it from a cut in the glass. Inside of this box is where you put your durso/Hoffman/Herbie style stand pipes. It doesn't rely on a siphon to bring water into the box.

i-jr2Tts4-L.jpg


See how the glass is "notched" down where the overflow box is? This is to allow water to gravity flow into the box.

external%20weir%20box%20take%20three%20001.jpg


This is the kind I'd avoid. That tube requires a siphon at all times to work.

overflow_box.jpg


Congrats on the build! Take it nice and slow and research everything before it goes into the tank!

Cheers,
Scott
 
Back
Top